The best beginner build in DRAGON BALL: THE BREAKERS is a mobility-and-rescue setup: start with Grappling Device, Saiyan Pod Remote, and a defensive escape skill such as Energy Field or Instant Transmission, then pair them with Wall Kick, Midair Jump, and a movement-focused passive. This build gets you to Power Keys faster, keeps you alive after a Raider finds you, and remains useful even when your Dragon Change level is low.
That matters because Survivors aren't meant to win fair fights. You win by searching, installing Power Keys, reviving teammates, and buying enough time for the Super Time Machine or Emergency Time Machine. The loadout below is deliberately forgiving for a new account, including alternatives for skills locked behind Transphere training or Spirit Siphon pulls. For broader genre context, our weapon-tier-list breakdown explains why flexible tools usually beat flashy specialist options when you're still learning a game.
The starter build that covers every crisis
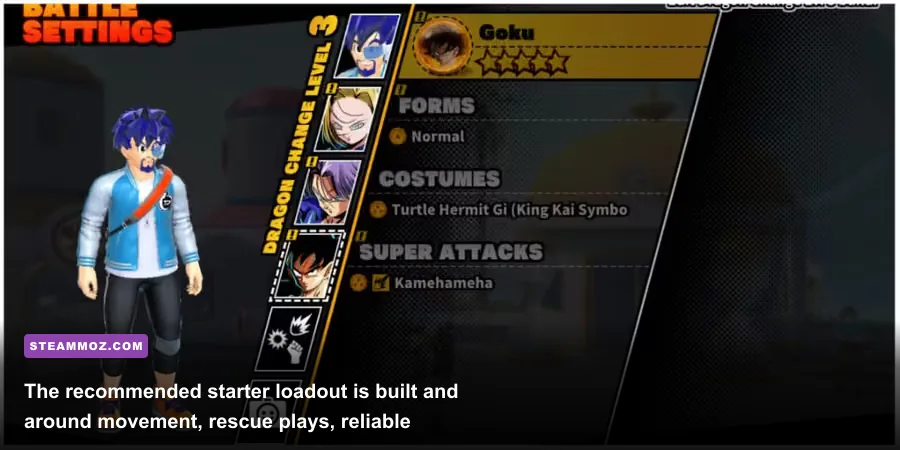
Think of this as a four-part job description. Grappling Device is your panic button for vertical terrain. Saiyan Pod Remote is your long-distance rotation tool. Energy Field buys a short, precious window against Raider pressure, while Instant Transmission can replace it once you've unlocked and upgraded the skill. The exact cooldowns and duration can change with patches and skill levels, so judge these abilities by their function rather than memorizing one number from an old guide.
| Slot | Recommended skill | Why beginners need it | Replacement if locked |
|---|---|---|---|
| Active 1 | Grappling Device | Fast vertical escape; reaches rooftops, cliffs, and Power Key beacons | Change Missile |
| Active 2 | Saiyan Pod Remote | Rapid travel between zones after a key is found or a teammate is downed | Hovering Device |
| Active 3 | Energy Field | Creates a safer rescue, revive, or final-machine interaction window | Afterimage |
| Active 4 | Instant Transmission | Repositions to a distant ally or beacon when the Raider commits elsewhere | Change Camouflage |
| Passive 1 | Wall Kick | Turns walls into a second jump and makes Grappling Device routes stronger | Expert Driver |
| Passive 2 | Midair Jump | Adds air control for cliffs, buildings, and Raider pursuit | Double Jump |
| Passive 3 | Ki Control | Reduces the risk of being tracked after using Dragon Change | Radar Jump |
| Passive 4 | Movement or cooldown passive | Keeps your rotation and escape tools available more often | Auto Barrier Recovery |
Change Missile is an excellent early substitute because it launches you forward and can clear a bad line of sight. Afterimage is also easier to use than it looks: activate it after the Raider begins a melee commitment, then run around terrain instead of trying to counterattack. If you have neither Energy Field nor Instant Transmission, Change Camouflage gives you a stealthier rescue option, but it won't save you once the Raider has already locked onto you.
For the passive row, don't worry about copying a tournament loadout. Wall Kick and Midair Jump teach the movement language of every map. Auto Barrier Recovery is a superb comfort pick because it restores your normal Survivor barrier after you avoid damage for a while, but it doesn't make you invincible and it won't repair a barrier while the Raider is actively hitting you.

🎮 DRAGON BALL: THE BREAKERS
Looking to experience this game? Grab your digital key directly on our store for $2.99.
View on Steammoz Store →Why mobility beats early combat damage
New players often build around their favorite Transphere's Super Attack and then discover the uncomfortable truth: a level-one Dragon Change is not a reliable Raider-killing plan. Your priority is surviving long enough to produce value. A Raider can disengage from a bad fight, evolve by absorbing civilians or Survivors, and punish anyone who burns their only escape skill for a few seconds of damage.
Grappling Device is powerful because it solves the most common beginner mistake: running in a straight line across open ground. Aim for a wall, roof edge, tree, or rock formation rather than the Raider. The instant you gain height, break line of sight and change direction. If you grapple straight toward a visible Raider, you may simply deliver yourself into their melee range.
Saiyan Pod Remote has a different job. Don't summon it directly beside the Raider or beside an unfinished Power Key that the Raider is defending. Use it after the Raider leaves a zone, after a teammate pings a downed player, or once you know the next key's general location. The travel animation is vulnerable, so call the pod behind terrain and keep your camera pointed toward the approach route.
Energy Field should be treated as a team utility skill, not a personal shield you activate randomly. Use it to revive a teammate, interact with the Super Time Machine, or finish a Power Key while the Raider is trying to interrupt. Instant Transmission is more flexible: lock onto a living ally or appropriate destination, begin the channel from cover, and cancel the idea if the Raider turns toward you. A failed teleport attempt is still better than standing in the open and hoping the Raider misses.
Players who enjoy route planning should also read our convoy-survival tips. The games differ, but the same principle applies: movement is safest when you plan the next piece of cover before you need it.
Transpheres and Dragon Change priorities
Use Transpheres for three jobs: escaping, interrupting, and finishing a vulnerable Raider. Goku, Vegeta, Piccolo, Gohan, and other available Transpheres can fill those roles, but the correct choice depends on the Super Attacks and skills you have actually leveled. Don't spend all your resources chasing a favorite character before your core Survivor skills are functional.
| Dragon Change level | Best beginner objective | Safe behavior | Common throw |
|---|---|---|---|
| Level 1 | Escape and interrupt | Use terrain, short attacks, and a teammate's damage window | Chasing the Raider alone after one successful hit |
| Level 2 | Protect a revive or Power Key | Focus fire, then disengage before your gauge empties | Burning the full transformation on civilians |
| Level 3 | Pressure the Raider or defend the Super Time Machine | Rotate attacks and force the Raider away from the objective | Fighting in open ground with no escape skill ready |
Build Dragon Change energy by collecting civilian energy, opening boxes, defeating civilians controlled by the Raider's minions, and gathering Change Power cubes. The fastest way to lose is to burn Change Level 1 on a Raider who is already flying away. Save it for a rescue, a contested key, or the moment the Raider starts destroying a critical objective.
For a simple combat rhythm, wait for a teammate to draw attention, attack from an angle, use a Super Attack only when it can connect, and leave before your energy gauge is nearly empty. Your goal isn't a highlight-reel combo; it's forcing the Raider to spend time and lose control of the map. If the Raider targets you, retreat through cover and use Grappling Device after their approach commits.
Ki Control is particularly valuable while learning because Raiders can punish careless transformations. After you escape, stop sprinting in a predictable line, break sight behind terrain, and avoid immediately reappearing near the same beacon. A Raider who loses your trail has to spend time searching; that is time your team can convert into keys.
What to do during the first five minutes
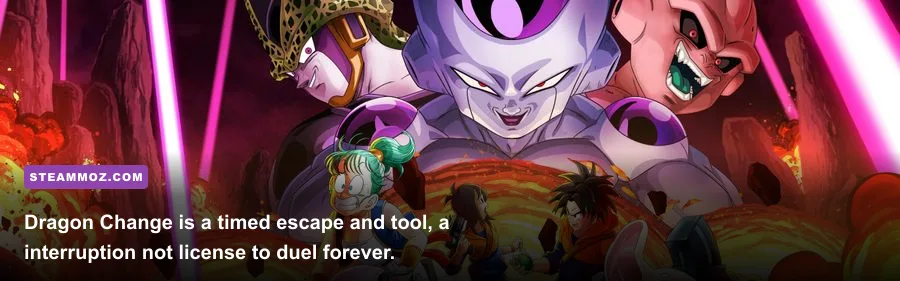
The opening phase decides more matches than the final battle. Spawned Survivors should split into pairs or small routes, open nearby crates, collect Change Power, and search for civilians without dragging the entire team into one zone. You want information: which areas contain a Power Key, where the Raider was last seen, and which teammates are equipped to rescue.
- First 30 seconds: open the closest boxes and identify a route toward a neighboring zone. Avoid noisy, exposed looting if the Raider spawn is nearby.
- Before the first key: find cooldown drinks, Change Power, and a vehicle or movement route. Ping the Raider's location instead of silently wandering into their zone.
- When a key is found: place the key beacon from cover, then watch the Raider's approach. The player who starts the install shouldn't be the only player looking for danger.
- After installation: rotate immediately. Use Saiyan Pod Remote or a vehicle to reach the next search area, but don't abandon a teammate who is downed in a safe rescue window.
- At two or three keys: conserve Energy Field and Instant Transmission. The Raider will usually patrol likely key locations more aggressively, so your escape tools now have greater value.
Reviving is not automatically heroic. If the Raider is camping a downed Survivor, wait for a second teammate, use Energy Field, or force the Raider to move with Dragon Change. A rushed solo revive turns one knockout into two. Conversely, don't leave a teammate forever: each living Survivor increases the team's search speed, rescue options, and Dragon Change potential.
The Raider's evolution level also changes your priorities. Against an early Cell, Frieza, Buu, or Vegeta, you can often contest objectives with numbers. Against a high-level Raider, stop taking isolated fights and play for the Super Time Machine, emergency escape, or a coordinated stun chain. Our leveling-route analysis covers a different game, but its useful lesson carries over: spend early resources on repeatable fundamentals rather than one spectacular moment.
Final battle plan for the Super Time Machine
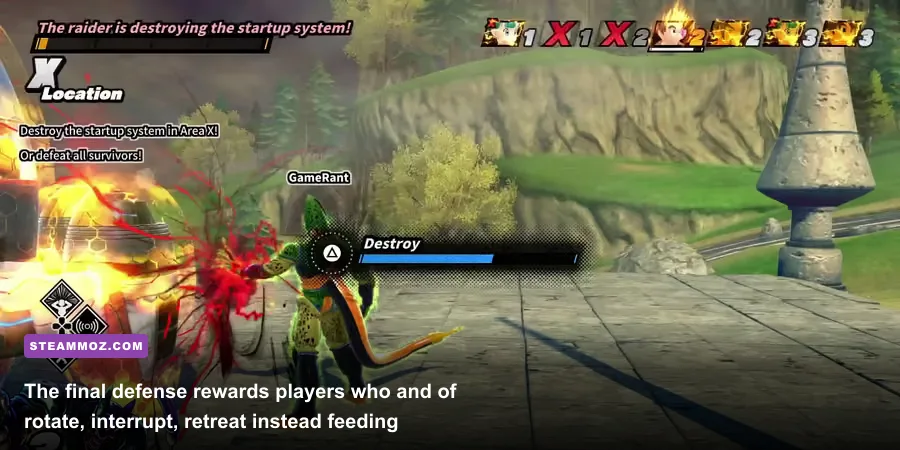
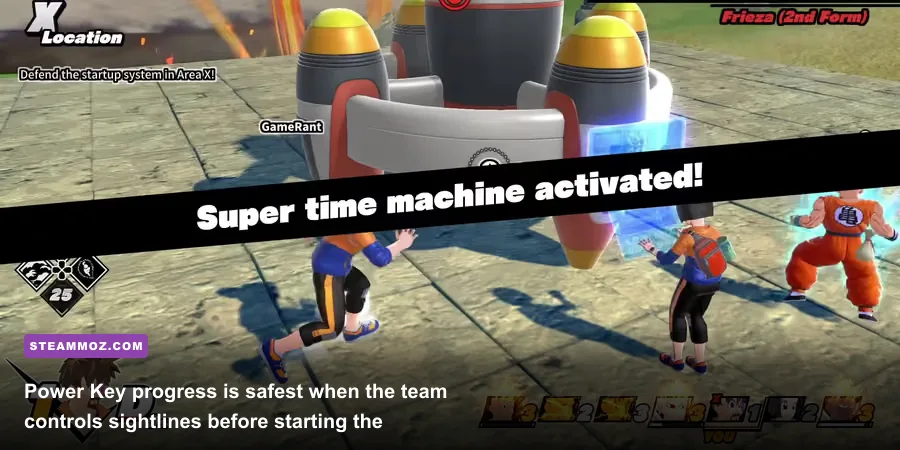
Once the final machine activates, your team needs jobs, not chaos. One Survivor should interact with the machine when the Raider is displaced. Others should interrupt, rescue downed players, and watch for a finishing push. Don't stack directly on top of the objective; a single Raider attack or area Super Attack can punish the entire team.
| Situation | Best response | Recommended tool | Why it works |
|---|---|---|---|
| Raider approaches the machine | Split wide and attack from two angles | Dragon Change or Afterimage | Forces the Raider to turn instead of freely destroying the objective |
| Ally is down near the machine | Draw aggro, then revive behind cover | Energy Field | Converts the Raider's attention into a protected recovery |
| Raider leaves to chase one Survivor | Start the machine; don't follow the chase | Instant Transmission | Turns distance into objective progress |
| Machine is destroyed or unavailable | Spread out and prepare Emergency Time Machine beacons | Saiyan Pod Remote | Reduces the chance that one attack wipes the escape attempt |
Use Grappling Device to reach the machine from a side angle, not by crossing the center of the battlefield. If you're transformed, attack only long enough to interrupt or push the Raider away. When your Dragon Change gauge gets low, retreat before it expires; being caught in base Survivor form in front of a Raider is how a winning defense collapses.
If the Super Time Machine is lost, the match isn't automatically over. Search for the Emergency Time Machine beacon, place it away from the Raider's immediate line of sight, and use Saiyan Pod Remote to rotate between beacon areas. A Raider who chases one player may leave another beacon uncontested. This is where a mobility build earns its slot: you aren't trying to overpower the Raider, you're making every second expensive.
Upgrade order and settings for smoother matches
Spend Spirit Points on the skills you use every match before experimenting with niche abilities. First improve Grappling Device, then your preferred defensive skill, followed by Saiyan Pod Remote and the passive movement package. Skill upgrades can change cooldowns or performance depending on the ability, so check the in-game upgrade screen rather than assuming every level provides the same benefit.
| Priority | Upgrade target | Reason | When to branch out |
|---|---|---|---|
| 1 | Grappling Device | Your most consistent answer to open terrain and vertical pursuit | After it feels reliable on every map |
| 2 | Energy Field or Instant Transmission | Improves rescue and objective survivability | When you regularly survive the opening phase |
| 3 | Saiyan Pod Remote | Shortens rotations and gets you to distant objectives | After your escape tools are dependable |
| 4 | Wall Kick and Midair Jump | Raises the value of every movement route | When you want a specialized vehicle or stealth build |
| 5 | Transphere skills and Super Attacks | Improves coordinated Raider pressure | Once your Survivor kit no longer causes deaths |
On PC, prioritize stable frame pacing over cosmetic effects. The game is not a competitive shooter demanding a huge refresh rate, but a stable image makes Raider telegraphs, lock-on changes, and grapple targeting easier to read. Use fullscreen or borderless fullscreen according to whichever gives your system the steadier result, cap the frame rate if uncapped rendering causes spikes, and lower shadows or effects before reducing resolution.
Check the official Steam listing for current platform details and patch information. Bandai Namco's official game page is also worth checking after major updates, since balance changes can alter which skill upgrades feel best. For PC troubleshooting, our guides to settings that make every frame count and low-FPS fixes offer useful general tuning habits.
The short version is simple: move first, fight second, and spend your cooldowns on objectives. Grappling Device teaches escape routes, Saiyan Pod Remote teaches rotations, Energy Field teaches rescue timing, and Instant Transmission teaches map awareness. Once those habits are automatic, you can swap in flashier combat skills without losing the foundation that keeps a Survivor alive.