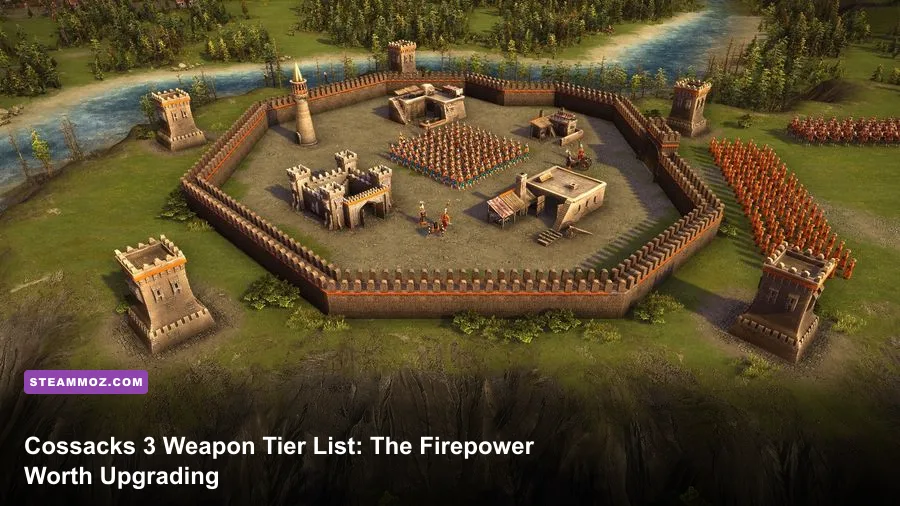
The short answer: Cossacks 3’s best battlefield weapons are the musketeer volley, field cannon, heavy cannon, and a properly timed cuirassier charge. Musketeers take the top spot for reliable damage per resource, artillery dominates chokepoints and dense formations, and heavy cavalry finishes fights once enemy morale and formation discipline start to crack. Cheap melee units are useful, but they should protect your real damage dealers rather than replace them.
This ranking treats “weapons” as the combat packages you actually build and upgrade: infantry firearms, polearms, cavalry weapons, artillery, and naval guns. Cossacks 3 doesn’t use a loot-style equipment screen, so the meaningful choices are unit type, faction access, blacksmith research, barracks upgrades, formations, and battlefield positioning. Patch settings, nation bonuses, and map size can shift the order, but the fundamentals stay remarkably consistent.
If you’re new to the series, the official Cossacks 3 Steam page is worth checking for the current edition and DLC list. For broader RTS optimization ideas, Steamoz’s guide to making every frame count is also useful, especially during huge battles where unit counts punish weak PCs.
The Cossacks 3 weapon tier list
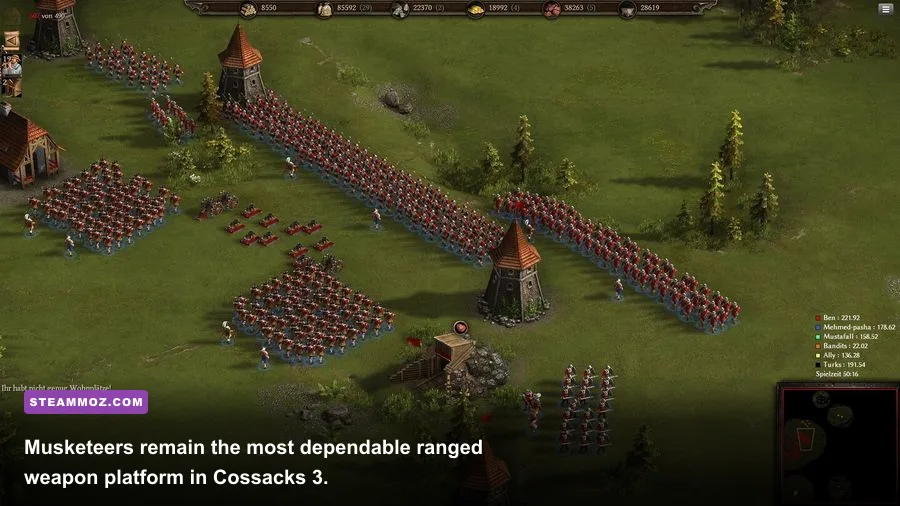
The table below ranks weapons by practical battlefield value, not by raw damage in a vacuum. A weapon that looks devastating on paper can fall sharply if it costs too much iron, coal, gold, or food, requires a long tech path, or only works in one narrow situation.
| Weapon package | Tier | Why it ranks here | Best use |
|---|---|---|---|
| Musketeer firearm volley | S | Consistent ranged pressure, strong formation scaling, flexible faction access | Main army damage and defensive lines |
| Field Cannon | S | Excellent anti-infantry pressure and strong area denial for its cost | Chokepoints, walls, and packed formations |
| Heavy Cannon | S | Long-range punishment that forces movement and breaks static armies | Late-game siege support |
| Cuirassier melee weapon | A | High-impact charge damage and excellent morale pressure | Flanks, counterattacks, and finishing blows |
| Dragoon carbine | A | Mobile ranged damage with better flexibility than foot troops | Raids, kiting, and cavalry screens |
| Pikeman weapon | A | Cheap defensive reach and reliable protection for gun lines | Holding cavalry and buying reload time |
| Grenadier explosive attack | A | Excellent against clustered infantry, but shorter-ranged and situational | Breaking dense formations near walls |
| Hussar sabre | B | Fast and affordable, but struggles into prepared infantry and pikes | Workers, scouts, artillery hunting, and pursuit |
| Swordsman blade | B | Useful early pressure, but limited by range and target access | Early melee fights and building pressure |
| Militia weapon | C | Cheap emergency mass, low staying power, poor late-game scaling | Map control and temporary screens |
The most important distinction is uptime. Musketeers can keep contributing while protected by pikemen, buildings, or terrain. A swordsman has to physically reach the target before dealing damage, and a hussar can waste its entire value charging the wrong formation. In Cossacks 3, access to a target is often more important than the attack number displayed in the unit panel.

🎮 Cossacks 3
Looking to experience this game? Grab your digital key directly on our store for $6.79.
View on Steammoz Store →S-tier weapons and the upgrades that matter
Musketeer firearms
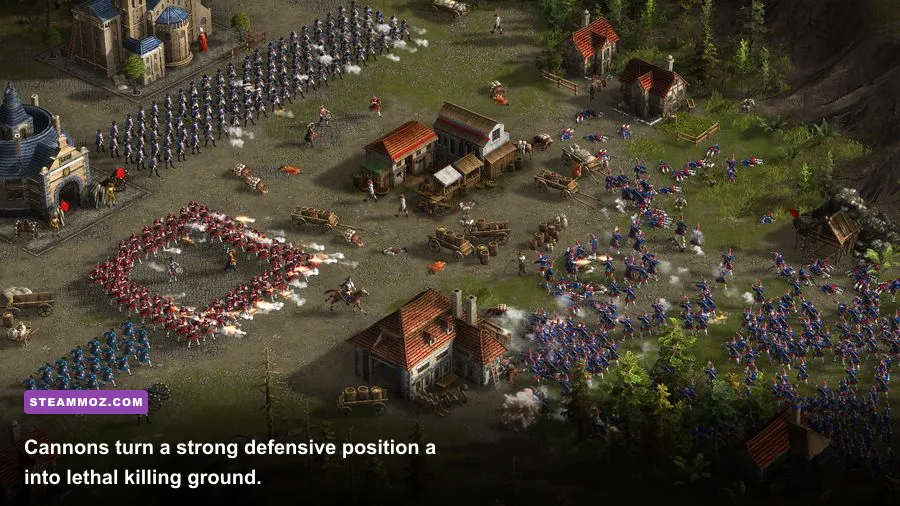
Musketeers are the safest S-tier investment because they solve several problems at once. They pressure infantry from behind a screen, punish cavalry that commits too early, and scale naturally when massed in line formations. Their reload cycle is the hidden limiter: a large group firing together creates enormous burst damage, but it also creates a dangerous quiet window while the entire line reloads.
That’s why you shouldn’t send musketeers forward alone. Pair them with pikemen or another durable melee screen, then use a formation wide enough to keep the front rank from blocking every gun. Let the first volley land, pull damaged units backward, and avoid moving the whole formation during reload. Constant movement feels safe, but it destroys firing rhythm and lets enemy cavalry close the distance.
Research priorities vary by nation, yet the general order is stable: improve firearm damage or accuracy, research reload-related blacksmith technologies, then increase survivability and formation efficiency. Technologies such as Bayonet, Steel Ramrod, Paper Cartridge, and firearm upgrades are valuable because they improve what musketeers already do well. Don’t rush expensive attack research while your economy can’t sustain continuous unit production; ten upgraded musketeers firing is better than four elite musketeers waiting for reinforcements.
Field Cannon
The Field Cannon earns S-tier status through tempo. It doesn’t need to destroy an entire army to pay for itself. A few well-placed shots can force infantry to split, stop a push, or make the opponent abandon a bridge. Its real damage comes from attacking grouped units, where one projectile can affect several targets and trigger morale loss across the formation.
Keep cannons behind infantry and never leave them exposed on a flank. Fast cavalry and hussars are natural artillery hunters, so a small pike detachment or a reserve musketeer group should guard every battery. Select targets manually when possible. Shooting a lone scout while an enemy infantry column crosses open ground is a tragic waste of reload time.
Heavy Cannon
Heavy Cannon is the late-game answer to players who believe walls and massed infantry make them untouchable. Its range and projectile impact let it punish static positions before your main army commits. It shines on maps with narrow approaches, fortified towns, and battles where both sides have enough resources to build dense formations.
The catch is mobility. Heavy artillery is slow to reposition, expensive to protect, and vulnerable once the enemy reaches its minimum effective range. Build it when you already have map control and a screen, not as a desperate reaction to a cavalry attack. If you’re comparing this kind of specialization with other weapon rankings, Steamoz’s S-to-B weapon breakdown uses a similar principle: consistency matters more than flashy peak damage.
A-tier weapons that win specific fights
Cuirassier weapons
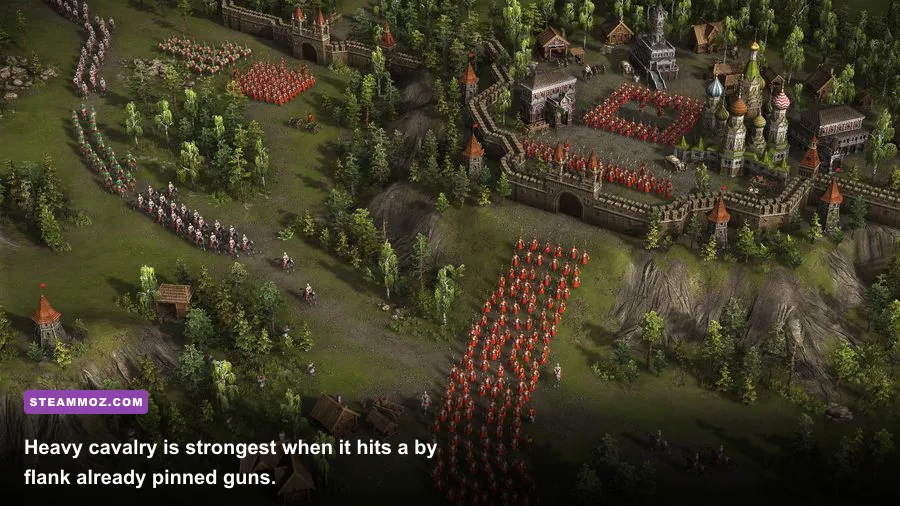
Cuirassiers are not a replacement for firearms; they’re the punishment for an opponent who has overcommitted to firearms. Their charge is most valuable when it hits a side or rear arc, especially after enemy musketeers have fired and entered reload. A frontal charge into prepared pikemen is one of the fastest ways to donate a premium unit.
Use cavalry in two stages. First, threaten a flank and force the opponent to turn part of the army. Second, charge only after artillery or infantry has created a gap. Once the impact lands, immediately assess morale and formation shape. If the enemy line breaks, pursue. If the charge stalls against pikes or a fresh gun line, disengage rather than repeatedly feeding cavalry into the same wall.
Dragoons
Dragoons sit between cavalry and musketeers. Their mounted carbine gives them mobility that foot soldiers can’t match, making them superb for raiding workers, screening artillery, and kiting slower melee units. They’re less efficient than a dedicated musketeer block in a stationary firefight, but they can choose when and where the firefight happens.
Keep them moving between volleys, but don’t confuse mobility with invulnerability. Dragoons still need room to retreat, and enemy cavalry can catch them if they’re trapped against buildings, forest edges, or map borders. Their strongest role is harassment that creates economic damage while your main army holds the center.
Grenadiers
Grenadiers are the specialist weapon in this tier. Their explosive attacks are brutal against tightly packed infantry and particularly useful around gates or walls, where the enemy has fewer options to spread out. They lose value in open terrain against scattered targets, and their shorter engagement range makes them risky without a screen.
Bring grenadiers when scouting confirms dense infantry or a defensive position. Don’t mass them blindly. A mixed block of musketeers, grenadiers, and pikemen is more resilient because each unit covers a different distance: musketeers handle sustained ranged pressure, grenadiers punish clusters, and pikemen stop the rush.
| Situation | Best weapon | Supporting unit | Common mistake |
|---|---|---|---|
| Enemy infantry advances in a tight block | Field Cannon or Grenadier | Musketeer line | Firing artillery after the formation has already dispersed |
| Enemy cavalry threatens the gun line | Pikeman weapon | Musketeers and a reserve cannon | Using hussars as the only anti-cavalry defense |
| Opponent turtles behind walls | Heavy Cannon | Engineers, infantry screen, and siege support | Sending cavalry into the gate without artillery preparation |
| Enemy artillery is exposed | Hussar sabre or Dragoon carbine | Fast reserve cavalry | Charging through the enemy main line to reach guns |
B-tier weapons and the traps behind cheap power
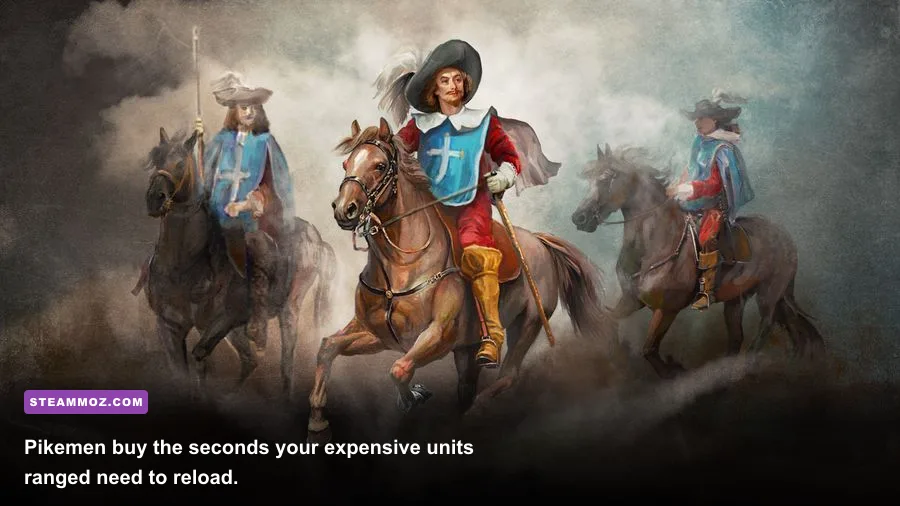
Hussars are excellent units, but their sabres rank B because their value depends heavily on access. They’re fast enough to punish workers, isolated artillery, and retreating troops. They’re not designed to stand in front of a fully supported musket formation. Use them as a scalpel, not a hammer.
The best hussar attack is often the attack you cancel. If the opponent turns a pike block toward your cavalry, retreat and attack somewhere else. Every second spent forcing a bad melee is a second your enemy’s economy and reinforcements gain ground. Hussars also make outstanding scouts because they reveal whether a flank is genuinely open before you commit the main army.
Swordsmen are more useful early than their B-tier label suggests. They can pressure exposed workers, contest neutral areas, and punish an opponent who delays barracks production. Their problem appears once musketeers, pikemen, and artillery become common. A sword has no answer to a disciplined ranged line unless terrain or a surprise flank removes the distance problem.
Militia belong in C-tier because they’re a tempo tool, not an endgame weapon. Their low cost lets you occupy territory and delay an attack while the economy develops. They can also protect a vulnerable building during an emergency. The trap is continuing to produce them after the opponent has fielded upgraded firearms. Cheap units stop being cheap when they require constant replacement and give experience to better troops.
Pikemen deserve a special warning. Their weapon is defensive, and that’s precisely why inexperienced players undervalue it. A pike formation doesn’t need to kill everything; it needs to deny cavalry access long enough for musketeers to reload. Keep pikes facing the threat, preserve formation spacing, and avoid chasing skirmishers across the map. Their value is measured in protected volleys, not flashy kill counts.
For a useful contrast, check Steamoz’s Crowntakers weapon tier list. Cossacks 3 has the same ranking lesson in a different form: a weapon’s job and opportunity cost matter as much as its damage.
Best equipment upgrades, formations, and battle plans
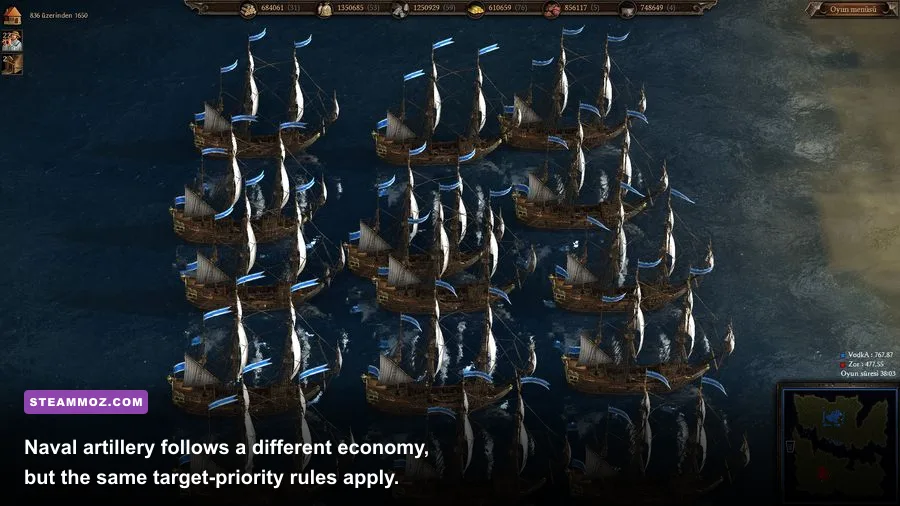
The strongest “equipment” setup in Cossacks 3 is really a coordinated upgrade package. Prioritize the technologies that improve the unit you can produce continuously, not the one that looks strongest in a tooltip. A firearm upgrade is worthless if your economy cannot supply enough musketeers to create overlapping volleys. Likewise, cavalry attack research has limited impact if your horses spend the game screening artillery instead of charging.
| Army core | Priority upgrades | Formation plan | Combat rotation |
|---|---|---|---|
| Musketeer line | Firearm damage, reload, survivability, Bayonet where available | Wide infantry line with pike screen | Volley, hold position, retreat damaged front units, volley again |
| Artillery army | Cannon damage, range, reload, protection upgrades | Guns behind infantry with reserve guards | Focus dense formations, relocate after each advance |
| Cavalry strike group | Attack, hit points, movement, morale-supporting research | Two wings rather than one giant blob | Threaten flank, wait for reload, charge rear, disengage if pinned |
| Defensive pike block | Armor, melee strength, formation and durability research | Compact screen in front of guns | Face cavalry, absorb impact, preserve the gun line |
The practical mixed-army template
A dependable mid-to-late-game army usually starts with a broad musketeer core, a pike screen, two or more Field Cannons, and a mobile cavalry reserve. Add Grenadiers when the opponent masses infantry, then transition toward Heavy Cannons when the battlefield becomes static and fortified. This setup is less glamorous than an all-cavalry rush, but it survives contact with more strategies.
Place the artillery slightly behind the infantry rather than at the extreme rear. That shortens the distance between guns and protection while leaving room for a retreat. Keep cavalry off the front line until the opponent’s attention is committed. The moment enemy musketeers fire, watch the smoke and reload animation: that is your cue to pressure the flank, not necessarily to charge immediately. A good player wins the timing battle before winning the damage exchange.
Nation choice changes the ranking
Do not copy a tier list without checking faction access. Cossacks 3 nations have different unit rosters, bonuses, and technological paths. A weapon can be S-tier in a faction with strong firearm upgrades and merely A-tier elsewhere. Russia’s roster, for example, encourages a different balance from a faction built around western European line infantry or specialized cavalry. The right question is not “What is the strongest unit?” but “What does this nation produce efficiently while covering its weaknesses?”
Use the official Cossacks 3 website for faction and edition information, and check the Steam community discussions before relying on an old build order. Balance changes, community scenarios, and multiplayer settings can make an outdated ranking misleading.
Finally, remember that huge Cossacks 3 battles are partly a performance test. Lower shadows, effects quality, and unit animation detail before sacrificing resolution if your frame rate collapses during mass volleys. Smooth input matters when you’re manually splitting cavalry, pulling wounded musketeers, or retargeting artillery. Steamoz’s low-FPS troubleshooting guide covers the same broad PC habits, even though the game is different.
Final ranking: build around musketeer firearms, protect them with pikemen, add Field Cannons early, and use Heavy Cannons to break entrenched positions. Cuirassiers and Dragoons are the best punishers once the enemy line is distracted, while Hussars, Swordsmen, and Militia earn their keep through speed, timing, and economy rather than raw late-game power. If your army is losing despite having “better” weapons, the problem is probably formation spacing, reload timing, or target access—not the tier list.