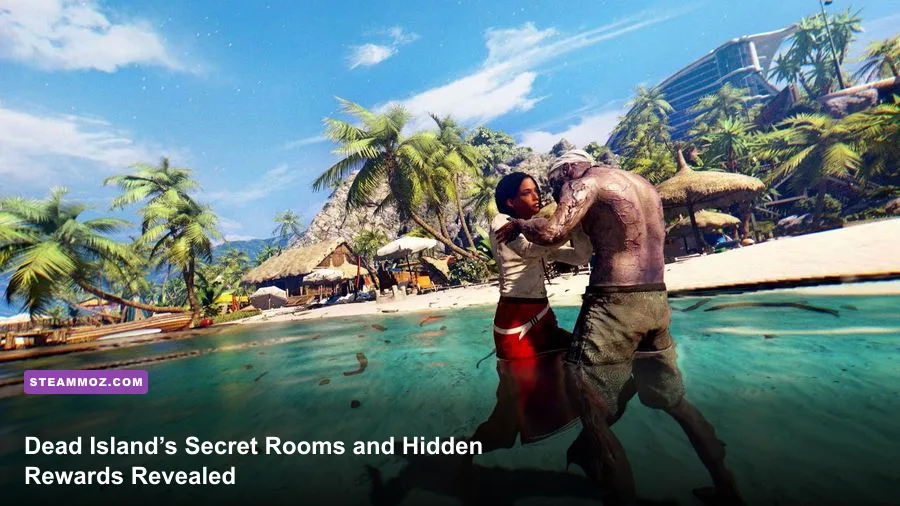
The Dead Island Definitive Collection hides its best rewards behind colored skull puzzles, developer rooms, locked interiors, and off-route loot caches. In the original Dead Island, prioritize the Hotel, Moresby, and Jungle skull locations; in Dead Island Riptide, search the Prison, Flooded Jungle, and Henderson before chasing the next story marker. This guide separates reliable named secrets from ordinary randomized chests, explains what each reward does, and flags the collectibles that are easiest to miss.
These locations work in the Definitive Edition versions of both games, though weapon quality still scales with your level and difficulty. A named weapon found early may be weaker than a random drop found ten hours later, while developer craft rewards remain valuable because their blueprints unlock unusual elemental effects. Save your game before placing a skull or opening a rare chest if you’re chasing a particular roll.
If you’re returning after years away, our Dungeon Siege retrospective has the same kind of old-school design perspective. Now, here’s the actual treasure map.

🎮 Get Dead Island Definitive Collection
Ready to dive in? Grab your copy today for just $3.99.
Check OfferHow Dead Island’s secret rewards work
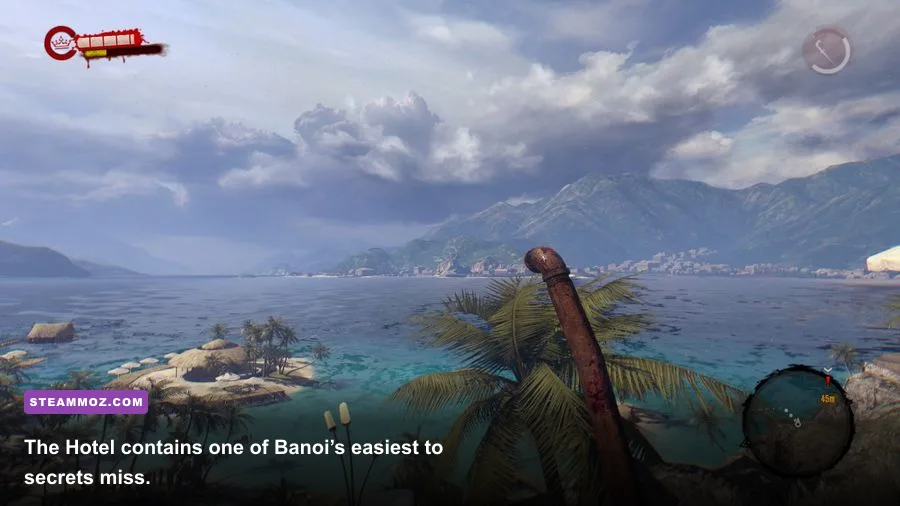
Dead Island’s secrets fall into four useful categories. First are colored skulls, which must be carried to matching altars or hidden offering points. Second are developer rooms, usually tucked behind doors, rooftops, or awkward traversal routes. Third are named easter-egg weapons and character references. Finally, there are high-value loot rooms that respawn, making them worth revisiting after a few in-game days.
Skulls are not quest items in the normal sense. They can occupy your inventory, they can be dropped, and a death can make recovery irritating. Carry one only when you already know the destination. The reward is usually a developer modification blueprint rather than a finished legendary weapon, so bring money, chemicals, metal scraps, and a workbench.
| Secret type | Typical reward | Best time to collect | Main warning |
|---|---|---|---|
| Colored skull | Developer craft blueprint | After unlocking the relevant district | Dropping the skull can make it hard to relocate |
| Developer room | Rare loot, blueprint, or easter egg | Whenever traversal access opens | Some doors are not story-critical |
| Named weapon | Unique or themed melee weapon | Mid-game and later | Stats scale with player level |
| Hidden cache | Cash, mods, weapons, and supplies | After enemy respawns | Contents can be randomized |
The Definitive Collection also keeps the original game’s blunt-force rhythm: stamina matters, durability matters, and a secret reward won’t save a careless survivor. Logan’s boomerang skill can retrieve thrown weapons, Purna’s firearms bonuses make gun caches more valuable, Xian Mei’s blade skills reward close-range critical hits, and Sam B’s blunt-weapon tree turns heavy weapons into crowd-control tools.
🎮 Dead Island Definitive Collection
Looking to experience this game? Grab your digital key directly on our store for $3.99.
View on Steammoz Store →Dead Island Hotel secret locations and skull clues
The Hotel is the first area where the game teaches you to look above, below, and behind the obvious route. During the opening resort chapters, inspect the pool complex, maintenance spaces, side rooms, and roof-access paths instead of sprinting straight toward the lifeguard tower. The hotel’s service corridors contain locked rooms, cash registers, mod components, and workbench access that are easy to skip while following the main objective.
The most useful early sweep begins at the reception and lobby, continues through the pool area, then loops through the maintenance and basement sections. Check rooms after the main interior fight is over; several doors become safer to investigate once the first wave is cleared. Look for climbable luggage, balconies, and gaps around fencing. The game loves placing a chest where the route appears to end.
One of the Hotel’s best-known secrets is the developer-room-style stash reached through an off-route traversal section. It isn’t a normal mission destination, and the entrance can look like scenery until you approach from the correct side. Expect high-level-for-the-area loot, cash, and a chance at a weapon or modification component rather than a guaranteed permanent legendary.
For the colored skull hunt, the Hotel’s brown-skull clue is the one most players associate with the resort opening. Search the pool and hotel-side areas carefully, including awkward corners near water and maintenance access. Don’t assume every colored object is the skull itself: the collectible is small, and the altar destination may be in another district. If you’re building a melee survivor, cash from the Hotel’s registers is more immediately useful than hoarding low-level weapons.
Moresby’s hidden rooms, rooftops, and developer loot
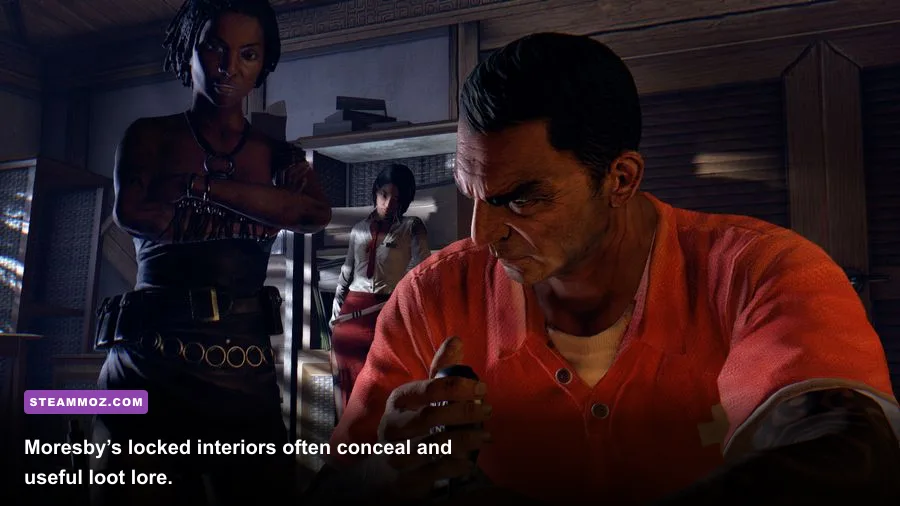
Moresby is where secret hunting becomes genuinely dangerous. The city’s streets funnel you toward story objectives, but the valuable rooms sit in alleys, upper floors, churches, police-related interiors, and fenced compounds. Clear the surrounding infected first, then search. A hidden room is not much of a reward if a Thug catches you while your stamina bar is empty.
Start around the Church and the nearby city blocks. Check side rooms for workbenches and look upward for balconies connected by broken staircases or parked vehicles. Moresby’s rooftop routes are especially important because some loot is positioned above street level rather than behind a visible door. Use jump kicks to create space, but don’t waste stamina jumping repeatedly when a nearby car or crate provides the actual route.
The city also contains several locked police and bunker-style spaces. Some are opened through side quests, while others are simply progression-gated. If a door refuses to open, mark it mentally and return after the next major story step rather than forcing a glitch route. The reward is commonly a weapon chest, cash, mod parts, or quest-linked equipment.
Watch for the purple-skull trail in Moresby and transport the item only after identifying its matching offering point. The developer reward is more valuable to a dedicated crafter than to a player who never visits workbenches. Use the map and fast-travel system to reduce the risk of carrying it through several hostile blocks.
This is also the right chapter to think about progression discipline. Our Dins’s Curse survival tips cover the same basic principle: secure your route before chasing optional rewards. Dead Island punishes greedy detours with surprise infected and broken weapons.
Jungle caves, river routes, and skull rewards
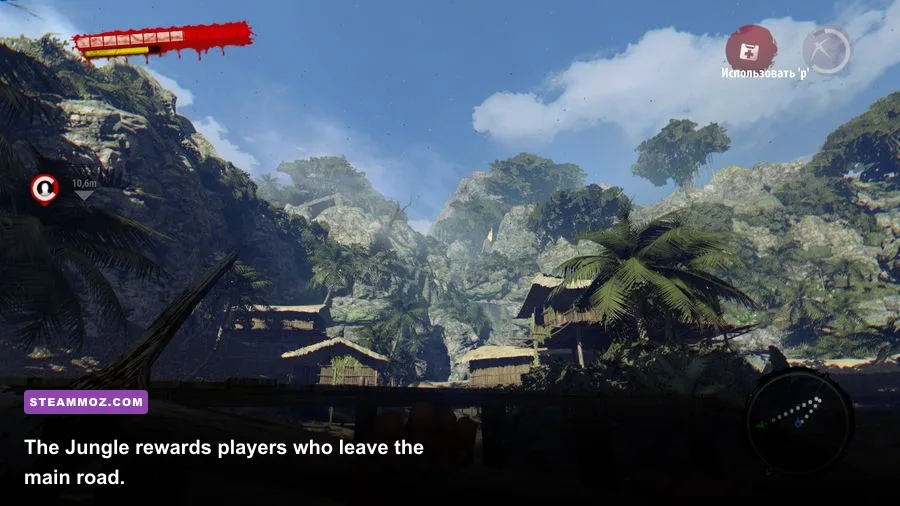
The Jungle hides more optional content than its linear story route suggests. The river, tribal village, laboratory approach, and jungle camps all contain side paths that lead to weapon chests and modification materials. Follow the waterline whenever the main path climbs inland. Caves and rock shelves are often visible only from the riverbank, and the reward can include firearms, cash, or a weapon with a useful elemental roll.
Search the Native Village and its surrounding huts after story combat settles down. Check behind huts, around raised platforms, and near the edges of bridges. The blue-skull hunt is associated with the Jungle portion of the game, and the item can be deceptively easy to miss because it blends into the environment. Carry it out only when you know where the corresponding altar is located.
The Laboratory area deserves a second sweep after the first objective there. Look through side rooms, storage spaces, and exterior service paths. Laboratory loot tends to be especially useful for mod crafting because chemicals, alcohol, and metal parts become more important as enemy health rises. A Molotov or shock modification can turn a cramped corridor into a controlled kill zone, but elemental damage won’t replace basic durability management.
| Area | What to search | Likely reward | Combat preparation |
|---|---|---|---|
| River route | Caves, shelves, broken bridges | Weapon chest and cash | Keep stamina for Floaters and infected groups |
| Native Village | Huts, raised platforms, bridge edges | Blue-skull clue and supplies | Use a blunt weapon against clustered targets |
| Laboratory | Storage rooms and exterior service paths | Crafting parts and mods | Carry alcohol, medkits, and a ranged option |
| Jungle camps | Fences, tents, rear entrances | Cash and randomized weapons | Expect ambushes from infected runners |
Riptide secrets in the Prison and Flooded Jungle
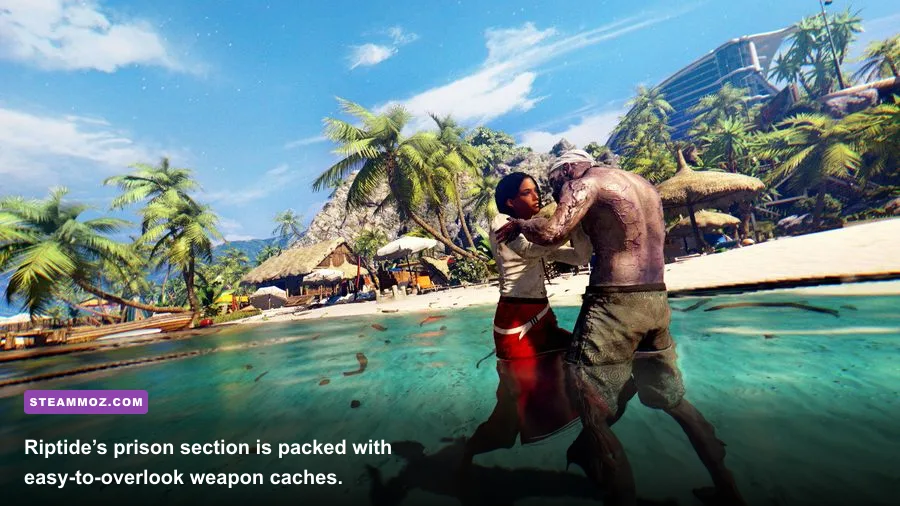
Riptide changes the rhythm with flooded routes, defending survivors, and a much larger emphasis on fast travel between safe zones. The Prison is your first major secret-hunting opportunity. Search cell blocks, guard offices, service corridors, upper walkways, and armory-adjacent rooms after the main fights. The obvious cells are rarely the whole story; look for doors opened by switches, keycards, or nearby quest progression.
The prison armory-style caches are worth revisiting when the area resets. Weapon quality scales with your level, so a chest opened at level 15 can be dramatically better than the same route checked at level 10. Don’t burn every medkit getting there early just to claim a mediocre pipe. Mark the location and return once better gear begins appearing.
In the Flooded Jungle, search elevated huts, docks, boats, and the edges of submerged roads. Water changes enemy visibility and escape routes, so move with a repairable melee weapon and avoid getting trapped between a Floater and a wall. The arena and survivor-defense systems also create opportunities to collect cash and experience before returning to optional caches.
Riptide includes themed weapons and references that are easy to mistake for ordinary random loot. Named rewards may not outperform a well-rolled machete or rifle at your current level, but they’re still worth collecting for their fixed identity and novelty. Check every weapon chest again after progression milestones instead of assuming its first contents are permanent.
Henderson’s rooftops and the rewards worth keeping
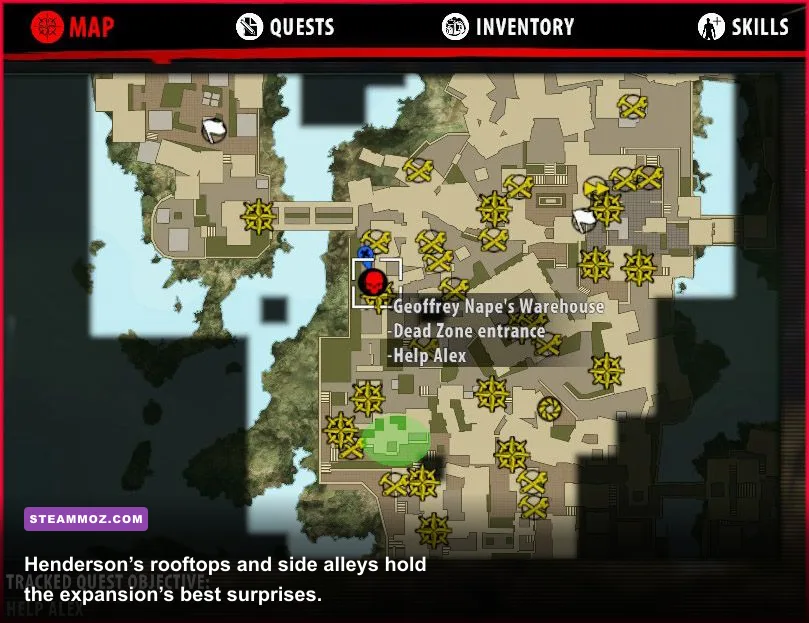
Henderson is the collection’s densest late-game search zone. Explore rooftops, courtyards, villas, military positions, tunnels, and side alleys before advancing the main objective. Use fast travel to create a methodical loop: safe zone, nearby buildings, upper floors, rear exits, then the next district. Henderson’s vertical layout hides loot above street level, while flooded or blocked routes often force you to approach from behind.
Pay particular attention to buildings with climbable awnings, ladders, and broken balcony rails. If a window looks reachable, test the route from a parked vehicle or adjacent roof. Search military and police areas for firearms and ammunition, but remember that guns are expensive to maintain and noisy weapons can pull extra infected into a fight.
The best secret rewards are not always the flashiest. A developer blueprint can outperform a named weapon over an entire playthrough because you can craft the effect repeatedly. Keep blueprints for Shock Mod, Magic Wand, Deathstalker, and other elemental or damage-focused modifications when your character’s weapon type supports them. Repair high-damage weapons before spending components, and sell surplus low-level gear to fund mod crafting.
For more progression-focused reading, see our fast progression guide, then compare it with the build advice in DeltaZeal’s starting-build guide. The games are wildly different, but the lesson carries over: optional rewards matter most when they support a clear build.
Best order for a complete secret sweep
For the cleanest run, collect Hotel secrets during the opening resort chapters, sweep Moresby after unlocking its major safe routes, and postpone the most dangerous Jungle detours until your character has dependable stamina and a repaired primary weapon. In Riptide, search the Prison after the initial story unlocks, then revisit the Flooded Jungle and Henderson whenever a new fast-travel point opens.
| Priority | Location | Why it matters | Recommended approach |
|---|---|---|---|
| 1 | Hotel | Early cash, mods, and traversal secrets | Clear the pool and service routes first |
| 2 | Moresby | Rooftop loot and purple-skull progress | Unlock safe routes before carrying skulls |
| 3 | Jungle | Blue-skull clues and crafting materials | Follow rivers and revisit the Laboratory |
| 4 | Riptide Prison | Weapon caches and progression-gated rooms | Return after leveling for better rolls |
| 5 | Henderson | Late-game named loot and high-value chests | Search vertically with fast travel loops |
For reference, the Dead Island Definitive Edition Steam page and Riptide Definitive Edition listing confirm the two separate campaigns included in the collection. Techland’s official site is also the safest place to check current franchise information.
Finally, don’t confuse every locked door with a secret. Some are deliberate story gates, some hold ordinary randomized loot, and some exist purely to make Banoi feel lived-in. The reliable strategy is to map the colored skulls, revisit named caches after leveling, and inspect rooftops whenever the environment offers a climbable route. That approach finds the meaningful rewards without wasting half your playthrough hunting a chest full of level-one pipes.