
To build the ultimate starting roster in Blue Archive, you must aggressively target top-tier 3-star units like Iori, Hibiki, and Haruna during your initial tutorial rerolls, while immediately leveling 2-star staples like Tsubaki and Serina to handle high-difficulty campaign missions. The early game economy punishes mismanaged Pyroxenes and tactical skill materials, making an optimized formation blueprint mandatory for clearing Normal and Hard difficulty chapters efficiently.
Understanding the Reroll Priority List

Your journey in Kivotos begins with the crucial reroll phase. You should always aim for a starting account that features at least two top-tier meta units. The gacha system can be unforgiving, but spending an extra hour securing core characters will save you months of progression friction. Consult the official Blue Archive Nexon Website for official patch notes, banner schedules, and maintenance updates.
When executing your multi-pulls, prioritize students who offer AoE damage, defense piercing, or indispensable healing utility. Avoid settling for single-target hybrid units early on, as campaign stages constantly overwhelm your formation with waves of lesser mobs before the boss appears.
S-Tier Starting Units to Target
Securing Hibiki from the Special slot provides unmatched AoE mortar damage that trivializes 80% of normal campaign nodes. For your Striker slot, Iori remains the undisputed queen of single-target Mystic and Piercing damage, carrying accounts from Chapter 1 all the way into high-end Raid content. Another mandatory pull is Haruna, whose piercing straight-line EX skill handles blue-armor (Mystic) stages with surgical precision.
For more insights on optimizing squad compositions, check out this guide on roblox best loadout for ranked strategies to understand how tactical roles and synergies apply across different titles. Additionally, mastering team balance is akin to the mechanics found in sea of thieves best team comp synergy guide breakdowns.
Essential 2-Star and 1-Star Budget Units
You cannot rely solely on 3-star students because you lack the Eleph shards and expert reports to level an entire squad of high rarity units. Free-to-play and low-spending players must invest heavily in exceptional lower-rarity students who punch well above their weight class. Tsubaki is the absolute premier tank of the game, possessing a self-healing EX skill and a taunt that interrupts enemy backline casters.
Pair Tsubaki with Serina, a 1-star Special healer whose low-cost EX skill repositions your fragile frontliners and provides consistent emergency healing. For explosive damage, Chise delivers persistent AoE DOT (damage-over-time) fields that shred Mystic-weak mobs, while Akane drops enemy defense with a remarkably cheap 2-cost EX skill, making her a staple for boss encounters.
Building a Balanced Starter Formation
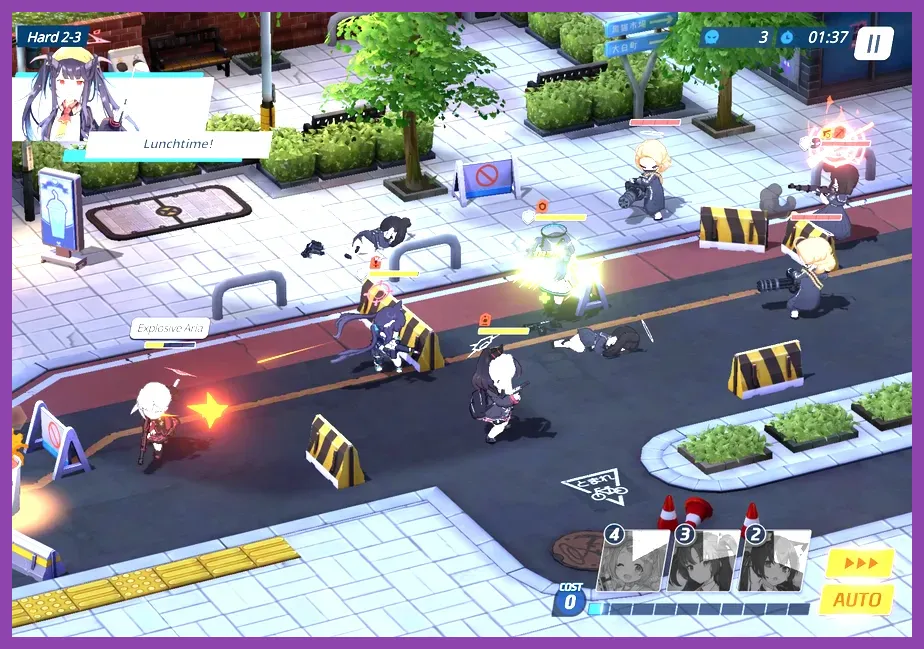
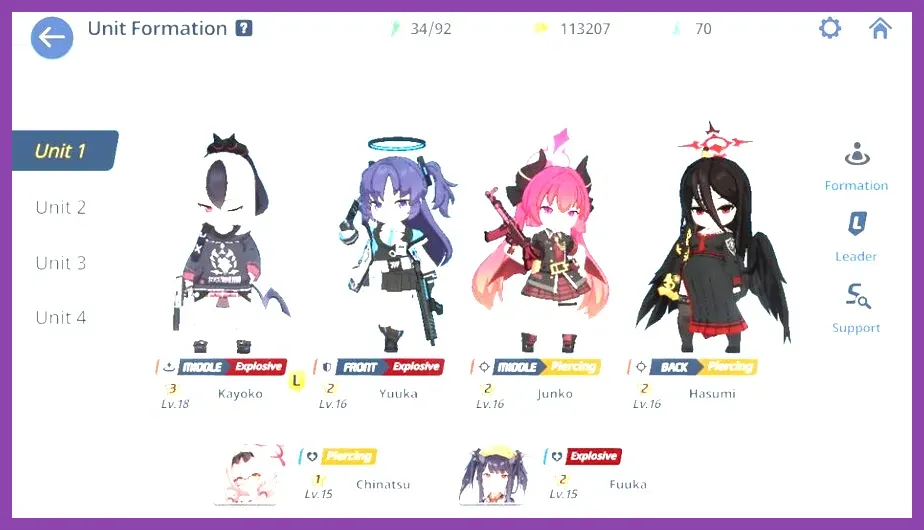
A standard Blue Archive combat team consists of four Strikers on the field and two Special units providing passive stat boosts and active tactical support. Your starting build template should look like this:
- Striker 1 (Tank): Tsubaki (Unmatched evasion and taunt utility)
- Striker 2 (Main Carry): Iori or Aru (High single-target or explosive burst damage)
- Striker 3 (Sub DPS / AoE): Chise or Nonomi (Clears minion waves rapidly)
- Striker 4 (Flex / Buffer): Serika or Akane (Reduces boss armor or cycles skill points)
- Special 1 (Healer): Serina (Essential single-target repositioning and heals)
- Special 2 (Damage / Support): Hibiki or Kotama (Massive AoE damage or team attack buff)
If you enjoy micro-managing inventory and resource collection loops, you might appreciate the resource management depth seen in rimworld tier list all characters ranked for 2026.
Resource Management and Tactical Skill Upgrades
Experience reports, credit points, and tactical training notes are severely bottlenecked during your first two weeks of play. Never spread your resources thin across fifteen different students. Focus your entire stockpile of Activity Reports exclusively on your core team of four Strikers and two Specials.
When spending tactical training notes in the Lesson schedule and Bounty commission stages, prioritize upgrading the EX skills of your primary damage dealers and Tsubaki's defensive capabilities. Elevating an EX skill from Level 1 to Level 3 often reduces the Skill Cost (Cost Recovery) or drastically scales up the damage multiplier, transforming difficult three-star clears into effortless sweeps.
Unlocking and Farming Hard Nodes
As soon as you push past Normal Chapter 3, immediately start sweeping Hard difficulty nodes daily. Hard nodes drop specific student Elephs, allowing you to unlock or upgrade powerhouse units like Hoshino, Shiroko, and Ayane for free over time. Consistency in daily stamina spending (ap) is the single biggest factor separating stalled accounts from advanced players.
To understand the importance of tactical positioning and defense setups, reference strategies found in pubg mobile best armor sets and where-to-find them, where positioning dictates survival against superior firepower.
Equipments and Tier Progression Strategy
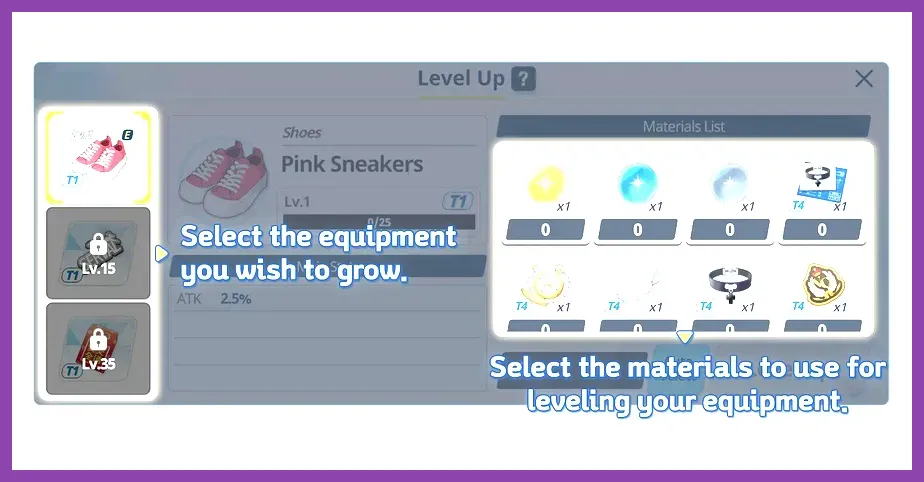
Equipment tiers define student power scaling more than character levels once you clear Chapter 4. Students utilize three equipment slots—typically divided into Hats, Gloves, Hairpins, Badges, Watches, and necklaces—which grant massive flat stats and critical multipliers at Tier 4 and Tier 7.
Always farm Normal missions that reward equipment blueprints during 2x drop events. Equipping a Tier 4 Hat on a damage dealer like Iori provides an enormous Attack boost that instantly doubles her output. Neglecting equipment farming will cause your units to hit a brick wall around Chapter 9, regardless of their character level.
Managing Equipment Blueprint Priorities
Prioritize unlocking Tier 2 and Tier 4 gear for your primary DPS carries first. Tanks like Tsubaki heavily benefit from Tier 4 Badges and Hairpins, which skyrocket their HP and defense pools, allowing them to withstand concentrated enemy sniper fire. Review lore, background stories, and community data on the Blue Archive Fan Wiki for precise equipment drop tables.
For players who love deep solo progression mechanics, the tactical decision-making mirrors concepts explored in red-dead-redemption-2-best-solo-build-guide articles.
Total Assault and Raid Preparation
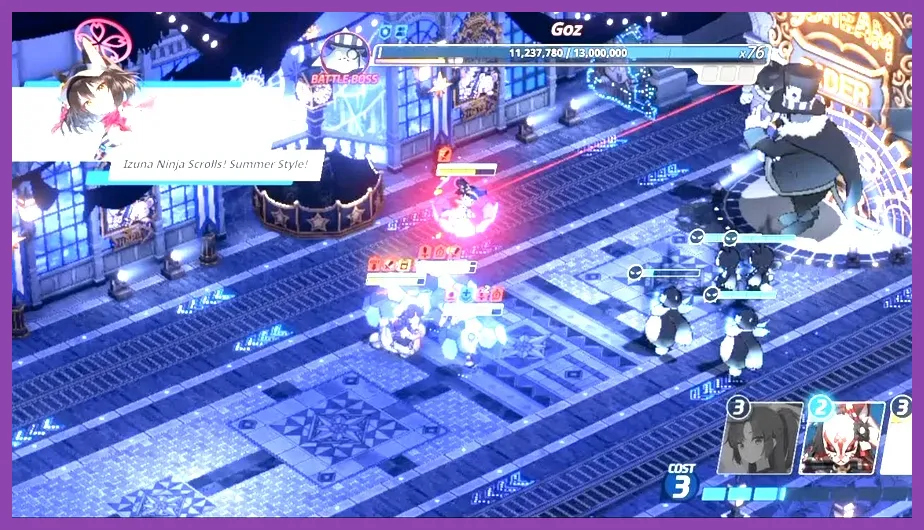
Total Assault raids are the ultimate endgame test of your starting build's efficiency. Bosses rotate weekly, featuring different terrain affinities (Street, Outdoor, Indoor) and armor types (Light, Heavy, Special, Elastic). Your early game foundation must be flexible enough to pivot elements based on the active boss.
When facing Binah (Heavy Armor, Piercing), your build must incorporate defense-reducing units like Akane alongside heavy mystic or explosive carries. Always check the raid preview screen before committing your ticket entries, ensuring your student's mood icons (happy face vs. sad face) align with the current raid environment.
Optimizing Tactical Cost Recovery
Combat efficiency relies entirely on your Cost Recovery speed, which is determined by the average skill cost of your deployed students and specific passive support characters like Utaha or Himari (when unlocked later). Keeping your average team skill cost around 3.2 to 3.5 ensures you can cycle EX skills rapidly without stalling your offensive pressure.
For tactical inspiration on optimizing loadouts for competitive modes, take a look at pubg mobile best endgame build and loadout guide, and for advanced resource allocation tactics, review rimworld how to unlock all secret characters to maximize hidden progression vectors in complex simulation RPGs.
Long-Term Pyroxene and Currency Economy
Pyroxenes are your most valuable currency, used for student recruitment and AP energy refreshes. As a starting player, resist the urge to spend Pyroxenes on standard banner single pulls. Save your stockpile exclusively for limited banner events featuring Festa characters (like Wakamo, S.Hoshino, or Mika), where 3-star recruitment rates are doubled.
Participating in ongoing tactical events and maintaining a stable rank in Tactical Challenge (PvP) will provide a steady weekly income of Pyroxenes. Even if your PvP ranking fluctuates, collecting daily coin rewards allows you to purchase vital enhancement stones and student Elephs from the PvP shop, solidifying your starting build into a formidable endgame roster capable of conquering any challenge Kivotos throws your way.