
Securing a Level 3 Military Helmet, a Level 3 Police Vest, and high-capacity tactical gear in PUBG Mobile requires dropping into high-risk high-reward zones like Sosnovka Military Base on Erangel, mid-map bunkers on Miramar, or the Secret Cave on Livik. In this comprehensive breakdown, we analyze exactly where elite protection spawns, how damage reduction math works for each tier, and the tactical loot routes you need to master to survive until the final circle.
Understanding PUBG Mobile Armor Tiers and Damage Reduction
Before hunting down specific map coordinates, it helps to understand the exact stats of the defensive gear you are picking up. In PUBG Mobile, defensive loadouts are categorized into three tiers for both vests and helmets. Knowing these statistics will help you decide when to swap a damaged piece of gear for a fresh lower-tier alternative.
Level 1 Protection Stats
Level 1 Police Vest and Motorcycle Helmet reduce incoming damage by 30%. While they have low durability (200 for the vest, 80 for the helmet), they are universally found across almost every minor compound, shack, and residential cluster in the game. They will protect you from a single accidental pistol or low-caliber SMG shot, but will shatter instantly under fire from an M416 or AKM.
Level 2 Protection Stats
Level 2 Police Vest and Military Helmet offer a massive jump in survivability, providing 40% damage reduction. The Level 2 vest has 220 durability, while the helmet features 150 durability. These are the workhorse items of mid-game skirmishes. You can reliably find them in medium-tier urban areas like Pochinki, Rozhok, or El Pozo. For alternative mobile gaming setups and performance optimization, check out our guide on Stardew Valley Mobile Best Defensive Setup.
Level 3 Elite Protection Stats
The crown jewel of survival items: the Level 3 Spetsnaz Helmet and Level 3 Police Vest. These provide an incredible 55% damage reduction. The Level 3 helmet is uniquely valuable because it is the only headgear in standard play that prevents a one-shot knockout from bolt-action sniper rifles like the Kar98k or M24. For more tactical survival tips, take a look at our Red Dead Redemption 2 Best Solo Build Guide and master positioning fundamentals.
Top Erangel Locations for Level 3 Armor Spawns

Erangel remains the foundational battleground of PUBG Mobile esports. If you want guaranteed access to high-tier vests and helmets without relying solely on RNG luck, your squad must contest specific high-value zones.
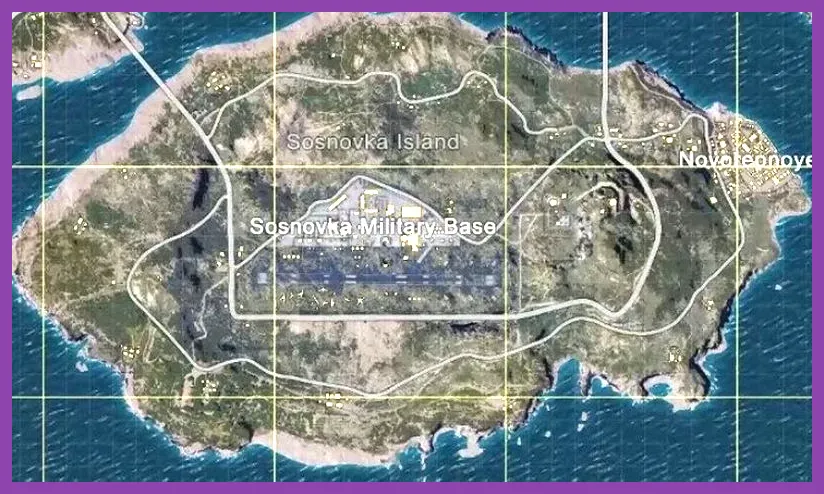
Sosnovka Military Base
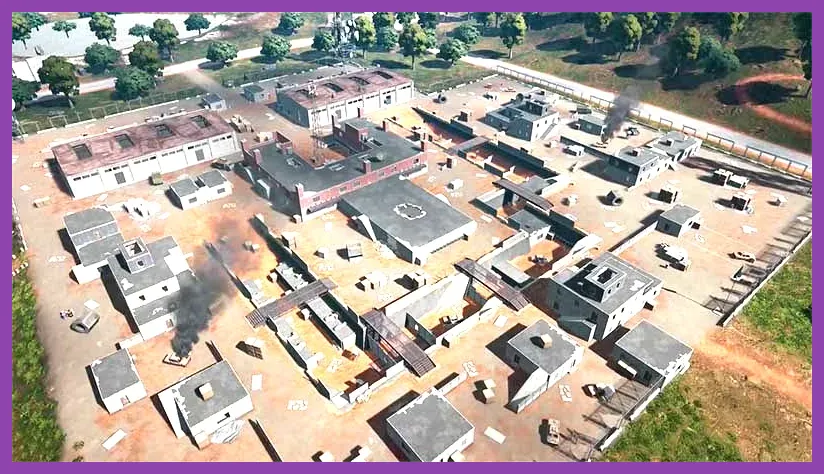
Located on the southern island, the Military Base features multiple multi-story buildings known as 'Control Rooms' and 'The Factories'. The roof structures and central quad spawn high-tier gear at an elevated rate. Loot the main C-shaped building first, sweeping room by room, checking the corners of office desks and locker bays where Level 3 helmets frequently rest.
Pochinki Compound Clusters
Pochinki is a chaotic hot drop, but its central positioning guarantees heavy traffic. Focus on the two-story church and the sprawling brick compounds on the western edge. While open areas expose you to sniper fire from nearby hills, the density of indoor loot spawns makes it one of the fastest places to secure a full Level 2 or Level 3 set early in the match.
Miramar Desert Tactics and High-Tier Loot Hotspots
Miramar's vast desert expanses punish players who rush across open dunes without proper protection. To survive long-range engagements with DMRs like the Mini 14 or SLR, you need optimal helmet and vest coverage.
Los Leones Industrial Sector
As the largest city on Miramar, Los Leones has numerous unfinished concrete skyscrapers. Drop directly onto the uppermost floors of the tallest construction sites. The verticality of these buildings means loot is concentrated on specific platforms. Check the scaffolding and interior elevator shafts where high-tier military gear regularly spawns.
Pecado Casino and Arena
Pecado is the ultimate testing ground for gunplay. The red arena building and the multi-level casino pit contain dense item clusters. Clear the ground floor of the casino quickly, grab whatever vest is available, and push to the catwalks. For players exploring sprawling open-world survival mechanics in other titles, check out our Stalker 2 Best Secret Locations and Stashes Guide.
Livik Map Secrets for Instant Elite Gear
Livik's fast-paced 15-minute matches require rapid acquisition of armor. Because the map is compact, players often find themselves in close-quarters combat within minutes of landing.
The Secret Waterfall Cave
Located between Power Plant and Blomster, the waterfall cave is a legendary Livik location. Drive a vehicle directly through the waterfall opening to access an inner chamber filled with advanced military crates. This hidden room routinely yields Level 3 vests, Level 3 helmets, and fully-attachment-kitted assault rifles.
Mid-Map Hot Springs
The hot springs area in the northeastern quadrant of Livik provides continuous healing and regeneration mechanics, but the surrounding residential cabins also boast high spawn rates for defensive vests and tactical scopes. For squad synergy strategies in team-based games, review our Sea of Thieves Best Team Comp Synergy Guide.
Sanhok Bootcamp and Paradise Resort Routes
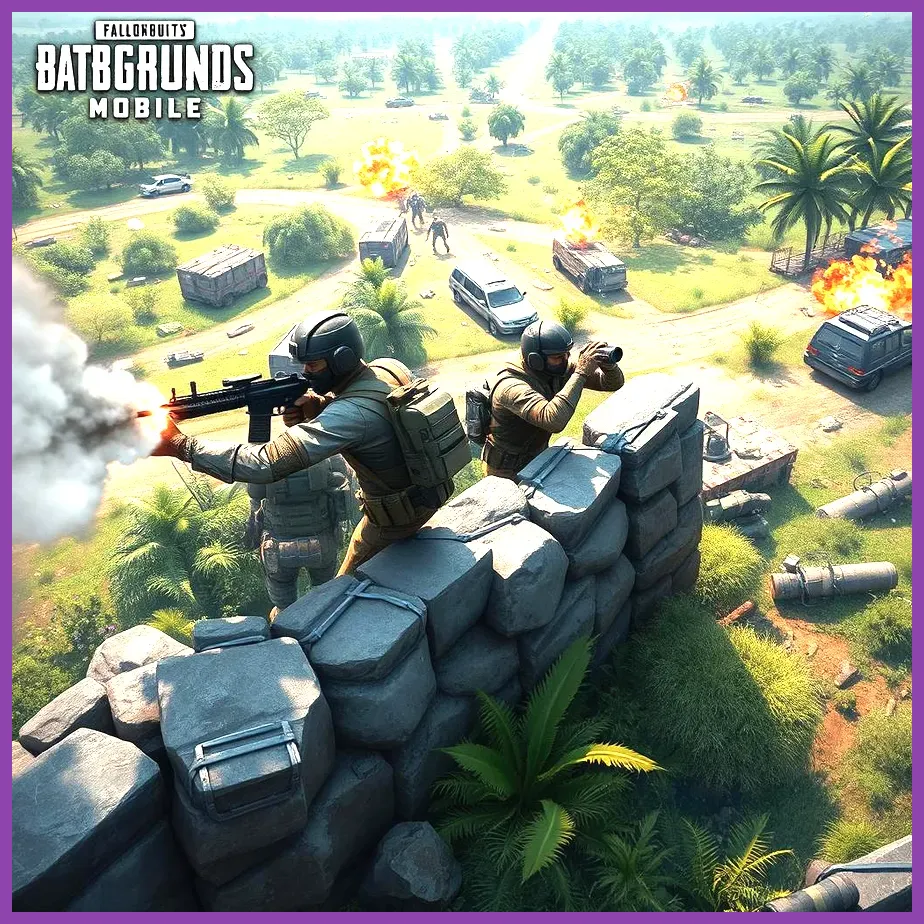
Sanhok's dense jungle vegetation leads to ambush-heavy gameplay where having damaged armor can spell immediate doom. You must know where to loot efficiently before the third-party firefights begin.
Bootcamp Central Training Complex
Bootcamp is a meat grinder. The central multi-story building features open balconies and narrow corridors. Land on the roof, grab the weapon closest to you, secure any vest in sight, and clear the stairwells. Players looking for progression and character tier lists in other gaming ecosystems can explore our Rimworld Tier List All Characters Ranked for 2026.
Using Flare Guns and Airdrops for Guaranteed Level 3 Armor
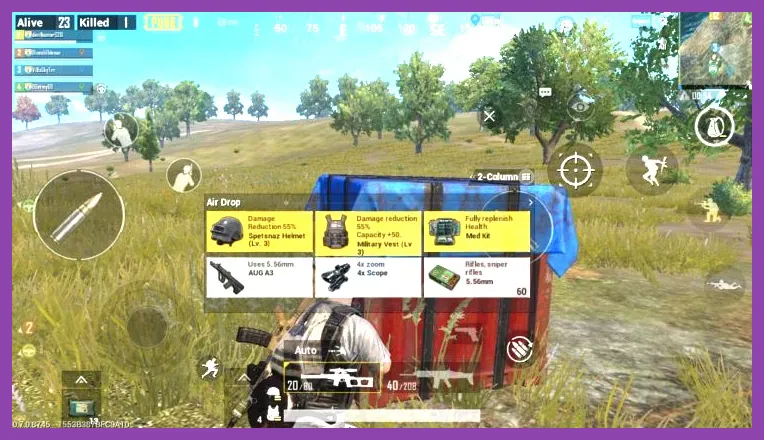
When map looting fails, the Flare Gun is your ultimate safety net. Firing a flare gun straight up into the air while inside the safe zone calls down a special supply crate containing crate-exclusive weapons like the Groza, AWM, or Mk14, alongside a guaranteed Level 3 Helmet and Level 3 Police Vest.
Flare Gun Spawn Locations
Flare guns commonly spawn in isolated small compounds rather than massive hot drops. Look for them on wooden tables, inside small blue shacks, and on warehouse shelves in locations like Kameshki on Erangel or Quarry on Miramar. Always coordinate with your squad before firing a flare gun to ensure you have smoke grenades ready to cover your loot retrieval.
Advanced Armor Management Tips for Endgame Survival
Managing your armor durability during the final circles can win or lose a match. If your Level 3 vest drops below 30 durability and you find a pristine Level 2 vest on a defeated enemy box, swap immediately. A fresh Level 2 vest offers better protection than a shattered Level 3 vest that will disintegrate in a single burst. Practice these loot routing habits across Erangel, Miramar, Livik, and Sanhok to consistently gear up and secure that coveted Chicken Dinner.