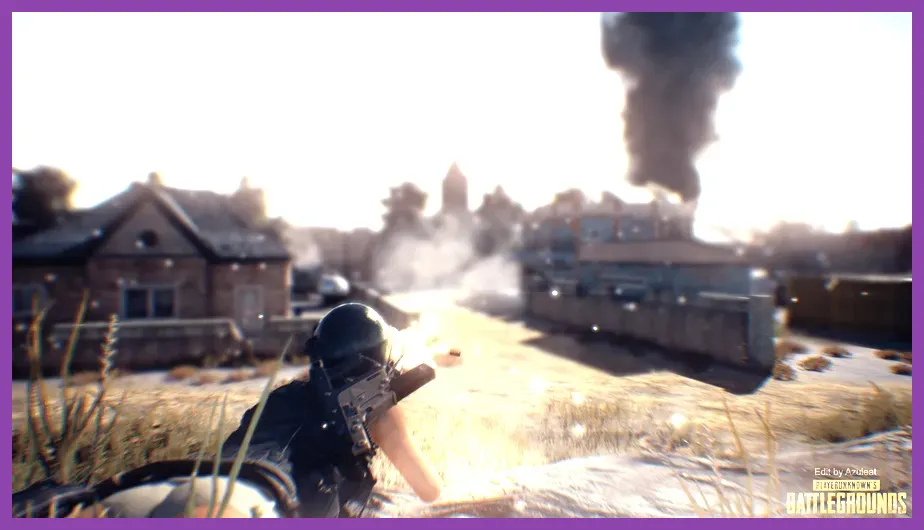
The fastest way to improve in PUBG Mobile is to land in a repeatable area, build a dependable weapon pair, keep your crosshair at head height, and rotate before the blue zone forces you into the open. New players should prioritize survival, cover, and information over highlight-reel kills; five controlled eliminations and a strong final position are usually more valuable than a reckless hot drop.
This beginner guide focuses on practical Classic-mode habits for Erangel, Livik, and similar battle royale maps. It covers controls, graphics, landing choices, loot priorities, weapon combinations, healing, movement, zone rotations, and the mistakes that stop new players from reaching the final ten.
Before changing everything at once, check the official PUBG MOBILE website for current events, patch notes, and mode changes. Weapon balance and available features can change between updates, but the fundamentals below remain reliable.
Set Up Controls and Performance First
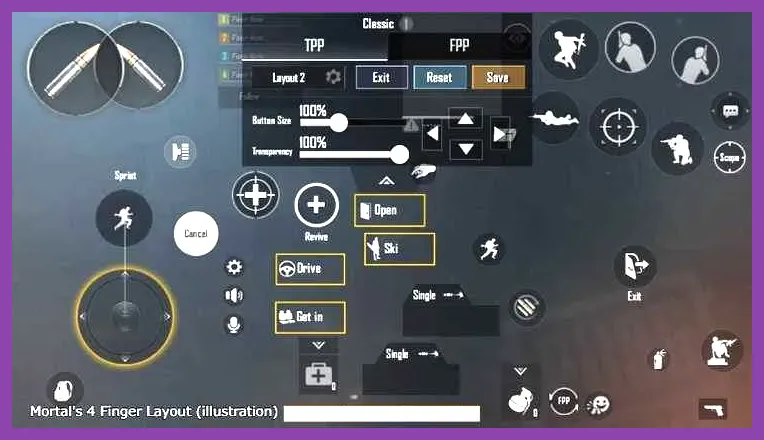
A good setup will not turn a beginner into an instant sniper, but a bad setup can make every gunfight unnecessarily difficult. Start by opening Settings, selecting a familiar control preset, and entering Training Grounds. Your first goal is not a complicated four-finger claw layout; it is making every essential action reachable without lifting your aiming thumb.
Use a simple two-thumb HUD
For a two-thumb setup, keep the left movement joystick in the lower-left corner and place the fire button where your right thumb can reach it while aiming. Put crouch, jump, prone, reload, and the peek buttons close enough to tap without shifting your hand. Increase the main fire button to roughly 120-150 percent of its default size if you frequently miss it during close-range fights.
Enable Peek and Fire if you are comfortable using shoulder peeks, then practice tapping peek, aiming, and firing from behind a wall. Turn on Aim Assist while learning; it helps keep your first shots near a target but does not replace recoil control. Gyroscope users should begin with Scope On rather than Always On, using the phone tilt for small corrections while the thumb handles larger turns.
Choose stable graphics over maximum detail
For most phones, start with Graphics set to Smooth and Frame Rate set to the highest option your device allows, such as Ultra, Extreme, or 90 FPS. Use Style: Colorful or Classic based on visibility, Anti-Aliasing: Off if you need extra performance, and Auto-Adjust Graphics: Off after finding a stable profile. A consistent frame rate makes tracking an enemy with an M416 much easier than a sharper image that stutters during combat.
Close background apps, avoid playing while the phone is overheating, and test touch response in Training Grounds. If your device becomes hot or loses charge quickly, use these PUBG Mobile battery-drain fixes before lowering every visual setting.
Pick Beginner-Friendly Landing Spots
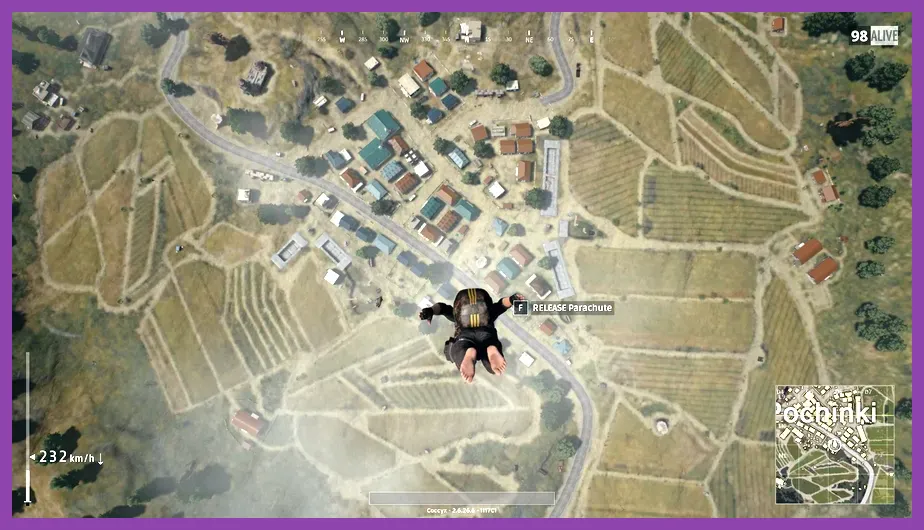
Your landing location determines how much time you have to learn. Do not follow the plane route blindly or land at the most popular named location every match. Mark a destination 700-1,200 meters from the flight path, jump early enough to reach it, and keep your camera pointed toward nearby players so you know whether another squad is contesting the same buildings.
Safer Erangel choices
For low-pressure matches, try Severny, Gatka, Farm, or the houses around Lipovka. These areas can provide an assault rifle, a vest, a helmet, and healing without forcing an immediate fight. Rozhok and Yasnaya Polyana offer more loot but also create more early encounters. Pochinki, School, Georgopol containers, and Sosnovka Military Base are high-risk choices; use them only when you deliberately want close-quarters practice.
On Erangel, a beginner-friendly route might be the small compounds west of Gatka into Gatka, or Farm into Mylta. You can loot two or three buildings, take a vehicle if one spawns nearby, and reach the first safe zone without crossing the center of the map. On Livik, Midstein and Power Plant are dangerous but useful for practice, while Lumber Yard and smaller edge compounds offer calmer starts.
Land with a plan
Do not loot every room. The first target is a complete fighting kit: one primary weapon, a usable amount of ammunition, a helmet, a vest, and at least one healing item. If an enemy lands on your roof, take the nearest weapon immediately rather than searching for the perfect attachment. An UZI, P92, or S1897 can win the first ten seconds; being unarmed while searching for an M416 cannot.
Build a Reliable Beginner Loadout
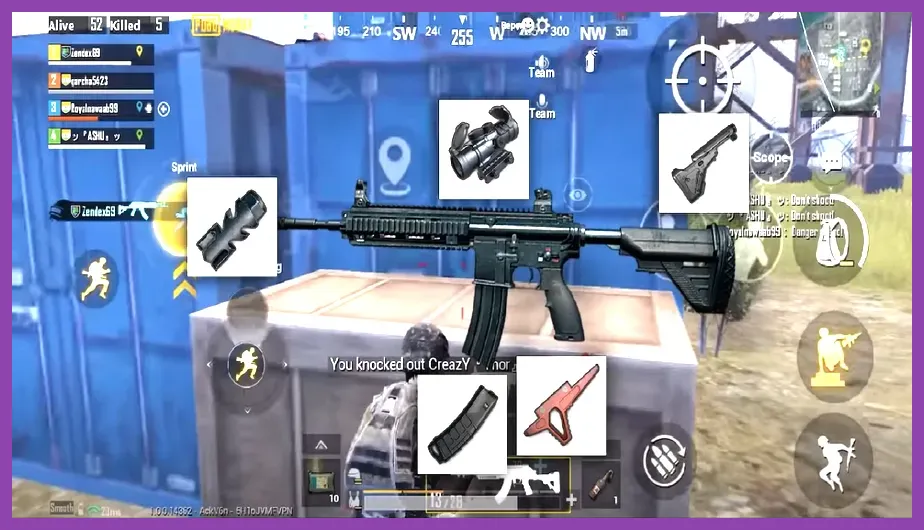
The easiest loadout to learn is an assault rifle plus a close-range weapon. The M416 is an excellent training rifle because its recoil becomes manageable with a Compensator, Vertical Foregrip, Tactical Stock, and Extended Quickdraw Magazine. Until you find those attachments, use the SCAR-L or QBZ as forgiving alternatives. The AUG is also stable when available through airdrops or special loot, but beginners should not risk an open-field fight just to obtain it.
Best weapon combinations
- M416 and UMP45: This is the safest all-purpose pairing. Use the M416 for medium-range targets and the UMP45 for building fights. The UMP45 accepts a Compensator, Vertical Foregrip, Extended Quickdraw Magazine, and a red dot or holographic sight, making it easy to control.
- SCAR-L and S1897: The SCAR-L handles general engagements while the pump shotgun rewards a precise close-range hit. Keep the S1897 loaded before entering a house and switch to it when an opponent is within a few meters.
- M416 and Mini14: Choose this combination after becoming comfortable with distance. The Mini14 has manageable recoil and fast bullet travel, making it useful for tapping enemies crossing fields. Carry 5.56mm carefully because both weapons use it.
- AKM and UMP45: The AKM delivers strong 7.62mm damage but has heavier vertical recoil. Use single fire or short bursts beyond close range rather than holding the trigger at a distant target.
Take a red dot or holographic sight for close combat, a 3x scope for flexible medium-range fights, and a 4x scope for controlled rifle taps. A 6x scope can be adjusted down to 3x, but do not carry multiple scopes at the expense of ammunition or healing. Learn the difference between an Extended Magazine and an Extended Quickdraw Magazine: the latter increases capacity and reload speed, which is especially valuable when fighting a second opponent.
Carry useful supplies, not everything
A practical early inventory is two First Aid Kits, five to eight Bandages, two Painkillers, three Energy Drinks, two Smoke Grenades, one Frag Grenade, and enough ammunition for both weapons. First Aid Kits restore health up to 75 percent; Bandages heal in small steps and are useful after minor damage. Boost items gradually restore health above 75 percent and improve movement speed as the boost bar rises.
Use smoke grenades to cross roads, revive teammates, loot exposed crates, or create a false angle. Frags are better for clearing a room or forcing an enemy away from a rock. Do not throw every grenade at the first player you see; keep at least one smoke for the final rotations.
Win More Fights With Positioning
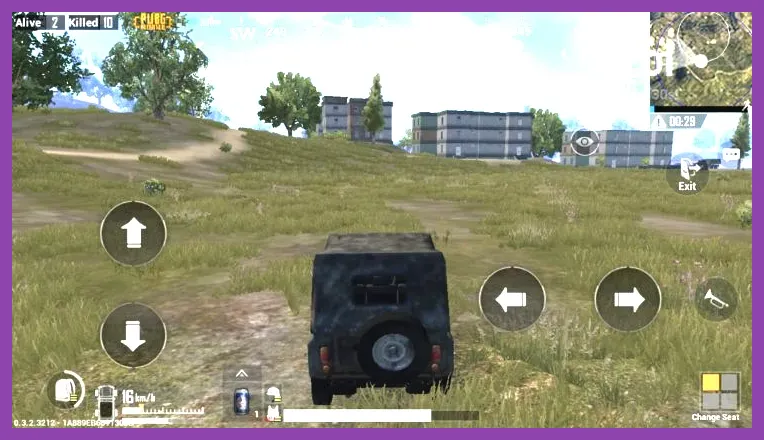
Most beginner gunfights are lost before the first bullet because the player stands in the open, exposes the same angle repeatedly, or sprints directly at an enemy. Always ask three questions before shooting: What cover can I reach? Where can the enemy retreat? Who might hear this fight?
Keep your crosshair ready
Hold your crosshair at the height where an enemy's head will appear, especially around doorways, staircases, and window frames. Pre-aim the corner before you swing it. This reduces the amount of thumb movement needed to land the first shots. Use crouch briefly to stabilize an assault rifle when firing from cover, but do not remain stationary if the opponent knows your exact position.
Lean from cover with Peek and Fire rather than exposing your entire body. Fire a short burst, retreat, change your stance or angle, and re-peek from a slightly different position. If you are using an M416, practice ten- to fifteen-round bursts at 30, 50, and 100 meters in Training Grounds. Pull down smoothly instead of dragging aggressively, which often causes the reticle to bounce below the target.
Know when not to shoot
A distant enemy crossing a field is not automatically your target. If you only have a red dot, your rifle is missing a magazine, or the target has hard cover, firing may reveal your position without producing a knock. Wait until the enemy is moving between cover, healing, looting, or fighting another squad. Third-party pressure is powerful, but approach from a safe angle and avoid sprinting toward the sound without checking the surrounding terrain.
In a squad, mark enemies with the map marker and communicate direction, distance, and cover: “one player, 85 degrees, 100 meters, behind the gray rock.” A precise call is more useful than repeatedly saying “enemy here.” Players who enjoy team-based strategy can also review Steamoz’s team decision-making guide for broader habits around positioning and resource timing.
Rotate Before the Blue Zone Traps You
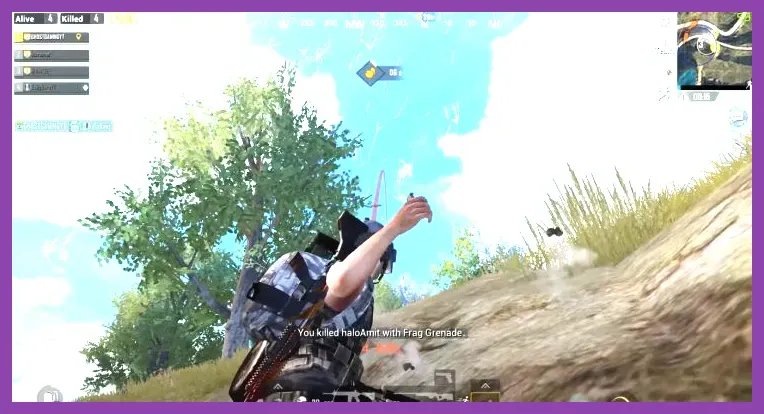
New players often wait until the blue zone is already closing, then sprint across open terrain while taking damage. Open the map after each zone update, estimate the safest route, and move while you still have time. The first circles are usually forgiving; later circles punish hesitation much more severely.
Use vehicles intelligently
Vehicles such as the UAZ, Dacia, and Coupe RB provide speed and temporary protection. A vehicle is worth taking when the safe zone is far away or when a road crossing would expose you. Drive away from the most obvious direct route if possible, stop before reaching the final compound, and avoid parking beside your intended building because engine noise announces your arrival.
Use hard cover once you arrive: a large rock, concrete wall, building corner, or terrain ridge. Trees provide limited protection because bullets can connect around the trunk. If you must cross open ground, throw a smoke toward your destination rather than directly at your feet, then move in short changes of direction. Never lie prone in the blue zone hoping an enemy will ignore you; healing and movement are both compromised.
Read the terrain, not only the circle
The center of the white circle is not always the best position. A compound on high ground can be stronger than a mathematically central field. Before committing, identify nearby ridgelines, windows, vehicle approaches, and possible escape routes. If the next zone pulls away from you, start moving early and use buildings along the route as temporary checkpoints.
Reach the Final Ten and Close the Match
Once fewer than 20 players remain, stop chasing unnecessary kills. Your priorities become information, cover, and a playable edge position. Keep your character boosted, reload both weapons, repair your mental map of nearby threats, and avoid opening fights unless you can secure a knock quickly.
Use the edge without becoming trapped
Playing just inside the zone edge can limit the number of directions from which enemies reach you, but do not hug the blue zone so closely that the next circle leaves you with no route. Hold a rock, compound, or ridge that gives visibility into the likely approach. In the final circles, sound matters: crouch-walk when close to enemies, stop unnecessary vehicle movement, and listen for footsteps before opening doors.
If you knock an opponent, do not automatically rush for the finish. First check for their teammate, throw a Frag or Molotov to deny the revive, and use the knock to reposition. A smoke wall can let your squad revive safely, but place several smokes in a staggered line rather than one small cloud that opponents can simply walk around.
Play the last circle patiently
In a solo match, hold your strongest cover and let opponents reveal themselves before moving. In squads, spread just enough to watch multiple approaches while remaining close enough to trade fire. Call targets, focus the same enemy, and reload before pushing. If the final zone has no solid cover, save a smoke grenade and move only when the circle forces you; sprinting early exposes you to every surviving player.
After each match, review one mistake instead of blaming aim. Ask whether you landed too hot, carried the wrong scope, rotated late, or challenged a fight without cover. Repeat the same landing route for several games and practice recoil with one rifle at a time. For extra device and performance context, the mobile graphics settings guide explains why frame-rate stability should come before visual quality.
Finally, keep the game updated through the official Google Play listing for PUBG MOBILE and use the official PUBG MOBILE support center for account or technical issues. Master the repeatable habits first: safe landing, fast essentials, deliberate rotations, cover-based gunfights, and disciplined endgame decisions. Those fundamentals produce more wins than chasing rare weapons or copying an advanced streamer’s sensitivity code.