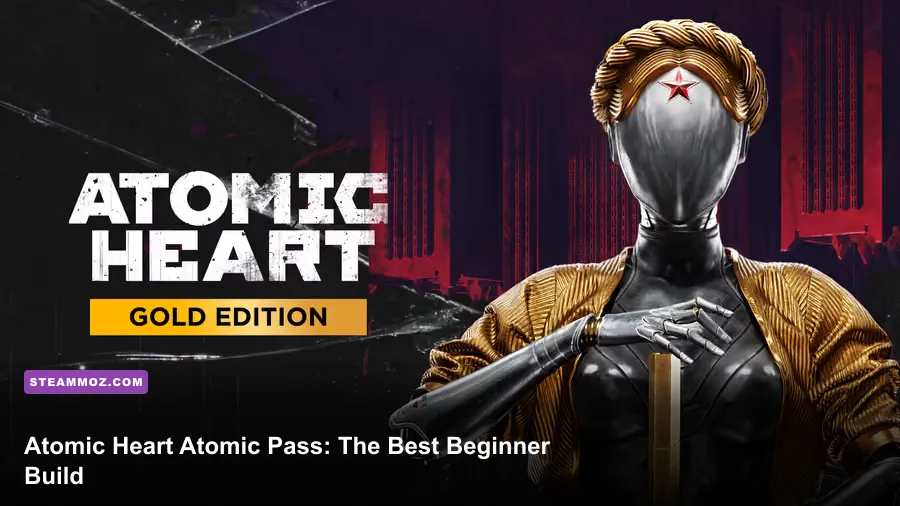
The best Atomic Heart Atomic Pass starting build for beginners is a control-first setup built around Frostbite, Shok, Mass Telekinesis, Zvezdochka, and the Kalash. Freeze dangerous machines, lift groups off the floor, shock robotic shields, then finish survivors with heavy melee swings or controlled rifle bursts. It works in the base campaign and remains useful throughout the Atomic Pass expansions because it doesn't depend on rare blueprints, perfect dodges, or a single overpowered weapon mod.
Atomic Heart doesn't use a traditional class or attribute system. Major performance comes from Neuropolymer upgrades, weapon parts, cartridge effects, and the order in which you spend resources at Nora. That makes a beginner build less about chasing a single “meta” loadout and more about creating a reliable combat loop before the game starts throwing swarms, repair bots, shielded machines, and bosses at you.
If you're coming to Atomic Heart after another first-person RPG, the adjustment is important: your glove abilities are not optional utility skills. They are the fastest way to interrupt enemy attacks, create breathing room, and save ammunition. For broader survival-game preparation, Steamoz's guide to Amnesia's best survival tools has a similar lesson: the correct defensive tool often matters more than raw damage.

The beginner build at a glance
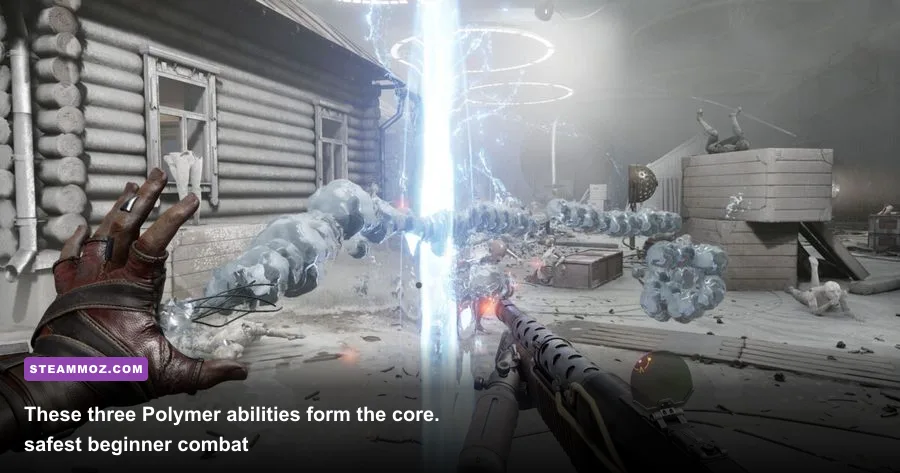
Start with Frostbite as your first serious glove investment, then add Mass Telekinesis and Shok. Frostbite slows and freezes targets, Mass Telekinesis interrupts crowds and creates a clean target, while Shok supplies instant electrical damage against machines and is especially useful when you need a quick stagger rather than a long setup.
For weapons, use the Zvezdochka as your main melee finisher and the Kalash as your primary ranged weapon once you have a comfortable supply of ammunition. Until the Kalash is fully established, the MP is a perfectly good sidearm for close-range headshots, while the starting Swede remains useful against early targets. Don't burn every bullet on ordinary laborer robots; Atomic Heart rewards saving firearms for armored threats and boss phases.
| Build Element | Priority | Why It Works | Beginner Use |
|---|---|---|---|
| Frostbite | First glove investment | Slows or freezes targets and creates safe punish windows | Cast before melee attacks or when surrounded |
| Mass Telekinesis | Second major investment | Lifts groups, interrupts pressure, and controls space | Use against clustered machines and repair support |
| Shok | Early utility | Fast electrical damage with no conventional ammo cost | Stagger machines and finish weakened targets |
| Zvezdochka | Main melee weapon | Excellent burst damage after a freeze or lift | Heavy swing once an enemy is locked down |
| Kalash | Main firearm | Reliable automatic damage at medium range | Use controlled bursts on armor and bosses |
| Polymer Shield | Defensive fallback | Buys time when dodging several attacks becomes messy | Equip later, not before core control tools |
The key is not to spread Neuropolymer across every branch. Atomic Heart gives you plenty of interesting options, but early spending on niche movement or highly situational upgrades can leave your actual combat loop underpowered. Buy the cheapest useful nodes that improve control, survivability, or stamina, then save enough materials to upgrade a weapon whenever Nora offers a meaningful attachment.
🎮 Atomic Heart - Atomic Pass
Looking to experience this game? Grab your digital key directly on our store for $27.99.
View on Steammoz Store →Skill order and the combat rotation
1. Frostbite before damage
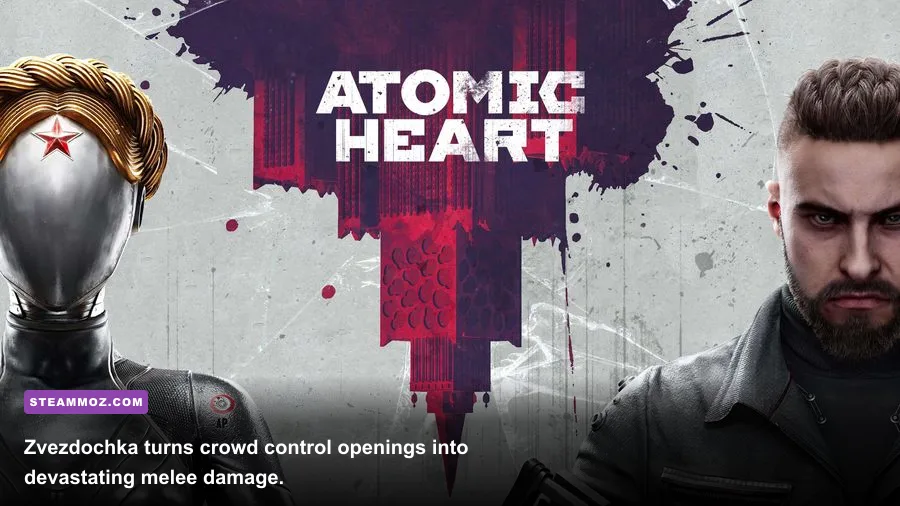
Frostbite is the anchor of this build because it changes enemy timing. A frozen or heavily slowed robot can't pressure you in the same way, and that gives you time to reposition rather than panic-dodge. Against a single tough machine, apply Frostbite, circle to its side, and use the Zvezdochka's strongest available attack. Against a crowd, freeze the closest dangerous unit first instead of immediately targeting the weakest enemy.
Don't hold Frostbite until the screen is already full of enemies. Its best value comes one beat earlier, when you see a machine begin an obvious approach or wind-up. Treat it like an interruption tool, not just an ice damage button.
2. Mass Telekinesis to reset the room
Mass Telekinesis is the answer to messy encounters. Use it when several robots close together, when a repair unit is hiding behind melee enemies, or when you need to stop a ranged attack from multiple directions. The lift creates a short damage window, but its bigger benefit is spatial: it separates the threat from the room and lets you choose your next target.
The beginner rotation is simple: Mass Telekinesis, turn toward the priority target, Frostbite the most dangerous survivor, then swing with Zvezdochka. If the target stays alive, use Shok to force another stagger before backing away. This sequence is safer than trying to chain melee attacks while every enemy remains active.
3. Shok for interruption and economy
Shok is easy to undervalue because it doesn't feel as dramatic as a huge axe hit. Keep it equipped anyway. It is a fast response when a robot starts an attack, a useful way to finish a damaged enemy, and a free source of pressure when ammunition is scarce. Against groups, don't waste it on a target already frozen unless that shock will secure a kill; use it on the machine that is still moving toward you.
Later, the Polymer Jet can add elemental interaction and stronger setup potential, but it isn't mandatory for a first run. Beginners get more immediate value from control and survivability. If you enjoy experimenting, Polymer Jet becomes a good fourth ability once Frostbite, Mass Telekinesis, and Shok are comfortable.
4. Dodging is still part of the build
Abilities don't replace movement. Atomic Heart's dodge has a brief evasive window, but stamina management matters because repeated panic dodges leave you unable to escape the next attack. Dodge through wide melee swings, not away from every movement. Against fast machines, one lateral dodge followed by a Frostbite cast is usually stronger than three backward rolls that push you into another enemy.
Weapons, upgrades, and cartridge choices
The Zvezdochka is the ideal beginner melee weapon because it delivers the kind of burst damage that makes crowd-control skills feel rewarding. Upgrade its damage and useful attack modifiers at Nora, but don't ignore durability and handling if those options appear in your version's upgrade tree. The best weapon is the one you can use without getting trapped in a long animation while a second robot reaches you.
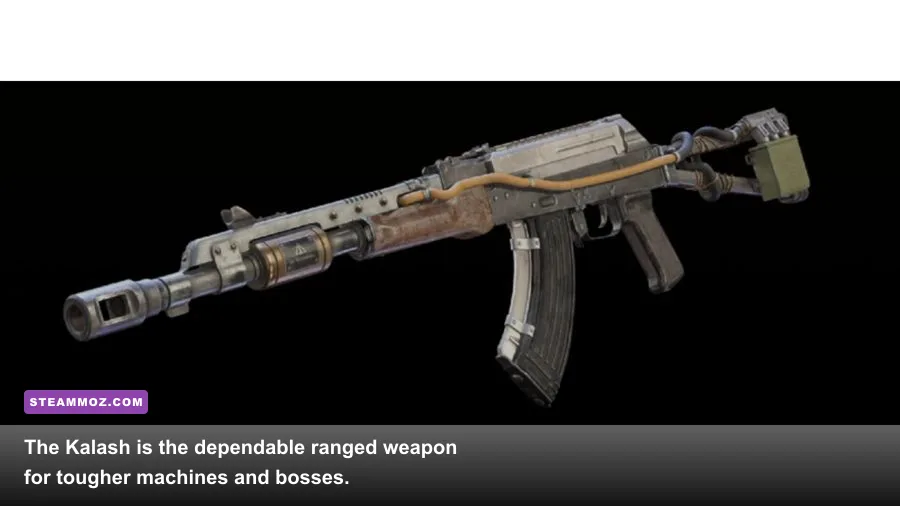
The Kalash fills the opposite role. It gives you dependable medium-range damage and is much more forgiving than trying to land every shot with a slower weapon. Use short bursts rather than holding the trigger through an entire encounter. Headshots are valuable, but armor and machine weak points vary, so target exposed components when the game clearly presents them.
The MP remains useful even after you find better firearms. Its close-range burst can delete weakened targets, and shotgun-style weapons are excellent when a robot has already been frozen or lifted. The Fat Boy is powerful but ammunition-hungry; reserve it for elite groups, bosses, and situations where an explosive hit can remove several threats at once. The Electro is also worth keeping as an economical option when you want ranged pressure without consuming conventional ammunition.
| Weapon | Role | Best Pairing | When to Avoid It |
|---|---|---|---|
| Zvezdochka | High-impact melee finisher | Frostbite or Mass Telekinesis | Open spaces where several enemies can surround you |
| Kalash | Consistent medium-range rifle | Shok for staggered targets | When ammunition reserves are critically low |
| MP | Close-range burst damage | Frozen or lifted enemies | Long sightlines and distant aerial targets |
| Electro | Low-ammo ranged utility | Mass Telekinesis grouping | High-health targets needing sustained damage |
| Fat Boy | Explosive crowd and boss damage | Mass Telekinesis clusters | Single weak enemies and tight indoor rooms |
| Snowball | Heavy melee alternative | Frostbite and defensive play | Fast encounters requiring quick recovery |
Elemental cartridges are strongest when used deliberately. Fire cartridges are useful against targets vulnerable to burn, while electric and ice effects can support control. Don't spend rare cartridges on the first ordinary robot you see. Search rooms, inspect locked areas, and use the game's crafting stations to maintain a reserve for arenas and boss fights.
How to spend Neuropolymer without ruining the build

Atomic Heart is forgiving about experimentation because Nora allows you to refund upgrades. That doesn't mean every purchase is equally useful early. Your first priority is a combat loop you can execute under pressure: one control ability, one crowd tool, one fast interrupt, and enough health or stamina to survive a mistake.
| Progression Stage | Spend First On | Hold Off On | Reason |
|---|---|---|---|
| Vavilov Complex | Frostbite, basic health, basic stamina | Deep niche branches | Early rooms teach control and dodge timing |
| Lesnaya | Mass Telekinesis and weapon upgrades | Expensive defensive extras | Enemy groups become larger and more mobile |
| VDNH | Shok improvements, Zvezdochka and Kalash mods | Unfamiliar experimental loadouts | Reliable damage matters in longer encounters |
| Late campaign | Polymer Shield or Polymer Jet | Unused low-impact branches | Specialize around the threats you struggle with |
| Atomic Pass DLC | Adapt weapon slots to each expansion | Replacing the core control loop immediately | The expansions reward fundamentals more than resets |
Health and stamina are boring purchases until they save a run. Buy enough health to survive a bad hit and enough stamina to dodge once or twice without becoming helpless. After that, prioritize the ability upgrades that improve uptime or control. The precise Neuropolymer cost can vary by node and upgrade route, so judge purchases by their effect rather than saving for a flashy final tier you won't reach for several hours.
One of the best habits is to visit Nora whenever you enter a safe room or find a new recipe. Test a weapon, refund it if the moveset feels awkward, and move those resources into the tool you actually use. This is closer to tuning a loadout than locking in a character build. Steamoz's Borderlands 2 weapon ranking is a useful reminder that a weapon's role and handling can matter just as much as its headline damage.
Boss tactics and Atomic Pass adjustments
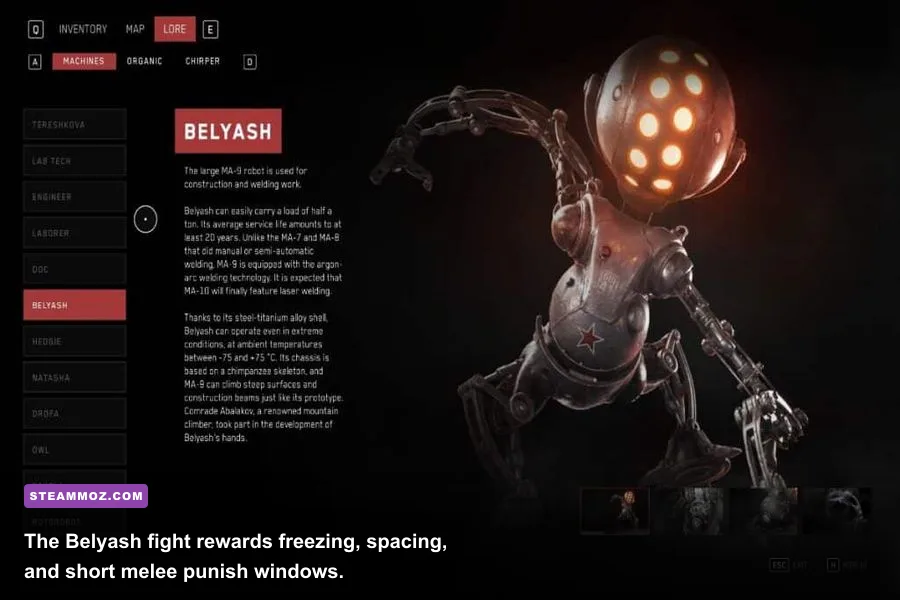
Bosses punish players who treat the build as a damage race. Watch the telegraph, dodge the committed attack, then use control during recovery. Frostbite is strongest after a boss finishes a long animation, while Mass Telekinesis is best used to interrupt adds or create distance rather than blindly trying to hold a huge target in the air.
Belyash and other mobile machines
Against Belyash, stay at medium range and avoid standing directly in front of its leap path. When it commits to a jump or broad swing, dodge laterally, apply Frostbite during recovery, and punish with the Zvezdochka. If you lose the spacing, Shok buys the instant you need to reset. The mistake to avoid is chasing after every retreat; let the boss come to you, because its approach is easier to read than your own sprint into the arena.
Shielded and supported encounters
When a repair bot or ranged unit supports melee machines, Mass Telekinesis is the priority button. Lift the cluster, isolate the support target, and finish it before the room repopulates with repairs or suppressing fire. The Kalash is ideal here because controlled bursts let you switch targets without wasting an entire magazine.
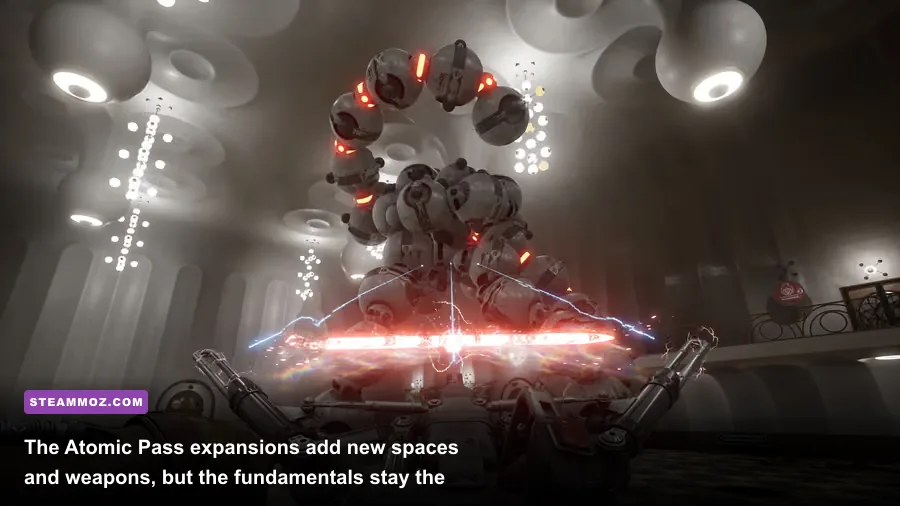
The Atomic Pass expansions, including Annihilation Instinct and Trapped in Limbo, introduce new environments, enemies, and weapon options rather than a separate class system. That means this build carries over cleanly. You can try DLC weapons such as the Secateur when you obtain them, but don't abandon Frostbite, Shok, or Mass Telekinesis simply because the expansion gives you a new toy. Test new gear in ordinary encounters first, then decide whether it improves your rotation.
| Threat | Telegraph | Counter | Best Tool |
|---|---|---|---|
| Fast melee robot | Short forward rush or raised arm | Lateral dodge, then punish recovery | Frostbite and Zvezdochka |
| Robot swarm | Several units converge at once | Create space before committing to melee | Mass Telekinesis |
| Repair support | Enemies recover or regroup behind cover | Lift the front line and target support | Kalash or MP |
| Shielded machine | Front-facing barrier blocks standard shots | Reposition, stagger, and attack exposed sides | Shok and Frostbite |
| Boss leap | Body lowers before a committed jump | Dodge sideways, not straight backward | Frostbite during recovery |
Settings that make the build feel better
Atomic Heart's combat depends on reading attack timing, so stable frame pacing matters more than chasing a prettier reflection. On PC, start at 1080p with a sensible preset, then adjust shadows, volumetric effects, and motion blur before sacrificing texture quality. If your system supports it, use a consistent 60 FPS target; a fluctuating 45–75 FPS range feels worse during dodge-heavy fights than a locked 50 or 60.
| Setting | Recommended Starting Value | Performance Impact | Visual Trade-Off |
|---|---|---|---|
| Resolution | 1920x1080 for mid-range PCs | High | Lower resolution is the fastest FPS gain |
| Textures | High if VRAM allows | Low to medium | Preserves surfaces and weapon detail |
| Shadows | Medium | Medium to high | Small loss in scene depth, useful FPS gain |
| Volumetric effects | Medium or Low | Medium | Less fog and lighting density |
| Motion blur | Off | Negligible | Clearer dodge and weapon animation reads |
| Upscaling | Quality mode when available | Positive | Usually sharper than dropping native resolution |
| Ray tracing | Off for competitive responsiveness | Very high | Fewer reflections, steadier combat performance |
For official hardware information and current patches, check the Atomic Heart Steam page, the Mundfish official site, and the official Atomic Heart website. If frame pacing still feels rough, Steamoz's guide to settings that make every frame count offers useful PC optimization habits.
Final loadout and the mistakes to avoid
By the middle of the campaign, your practical loadout should look like this: Frostbite and Mass Telekinesis as the core abilities, Shok ready for instant interruption, Zvezdochka for controlled melee burst, and Kalash for medium-range damage. Keep the MP or Electro as a flexible third weapon, carry Fat Boy ammunition for emergencies, and revisit Nora whenever your available mods change the way a weapon handles.
Avoid five common beginner traps. Don't spend all ammunition on weak robots. Don't commit to a long melee animation while a second enemy is active. Don't buy every ability branch just because it is available. Don't ignore repair and support machines. And don't treat Atomic Pass content as a reason to discard the fundamentals. Freeze, lift, stagger, reposition, and only then cash in your damage.
That rhythm is the real starting build. It gives you answers when the room gets crowded, keeps ammunition under control, and remains flexible enough for the base game and Atomic Pass DLC. Once the rotation feels natural, experiment with Polymer Jet, Polymer Shield, the Dominator, Snowball, or expansion weapons. But for a first run, control beats complexity—and this setup gets you through Atomic Heart's strangest machines without asking you to play perfectly.