
Stepping into The Last of Us Part I on PC requires a completely different mindset than blasting through standard narrative shooters. Survival here is deliberately punishing, resources are painfully scarce, and the PC port itself demands careful technical respect before you even fire your first revolver round. If you sprint through areas like an action hero, ignore locked doors, or launch straight into the campaign while shaders compile in the background, you'll ruin your own playthrough. Getting the best experience out of Joel and Ellie's journey comes down to understanding the technical demands of your rig, hoarding your crafting materials with cold discipline, and mastering survival mechanics that the tutorial never explicitly spells out.
Let the Shaders Finish Compiling Before Touching a Single Button

When you boot up the game for the first time, you'll notice a small percentage counter in the bottom corner of the main menu indicating that building shaders is in progress. Do not start a new game while this process is running. Leave your PC alone, grab a drink, and let that counter hit 100% complete. Depending on your CPU architecture and thread count, this can take anywhere from ten to thirty-five minutes.
Skipping this step forces your processor to compile critical pipeline assets in real-time during gameplay. The result is catastrophic: severe frame drops, audio desynchronization during emotional cutscenes, jarring texture pop-in, and unpredictable desktop crashes. Even after dozens of post-launch optimization patches from Naughty Dog and Iron Galaxy, the game's engine leans extraordinarily hard on AVX instruction sets and multi-threaded CPU overhead. Just as you would review your system specs when evaluating if low FPS and system crashes are holding your machine back, treating shader compilation as mandatory maintenance is the single best favor you can do for your playthrough.
If you update your GPU display drivers later on, remember that your shader cache will reset. Check the official The Last of Us Part I Steam store page and developer patch notes whenever a fresh client update drops, because you'll need to allow that compilation cycle to run its course once again to keep your frametimes flat and smooth.
Dialing In Your PC Settings: Taming the VRAM Monster
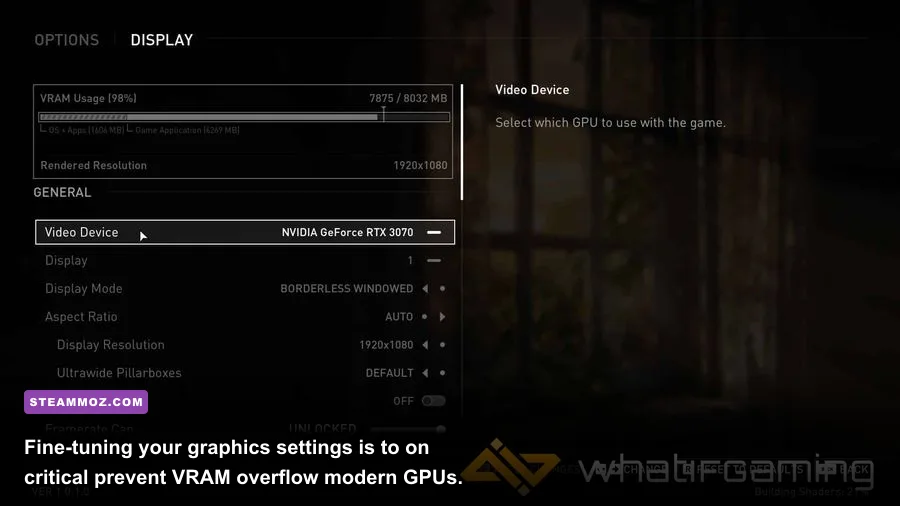
This game consumes video memory with an insatiable appetite. If your graphics card features 8GB of VRAM or less, running at Ultra settings is an immediate death sentence for your frame rates. Once your GPU runs out of dedicated VRAM, the system spills graphic assets into shared system RAM across the PCIe bus, resulting in massive stutter spikes whenever you enter large environments like the Boston Outskirts or the flooded streets of Pittsburgh.
To establish a locked, fluid baseline, you must balance visual fidelity against hardware strain. You don't need to butcher the presentation to get rock-solid performance; you just need to know which settings actually deliver visual impact and which ones simply burn memory bandwidth. Much like fine-tuning graphics when using custom settings for higher PC frame rates or configuring modern blockbusters like optimizing heavy action games for maximum FPS, strategic adjustments keep your frametimes predictable.
| Graphic Setting | Recommended Value (8GB–12GB VRAM) | Performance / VRAM Cost | Visual Impact & Advice |
|---|---|---|---|
| Texture Quality | High (Medium on 8GB cards) | Extreme VRAM Impact | Drop to Medium if on an 8GB card to avoid severe micro-stuttering. |
| Shadow Quality | High | Moderate GPU Hit | Ultra produces overly sharp edges that look unnatural in post-apocalyptic foliage. |
| Volumetric Lighting | Medium | High GPU Hit | Medium looks virtually identical to High while saving 8-10% of raw rendering power. |
| Dynamic Reflections | Low / Off | High GPU Hit | Screen-space and dynamic reflections chew frame rates in wet terrain; keep low. |
| Ambient Occlusion | Half Resolution / High | Moderate GPU Hit | Crucial for grounding character models and rubble; do not disable entirely. |
| Upscaling (DLSS / FSR 2.2) | Quality Mode | Massive Performance Boost | Restores sharp temporal stability while unlocking 20-30% extra frame headroom. |
Pay close attention to the real-time VRAM budget meter displayed in the graphics menu. Always leave at least 500MB to 1GB of headroom below your card's maximum capacity. Operating at the razor's edge of your memory limit invites game freezes the moment a Bloater hurls spore bombs across the screen or heavy rain particle effects kick in. For comprehensive breakdown logs of technical quirks across various driver suites, consulting community documentation on PCGamingWiki's hardware database provides fast answers to obscure crash codes.
The Shiv Economy: Why You Must Never Waste Blades on Clickers
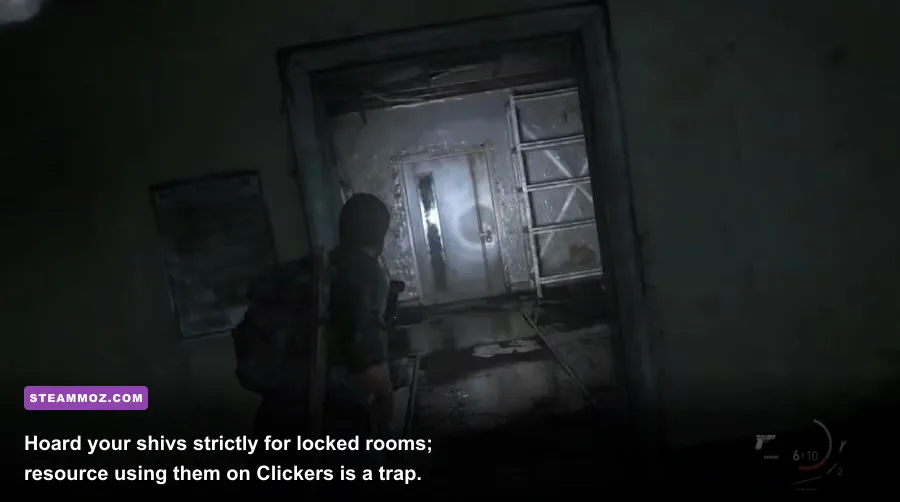
The biggest trap that catches rookie players off guard is the Shiv Grab. When an infected Clicker lunges at you in close quarters, the game presents a frantic button prompt to sacrifice a crafted shiv to stab the fungal horror in the throat and save Joel from an instant-kill death. While surviving sounds great in the heat of the moment, relying on this mechanic destroys your long-term campaign economy.
Throughout the zones of Quarantine, Bill’s Town, Pittsburgh, and Salt Lake City, you will encounter heavily reinforced, locked doors marked with white X symbols or heavy latches. These are Shiv Doors. Prying one open requires one full, pristine shiv. Behind these doors lie the game’s true treasures: massive stashes of weapon parts, clean medical kits, rare high-tier ammunition, training manuals, and heaps of supplement pills.
If you burn your shivs on panic defenses or stealth-takedowns against Clickers, you will regularly stand in front of locked rooms completely empty-handed. Finding these locked areas is just as rewarding as tracking down hidden rooms and rare loot in sprawling adventure games. Remember these golden rules of shiv preservation:
- Never stealth-shiv a Clicker if you can sneak past it: Clickers are completely blind. As long as you tilt your analog stick gently or tap your PC crouch-walk key slowly, they can pass within inches of you without triggering an attack.
- Stun them with thrown objects first: Hitting a Clicker with a thrown bottle or brick stuns them for several seconds, leaving them open to a follow-up melee attack or a clean firearm shot.
- Hoard blades and bindings obsessively: Never craft a shiv until you are physically staring at a locked door, or unless you are capped on raw inventory items. This prevents wasting materials you might urgently need for an emergency melee weapon upgrade.
Crafting Triage: Managing Your Mutual Component Bottlenecks
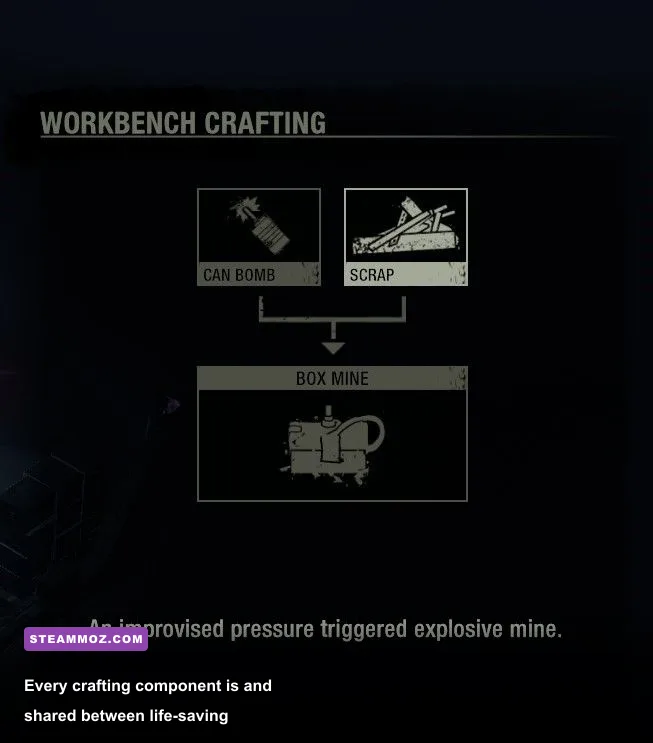
The crafting system in The Last of Us Part I operates on shared resources. You do not collect separate ingredients for weapons and medical items; instead, two recipes constantly fight over the exact same scrap pile. Alcohol and Rags build both Medkits and Molotov Cocktails. Blades and Bindings build both Shivs and Melee Upgrades. Sugar and Explosives build both Smoke Bombs and Nail Bombs.
This creates a tactical bottleneck where every defensive luxury you craft directly strips away your offensive firepower. In survival games, an enemy that dies instantly deals zero damage to your health pool. Crafting a Medkit uses the exact materials needed for a Molotov—a weapon that wipes out entire clusters of human hunters or incinerates a Bloater down to ash in seconds. Evaluating which tools deliver the most lethal efficiency is just like studying ranked weapon tier lists to know which gear actually wins fights.
| Craftable Item | Required Ingredients | Priority Tier | Tactical Value & Usage Note |
|---|---|---|---|
| Shiv | 1/2 Blade + 1/2 Binding | S-Tier | Keep at least one in reserve at all times strictly for locked supply doors. |
| Molotov Cocktail | 1/2 Alcohol + 1/2 Rag | S-Tier | Area denial, instant-kill on standard infected, massive bonus damage against fungal armor. |
| Nail Bomb | 1/2 Blade + 1/2 Explosive | A-Tier | Can be thrown as an offensive grenade or planted as a defensive proxy mine during flanks. |
| Upgraded Melee Weapon | Melee Base + 1 Blade + 1 Binding | A-Tier | Provides instant-kill strikes that save precious firearm ammunition during close-range ambushes. |
| Smoke Bomb | 1/2 Sugar + 1/2 Explosive | B-Tier | Disrupts human sniper sightlines and stuns Infected for rapid stealth takedowns. |
| Health Kit | 1/2 Alcohol + 1/2 Rag | C-Tier | Craft only when critically injured. Finding environmental health rations is always preferred. |
Resist the urge to craft items the second your inventory backpack allows it. Keep your components uncombined until an encounter dictates your solution. If you arrive at an encounter full of armored human enemies with rifles, converting your resources into Smoke Bombs and Nail Bombs will serve you far better than sitting on three pre-made Medkits you might never need to pop.
Supplement Upgrades: What to Level Up First (and What to Skip)
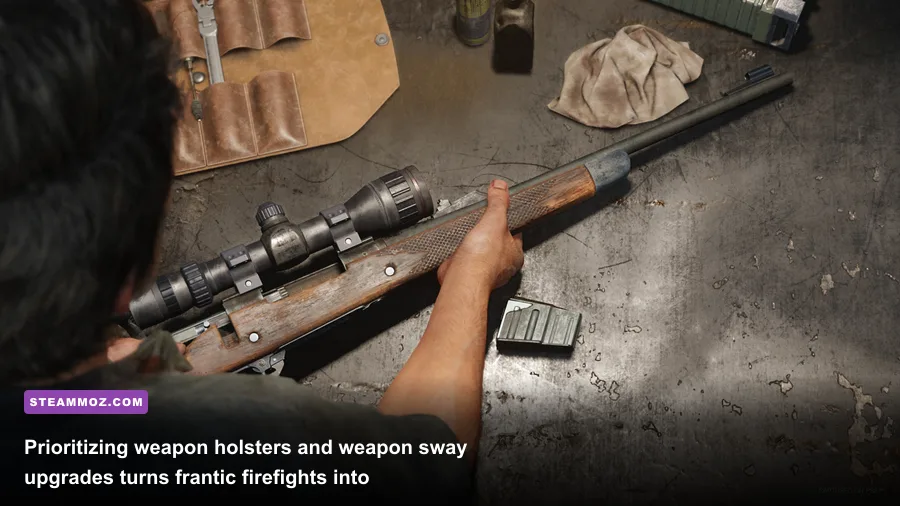
Scattered throughout bathroom cabinets, desks, and kitchen counters are bottles of supplement pills. These represent Joel's primary skill-tree progression. While it’s tempting to immediately dump your supplements into boosting Joel’s maximum hit points, doing so is an inefficient use of early-game points that fails to address his primary mechanical vulnerability: weapon sway.
By default, Joel’s arms shake violently when aiming down sights with the Revolver, Hunting Rifle, or 9mm Pistol. In firefights where ammunition is measured in single bullets and headshots are the only way to conserve lead, weapon sway will cause you to miss clean shots repeatedly. Investing 50 Supplements into Weapon Sway Level 1, followed immediately by 50 Supplements into Weapon Sway Level 2, completely transforms gunplay from a loose struggle into pinpoint marksmanship.
| Survival Skill | Supplement Cost | Recommended Priority | Strategic Impact |
|---|---|---|---|
| Weapon Sway (Levels 1 & 2) | 50 / 50 | Priority 1 (Essential) | Stabilizes your reticle; ensures your precious bullets land precisely on target. |
| Maximum Health (Levels 1 & 2) | 50 / 100 | Priority 2 (High) | Extends Joel’s health pool and provides an instant free full heal when purchased. |
| Shiv Master (Levels 1 & 2) | 75 / 75 | Priority 3 (Medium) | Allows shiv counters against Clicker grabs. Helpful safety net, but bad economy habit. |
| Crafting Speed | 25 / 30 / 50 | Skip / Low | Useless if you prepare before combat; you should never craft under active fire. |
| Healing Speed | 30 / 40 / 50 | Skip / Low | Medkit animations are slow regardless; proper positioning renders this redundant. |
| Listen Mode Distance | 20 / 30 / 40 | Situational | Disabled completely on Grounded difficulty; do not rely on it as a gameplay crutch. |
Here is a clever survival trick: upgrading your Maximum Health completely restores Joel's health bar to 100% instantly, completely free of charge. If you clear a bloody fight and find yourself limping around with a sliver of red health remaining, do not waste a Medkit! Find a quiet corner, open your backpack, and purchase the next rank of Maximum Health to gain a completely free full heal while saving your precious rags and alcohol for your next Molotov Cocktail.
When you visit workbenches to spend scrap parts, your absolute top priority must be the Holster Upgrades (Short Gun Holster and Long Gun Holster). Without these holsters, swapping between your Shotgun and Hunting Rifle requires Joel to stop, take off his backpack, and manually rummage through his gear. Having two weapons hotkeyed to your weapon slots allows you to break an enemy's charge with a shotgun blast and instantly swap to your revolver without breaking stride.
Combat Realities: The Brick Meta and Broken Line-of-Sight
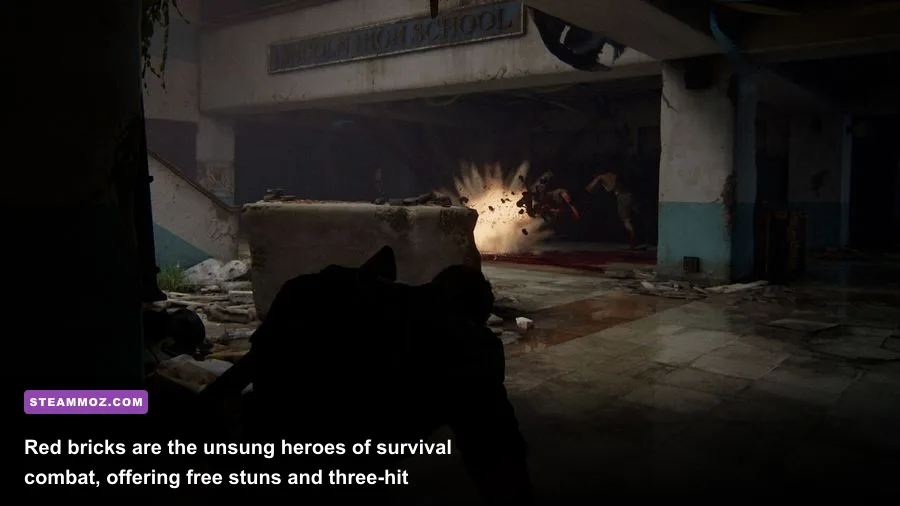
If you talk to veteran players of The Last of Us, you will inevitably hear them praise the humble red brick. Throughout the world, you will constantly see bottles and bricks littering the floor. While the game treats both items as interchangeable noise distractions to lure enemies into traps, the brick possesses a secret, game-breaking combat property: lethal melee capability.
If you hold a bottle and charge an enemy, you can shatter it over their head to stun them. But if you equip a brick, run up to a Clicker or an armored human hunter, and mash your primary melee attack key, Joel executes a devastating three-hit combination that smashes the target's skull. This maneuver kills a Clicker instantly without expending a single bullet, without degrading your upgraded melee pipe, and without consuming a single shiv from your bag. Bricks are essentially free, portable takedowns lying in plain sight. Always drop your glass bottles the second you spot a solid brick.
When gunplay does break out, drop the habit of digging into cover and waiting out enemy fire. The human AI programmed by Naughty Dog is aggressive and relentless; enemies will communicate your last known position, lay down suppressing fire, and coordinate flank routes to surround your barricade. If your system is prone to hitching during these frantic shootouts, check out actionable guides for fixing stutters and rescuing your game's FPS to keep your mouse aiming smooth.
The moment enemies spot you, fire a shot or toss a diversion, then immediately break line-of-sight. Crouch, sprint around a corner, vault through a low window, and circle around behind them. The AI will continue to focus their attention on the exact spot where they last saw your muzzle flash. Re-entering stealth mid-fight is not just an optional tactic—it is the foundational combat loop that keeps you alive when you only have three shotgun shells and half a board of two-by-four lumber to your name.
Take your time, let your PC hardware breathe, treat every scrap of binding like pure gold, and always keep a brick in your hand. Joel and Ellie’s trek across the United States is one of the most rewarding adventures in modern gaming history, and going in with your eyes open makes every close-call victory all the sweeter.