
The Awakening of Wraeclast: Why Your First Build Matters
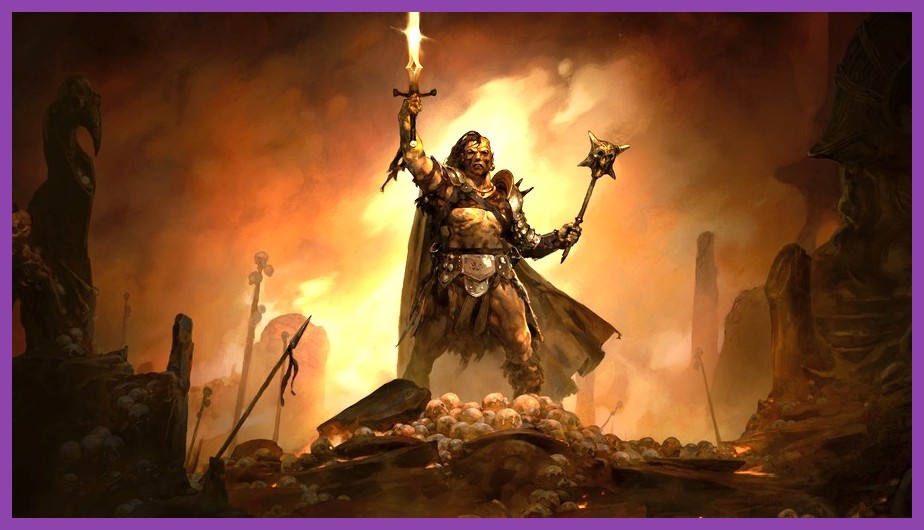
When the ember of exile first flickers in the cracked streets of Wraeclast, the weight of choice presses upon every newcomer like a stone slab. Path of Exile 2 does not merely offer a character sheet; it presents a living tapestry of fate, where each skill gem, each passive node, and each weapon whisper hints at the destiny that awaits. In this opening act, the build you select is not a mere optimization problem—it is the first verse of a saga that will echo through the labyrinthine corridors of the Eternal Empire. A thoughtful start can turn the brutal early acts into a tutorial of mastery, while a hasty pick may leave you wandering the shores of regret, clutching at half-formed ideas as the darkness closes in.
Consider the lore: the exile is not a hero chosen by prophecy, but a survivor forged in the crucible of desperation. The game mirrors this by refusing to hold your hand; instead, it offers a pantheon of archetypes—each rooted in the world’s history, from the stoic Marauders who once guarded the imperial legions to the enigmatic Witches who danced with the void’s edge. Your first build is therefore a declaration of intent, a statement about how you wish to carve your name into the annals of Wraeclast.
In the sections that follow, we will dissect three archetypal starters that balance accessibility with depth, each offering a clear path from the shoreline of Act 1 to the looming peaks of Act 3. We will examine the underlying mechanics that make these builds tick, the skill gems that empower them, and the passive tree routes that feel natural rather than forced. By the end, you will possess not just a recipe, but a philosophy for choosing a build that resonates with your playstyle and the story you wish to tell. For more insights on optimizing ARPG builds, see our Elden Ring PC performance guide.
The Foundations: Mechanics That Shape a Starter Build
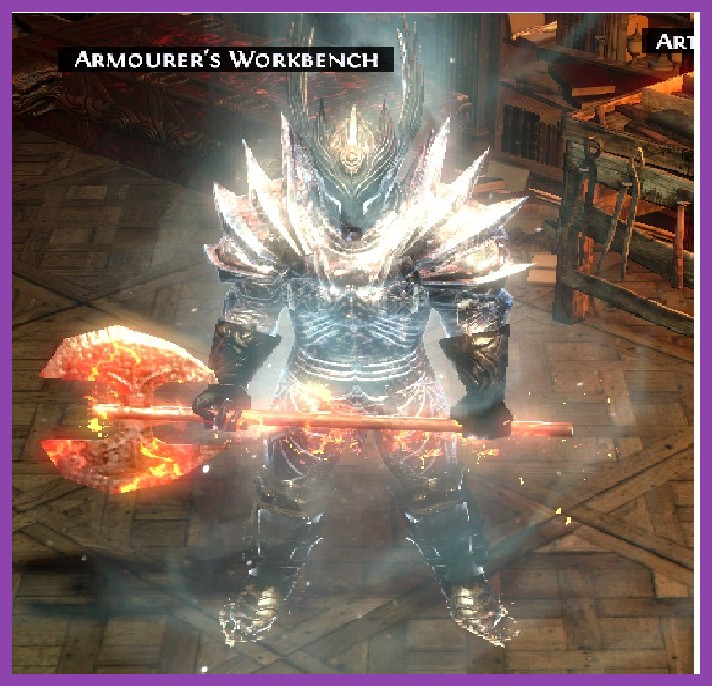
Before diving into specific archetypes, it is essential to grasp the core systems that Path of Exile 2 layers upon its ARPG foundation. The game’s combat is a dance of timing, positioning, and resource management, where every attack consumes mana or life, and every defensive layer—armor, evasion, energy shield—interacts with incoming damage in nuanced ways. Understanding these interactions prevents the frustration of dying to a seemingly innocuous hit because you overlooked a resistance gap or a lack of leech.
Three pillars support any viable starter: sustain, clear speed, and survivability. Sustain refers to the ability to replenish life or mana during combat, whether through life leech, mana leech, regeneration, or flask effects. Clear speed measures how quickly you can dispatch packs of monsters, influencing both experience gain and loot frequency. Survivability encompasses armor, evasion, energy shield, and the strategic use of defensive skills such as Immortal Call or Molten Shell.
The passive skill tree, a sprawling constellation of nodes, offers multiple routes to bolster these pillars. For newcomers, the best approach is to follow a clearly marked path that converges on a few powerful notables—such as Iron Reflexes for armor conversion, or Elemental Equilibrium for elemental damage scaling—while picking up life nodes early to buffer against the game’s notorious damage spikes.
Skill gems act as the verbs of your combat sentence. Linking them in sockets determines the behavior of your abilities; a typical starter will want a primary damage gem supported by a few utility gems—like Added Cold Damage for chill, or Faster Attacks for speed. The game’s new gem crafting system allows you to upgrade gems via experience, turning a modest low‑level gem into a potent force without needing to hunt for rare drops.
Finally, flask management remains a cornerstone of survival. A well‑timed Divine Flask can erase a deadly bleed, while a Jade Flask offers evasion bursts that turn a precarious dodge into a guaranteed miss. By allocating a few points to flask effectiveness nodes early, you amplify these lifelines, making the early game feel less like a gauntlet and more like a controlled experiment. For a deeper look at resource management in other titles, check our essential Elden Ring tips and tricks.
Marauder Juggernaut: The Unyielding Frontline

The Marauder embodies the raw, unrefined strength of Wraeclast’s early legions, a warrior who relies on brute force and indomitable will to crush opposition. When paired with the Juggernaut ascendancy, this archetype becomes a moving fortress, capable of absorbing staggering amounts of damage while dishing out punishing blows. For a newcomer, the Juggernaut offers a forgiving learning curve: its mechanics are straightforward, its gear requirements are modest, and its playstyle rewards aggressive positioning rather than intricate kiting.
Begin with a two‑handed axe or sword; the base damage of these weapons scales nicely with the Marauder’s strength attribute, and the attack speed is sufficient to keep fury flowing. Link your main weapon with the skill gem Cleave or Sunder—both excel at hitting multiple enemies, turning each swing into a mini‑cleave that fuels your rage meter. Support Cleave with Added Fire Damage for extra burn, and Melee Physical Damage to boost raw output. As you gain levels, swap in Increased Critical Strikes once you have enough critical chance gear, or Multistrike for additional hits.
On the defensive side, prioritize life nodes early in the passive tree, aiming for the notable Iron Reflexes which converts your evasion rating into armor, synergizing perfectly with the Juggernaut’s innate armor boost. Pick up Unstoppable for immunity to stun, and Unflinching to reduce the impact of stun durations. The Juggernaut’s ascendancy grants Unstoppable Hero—a powerful buff that reduces damage taken after you have recently dealt damage, encouraging an aggressive playstyle that keeps you constantly on the offense.
Flask choices should emphasize instant recovery: a Divine Flask for emergency life, a Jade Flask for evasion spikes, and a Basalt Flask for extra armor when facing heavy hitters. As you progress, consider hybridizing with a modest amount of energy shield via the Vaal Grace skill if you find yourself needing additional layers against elemental bursts.
Gear-wise, look for items with high life rolls, increased physical damage, and resistance caps. Early unique items such as Tabula Rasa (the famed white robe) can be a boon, allowing you to socket six skill gems without worrying about color constraints, giving you freedom to experiment with support gems while you hunt for better bases. For ideas on unique item hunting, see our God of War Ragnarok endgame builds.
The Juggernaut’s clear speed is respectable; its area damage ensures you can clear packs quickly, and its sustain comes from life leech on weapons equipped with Life Leech or from the Vaal Life Leech skill gem. By the end of Act 2, you should feel comfortable tackling the game’s tougher bosses, your armor mitigating the majority of incoming hits while your attacks stagger foes, setting them up for follow‑up blows.
Ranger Deadeye: Precision from the Shadows

Where the Marauder relies on sheer force, the Ranger excels in finesse, weaving death from a distance with arrows that find the smallest gaps in an enemy’s defense. The Deadeye ascendancy amplifies this precision, turning each shot into a calculated strike that benefits from critical strikes, projectile speed, and a deadly synergy with evasion. For players who enjoy a hit‑and‑run playstyle, the Deadeye offers a rewarding loop: you stay mobile, you punish overextended foes, and you reap the benefits of high damage per second without needing to wade into the thick of melee.
Start with a bow—preferably a short bow for faster attack speed or a long bow for higher base damage, depending on your preferred rhythm. Link your bow with the skill gem Ice Shot or Lightning Arrow; both provide solid single‑target damage and can be chained for area coverage. Support Ice Shot with Added Cold Damage to increase chill chance, Faster Projectiles to improve hit probability, and Piercing Shot to allow your arrows to travel through multiple enemies.
The Deadeye’s ascendancy grants several notable perks: Dead Eye increases critical strike chance based on your evasion rating, Far Shot boosts projectile speed, and Point Blank enhances damage when enemies are close, encouraging a playstyle where you close the gap just enough to unleash a devastating volley before retreating. Pair these with passive nodes that boost evasion, such as Elusive and Wind Dancer, which together raise your evasion rating and grant a dodge chance after moving.
Survivability for a Deadeye comes less from raw armor and more from avoiding damage altogether. Invest early in evasion nodes and pick up the Phase Acrobatics notable, which converts evasion rating into energy shield, giving you a hybrid defense that works well against both physical and elemental threats. Additionally, the Acrobatics node grants extra movement speed, letting you reposition quickly after each shot.
Flask selection should reflect this evasion‑centric mindset: a Jade Flask for evasion bursts, a Divine Flask for life emergencies, and a Stibnite Flask for blindness, which reduces enemy accuracy and further lowers the chance of being hit. As you level, consider a Basalt Flask for extra armor when facing physical heavy hitters, or a Quicksilver Flask for increased movement speed during kiting phases.
Gear priorities for a Deadeye include high evasion rating, increased projectile speed, and critical strike chance. Look for bows with implicit crit modifiers, and quivers that grant additional arrows or extra projectile speed. Early uniques such as Windripper (a bow that grants extra projectile speed) can dramatically increase your clear speed, letting you clear screens of monsters with a single volley. For more on projectile‑focused builds, visit our God of War Ragnarok leveling guide.
By the time you reach Act 3, your Deadeye should be capable of melting bosses with rapid, crit‑laden arrows while maintaining a safe distance. The combination of high evasion, energy shield from Phase Acrobatics, and frequent flask usage creates a survivability loop that feels almost effortless—provided you respect the enemy’s telegraphs and keep moving.
Witch Elementalist: Arcane Fury Unleashed

The Witch commands the raw forces of nature, bending fire, ice, and lightning to her will. The Elementalist ascendancy refines this mastery, granting potent elemental damage bonuses, ailment immunity, and a powerful synergy with elemental ailments such as shock, chill, and ignite. For newcomers who are drawn to spellcasting and enjoy watching enemies succumb to elemental storms, the Elementalist offers a compelling entry point: its mechanics are intuitive, its gear requirements are forgiving, and its damage scales beautifully with modest investments in intelligence and elemental damage nodes.
Begin with a wand or scepter that boasts high spell damage; wands typically offer faster cast speed, while scepters provide a balance of damage and durability. Link your weapon with the skill gem Arc or Lightning Strike—both are excellent chain‑capable spells that hit multiple targets. Support Arc with Added Lightning Damage to boost shock chance, Increased Critical Strikes to raise crit probability, and Elemental Focus to increase elemental damage at the cost of removing ailment chance (a trade‑off many Elementalists accept for pure damage).
The Elementalist's ascendancy provides Elemental Equilibrium, which causes enemies hit by one elemental type to become resistant to that element but vulnerable to the other two, encouraging you to rotate damage types or rely on ailments that bypass resistance. Pair this with Avatar of Fire or Avatar of Ice nodes to gain flat elemental damage and additional ailment immunity. The notable Elementalist's Conduit grants increased elemental damage based on your intelligence, making it a prime target for early points.
Defensively, the Witch benefits from energy shield, which the passive tree offers in abundance through nodes like Energy Shield and Mind over Matter. Early investment in Iron Will converts a portion of your intelligence to physical damage, but for a pure caster you may prefer to focus on energy shield and life hybrid nodes such as Guardian which grants a small life boost alongside energy shield.
Flask choices should emphasize mana sustainability and emergency recovery: a Mana Flask for steady mana replenishment, a Divine Flask for life emergencies, and a Sulfur Flask for curse immunity, which is particularly useful against bosses that rely on debilitating curses. As you advance, consider a Basalt Flask for extra armor when facing physical threats, or a Quicksilver Flask for increased movement speed to reposition after casting.
Gear priorities for an Elementalist include high intelligence, increased spell damage, and elemental damage rolls. Look for wands with implicit spell damage modifiers, and shields that grant additional energy shield or elemental resistance. Early uniques such as The Taming (a scepter that grants increased spell damage and elemental damage) can provide a noticeable boost to your damage output without requiring high‑level rares. For shield‑focused strategies, see our Rise of Kingdoms army composition guide.
By the end of Act 2, your Elementalist should be capable of clearing packs with cascading lightning arcs, shocking enemies into vulnerability, and following up with bursts of fire or ice that exploit the altered resistances granted by Elemental Equilibrium. The playstyle feels fluid: you cast, you move, you let the elemental chain do the heavy lifting, and you replenish mana with flasks or leech from skills like Vaal Lightning Trap if you prefer a more defensive approach.
Transitioning to Endgame: From Starter to Legend
A starter build is not an endpoint; it is the foundation upon which you will construct a late‑game powerhouse. The true art of Path of Exile 2 lies in recognizing when to evolve your character, when to respec passive points, and when to swap gear for more specialized roles. Each of the three archetypes discussed possesses clear pathways to endgame viability, whether you wish to push into the highest tiers of mapping, delve into the deepest labyrinths, or challenge the formidable endgame bosses that guard the realm’s most coveted rewards.
For the Marauder Juggernaut, the natural progression is toward a Berserker or Chieftain ascendancy if you crave even more damage, or staying within Juggernaut to maximize tankiness for hardcore content. Key transition points include acquiring a high‑life two‑handed weapon with Life Leech and Stun immunity, stacking armor through Iron Reflexes and Golem's Blood flasks, and investing in notable nodes such as Unstoppable Hero and Victorious to sustain your offense.
The Ranger Deadeye can evolve into a Raider for increased movement speed and evasion, or a Deadeye focused on projectile damage with nodes like Dead Eye and Point Blank. Endgame gear often emphasizes high evasion rating, increased projectile speed, and critical strike chance, with bows such as Windripper or Death's Harp providing massive damage spikes. Flasks shift toward Quicksilver for mobility and Divine for survival, while the Phase Acrobatics notable continues to grant a valuable energy shield buffer.
The Witch Elementalist frequently transitions into an Elementalist focused on ailment immunity and elemental damage scaling, or branches into Occultist for energy shield and curse mastery. Notable endgame nodes include Elemental Equilibrium, Avatar of Fire, and Avatar of Storm, which together allow you to rotate elemental types and maintain high damage regardless of enemy resistances. Gear priorities shift toward high intelligence, increased spell damage, and substantial energy shield, with shields like Aegis Aurora providing massive shield pools and elemental resistance.
Regardless of the path you choose, the endgame transition is guided by three principles: maintain a solid sustain mechanism (life leech, mana leech, or flask reliance), preserve a clear speed advantage (through area damage, projectile speed, or cast speed), and never neglect defensive layers (armor, evasion, energy shield, or ailment immunity). By continually evaluating your character’s performance against the game’s escalating difficulty, you will know precisely when to invest a passive point into a new notable, when to seek a unique item that fills a gap in your arsenal, and when to adjust your flask setup to counter emerging threats. For additional reading on build transitions, explore our PC games category, guides section, and RPG hub.
In the ever‑shifting landscape of Wraeclast, the best starting build is the one that feels like an extension of your own curiosity—a build that invites you to experiment, to fail, to learn, and ultimately to carve your own legend upon the world’s shattered bones. May your first steps be steady, your aim true, and your resolve unbreakable as you venture forth into the darkness that awaits beyond the shoreline.