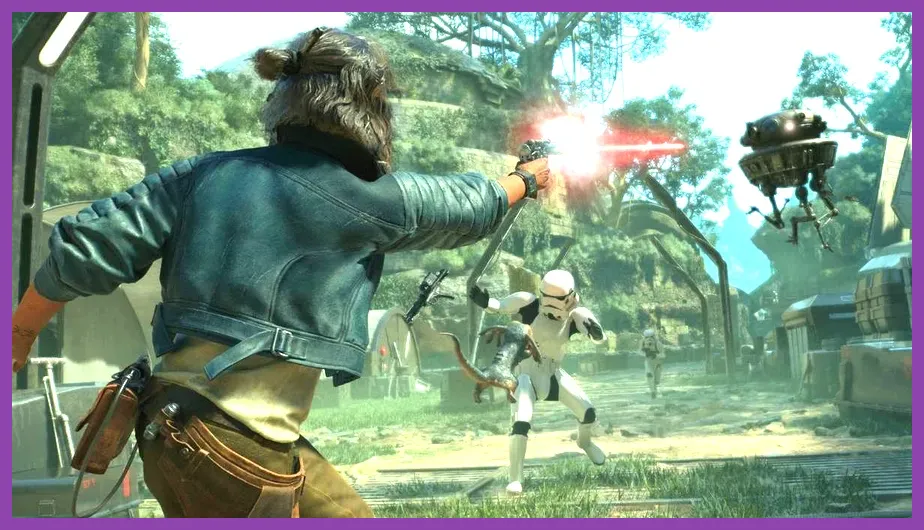
The best starting build in Star Wars Outlaws focuses on maximizing Adrenaline generation, enhancing Nix's stealth utility, and upgrading your Blaster's Heat Capacity early on Toshara. Because Star Wars Outlaws ditches traditional skill trees in favor of the "Experts" system, building an elite early-game Scoundrel requires unlocking specific abilities from Bram the Bartender, Selo Rovak (The Mechanic), and Aila Bren (The Slicer) within your first 5–8 hours. Pairing these Expert unlocks with the Scoundrel Outfit Set and the Plasma Module: Heat Sink upgrade ensures Kay Vess can clear Pyke and Crimson Dawn strongholds without triggering alarms or running out of firepower.
The Gunslinger Scoundrel Starting Build Overview
Unlike traditional role-playing games where you assign stat points upon leveling up, progression in Massive Entertainment's outer-rim adventure is tied directly to gear synergies and Expert questlines. To create a dominant early build that excels at both ghost-stealth and head-on firefights, you must combine fast-charging Adrenaline abilities with burst-damage blaster modifications.
This early build—dubbed the Gunslinger Scoundrel—leverages stealth takedowns to rapidly build your Adrenaline gauge, allowing you to instantly trigger Adrenaline Rush to mark and eliminate up to four syndicate enforcers or Death Troopers before a firefight even escalates. If you enjoy min-maxing combat builds across open-world games, you might also find interest in our Enshrouded best armor sets location guide for structured gearing progression.
Here is the exact stat and perk priority breakdown for the ideal starting build:
- Primary Weapon focus: Blaster (Plasma Configuration + Fast Super-Cooling)
- Secondary Weapon focus: Stun Shot (Reduced Cooldown)
- Armor Synergy: Scoundrel Set (Adrenaline Gain on Lockpick/Takedown + Blaster Precision)
- Nix Command Focus: Distraction Takedown & Alarm Sabotage
- Key Expert Unlocks: Fast Reload (Bram), Speeder Boost (Selo), Slicing Kit (Aila)
Core Expert Abilities to Unlock First
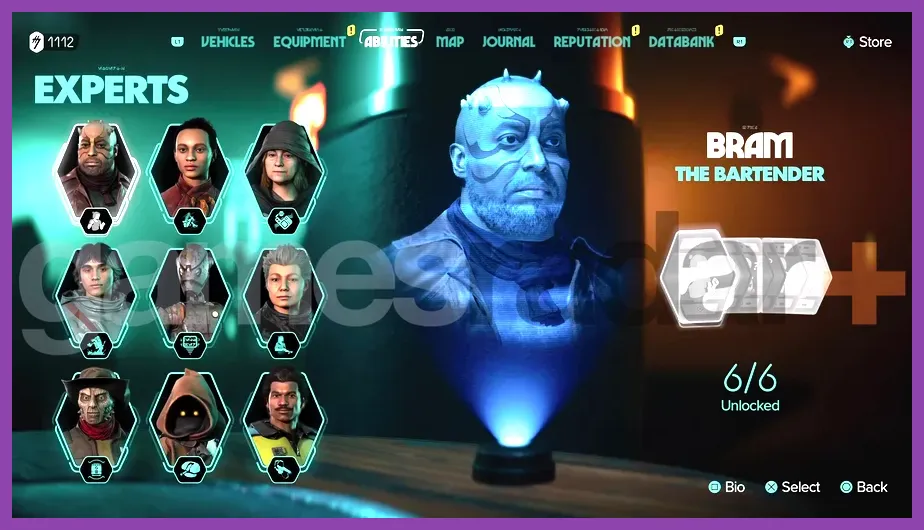
Your ability arsenal in Star Wars Outlaws relies entirely on finding Experts across planets like Toshara, Kijimi, and Tatooine. However, during the early game on Toshara, you have immediate access to three essential Experts. You should prioritize unlocking their specific abilities in this exact order to secure your baseline build.
1. Bram the Bartender (The Starter Expert)
Bram is unlocked automatically during the main campaign prologue in Mirogana. His abilities form the fundamental mechanics of Kay Vess's kit.
- Fast Reload: Completing a timed active-reload check during blaster overheating instantly resets heat and grants bonus damage on your next few shots. This is vital for sustaining DPS against elite Pyke guards.
- Armored Undershirt: Permanently increases Kay's max health by 1 whole segment (from 3 bars to 4 bars). Materials needed: 1x Coarse Fabric, 5x Polyweave, and 500 Credits.
- Keep Your Cool: Performing a Fast Reload instantly vents 50% of active Adrenaline buildup into usable meter, speeding up your ultimate ability availability.
- I Know Someone: Unlocks requests at cantinas, allowing you to buy high-tier upgrade components directly from underworld merchants.
2. Selo Rovak (The Mechanic)
To unlock Selo, head to Jaunta's Hope on Toshara after completing the main quest The Underworld. She grants game-changing mobility and stealth utility perks.
- Speeder Boost: Grants your speeder bike a high-velocity burst mode, essential for escaping Imperial patrols and Syndicate chasers.
- Scoundrel's Pouch: Increases your Bacta Vial carrying capacity by +1. Requires 1x Durasteel, 4x Elastic Straps, and 3x Chalcedony.
- Smoke Bomb: Allows Kay to drop a vision-obscuring smoke grenade at her feet. This breaks line-of-sight instantly, allowing you to reset stealth or perform quick takedowns inside crowded Imperial Outposts.
3. Aila Bren (The Slicer)
Aila Bren unlocks after starting the quest The Slicer in the Southern Southern District of Toshara. Her perks completely trivialize electronic mini-games and turret hacks.
- Slicing Kit: Unlocks advanced slicing on high-security terminals, granting access to locked faction vaults containing rare crafting materials like NL-02 Charge Emitters.
- Factoring Kit: Increases total reserve energy for your slicer device, giving you extra attempts on tricky slicing puzzles without triggering alarms.
- Stealth Slice: Slicing security doors and disabling cameras no longer makes audio noise, keeping nearby syndicate guards completely unaware.
Mastering early unlock trees requires managing your resources efficiently. If you like optimizing character skill trees and abilities in hardcore games, check out our guide on how to respec skill points in Escape from Tarkov to refine your tactical playstyle.
Best Early Blaster Modules and Modifications
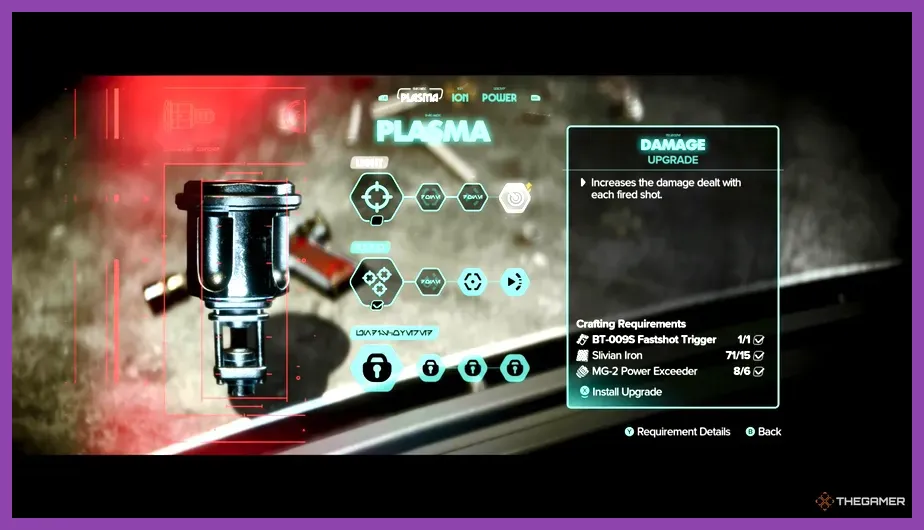
Kay's modular blaster is her primary offensive tool throughout Star Wars Outlaws. While you will eventually unlock Explosive and Ion configurations, the starting Plasma Module combined with the Stun Shot will carry your build through the first half of the game when upgraded properly.
Blaster Upgrade Priorities
Visit any workbench—such as the one located inside Kay's ship, the Trailblazer—to craft these specific blaster upgrades as soon as you collect the required materials on Toshara:
To acquire official updates and developer patches detailing weapon tuning, check out the official Star Wars Outlaws website.
| Module / Part | Upgrade Name | Key Benefit | Required Materials |
|---|---|---|---|
| Plasma Module | Heat Sink Rank 1 | Reduces blaster heat accumulation per shot by 25%. | 10x Iron, 5x Slag Glass, 250 Credits |
| Plasma Module | Improved Barrel | Increases base shot damage and projectile velocity. | 1x Ray Accentuator, 8x Chalcedony |
| Stun Module | Fast Recharge | Decreases Stun Shot cooldown timer from 12 seconds to 8 seconds. | 1x Direct Current Converter, 5x Polyweave |
| Ion Module | Burst Converter | Fires a 3-round electrical burst that melts droid armor and shield generators. | 1x Ion Cell, 12x Scrap Metal |
The Stun Shot is arguably your most powerful tool during stealth infiltrations. Because Stun Shot ignores armor and instantly incapacitates any biological target—including heavy Pyke Enforcers and Imperial Officers—reducing its cooldown via the Fast Recharge upgrade allows you to drop high-priority targets effortlessly every 8 seconds without firing a noisy blaster shot.
Optimal Early Armor Set and Loadout
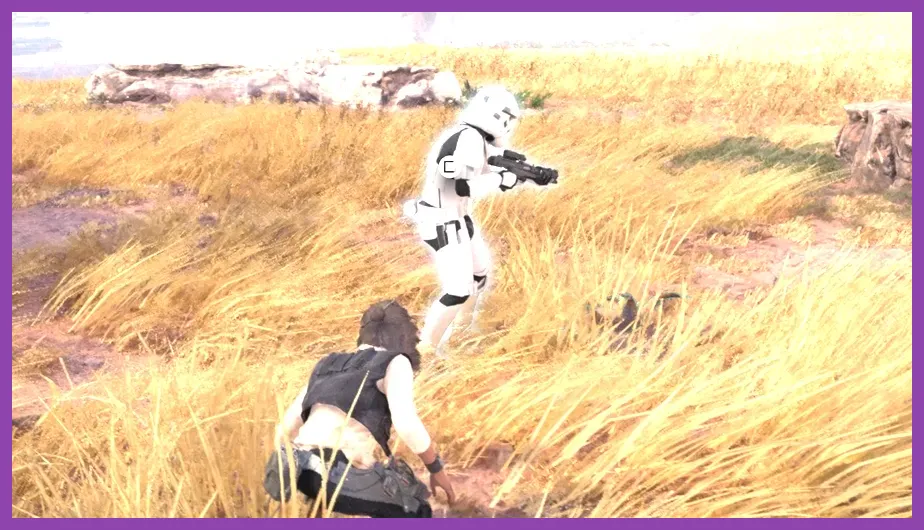
Armor in Star Wars Outlaws is broken down into three distinct slots: Jacket, Belt, and Pants. Equipped pieces grant active and passive set bonuses when combined. For the starting build, mixing the Scoundrel Set pieces yields the highest tactical advantage.
1. Jacket: Scoundrel Jacket
- Location: Rewarded for completing Bram's initial intel mission or found inside the Pyke Syndicate Vault in Mirogana.
- Perk: Significantly increases Adrenaline gained whenever you perform a silent stealth takedown or perform a successful lockpick.
- Why it's essential: Building Adrenaline outside of active gunfights allows you to enter any room, get spotted on purpose, and instantly press the Adrenaline Rush button to wipe out all guards in slow motion before they can pull off a shot.
2. Belt: Survivalist Belt / Trailblazer Belt
- Location: Purchased from the Armorer vendor in Mirogana Market once reaching "Good" reputation with Crimson Dawn.
- Perk: Increases Bacta Vial healing potency by 30% and adds +1 maximum Grenade capacity.
- Why it's essential: Early game Kay Vess is fragile. Bonus healing efficiency prevents you from burning through expensive Bacta Vials during unexpected ambushes in the Toshara savannas.
3. Pants: Outlaw Infiltrator Pants
- Location: Found inside a hidden chest in the Imperial Forward Base Alpha on Toshara.
- Perk: Increases crouched movement speed and reduces footstep detection radius by 35%.
- Why it's essential: Faster crouch movement allows Kay to close distance quickly on patrolling guards for seamless stealth takedowns without needing to sprint and make noise.
Acquiring top-tier gear sets requires managing in-game credit balances. If you like wealth-building strategies across different titles, check out our guide on how to farm gold fast in Roblox Dungeon Quest to learn effective economy loops.
Nix Utility and Tactical Combat Rotation
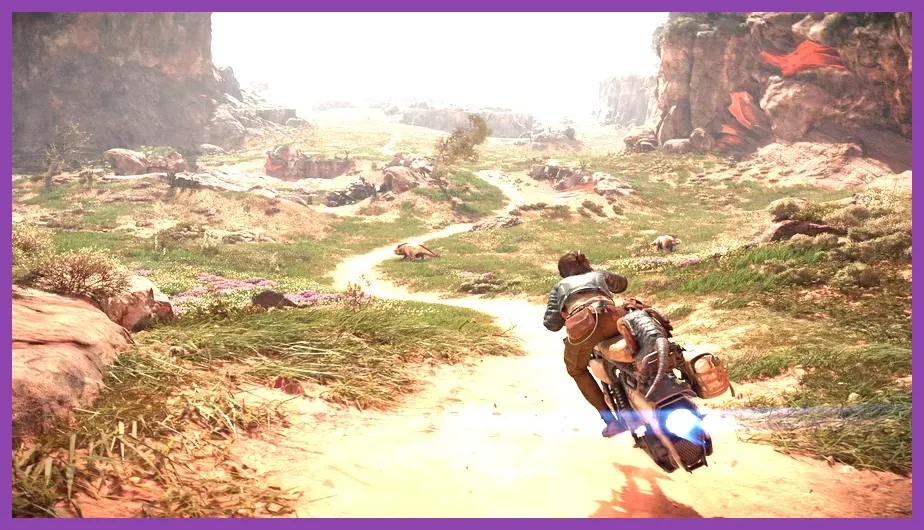
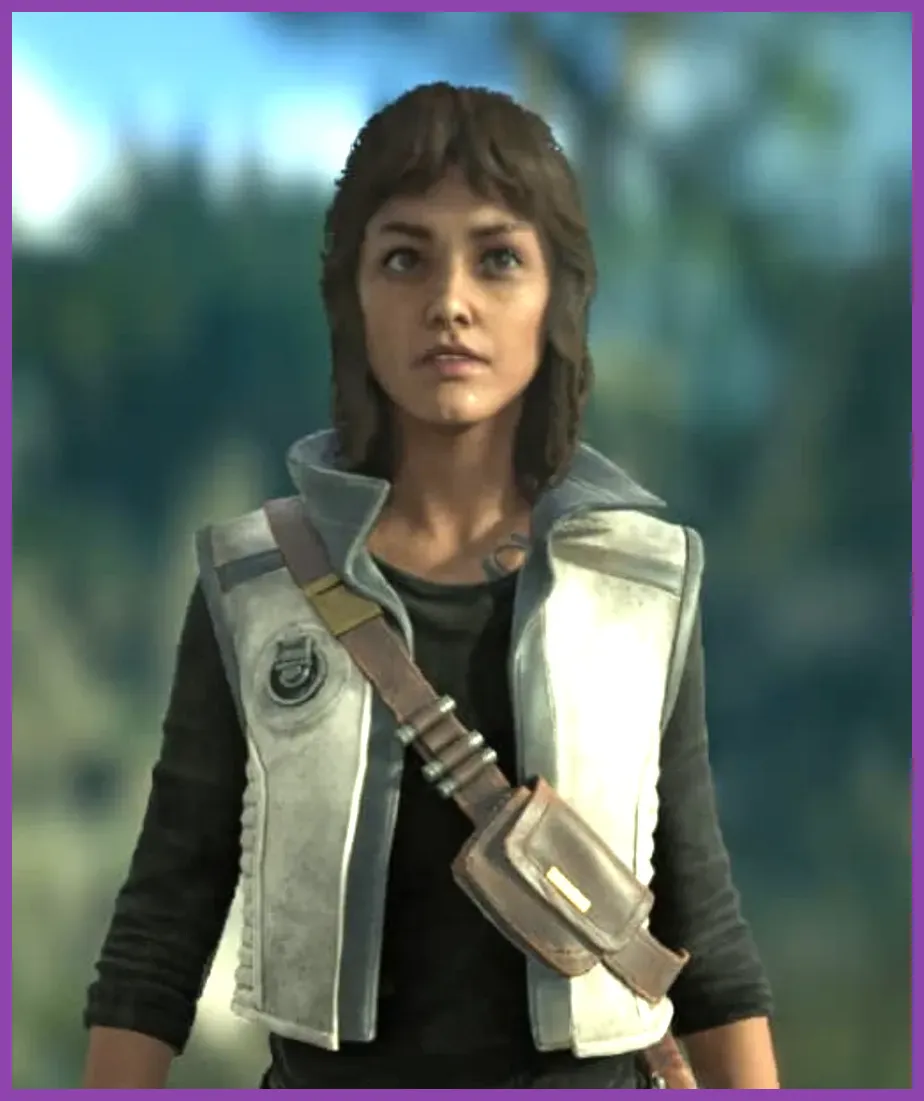
Kay's Merqaal companion, Nix, is not just a cosmetic pet—he is a vital combat asset integrated directly into your starting build. Properly commanding Nix during both stealth and open combat increases your survival rate exponentially.
Key Nix Commands for this Build
- Nix Attack (Combat Distraction): Command Nix to jump onto an enemy's face (`LB / L1 + Y / Triangle`). While the target is blinded and thrashing around, Kay can either run up for an instant non-lethal Takedown or shoot them with a high-damage headshot.
- Sabotage Alarm Panel: Before infiltrating any Pyke or Crimson Dawn stronghold, activate Nix Sense (`DPAD Up`) to locate yellow alarm panels. Send Nix to sabotage the panel. If a guard attempts to trigger the alarm later during a firefight, the panel explodes, knocking them out instantly.
- Fetch Weapon: Send Nix to pick up dropped elite weapons—such as the A-280 Blaster Rifle or E-11 Blaster—and bring them directly to Kay behind cover.
The Optimal Combat Rotation
When approaching an enemy camp or Imperial Checkpoint, execute the following tactical combat sequence for maximum efficiency:
- Tag Targets: Use Kay's Electrobinoculars from high ground to tag all guards, security cameras, and automated turrets. Refer to lore entries on the Wookieepedia Star Wars wiki to learn faction unit types.
- Sabotage Alarms: Send Nix to sabotage the central alarm console while keeping Kay concealed in tall grass or behind crates.
- Silent Stun Strike: Approach the highest-priority target (such as an Imperial Officer or Pyke Caporegime) and discharge your Stun Shot.
- Nix Distraction Takedown: Target a second adjacent guard with Nix Attack, sprint forward using your boosted speed from the Outlaw Infiltrator Pants, and execute a stealth takedown.
- Trigger Adrenaline Rush: With your Adrenaline bar fully primed by the Scoundrel Jacket bonus, trigger Adrenaline Rush (`LB + RB / L1 + R1`). Lock onto all remaining targets and instantly execute them with perfect blaster shots.
- Vent Blaster Heat: If extra enemies reinforce the area, use your Plasma Blaster until heat maxes out, then hit the active reload window precise check to trigger Fast Reload for infinite firing uptime.
Planning structured combat sequences is similar to managing tactical turn rotations in strategy RPGs. For readers who enjoy intricate battle rotations, see our breakdown on Honkai Star Rail best offensive strategies and team builds.
Toshara Early Progression Walkthrough
To get this build fully operational as fast as possible, follow this exact progression route as soon as you touch down on Toshara:
First, complete the main questline up until you establish contact with Eleera from Crimson Dawn and Gorak from the Pyke Syndicate. Make sure to keep your reputation with Crimson Dawn at "Good" or higher early on. This permits you to walk freely inside Crimson Dawn territory in Mirogana without being shot on sight, giving you safe access to their exclusive faction armorer vendor who sells key crafting recipes and gear upgrades.
Next, hop on your speeder bike and travel west to Jaunta's Hope to meet Selo Rovak. Complete her expert challenge quest—which involves flying your speeder through wind canyons and retrieving an Atmospheric Accelerator—to unlock the Speeder Boost and her perk tree. For players who enjoy collecting ultimate gear items in action titles, feel free to read our article on how to get legendary weapons in Mortal Kombat 1.
Finally, clear out the Pyke Workshop on the southern border of the Boulder Forest. Inside, you will find 2x NL-02 Charge Emitters and the crafting schematic for the Plasma Blaster Heat Sink Rank 1. Once crafted, your Gunslinger Scoundrel starting build is 100% complete, allowing you to breeze through syndicate territories, slice high-security imperial bases, and rule the outer rim with ease.