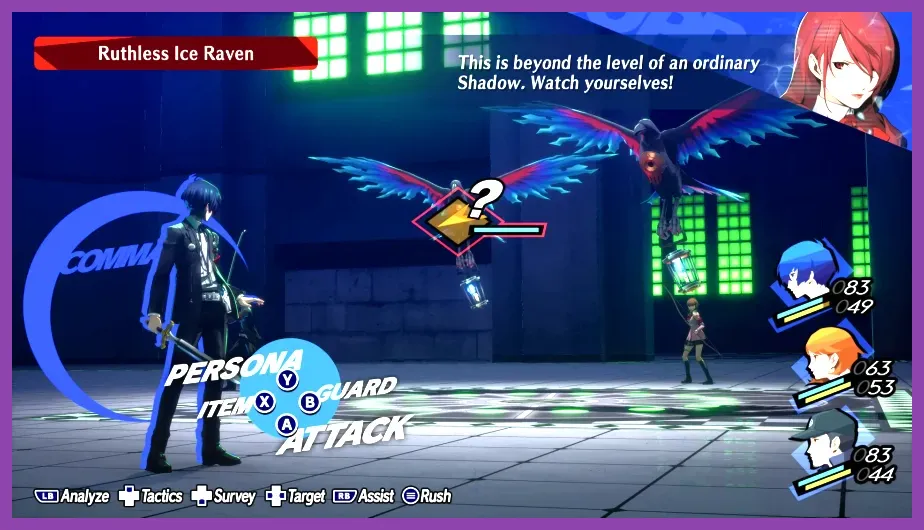
Persona 3 Reload's cast of Specialized Extracurricular Execution Squad (SEES) members features distinct combat specializations, rendering characters like Yukari Takeba and Mitsuru Kirijo essential for high-tier Tartarus runs, while others occupy niche roles. As you climb through the shifting floors of Tartarus and confront devastating Full Moon bosses, understanding how each character's unique skillset, passive abilities, and Theurgy attacks stack up is the key to mastering Merciless difficulty. Drawing from rigorous combat testing, skill tree progressions, and end-game synergy data, this definitive tier list ranks all main combat characters from S-Tier powerhouses to situational options.
Understanding the Persona 3 Reload Combat Meta
Before diving into individual rankings, it helps to understand what defines a top-tier character in Persona 3 Reload. Unlike the original release or Persona 3 Portable, Reload introduces modernized mechanics such as Baton Pass (Shift), character-specific ultimate moves known as Theurgies, and expanded passive skill trees via the Linked Episodes system. A character's viability is no longer solely tied to their elemental coverage; it heavily relies on action economy efficiency, self-sustain, crowd-control capabilities, and how quickly they can charge their Theurgy gauge. For players looking to optimize their party synergy, comparing these tactical structures mirrors optimizing compositions found in tactical team building guides and fighting game synergy breakdowns.
Characters in S-Tier universally possess traits that break the conventional action economy—either by providing multi-target debuffs without sacrificing turn economy, dealing staggering pierce or slash damage multipliers, or offering indispensable healing that frees up the Protagonist to exploit weaknesses. Conversely, lower-tiered characters often suffer from high SP costs relative to their output or lack reliable utility against multi-phase bosses.
S-Tier: The Indispensable Meta Staples

S-Tier characters are absolute must-haves for clearing the hardest blocks of Tartarus and surviving the brutal trials of the later Full Moon shadows. They offer game-changing utility, flawless action economy, and devastating damage ceilings.
Mitsuru Kirijo
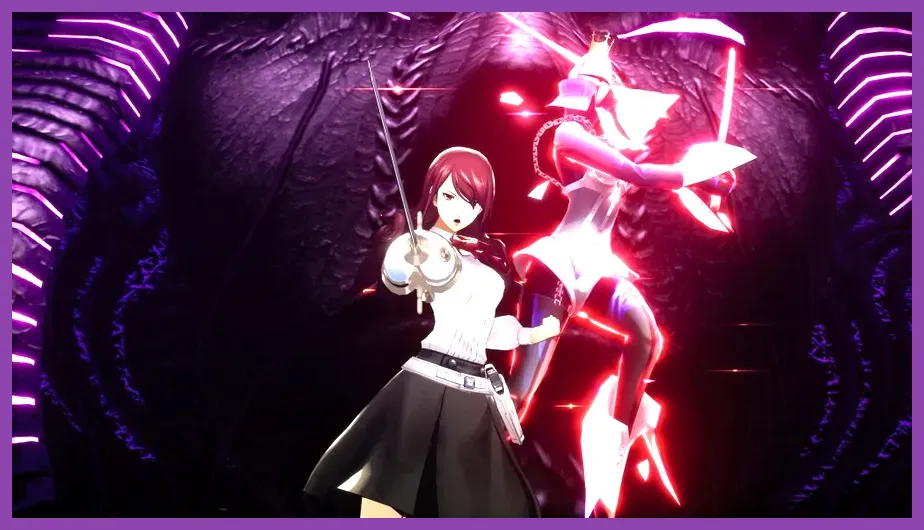
Mitsuru is the undisputed queen of status manipulation and heavy Ice damage. Armed with her innate Ice mastery, she gains access to high-tier spells like Bufudyne alongside essential multi-target debuffs such as Mind Slice and Tentarafoo. What pushes Mitsuru firmly into S-Tier in Reload is her revamped Theurgy, "Blanche Neige," which deals severe Ice pierce damage that ignores enemy resistances. Furthermore, her passive skills grant massive SP conservation, allowing her to spam costly spells without constantly draining your inventory of Chewing Souls or Snuff Souls. Pair her with characters who can consistently inflict status ailments to watch her shatter frozen foes for massive technical damage.
Aigis
Aigis transitions from a situational defensive unit into an absolute juggernaut in Reload. Specializing in Pierce physical attacks and physical buffs/debuffs (Tarukaja, Rakukaja, Sukukaja), Aigis anchors any physical-heavy team. Her primary strength lies in her access to Orgia Mode and her devastating Theurgy, "Orgia Mode: Full Throttle," which unleashes an ungodly amount of physical damage while bypassing normal turn restrictions. Because physical damage scales exponentially better in the mid-to-late game than standard magic, having Aigis apply defense buffs while chunking boss health bars with Akasha Arts makes her utterly irreplaceable.
A-Tier: Exceptional Team Pillars

A-Tier characters might lack the game-breaking mechanics of S-Tier units, but they are exceptionally reliable, highly efficient, and can easily carry you through 90% of the game's content with zero friction.
Yukari Takeba
Yukari remains the premier dedicated healer of the party. While the Protagonist can technically fill any healing role, relying solely on Joker-equivalent Persona swaps leaves you vulnerable during ambush scenarios. Yukari provides Mediarahan, Amrita Shower (curing all status ailments), and wind magic coverage via Garudyne. Her defining asset is her Wind Amp combined with her unique bow-based Pierce attacks. Though her physical defense is notoriously fragile, her healing output and her ability to pass turns via Shift to heavy hitters make her a permanent fixture for most players.
Akihiko Sanada
Akihiko is the ultimate debuff and electric bruiser. Utilizing Electric magic alongside devastating physical strikes, Akihiko excels at reducing enemy attack, defense, and hit rates with Marakunda and Matarunda. His passive skills boost his counter-attack rates and critical hit chances, making him a self-sustaining brawler who rarely wastes a turn. His Theurgy, "Lightning Fall," strikes all enemies with heavy electric damage while simultaneously lowering their stats, streamlining your setup phase during high-pressure boss encounters.
B-Tier: Niche Specialists and Early-Game Carries
B-Tier characters are far from useless; however, they require specific team compositions, manual micro-management, or heavy gear investment to shine compared to their S and A-tier counterparts.
Junpei Iori
Junpei is a classic Fire and Slash specialist who suffers from extreme SP starvation in the early-to-mid game and a lack of flexible utility. While his critical-hit focus with skills like Vorpal Blade can deal staggering damage when he is in Peak condition, keeping him at high HP to maximize his passive buffs requires constant micro-management. He is immensely fun to use and receives incredible character development, but in pure min-maxed meta terms, Aigis and Mitsuru easily outclass his physical output.
Koromaru
Koromaru brings Dark and Fire magic coverage alongside high agility and evasion rates. His speed allows him to act early in combat rounds, making him fantastic for wiping out weak random encounters with Agidyne or Megidola. However, his overall damage ceiling falls off during multi-phase boss fights where elemental immunities and physical defense scaling dictate the meta. He remains a fan-favorite for Tartarus mob farming but often gets benched for tougher assignments.
C-Tier: Situational and Late-Joiners
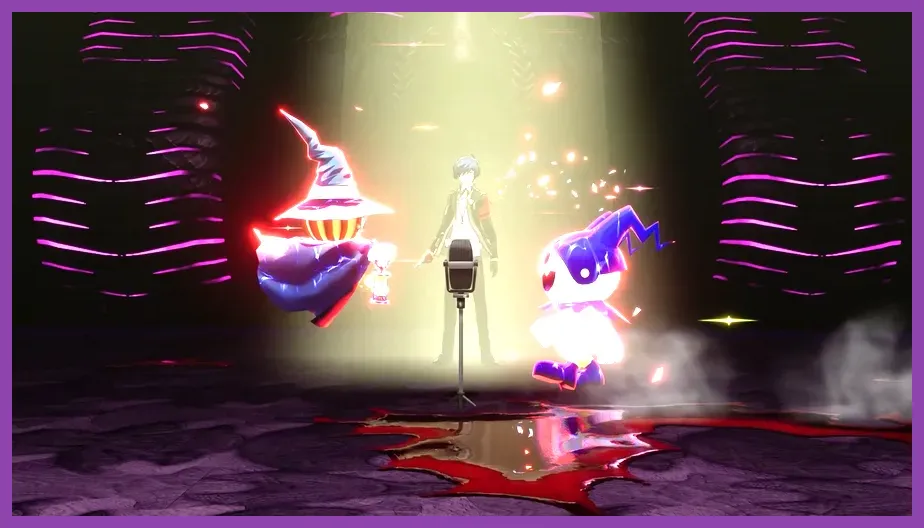
C-Tier characters join your roster late in the game or possess specialized toolkits that rarely justify benching higher-tier versatility.
Shinjiro Aragaki
Shinjiro is an absolute powerhouse the moment he joins SEES, boasting immense Strength and unyielding physical resistance. His heavy strike skills will one-shot almost any standard shadow in his introductory block. Unfortunately, narrative events dictate his departure from the active roster, meaning any investment in his gear or experience points offers a strictly limited return. Enjoy his brief tenure for roleplaying and story immersion, but do not rely on him for long-term meta planning.
Ken Amada
Ken specializes in Light magic (Hama skills) and Electric spells, coupled with auxiliary healing spells like Mediarama. While instant-kill Light spells have situational uses against specific trash mobs, they are entirely useless against major bosses. Furthermore, his split focus between magic, healing, and piercing attacks leaves his damage output lagging behind specialists like Akihiko or Mitsuru. He requires dedicated skill card inheritance to patch up his holes, making him a project character best left for subsequent playthroughs.
Maximizing Your Squad Efficiency in Tartarus
Choosing the right characters is only half the battle; managing your squad's stamina and exploiting enemy weaknesses is vital for successful Tartarus exploration. Always rotate your roster to take advantage of fatigue changes and Linked Episode availability. For additional tips on optimizing your gaming journey across various titles, check out resource farming guides, beginner survival advice, and comprehensive crafting breakdowns. Experiment with different party combinations during Monad Doors and elite floor guardian fights to discover synergies that match your preferred playstyle, and always ensure your active team features a healthy balance of elemental coverage, healing, and stat-buffing capabilities.