
The best way to find every NIKKE: Goddess of Victory secret location is to sweep each campaign map branch before clearing its next objective, then verify the result in Outpost > Recollection. Most permanent secrets are Lost Relics: small blue-glowing interactables placed beside buildings, wreckage, barriers, cliffs, and apparently empty dead ends. They do not appear as normal loot chests, and the game does not provide a complete chapter checklist on the world map.
This guide focuses on permanent campaign secrets rather than rotating event stages. Lost Relics unlock music, story records, Ark documents, and other Recollection entries. Event maps, EX stages, and limited-time archives use separate reward systems, so an event guide should not be mixed into your permanent completion count. You can also compare this route with Steamoz’s secret-location checklist format if you prefer marking discoveries as you play.
How NIKKE Secret Locations Work

Lost Relics are collected directly on the Surface map. Select a campaign chapter, enter a completed stage, and use the movement screen to inspect the surrounding terrain. A relic normally appears as a faint blue-white sparkle. It can be hidden behind foreground rubble, at the edge of the screen, or beside an object that looks like scenery rather than an interactable.
There is no need to spend ammunition or defeat a boss to collect one. Move the squad close to the glow and tap the interaction prompt when it appears. If the prompt does not trigger, approach from another angle; collision around overturned vehicles and concrete debris can be surprisingly strict. Once collected, the item is added immediately to the relevant Recollection category.
Three rules prevent most missed discoveries:
- Explore before advancing. Do not tap the next yellow objective until every side path has been checked.
- Inspect screen edges. Many relics sit beyond the apparent walking line near the left or right boundary.
- Record the chapter and stage. A relic’s icon may disappear after collection, but your personal notes prevent repeated searches.
The account-wide Outpost Recollection menu is the final authority. A chapter percentage is useful, but it does not always make the exact missing item obvious. Open Recollection after every two or three stages and compare unlocked records against a chapter checklist.
Chapter Route: Early Surface and City Maps
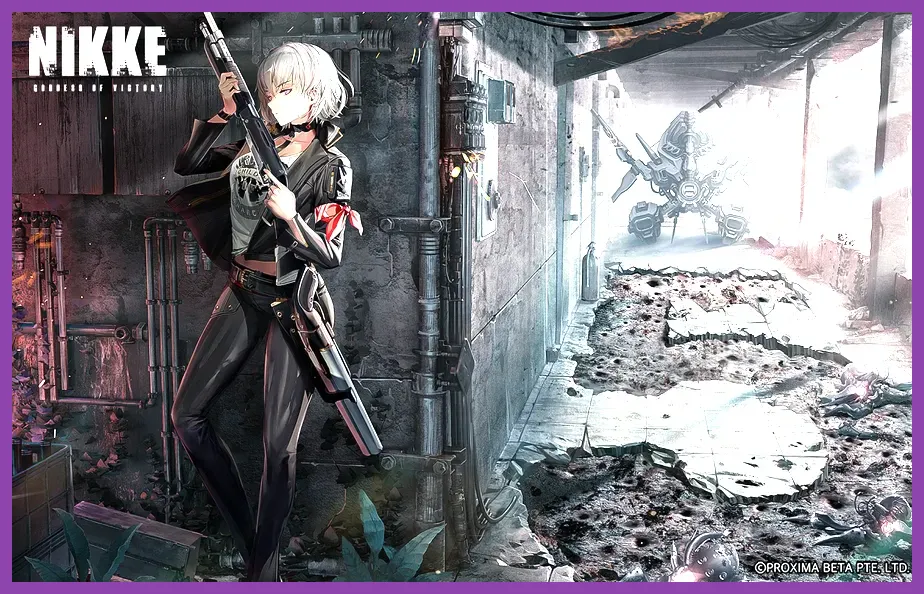
Chapters 1–2: Begin with the opening Reclamation and Ark routes. The first secrets are designed to teach exploration: check the area behind the initial combat position, then inspect the outer side of the first large wreck before following the objective marker. In the Ark section, search around machinery, elevator approaches, and the edges of wide metallic platforms. Early maps often place one relic on the main route and another in a short side branch.
Chapters 3–4: The In the Mirror and Ruined City-style layouts introduce more visual clutter. Sweep the outside of every damaged building, especially corners containing stacked containers or broken road barriers. In the city streets, check both sides of an intersection before advancing. A common mistake is to follow the objective through a narrow gap and assume the opposite dead end is decorative; that dead end is exactly where a relic can be placed.
Chapters 5–6: Industrial and transport-themed areas use long lanes with side alcoves. Search around rail cars, loading platforms, large pipes, and isolated control panels. When a stage opens into a broad arena, walk the perimeter clockwise before approaching the glowing objective. If the map includes a locked-looking gate, inspect the nearby wall and debris first; the collectible is often beside the route rather than behind the gate.
For these early chapters, the fastest reliable method is a three-pass sweep: first follow the main road without interacting with the objective, second check every branch and dead end, and third trace the outer boundary of the playable area. This is slower than rushing, but it is considerably faster than replaying a chapter from memory after discovering a missing record.
Chapter Route: Forest, Snow, and Open Terrain
Chapters 7–10: Later Surface maps become less symmetrical. Forested areas conceal blue glows against vegetation and rock, while snow-covered routes can hide them in pale backgrounds. Reduce your movement speed mentally and scan for the interaction prompt rather than relying only on color. Search behind trees, at the end of narrow ravines, beside abandoned equipment, and along the outside of bridges.
Open terrain creates a different problem: the camera can make two paths appear connected when they are not. Test every fork. If the squad reaches a combat node and the objective marker is still visible, turn around and inspect the route you skipped. A relic that is not collected remains available when you replay the stage, so abandoning a run is safe once you know the missing location.
Chapters 11–14: Use landmarks instead of stage numbers when navigating dense maps. Search around large antennas, broken towers, collapsed road sections, excavation machinery, and the rear of boss arenas. The back side of a landmark is especially important because the camera often prioritizes the objective-facing side.
Do not confuse an EX stage with a secret location. EX stages are challenge encounters that commonly award first-clear rewards, while Lost Relics are exploration collectibles. If you are completing a chapter for Recollection, replay the ordinary campaign stage that contains the branch rather than repeatedly attempting its EX battle.
Players working through difficult content can also use a stable campaign squad while searching. Liter’s Extraordinary Maintenance improves team sustain through healing and cooldown support, while Modernia’s New Dawn Burst can clear ordinary Raptures quickly. Neither is required for collecting, but finishing fights efficiently lets you spend more time checking terrain instead of retrying combat.
Chapter Route: Late Campaign and Difficult Maps
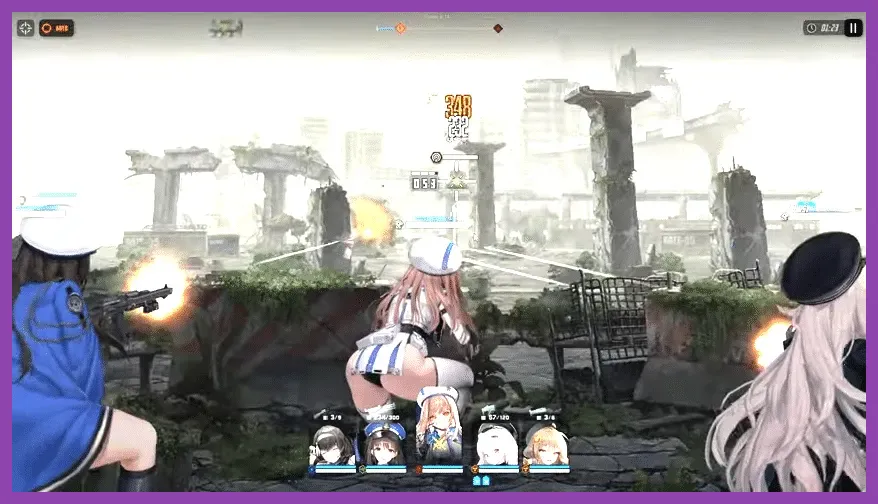
Chapters 15–20: Late maps use vertical-looking structures, layered ruins, and longer objective chains. The camera may show a platform that cannot be reached, so do not treat every visible ledge as a route. Instead, check walkable corners around elevators, stair-like rubble, barricades, and large metallic doors. Relics are placed on accessible ground, usually near a recognizable landmark.
Chapters 21 and beyond: The most efficient approach is to clear the combat requirement first only when the route is unavoidable, then return to exploration mode. Watch for new side paths that open after an encounter. Some campaign screens change after a battle or objective interaction, meaning a location that looked empty at the start may become accessible later.
Late-stage combat can make collecting frustrating because a failed battle may interrupt your route. Bring a team that can survive long enough to reach the exploration objective. A conventional setup such as Liter, a Burst II defender or buffer, and two strong Burst III attackers is safer than a glass-cannon team. Modernia, Red Hood, Alice, and Crown are examples of powerful campaign options, but character investment matters more than using a specific roster.
Save difficult boss nodes for last. Before entering, trace the perimeter, inspect every branch, and confirm the Recollection count. Boss fights often lock you into a combat screen, and restarting the stage just to inspect one overlooked corner wastes more time than a careful sweep.
How to Confirm Every Relic
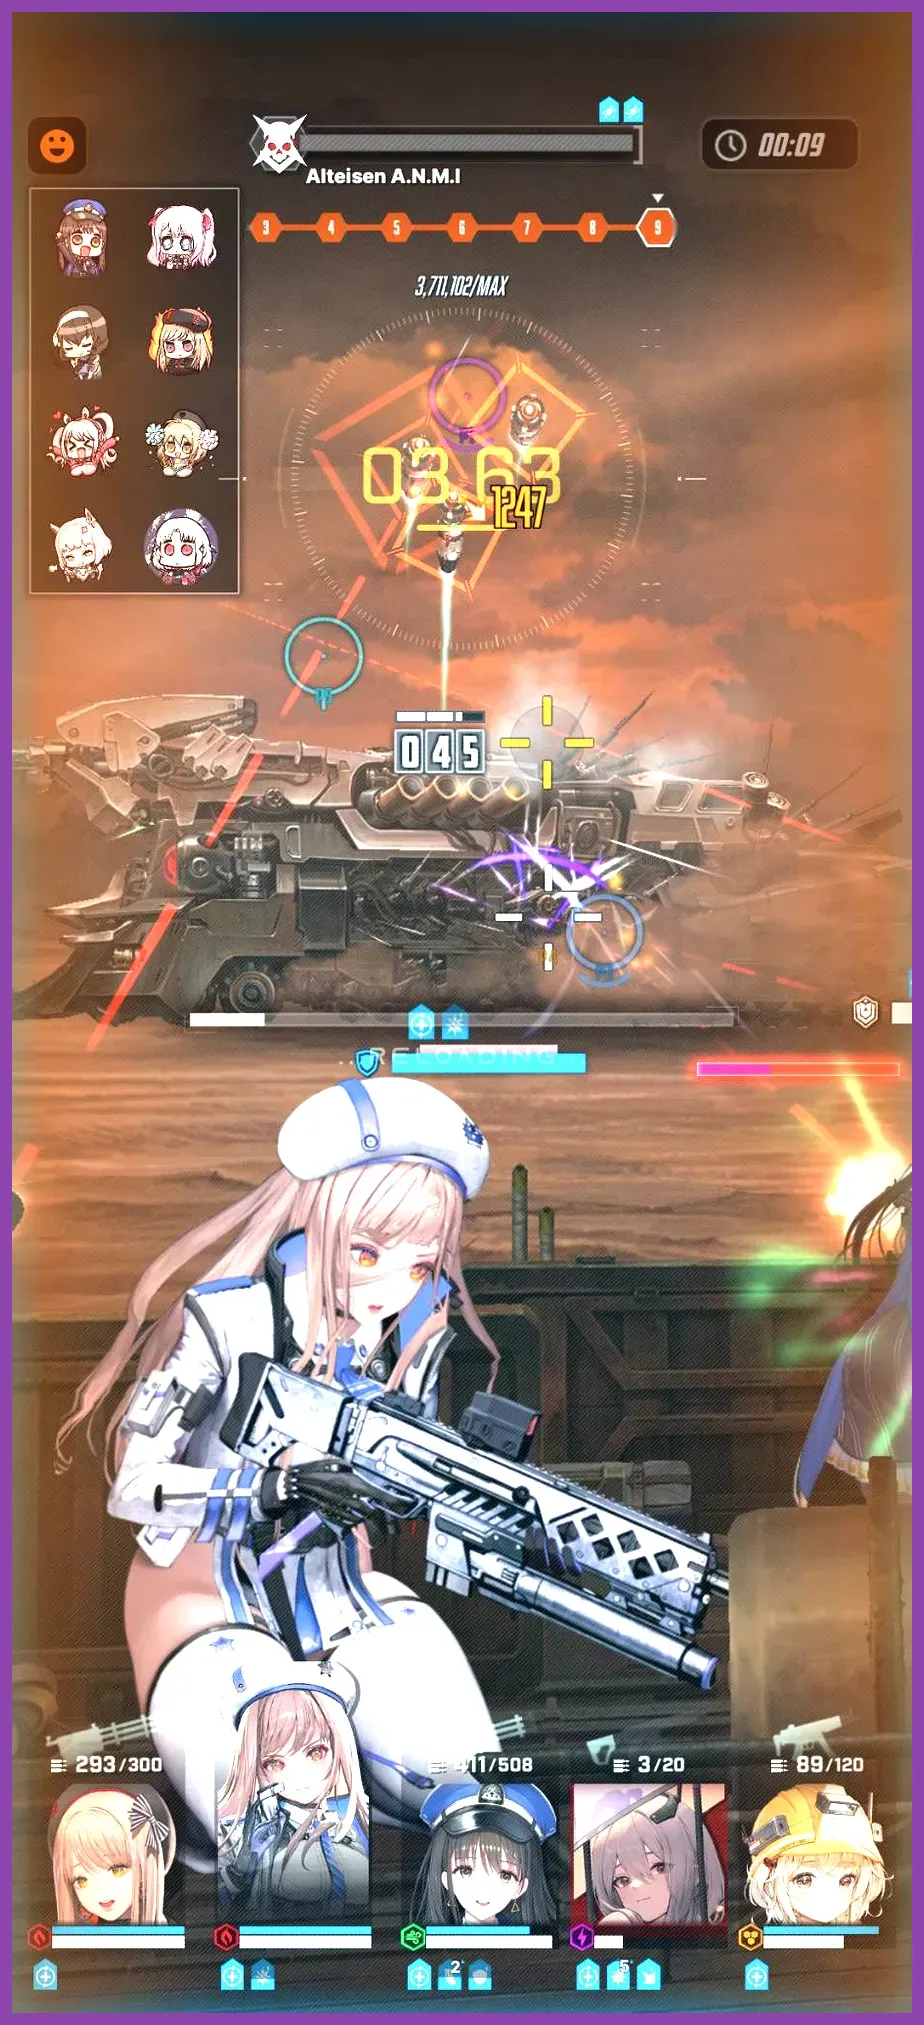
After collecting a secret, return to the Outpost and open Recollection. The menu groups unlocked records by their collection type and displays missing entries as blank spaces or locked slots. Compare that list with your notes using this simple format: chapter, stage, landmark, relic category, and confirmation status.
For example, write “Chapter 4, city intersection, behind the right-hand building, confirmed” rather than “Chapter 4 complete.” This distinction matters because a chapter can be finished for story progression while still missing several Lost Relics. If a record remains locked, replay the stages with the most branches first: wide city intersections, industrial yards, forest forks, and maps containing multiple combat arenas.
Use screenshots sparingly but deliberately. Capture the map immediately before collecting a relic, including a building or vehicle that identifies the location. That creates a personal visual guide and is more dependable than remembering a vague direction such as “near the second fight.” You can apply the same documentation habit to other collection-heavy games with Steamoz’s materials checklist and Minecraft progression guide.
Finally, remember that Lost Relic completion is separate from combat progression. It does not require a particular Nikke, skill level, Synchro Device rank, or equipment set. If a location seems inaccessible, the likely causes are an unexamined branch, a post-battle path, or a collision issue—not an account-level requirement.
Official References and Completion Tips
For patch-specific changes, consult the official NIKKE website and the official NIKKE English account before assuming a missing collectible is a bug. Campaign layouts and event content can change as new chapters arrive. The official Steam version is also useful if you prefer a larger screen for scanning map edges.
The complete routine is straightforward: replay one campaign stage, clear every branch, inspect the outer boundary, collect all blue glows, and confirm the Recollection entry before moving on. Keep event archives separate, never trust the next objective marker as a sign that the map is finished, and use a screenshot-based checklist for difficult chapters. That method remains dependable even when new campaign maps expand the total number of NIKKE secret locations.