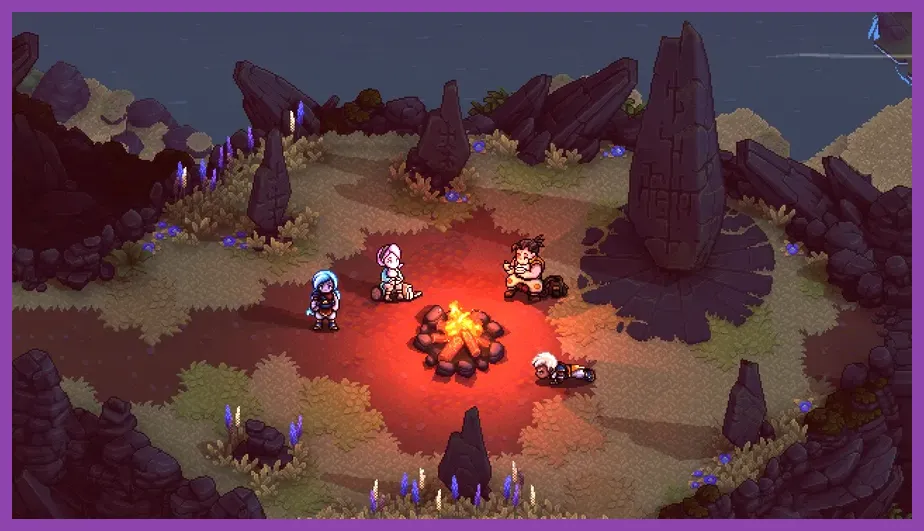
Sea of Stars does not have a conventional weapon-crafting system. You cannot smelt ore into swords or combine monster drops into armor. The best materials to collect are cooking ingredients—especially fish, meat, berries, mushrooms, and vegetables—while the most valuable progression items are Rainbow Conches, building plans, and equipment found in chests or bought from merchants. Save rare ingredients for difficult areas, cook at every campfire, and treat Mirth plans and Rainbow Conches as separate collection goals rather than crafting components.
That distinction matters because many online searches describe Sea of Stars as if it had a traditional crafting bench. Its systems are deliberately streamlined: equipment is discovered or purchased, food is prepared at campfires, and Mirth expands through special plans. This guide explains what each material does, which resources deserve priority, where to obtain them, and how to avoid wasting valuable supplies during a complete playthrough.
How Crafting Actually Works in Sea of Stars
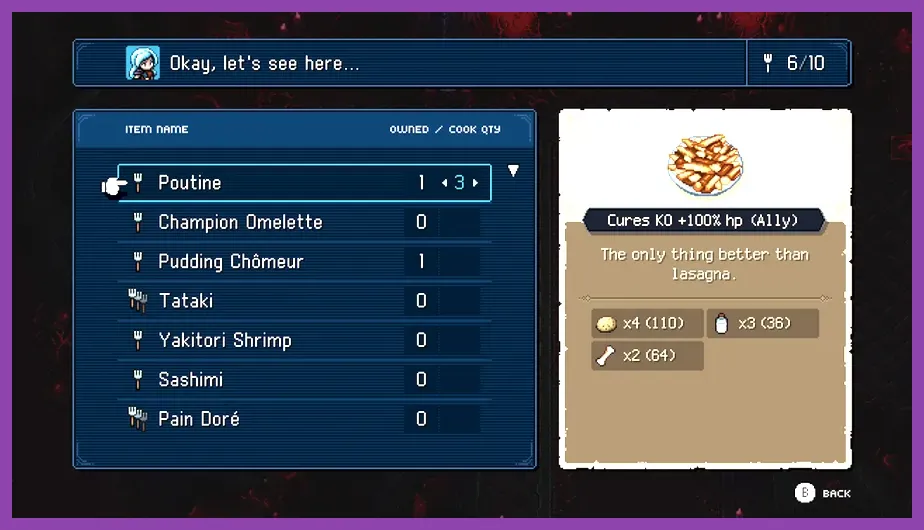
The closest equivalent to crafting is cooking. Once the party reaches a campfire, interact with the cooking pot to convert ingredients into consumable meals. Campfires also restore the party and provide access to conversation and save functions, so there is no reason to hoard food indefinitely. The game’s official Sea of Stars website presents the adventure as a traditional turn-based RPG, not a resource-crafting survival game, and that design choice is reflected in its inventory.
Cooking ingredients
Cooking materials come from several sources. Berries, mushrooms, vegetables, and other harvestable ingredients are found while exploring fields, forests, ruins, and islands. Meat is commonly acquired from defeated enemies or discovered during exploration. Fish and seafood come from the fishing lakes scattered across the world map. Shop inventories also become useful when you need a specific category of food and do not want to backtrack through earlier zones.
Ingredients are not assigned rarity tiers in the same way that weapons are. A rare-looking pickup is not automatically a superior crafting component. The important question is what recipe it supports and whether the resulting meal fits your current party needs. Because meals are stored as individual consumables, gathering a broad mixture is generally better than collecting only one ingredient type.
Equipment is found, bought, or rewarded
Weapons and armor cannot be crafted from ore. Zale’s Sun Blade, Valere’s Moon Bo, Garl’s Captain’s Knuckles, Serai’s Star Shards, Resh’an’s Arcane Grimoire, and B’st’s Vortex Gloves are obtained through progression, shops, chests, or special rewards. The same rule applies to defensive equipment such as Eclipse Armor and accessories such as the Combo Necklace: inspect chests, check merchants after major story milestones, and revisit towns after unlocking new regions.
This is why spending gold on an early weapon is often more useful than searching for imaginary crafting components. Shops can contain meaningful upgrades, while enemy drops are primarily useful as experience, gold opportunities, and occasional quest or collection items. For broader resource-management habits in RPGs, our Metaphor: ReFantazio beginner tips cover a similar principle: spend limited resources on immediate progression instead of stockpiling everything.
Best Materials to Collect and Their Priority
Use the following ranking when deciding what to pick up during exploration. Every visible ingredient takes only a moment to collect, but prioritizing the right resources keeps the inventory useful and reduces unnecessary returns to town.
S-Tier: fish, seafood, and meat
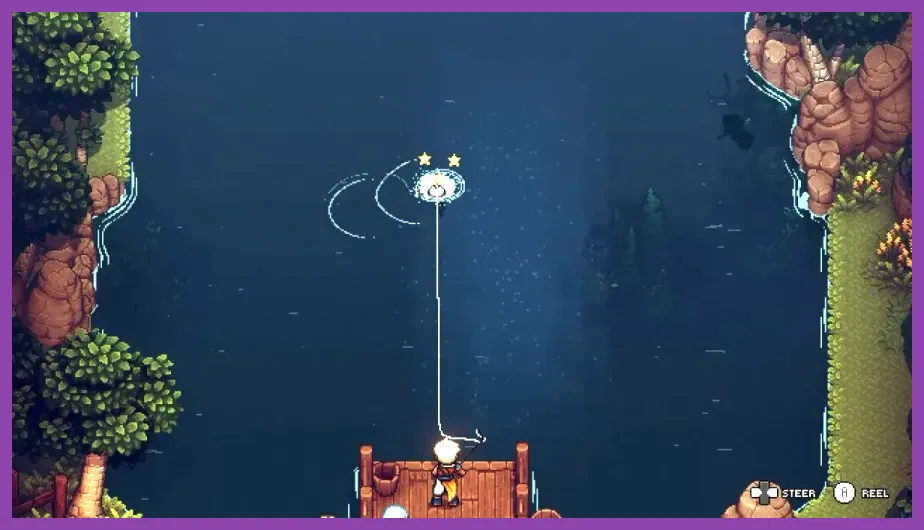
Fish and seafood are the highest-priority materials. Fishing lakes are permanent resource locations, and a successful catch provides ingredients without consuming gold. Visit each lake when you first encounter it, then return whenever you are low on healing meals. The fishing minigame is straightforward: keep the fish inside the highlighted water lane, avoid pulling against its direction when the line changes color, and reel it in during safe moments.
Meat also belongs in S-Tier because it is dependable and plentiful. Clear enemies naturally while following the story, collect meat drops where available, and use it for practical meals rather than selling it. A full stock of food gives you more freedom to attempt optional fights, explore remote islands, and recover between battles without relying on expensive items from a shop.
A-Tier: berries, mushrooms, and vegetables
Berries, mushrooms, and vegetables are excellent general-purpose ingredients. They appear frequently in routes and settlements, making them easy to replenish. Their main advantage is consistency: you can gather them while collecting chests, solving traversal puzzles, or searching for Rainbow Conches. Do not skip these materials simply because they are common. A common ingredient that supports a reliable healing recipe is more valuable than a rare item you never use.
Prioritize mushrooms and vegetables when entering a dungeon with several elite encounters. Save berries for routine healing and lighter recovery between battles. This division is not a strict recipe requirement; it is an inventory habit that prevents you from using your most flexible meals on minor damage.
B-Tier: miscellaneous finds and excess ingredients
Miscellaneous food components and duplicate ingredients are still worth collecting, but they should not control your route. Pick them up when they are beside a chest, campfire, fishing lake, or objective. Avoid lengthy detours solely for one visible item unless you are preparing for a major boss or completionist sweep.
Gold is not a crafting material, but it is part of the same economy. Sell only true surplus items after checking the shop in the current settlement. Never sell equipment simply because a character is not using it immediately; accessories can become useful when adjusting builds for a boss mechanic or a late-game challenge.
Cooking Strategy for Maximum Healing Value
The most efficient cooking plan is to prepare food in batches whenever you pass a campfire, then reserve the strongest meals for boss attempts. Sea of Stars does not require a complicated crafting tree, so the winning approach is inventory discipline rather than recipe memorization.
Cook before major story fights
Before entering a dungeon, check each character’s health and your current meal count. Prepare enough food to recover from failed attempts without exhausting your entire stock. This is particularly important before fights that combine several targets or introduce a new mechanic, because learning the timing of a boss’s locks, boosted attacks, and area damage can cost more health than the final attempt.
Food should complement the party’s abilities. Valere’s Lunar Shield can reduce incoming damage, while Zale’s healing and support options help stabilize the group during long fights. Garl’s Nourish is valuable for emergency recovery, but it should not be your only safety net. Serai’s Disorient can interrupt an enemy’s turn requirement when the correct damage types are available, and Resh’an’s Abeyance can manipulate battlefield conditions. Keep meals for moments when using a character’s turn on healing would prevent a critical lock break or combo setup.
Use campfires as supply checkpoints
Campfires are more than save points. They let you restore the party before exploring a branching path, so collect nearby ingredients first and cook afterward. If a route contains a fishing lake and a campfire, fish before cooking; that produces a clean restock loop with no need to return to a merchant.
Do not consume premium healing items merely because a character has lost a small amount of health. Normal encounters are designed around efficient skill use and timed hits. Basic attacks that generate live mana, boosted attacks, and well-timed blocks reduce pressure on the food supply. The game’s official Steam page highlights timed-hit combat, and that timing system is the key to making every meal last longer.
When to stop gathering
Stop farming when you have enough food for the next dungeon plus a reserve for two boss attempts. There is no benefit to turning every area into a full-clear harvest route on the first visit. Sea of Stars gives you extensive opportunities to revisit regions, and late-game travel tools make cleanup faster. Over-collecting also distracts from more valuable objectives, including chests, conches, and hidden paths.
Mirth Plans, Rainbow Conches, and Real Progression Materials
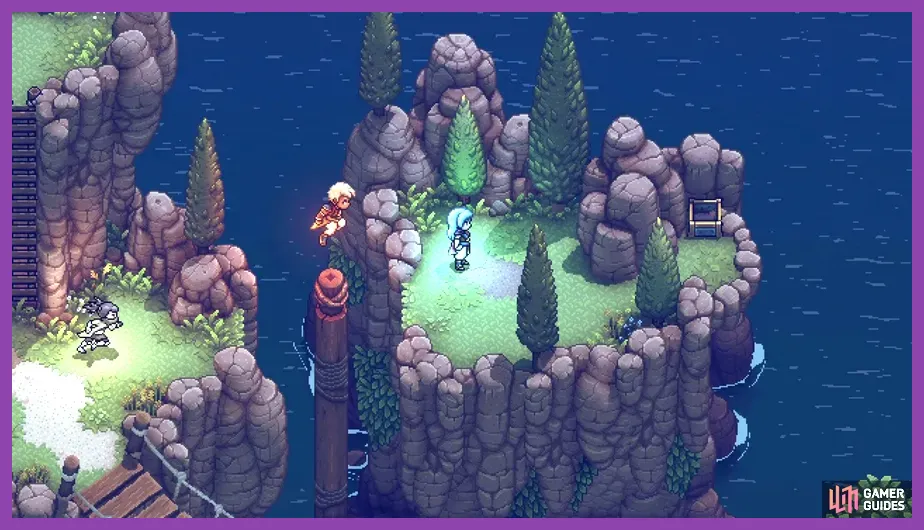
Two collectible categories are frequently mistaken for crafting materials: building plans for Mirth and Rainbow Conches. Neither is combined at a workbench, but both have a direct impact on progression and completion.
Mirth building plans
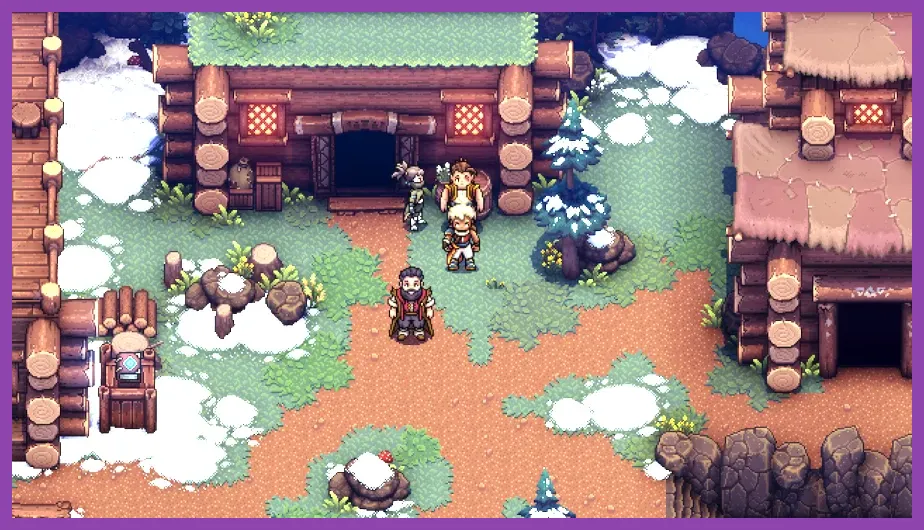
Mirth is upgraded by finding specific plans and delivering them to the appropriate NPC, not by supplying wood, stone, ore, or gathered ingredients. The town’s improvements unlock useful services and rewards, so investigate optional routes and revisit areas after acquiring new traversal abilities. If a chest looks unreachable, mark the location mentally instead of wasting time trying to force an early solution.
Building plans are best treated as exploration rewards. Search behind waterfalls, across narrow ledges, inside optional rooms, and along routes that appear to lead away from the main objective. A completionist route should pair Mirth hunting with the search for Rainbow Conches, since both encourage thorough exploration but use different reward systems.
Rainbow Conches
Rainbow Conches are collectible shells exchanged for rewards at Mirna’s shop on Lake Docarria. They are not ingredients and cannot be crafted, but they are among the most valuable items to collect during exploration. Rewards include useful items and progression benefits, with the total number collected determining which rewards become available.
Use the conch counter and reward milestones as a reason to revisit earlier locations. Chests hidden behind movement puzzles, fishing-related areas, and optional island routes often contain conches. If you are unsure whether an area is complete, compare the region’s visible paths and locked traversal points rather than assuming every missing item requires a new story chapter.
For a second opinion on completionist route planning, our Project Zomboid secret locations guide uses the same practical method: clear obvious objectives first, record blocked paths, and return when the required ability becomes available.
Efficient Material Route for a Full Playthrough
A strong material route follows the story instead of creating a separate farming routine. Pick up ingredients on the way to objectives, fish at every lake, cook at each campfire, and inspect every merchant after a major chapter. This approach keeps food available without delaying the campaign.
Early game
During the opening regions, collect berries, mushrooms, vegetables, and meat whenever they sit directly on your path. Do not spend gold on every shop item immediately; compare the new weapon or armor against the equipment already installed on the relevant character. Cook basic meals before major encounters and learn the timing system through regular battles instead of burning food to compensate for missed blocks.
Midgame
Once the world opens up, make fishing lakes part of your travel circuit. Visit a lake before entering a long dungeon, fill your ingredient supply, and cook at the nearest campfire. This is also the ideal stage to begin systematic Rainbow Conch and Mirth-plan collection because optional islands and previously inaccessible paths become easier to reach.
Keep a flexible party setup. Zale and Valere can cover solar and lunar damage, Serai provides poison-oriented attacks and powerful turn manipulation, and Garl offers dependable support. Resh’an and B’st add further damage types and utility later. A varied team reduces the number of turns spent healing, which indirectly makes every ingredient stockpile more efficient.
Endgame and cleanup
In the final regions, stop worrying about ordinary ingredient scarcity. Focus on fishing lakes, unclaimed chests, Mirth plans, Rainbow Conches, and equipment upgrades. Save a healthy food reserve for optional superbosses and post-game content, where battles can punish inefficient turns even when your party is fully equipped.
Do not confuse a completionist checklist with a crafting checklist. There is no hidden ore tier that unlocks a secret forge. Your endgame priorities are upgraded equipment, strong accessories, food for difficult encounters, conch rewards, and the optional challenges unlocked through exploration. The official Sabotage Studio site is the best place to verify major updates and announcements, while the game itself provides all essential crafting and cooking information through its menus.
The short version: fish whenever possible, gather meat and common produce on the move, cook at campfires before dungeons, and never waste time searching for a crafting forge that does not exist. Sea of Stars rewards exploration through meals, equipment, Mirth plans, and Rainbow Conches—not through a traditional material-combination system. Once you separate those categories, resource management becomes simple: food supports combat, plans improve Mirth, conches unlock collection rewards, and gear comes from discovery or merchants.