The best NIKKE endgame build for most accounts is Crown, Liter, Naga, Red Hood, and Alice. Use Crown as the primary Burst I support, Liter as the second Burst I option, Naga for Burst II healing and damage amplification, then rotate Red Hood and Alice as your Burst III carries. Equip OL gear on the damage dealers first, prioritize Charge Damage and Charge Speed where appropriate, and build separate teams for campaign, Solo Raid, and Special Interception rather than forcing one squad into every fight.
This setup is strong because it covers the three requirements that decide late-game battles: reliable Burst uptime, permanent sustain, and concentrated boss damage. It also remains flexible. Red Hood can temporarily fill Burst I or Burst III duties, Liter repairs cover and reduces cooldown pressure, and Alice scales extremely well with investment. Check the official Goddess of Victory: NIKKE site for current event banners and balance changes before spending Advanced Recruit Vouchers.
Best Universal NIKKE Endgame Team

Recommended lineup: Crown, Liter, Naga, Red Hood, and Alice. Place Crown in slot one and Liter in slot two if you want manual control over the opening Burst I. Put Naga in slot three, Red Hood in slot four, and Alice in slot five. The order is not merely cosmetic: it makes target switching and manual burst selection easier, particularly when a boss exposes a weak point on one side of the screen.
Core burst rotation
Open with Crown's Burst I when you need the broadest offensive setup, then use Naga's Burst II and Red Hood's Burst III. On the next cycle, use Liter's Burst I, Naga's Burst II, and Alice's Burst III. This alternating rotation prevents the team from relying on a single cooldown source and lets Red Hood handle awkward mechanics with her flexible Burst role.
Crown supplies team-wide offensive value and recovery utility, while Naga keeps the formation alive through healing and makes boss weak-point damage more rewarding. Liter remains exceptional because her kit improves attack, repairs cover, and supports sustained fights. Red Hood is the emergency button: her Burst can clear mobs, damage a boss, or substitute for a missing Burst I. Alice is the high-investment finisher, especially after her Skill 1 and Skill 2 reach level 10.
If Crown is missing, replace her with Blanc for survivability or Volume for Burst Cooldown Reduction. If Naga is unavailable, Tia and Naga should be used together when possible, but Naga alone can be replaced by Marciana for healing. Players building their first roster can compare this approach with our team synergy guide; the same principle applies here: build around roles, not five individually powerful characters.
Skill Levels and Stat Priorities
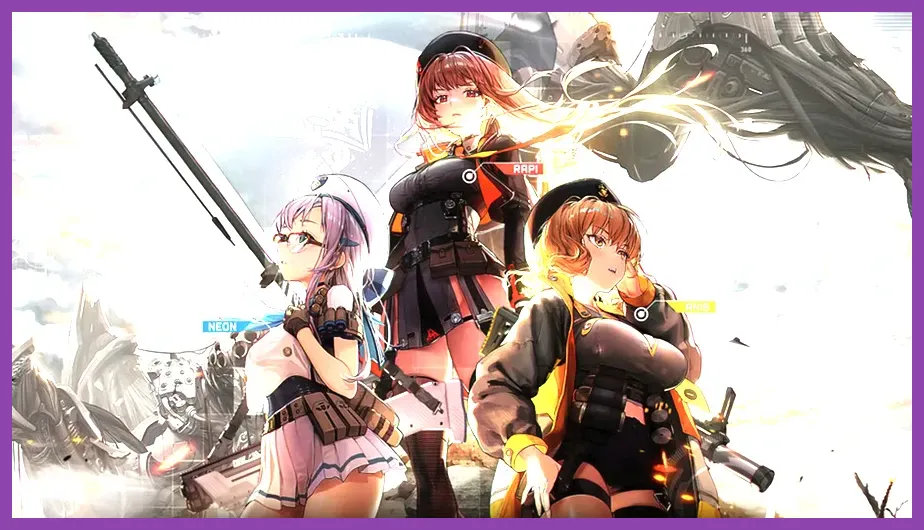
Endgame materials are too scarce for random upgrades. Take the principal damage dealer to 10/10/10 first, then raise the main support skills that affect the entire party. A practical order for this team is Alice's Skill 1, Alice's Skill 2, Red Hood's Skill 1, Red Hood's Skill 2, Crown's party buff skill, Naga's healing or damage-support skill, and Liter's cooldown and cover-repair skills. Burst skills should normally reach level 10 on the characters used in Union Raid and Solo Raid.
Damage-dealer priorities
Alice: prioritize Charge Speed, Charge Damage, and Attack. Alice's performance depends on fast full charges, so manually hold the attack button and release when the charge is complete. Her Burst, Wonderful Wonderland, is strongest when her charge-related skills are already active. Hit Rate can be useful in fights with small or distant weak points, but it is usually less valuable than Charge Speed.
Red Hood: prioritize Attack, Charge Damage, Charge Speed, and elemental damage when the boss weakness matches her ammunition. Red Hood's Burst, Red Hood, offers unusually high flexibility because she can occupy more than one Burst stage. Use her Burst III for maximum damage, but use Burst I when the fight requires another cooldown cycle or when your second Burst I is not ready.
Modernia: use her instead of Alice for wave-heavy campaign stages. Her Burst, New Dawn, changes her machine gun into a wide-area clearing tool, making her excellent against clustered Raptures. Do not automatically use Modernia in every boss fight: Alice and Red Hood generally deliver better focused damage against a single exposed core.
Support priorities
Crown and Liter want Skill levels before expensive custom investment. Crown benefits from Attack, Charge Speed, and HP, while Liter values cooldown support and survivability. Naga should receive HP and Defense if she is dying before her healing cycle, followed by Attack and elemental bonuses. For another gear-focused reference, see our endgame progression guide; the key lesson is the same: secure the foundation before chasing perfect rolls.
Overload Gear and Cube Setup
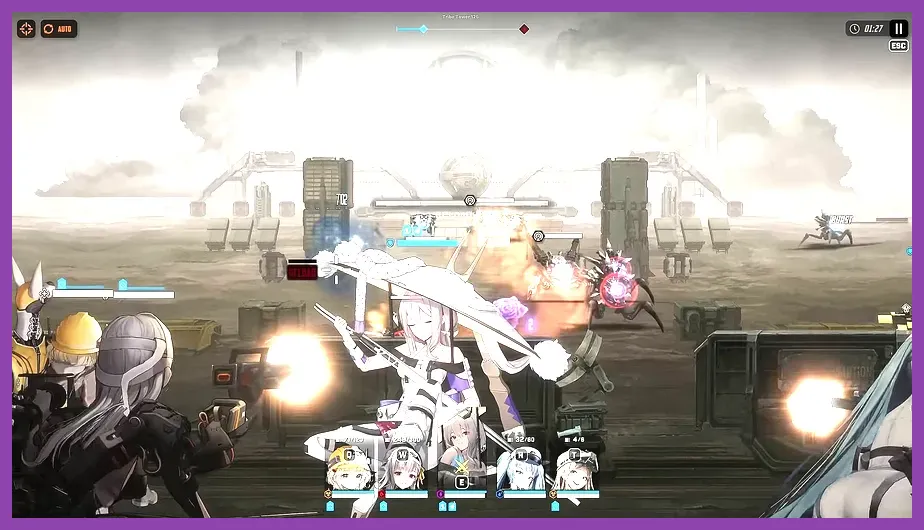
Begin Overload progression with your main damage dealer. Special Interception bosses such as Blacksmith, Modernia, Chatterbox, Alteisen MK.VI, and Grave Digger provide the Manufacturer Equipment and Custom Module economy needed for this process. Upgrade only equipment belonging to the correct manufacturer when possible, because Manufacturer gear is the foundation of a finished OL set.
Recommended equipment
Give Alice four pieces of Pilgrim Attacker gear and roll Charge Speed, Charge Damage, Attack, and elemental damage. Red Hood also wants Pilgrim Attacker gear, with Attack and Charge Damage taking priority. Do not discard a piece merely because its first roll is imperfect; lock useful lines and reroll selectively once your Custom Module supply is stable.
For cubes, Resilience Cube is the safest general choice for Alice because it improves charge speed. Admi Cube can be stronger on characters who benefit from burst generation, while Bastion Cube helps sustained automatic fire and ammunition management. Cube levels matter, but putting a level-eight cube on a fully built carry is usually less urgent than finishing skills and securing usable OL lines.
For a free-to-play account, avoid spreading Custom Modules across ten characters. Finish one attacker, then a second attacker for a different element or weapon profile. This is more efficient than creating five partially optimized units that all fail the damage check. Our weapon prioritization guide covers the same resource discipline in a different game.
Campaign and Interception Rotations
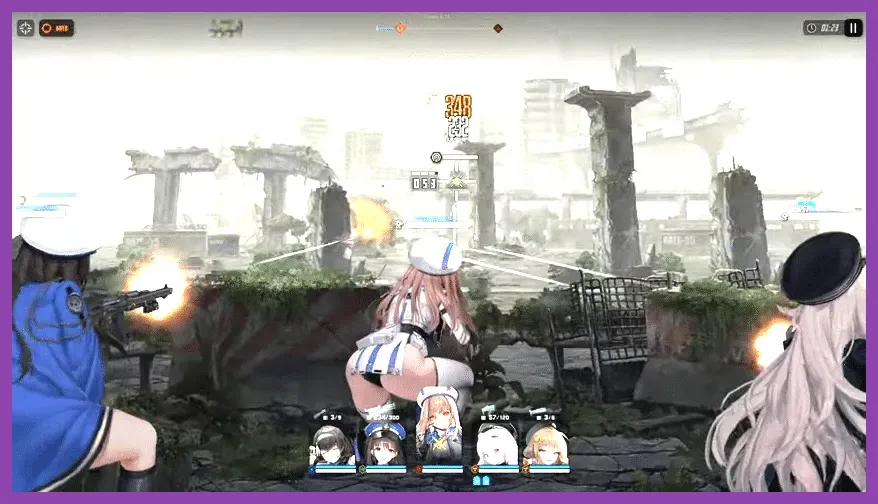
In campaign, use the universal lineup but swap Alice for Modernia when the stage contains several waves or shielded clusters. Start auto-battle only after positioning your squad and confirming that the opening Burst order is correct. For difficult stages, manually control Red Hood or Alice, focus the highest-threat Rapture first, and use cover before a projectile lands rather than waiting for the health bar to drop.
Against Blacksmith, preserve burst damage for the exposed core and intercept the large projectiles before they reach the team. Against Modernia, shoot the wings and then the core according to the phase objective; wasting Burst III while the target is invulnerable creates a damaging cooldown gap. Against Grave Digger, manual shotgun aim and timing are critical because the boss repeatedly closes distance and presents interruption circles.
Alteisen MK.VI is a cover-management test. Keep a durable unit available to absorb the train's opening pressure, destroy the turrets quickly, and avoid spending every defensive resource before the train's later missile pattern. Chatterbox rewards burst timing and target focus: break the exposed parts, avoid unnecessary cover destruction, and finish the boss before repeated jumps overwhelm the squad. The NIKKE.GG database is useful for checking current boss mechanics and skill values.
Solo Raid and Union Raid Variations
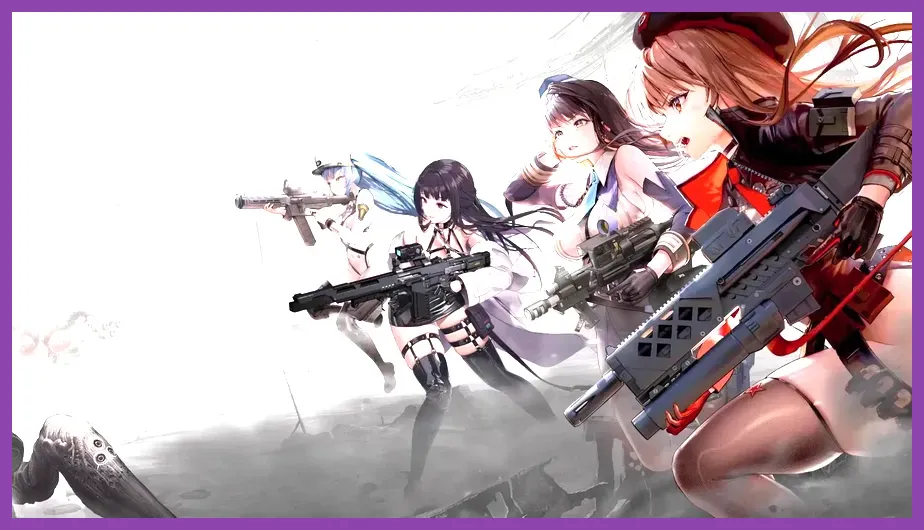
Solo Raid rewards several specialized squads, so the universal team should become Team One rather than your only team. Keep Crown, Naga, and Liter together when a boss has long damage phases. Move Red Hood into a second team if her Burst I utility enables a stronger composition, then pair her with another Burst II support and a dedicated Burst III carry.
Element and weapon adjustments
Use Scarlet: Black Shadow or Scarlet when the boss favors sustained assault-rifle or sword damage and your account has the required support. Use Maxwell when burst-window sniping is more valuable than continuous fire. Marciana is an excellent substitute for Naga in a team that needs healing, while Blanc and Noir remain a specialized pair whose value depends on using both characters together.
Do not chase combat power alone. Solo Raid damage is often lost to poor burst timing, missed interruption circles, or firing into an invulnerable phase. Save Alice's Burst for the boss's vulnerability window, use Red Hood's flexible Burst when the planned chain breaks, and switch targets manually when a part must be destroyed for survival. Record one run and identify whether the failure came from damage, healing, or mechanics before changing the entire roster.
Resource Plan for Long-Term Progression
Spend Skill Manuals on the five characters that appear in your most difficult content, and reserve Skill Interruption Manuals for the final levels of priority skills. Level every Nikke to 200 through the Synchro Device rather than pushing individual characters beyond the shared cap prematurely. Use the official NIKKE news page to track events, free recruitment rewards, and limited-time upgrade materials.
Your first endgame milestones should be a complete 10/10/10 Alice or Red Hood, four functional OL pieces, a levelled Resilience or Admi Cube, and enough healing to survive Special Interception. After that, build a second Burst III carry, then elemental alternatives for Solo Raid. Recruit for account value rather than duplicate damage: a new support that fixes cooldowns or healing can improve five teams more than a small upgrade to an already finished attacker.
Finally, review the lineup after every major balance patch. NIKKE's strongest team changes with new Pilgrims, limited units, and boss mechanics, but the fundamentals remain stable: one dependable Burst I, one reliable Burst II, two damage options, efficient burst cycling, and gear concentrated on the characters that actually clear your current wall. For broader mobile RPG progression advice, our early-game character guide offers a useful comparison, but this NIKKE setup is the stronger starting point for late-game campaign, Interception, and raid progression.