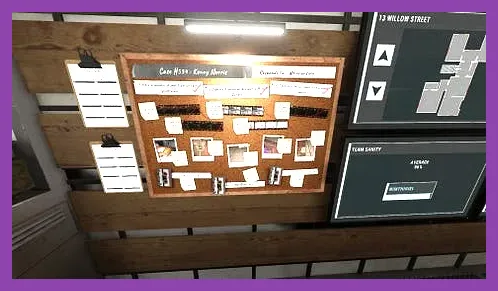
Unlocking all achievements in Phasmophobia requires a systematic approach to standard contracts, specific equipment interactions, cursed object exploits, and high-difficulty modifiers like Nightmare and Insanity. To 100% complete the Steam achievement list, you must balance general gameplay grind with hyper-specific challenges such as capturing photo evidence of a ghost during a hunt, surviving a hunt with zero sanity, and identifying ghost types on custom difficulties without evidence. Below is the ultimate step-by-step masterclass to earning every single achievement in Kinetic Games' premier ghost-hunting title.
Understanding Progression and General Milestone Achievements
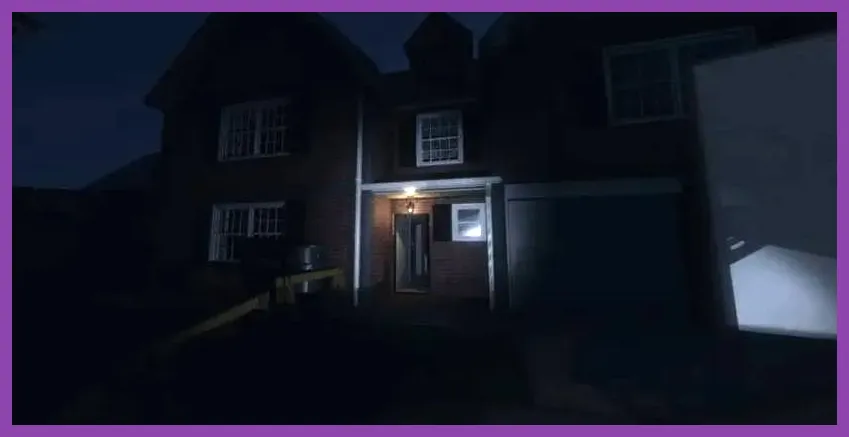
The foundation of your achievement hunt begins with accumulating core player levels, purchasing high-tier equipment upgrades, and completing standard contracts across various maps. You can track official game updates and patch notes directly via the Phasmophobia Steam Page or check the Kinetic Games Official Website for upcoming feature drops that might alter achievement requirements. When starting your journey, focus on cycling through small maps like Tanglewood Drive, Edgefield Road, and Willow Streethouse.
Grind out investigations efficiently by utilizing the best cooperative loadout strategies to maximize your investigation timer and evidence collection rate. Standard milestones include reaching Level 100, buying every Tier III item (such as the Tier III EMF Reader, Tier III Parabolic Microphone, and Tier III Head Mounted Camera), and filling your photo book with 3-star photos of Ghost Interactions, Fingerprints, Burned Crucifixes, and Dead Bodies. Ensure that every single photo you take maxes out the monetary and XP reward by positioning yourself close to the subject without putting your life at immediate risk.
Mastering Evidence Collection and Equipment Achievements
Many achievements hinge on successfully utilizing specific items under pressure. You must master the mechanics of the Spirit Box, DOTS Projector, ultraviolet lights, and freezing temperatures. For instance, getting a Spirit Box response while standing alone in the dark with zero sanity requires careful positioning. Equip a Tier II or Tier III Spirit Box, turn off all room lights, and ensure your microphone threshold is correctly calibrated in your Windows audio settings.
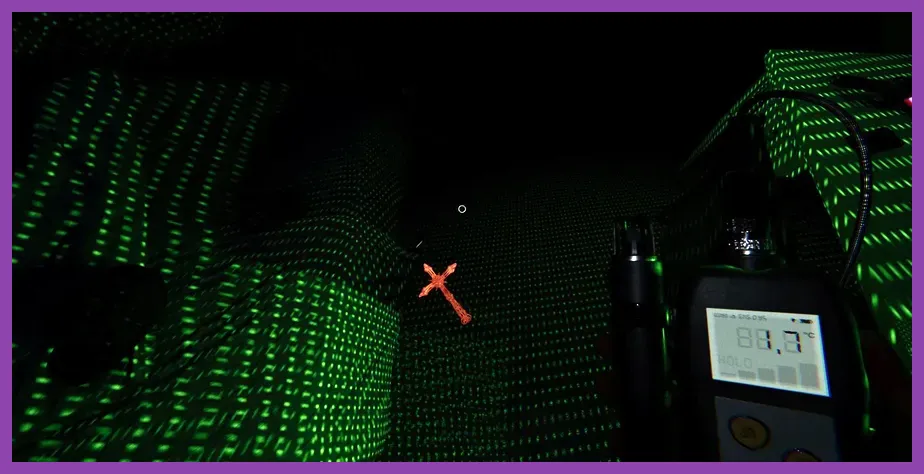
Furthermore, you need to collect specific hidden objectives across maps. This ties directly into learning map layouts, similar to how players optimize movement in complex tactical settlement management games. Use the Thermostat and thermometer to locate freezing temperatures instantly, place ultraviolet flashlights down on doors or light switches to catch Fingerprints or Footprints reliably, and deploy video cameras on tripods to capture ghost orbs without needing to sit in the freezing truck all match.
Utilizing Cursed Possessions for High-Risk Feats
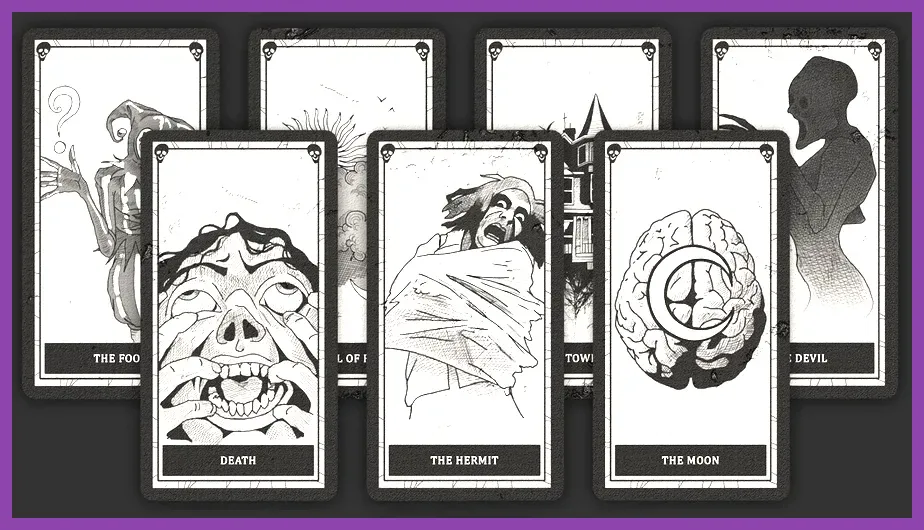
Every map spawns one of seven Cursed Possessions: the Ouija Board, Tarot Cards, Haunted Mirror, Voodoo Doll, Music Box, Summoning Circle, or Monkey Paw. Specific achievements demand that you interact with or break these items under precise conditions. For example, drawing the Death card or the Hanged Man card from the Tarot Deck instantly triggers a cursed hunt or kills you outright, which contributes to death and survival counters.
When dealing with the Monkey Paw, you must formulate safe wishes that grant you key knowledge—such as "I wish for sanity" or "I wish to see the ghost"—while actively avoiding wishes that trap you in rooms or blind you during hunts. Always cross-reference your strategy with the game's official lore database found on the Phasmophobia Official Wiki to understand how recent updates affect sanity drain rates when interacting with cursed items.
Conquering Nightmare and Insanity Difficulties
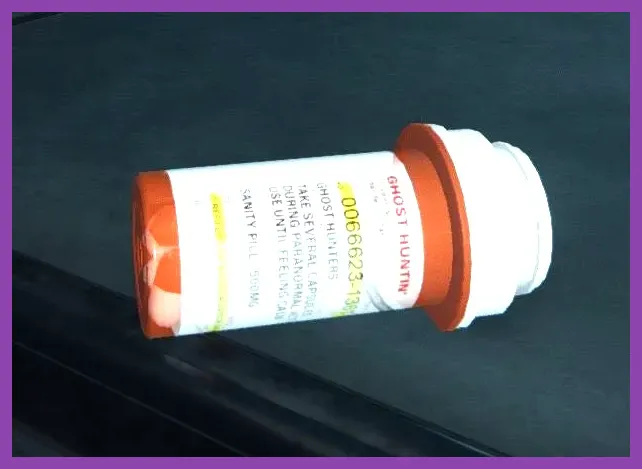
The toughest hurdle for completionists is conquering missions on Nightmare and Insanity difficulties. On Nightmare, ghosts give fewer pieces of evidence, and hunts are significantly more punishing. On Insanity, you receive zero mandatory evidence and must rely entirely on ghost behavior, blink patterns, speed differences, and audio cues.
To survive these runs, treat every corner as a potential hunting ground. Before starting, optimize your hardware settings using advice akin to high-performance PC optimization guides to ensure a rock-solid framerate and zero input lag during frantic escape sequences. Drop smudge sticks and lighters near choke points, keep a Tier III Crucifix placed strategically to block two hunts, and memorize the exact walking speeds of unique ghosts like the Revenant, Moroi, and Thaye.
Surviving and Escaping Active Ghost Hunts
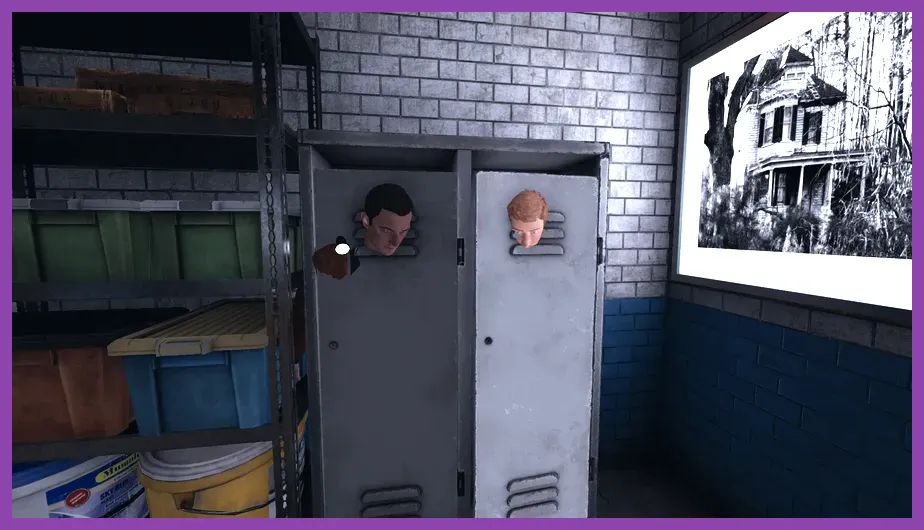
Surviving hunts forms the core of multiple achievement triggers. When a ghost starts a hunt, your sanity drops rapidly if you have line of sight, and doors lock down instantly. Your objective is to break line of sight immediately by turning around corners, ducking behind kitchen islands, or diving into designated hiding closets and lockers.
Never hold active electronic equipment (like a flashlight or EMF reader) in your hand while hiding, as ghosts equipped with sensory detection will track electronic signals through walls. Practice loop-running around kitchen tables and living room sofas on medium maps like Ridgeview Court to cleanly evade slower ghosts. Mastering these evasive maneuvers shares the same reflex discipline required when tackling brutal soulslike boss encounters.
Grinding Weekly Challenges and Seasonal Events
Kinetic Games regularly updates Phasmophobia with weekly challenge modes and massive seasonal events (such as the Halloween and Christmas community blood moon events). Several legacy and modern achievements are tied directly to completing these limited-time gameplay modifiers.
Check the weekly modifier rules every Monday. Challenges might restrict you to specific equipment loadouts, zero evidence runs, or forced sanity drains. Bring a cooperative team of experienced hunters to clear these quickly. By coordinating roles—assigning one player to sanity management, another to equipment placement, and a third to video monitoring—you will knock out even the most punishing weekly modifiers with ease, bringing you one step closer to that elusive 100% completion badge.