The absolute best skills and Stratagems to unlock first in Helldivers 2 are the Eagle Airstrike (Level 2), EAT-17 Expendable Anti-Tank (Level 3), Grenade Launcher (Level 3), and AX/AR-23 "Guard Dog" Rover (Level 10). Prioritizing these core abilities with your early Requisition Credits allows you to handle both heavy Automaton armor and massive Terminid bug swarms across Challenging and Hard difficulties without feeling underpowered.
S-Tier Early Stratagems to Unlock First

When starting your career as a Helldiver, your Requisition Credits are limited. Spending them on niche gear delays your access to essential anti-armor and horde-clearing tools. Below are the highest-priority offensive Stratagems every recruit should purchase as soon as they reach the required level.
1. Eagle Airstrike (Unlock Level 2 | Cost: 4,000 Requisition)
The Eagle Airstrike is arguably the most versatile offensive skill in Helldivers 2. Unlike heavy orbital strikes that have long cooldowns, the Eagle Airstrike arrives in under three seconds, carpet-bombing a broad horizontal strip. It deals explosive damage capable of destroying Medium Automaton Outposts, Terminid Bug Nests, Automaton Fabricators, and heavy units like Chargers and Automaton Tanks. With multiple uses per rearm, it remains top-tier even in Helldive (Difficulty 9) missions.
2. EAT-17 Expendable Anti-Tank (Unlock Level 3 | Cost: 3,000 Requisition)
Heavy armor presents an immediate wall for new players on Suicidal and Extreme operations. The EAT-17 resolves this by delivering two disposable rocket launchers every 70 seconds. A single direct hit to the head of a Terminid Charger or the visor of an Automaton Hulk will eliminate them outright. Because the launchers are disposable, you can call them down continuously without fear of losing your support weapon upon dying. Combining smart tactical positioning with quick anti-tank bursts is essential, much like mastering combat fundamentals highlighted in our action combat tips guide.
3. Grenade Launcher (Unlock Level 3 | Cost: 6,000 Requisition)
For clearing out crowded enemy breaches and closing bug holes without wasting high-cooldown orbitals, the Grenade Launcher is unmatched early on. It launches high-explosive rounds in an arc, wiping out clusters of Hunters, Scavengers, and Devastators in seconds. It allows players to clear entire secondary objective outposts single-handedly while staying at a safe distance.
4. Orbital Laser (Unlock Level 15 | Cost: 10,000 Requisition)
While available slightly later at Level 15, saving credits for the Orbital Laser is critical. It targets the largest enemy on the field automatically, sweeping across the zone while burning through heavy armor, Bile Titans, and Factory Striders. Although restricted to three uses per mission, its panic-button capability makes it indispensable during extraction holds.
Best Defensive & Backpack Stratagems
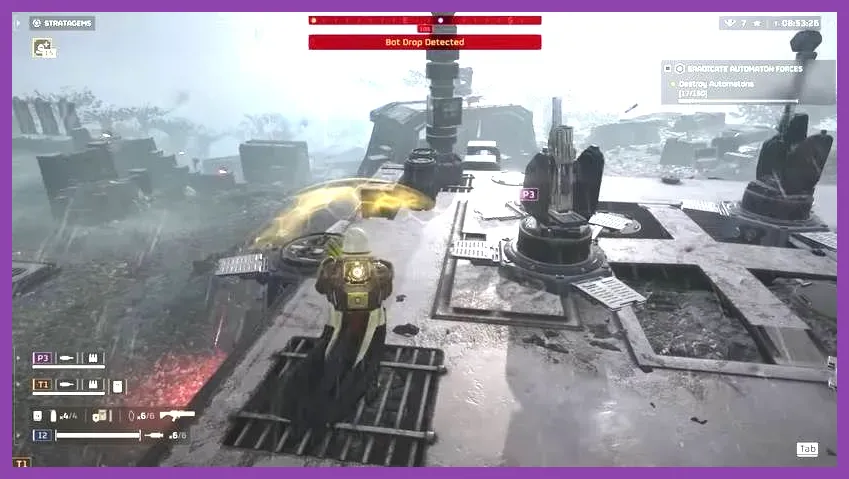
Backpack Stratagems occupy your back slot but supply continuous utility, health shields, or automatic defensive fire. Purchasing one early drastically improves your survivability when soloing or playing with random squads.
5. AX/AR-23 "Guard Dog" Rover (Unlock Level 10 | Cost: 7,500 Requisition)
The Guard Dog Rover equips a hover drone fitted with a continuous laser rifle. It automatically targets and cooks small-to-medium enemies within a 30-meter radius. Against Terminids, the Rover effectively eliminates fast-moving fliers and Hunters before they can apply slowing debuffs to your character. It acts as a passive killing machine, allowing you to focus on primary objectives.
6. SH-32 Shield Generator Pack (Unlock Level 20 | Cost: 10,000 Requisition)
The Shield Generator Pack envelops the user in a spherical energy barrier that absorbs incoming projectile damage, melee strikes, explosion knockbacks, and environmental hazards (such as fire or acid). It is the single best defensive unlock against Automatons, preventing instant-kill sniper shots and rocket ragdoll physics. For players scaling toward endgame content, this backpack is non-negotiable.
Best Turrets & Sentry Skills for New Players
Sentries act as additional squad members when placed correctly on high ground. Unlocking key sentries early simplifies defense objectives, citizen evacuations, and extraction waves.
7. A/M-12 Mortar Sentry (Unlock Level 8 | Cost: 7,000 Requisition)
The Mortar Sentry launches high-explosive shells over terrain barriers without requiring direct line of sight. It begins softening up incoming enemy patrols long before they reach your firing line. When defending defense points, placing a Mortar Sentry behind solid cover ensures steady fire support. Just ensure your team stays away from swarm choke points to avoid friendly fire.
8. A/AC-8 Autocannon Sentry (Unlock Level 13 | Cost: 6,000 Requisition)
Unlike standard machine-gun sentries, the Autocannon Sentry fires heavy armor-piercing rounds capable of staggering Hulk Bruisers, Gunships, and Chargers. Place it at an oblique angle to enemy pathfinding so it can strip armor and shred massive health pools while enemies focus on your team. Much like analyzing low-cost entry titles in our list of top budget games, selecting high-value assets like the Autocannon Sentry offers massive performance returns for minimal expenditure.
Priority Ship Modules: Upgrading Your Destroyer
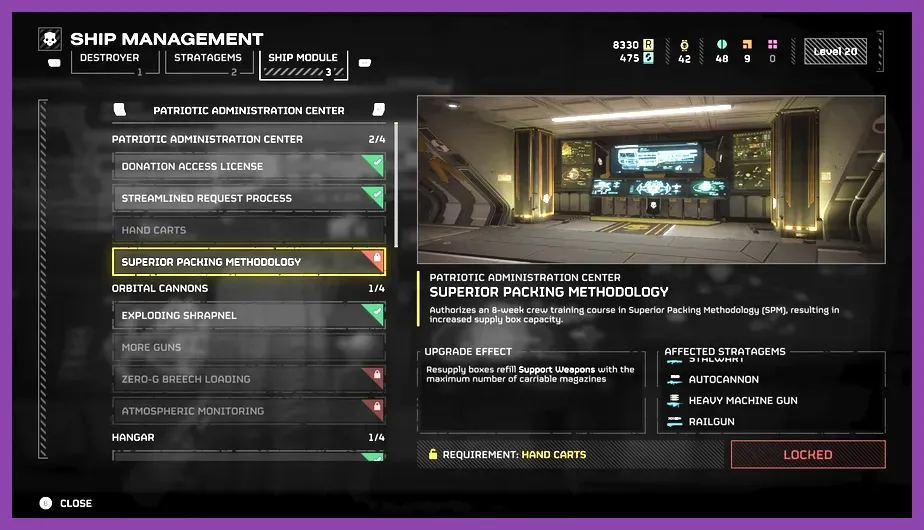
Beyond calling down Stratagems, unlocking **Ship Modules** at the Super Destroyer Management terminal grants permanent passive buffs to your entire kit. Ship upgrades require Common, Rare, and Super Samples collected during missions.
Bridge: Liquid-Ventilated Cockpit
Reduces the cooldown time of all Eagle Stratagems by 50%. Combined with the Eagle Airstrike and Eagle Cluster Bomb, this module lets you cast airstrikes virtually back-to-back, giving your squad unprecedented field coverage.
Patriotic Administration Center: Synthetic Supplementation
Increases the maximum ammo capacity carried by Support Weapons (like the Grenade Launcher, Autocannon, and Machine Gun) by 50% upon deployment. This keeps your primary damage dealers stocked without having to immediately drop a Resupply pod.
Robotics Bay: Dynamic Tracking
Reduces the deployment time of all Sentry Stratagems, allowing your turrets to drop onto the battlefield and engage targets almost instantly. Keeping your game running smoothly with optimal frame rates while managing massive chaotic firefights can be enhanced using performance tweaks similar to those in our PC graphics performance guide.
Optimal Early Unlock Order & Leveling Strategy
To streamline your progression from Cadet to Super Private, follow this exact purchasing roadmap during your first 20 levels in Arrowhead Game Studios' Galactic War campaign:
- Level 1–5: Unlock Eagle Airstrike immediately, followed by the EAT-17 Expendable Anti-Tank and Grenade Launcher. Use your leftover Requisition for the Machine Gun Sentry to help solo low-level objectives.
- Level 6–10: Focus on acquiring the A/M-12 Mortar Sentry and the AX/AR-23 "Guard Dog" Rover. At this stage, join team-based multiplayer matches to start gathering Rare Samples from Medium and Hard difficulty maps. If you enjoy cooperative multiplayer experiences, check out our selection of top free-to-play multiplayer titles.
- Level 11–15: Secure the A/AC-8 Autocannon Sentry and save up for the Orbital Laser. Begin upgrading your Destroyer's Bridge modules. Ensure your visual setup is crisp using tips from our display settings guide so you can spot enemy weak points through heavy smoke and fire.
- Level 16–20: Purchase the SH-32 Shield Generator Pack, 500kg Bomb, and Orbital Railcannon Strike. You now possess a complete high-tier loadout capable of clearing Suicide Mission (Level 7) and Helldive (Level 9) difficulties.
By following this progression path, you ensure your Helldiver is always equipped with top-tier gear, maxing out combat effectiveness and strategic value for Super Earth.