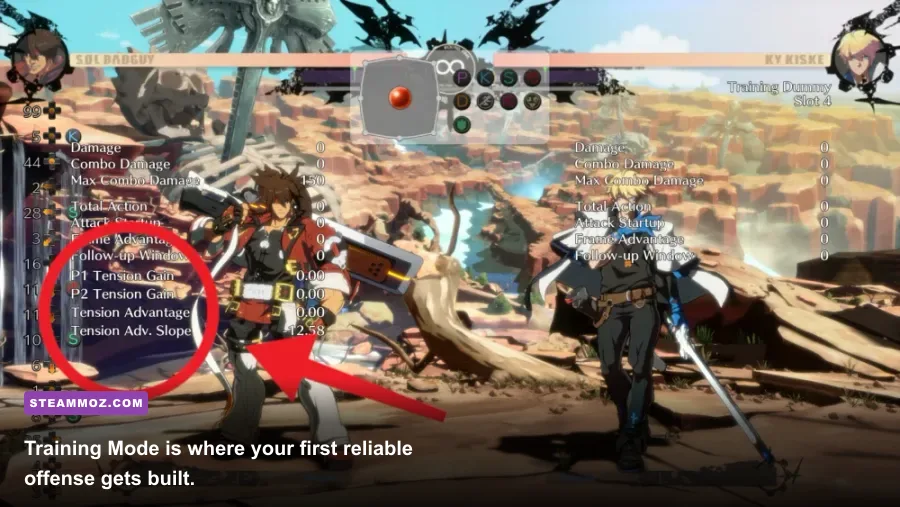
The fastest way to improve with GUILTY GEAR -STRIVE- Season 1 Pass characters is to learn one dependable punish, one safe pressure sequence, and the universal mechanics before chasing flashy combos. Start with a single fighter, spend 20 minutes in Training Mode, then take those tools into real matches. The Season 1 Pass adds Goldlewis Dickinson, Jack-O', Happy Chaos, and Baiken, but the same fundamentals decide whether those characters actually win.
This guide gives you 10 practical tips for new players, with exact costs, inputs, system rules, and character-specific warnings. If you need a broader fighting-game mindset, Steamoz's weapon tier-list breakdown is surprisingly useful for thinking about range, risk, and consistency.

1. Pick one Season 1 Pass character first
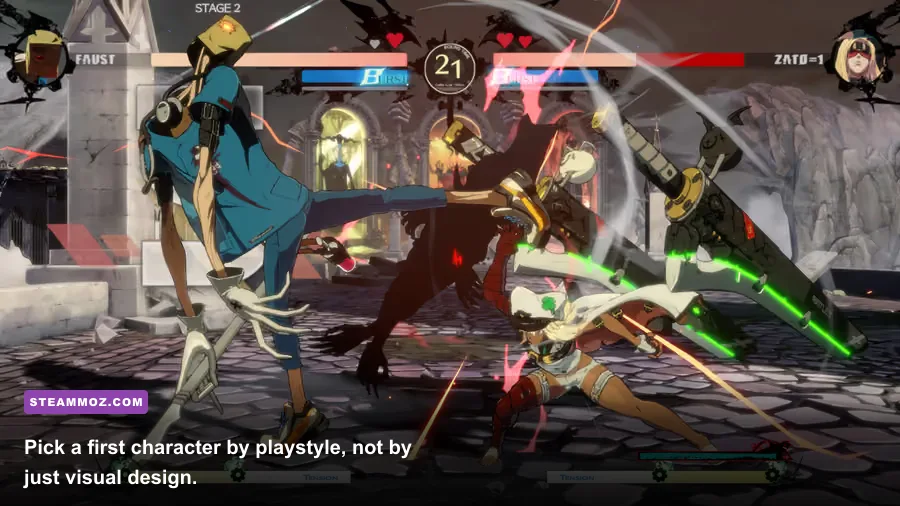
Do not rotate between all four DLC fighters immediately. Each asks you to process a different layer of the game. Goldlewis is a heavyweight who converts close pressure into enormous damage, Jack-O' manages minions and setplay, Happy Chaos controls space with a gun, and Baiken turns defensive reads into tether pressure.
| Character | Core difficulty | Best beginner focus | Biggest early trap |
|---|---|---|---|
| Goldlewis Dickinson | Medium | Behemoth Typhoon spacing and security gauge | Attempting slow moves from unsafe distance |
| Jack-O' | High | Minion placement and servant gauge | Summoning without protecting the minion |
| Happy Chaos | High | Steady Aim, concentration, and curse timing | Running out of resources during pressure |
| Baiken | Medium | Neutral checks, Kabari, and tether decisions | Using tether automatically instead of reading the opponent |
For most newcomers, Baiken is the cleanest first choice because her buttons are intuitive and her defensive tools teach honest fundamentals. Goldlewis is also rewarding if you like taking risks for explosive damage. Jack-O' and Happy Chaos are excellent second characters once you understand neutral, because their resource management can hide weak fundamentals early on.

🎮 GUILTY GEAR -STRIVE- SEASON 1 PASS
Looking to experience this game? Grab your digital key directly on our store for $9.89.
View on Steammoz Store →2. Learn the five universal controls before combos

Roman Cancel costs 50 Tension, and that resource is earned by attacking, moving forward, and winning interactions. A Red Roman Cancel, activated after an attack connects or is blocked, slows nearby opponents and lets you extend offense. A Yellow Roman Cancel costs 50 Tension while you're in blockstun and can interrupt pressure, but it only works when the opponent is not attacking during its startup window.
Your Burst is not a normal meter button. Psych Burst spends the Burst gauge to push the opponent away; use it while blocking to escape a dangerous sequence, or use it offensively when your attack is about to connect. Wasting Burst at the start of a round leaves you vulnerable to wall break pressure later.
Faultless Defense requires holding two buttons while blocking. It drains Tension, increases pushback, and prevents the opponent from gaining as much advantage from close pressure. Instant Block is performed by blocking just before an attack connects. It reduces pushback and blockstun, creating tighter defensive opportunities. Finally, remember that jumping is not a universal escape: anti-airs and air throws are designed to punish predictable jump-outs.
| Mechanic | Cost or timing | New-player use |
|---|---|---|
| Roman Cancel | 50 Tension | Convert a hit, extend pressure, or make a risky move safer |
| Faultless Defense | Drains Tension while held | Create space against throws and close-range strings |
| Psych Burst | Consumes Burst gauge | Escape a combo or punish reckless offense |
| Instant Block | Precise defensive timing | Reduce pushback and challenge tight pressure |
| Situation | Best choice | Why |
|---|---|---|
| Wall barely cracked | Continue pressure | Corner position is usually worth more than an early break |
| Wall heavily damaged | Break with a special or Overdrive | Prevents a dropped combo and activates positive bonus |
| Opponent near death | Choose the safest ender | Guaranteed damage beats a greedy reset |
| You need Tension | Break deliberately | Positive bonus helps rebuild meter quickly |
5. Treat Tension as a budget, not a trophy
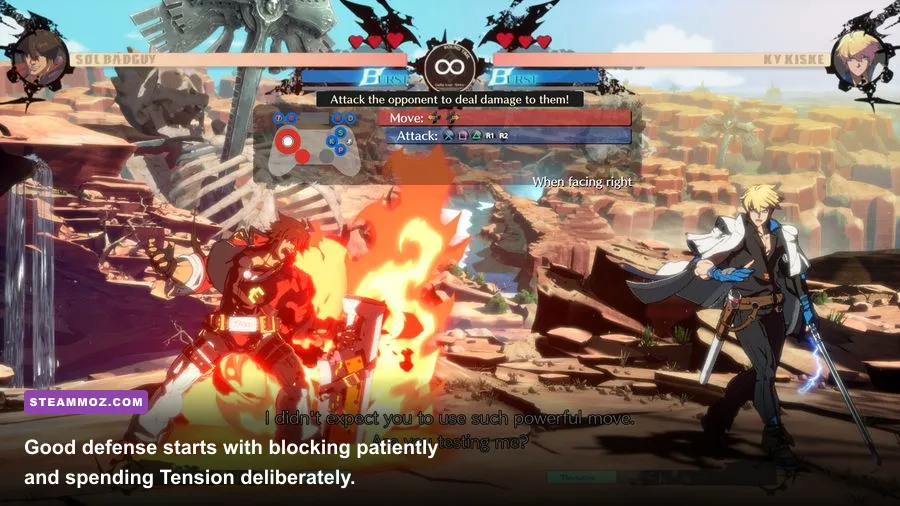
New players often hoard 50 Tension until the round ends. That's usually a mistake. A Roman Cancel can turn a stray far slash into a full combo, interrupt an unsafe special, or force the opponent to block long enough for a throw. Spending meter is good when it creates a clear advantage.
Don't spend it automatically, though. A Red Roman Cancel after a light attack may leave you with weak damage and no defensive resource. Before pressing the Roman Cancel shortcut, ask what it accomplishes: does it convert a hit, preserve your turn, or close the round? If the answer is no, keep the meter and threaten the opponent with the possibility of spending it.
Happy Chaos is the biggest exception. His gun, bullets, concentration, and curse create a separate resource puzzle, so wasting concentration to maintain low-value pressure can make the next neutral exchange disastrous. Jack-O' has a similar issue with servant gauge: a minion setup is only valuable if you can protect it or use it immediately.
6. Stop mashing after blocked attacks
Blocking is not losing. In Strive, many players get hit because they challenge after every blocked normal, even when the opponent still has frame advantage. Hold back, watch for the opponent's reset, then challenge with your fastest normal or backdash when the sequence actually ends.
Throws are the main reason you cannot block forever. If the opponent walks close and pauses, press throw to tech or interrupt their attempt. Jumping can escape a normal throw, but it loses to attacks designed to catch jumps. Faultless Defense is useful here because the extra pushback can force the attacker to take a larger risk before they reach throw range.
When you are cornered, prioritize survival over a heroic mash. Use Burst if the opponent commits to a long combo, Yellow Roman Cancel if their pressure gives you the correct opening, and Instant Block practice when you know the matchup's key blockstrings. The official Strive site has character information, while the Arc System Works website posts broader game updates.
7. Know what each Season 1 character is really asking you to do
Goldlewis wants controlled aggression. His Security Level improves the performance of Skyfish, and his Behemoth Typhoon inputs cover multiple angles. Do not throw out the slowest version at random; use the correct half-circle direction to attack the space your opponent is trying to occupy.
Jack-O' is a commander, not a conventional rushdown character. Her minions create layered offense, but they can be destroyed or ignored if placed carelessly. Summon when you have space, then use normal attacks to protect the servant while it advances. Her strength grows dramatically once you can make the opponent block the minion and Jack-O' at different timings.
Happy Chaos controls the match with Curse, Steady Aim, and gunshots, but every sequence has a resource cost. Reload before you're empty, manage concentration before it reaches a crisis, and don't assume a gunshot is safe just because it came from far away. Baiken is more direct: her Kabari tether creates a decision point, not an automatic combo. Choose follow-ups based on distance, opponent behavior, and whether you want the corner or a knockdown.
8. Use the Tower to expose one weakness at a time
Arcade mode is useful for learning inputs, but online Tower matches reveal whether your decisions survive pressure. Play three matches with one specific goal: anti-air every jump, punish one unsafe move, or stop spending Burst early. Winning is nice; collecting usable information is better.
After each set, save the replay and watch only the first 20 seconds of every round. Look for the first repeated mistake. Were you hit by the same jump-in? Did you press after a blocked special? Did you miss a wall-break conversion? Fixing one recurring error produces faster improvement than learning another combo.
For connection quality, use a wired connection if possible and avoid judging a character's timing from unstable matches. The Steam version of GUILTY GEAR -STRIVE- supports the game's online features and PC settings, while the in-game network menu lets you filter opponents more carefully.
9. Practice anti-airs and punishments every session
Spend five minutes recording the dummy jumping forward, then five minutes recording a common unsafe special. Your goal is not perfect reactions; it's recognition. Most characters have a reliable 6P anti-air, and its upper-body invulnerability makes it a stronger answer than panic-jumping. Learn when your character's 6P reaches, then stop trying to solve every jump with a crouching attack.
For punishments, identify one move in each common matchup that is clearly unsafe. Set the dummy to repeat it and practice your fastest normal first, then your strongest punish once the timing is stable. This creates a habit you can trust under tournament nerves.
10. Follow a 30-minute improvement routine
A focused routine beats an hour of random matchmaking. Spend 10 minutes on movement, anti-airs, and throws. Spend 10 minutes on your three core combos and one Roman Cancel route. Spend the final 10 minutes in Tower matches with one measurable objective. Change that objective only after you can perform it consistently.
For a useful matchup reference, consult the official character pages, then test every claim yourself in Training Mode. You can also browse Steamoz's new-player fundamentals guide for a reminder that observation and deliberate practice transfer between genres.
The Season 1 Pass characters are deep, but you don't need to master every system at once. Pick Baiken, Goldlewis, Jack-O', or Happy Chaos, learn a stable neutral button, one anti-air, one punish, one knockdown route, and one sensible Tension spend. Once those decisions become automatic, Strive stops feeling like a blur of anime effects and starts feeling like the sharp, readable fighting game it really is.