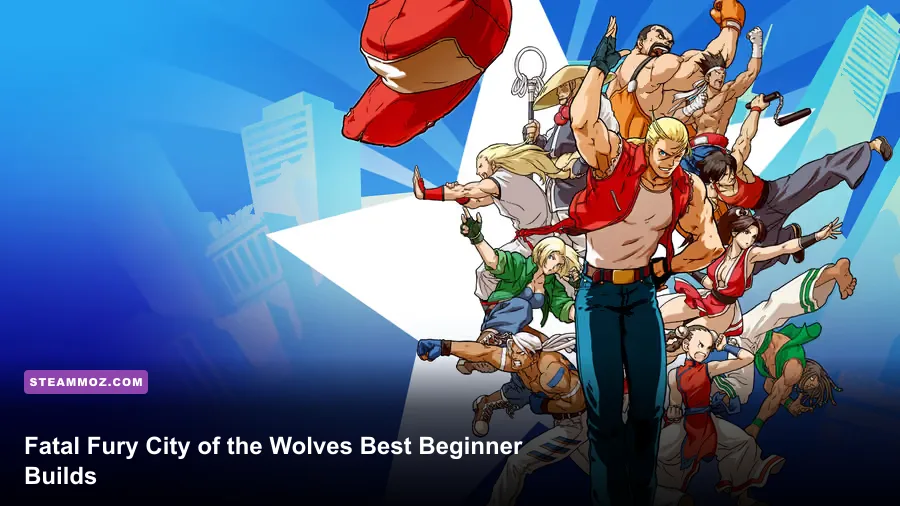
If you’re new to FATAL FURY: City of the Wolves, start with Terry Bogard, build your game around safe pokes and Power Wave control, and treat the REV Meter as a limited pressure resource—not a button you mash whenever it fills. Terry gives you a clean path from neutral to knockdown, while Marco Rodrigues and Hotaru Futaba are the best follow-up choices once you understand the basics.
There isn’t a traditional RPG build system here. You won’t be distributing strength points, equipping armor, or farming weapons. The useful meaning of “best starting build” is a beginner-friendly character plan: your fighter, the core specials you should practice, the REV actions worth spending meter on, and a compact game plan you can repeat under pressure. That distinction matters, because trying to optimize nonexistent stats will waste time you should spend learning anti-airs and hit-confirms.
Before you begin, check the official Steam page for the current PC version and patches. The official SNK website also has character information, while the SNK site is the safest place to verify future balance updates.
Pick Terry First, Then Build Around Three Buttons
Terry is the strongest starting recommendation because his tools explain the basic fighting-game triangle without demanding a giant execution investment. His Power Wave teaches you how to occupy the floor at range, Burn Knuckle teaches you that a special move needs the right distance and timing, and Crack Shoot gives you an advancing option that can challenge predictable zoning. His normal attacks also make it easy to understand the difference between a poke, a punish, and a combo starter.
Your first “build” should have three layers. Use a long-reaching standing normal to check forward movement, a fast close normal to interrupt pressure, and a reliable anti-air button whenever the opponent leaves the ground. Don’t chase the most damaging route on day one. Your goal is to make the same correct decision repeatedly: stop the jump, whiff-punish the unsafe normal, confirm a grounded hit, then return to a range where Power Wave is useful.
| Build Element | Beginner Choice | Why It Works | Practice Goal |
|---|---|---|---|
| Character | Terry Bogard | Balanced neutral and clear special-move roles | Win neutral without panic spending REV Meter |
| Space control | Power Wave | Forces jumps and slows reckless approaches | Recover safely instead of throwing it point-blank |
| Approach check | Crack Shoot | Moves Terry forward and changes the rhythm | Use it as a read, not an automatic approach |
| Punish tool | Burn Knuckle | Converts a confirmed opening into meaningful damage | Only cancel into it when the hit is confirmed |
| Resource plan | Save REV Meter for confirmed pressure | Prevents empty gauge and unsafe desperation | Finish rounds with one planned REV action |
For a first session, leave Terry’s flashy routes alone and learn one light confirm, one medium confirm, and one punish route. A light confirm should end safely if you guessed wrong. A medium confirm can lead to Burn Knuckle or a knockdown. Your punish route is reserved for a clearly blocked heavy move or whiffed command grab. This separation stops beginners from treating every button press as a combo attempt.
Think of Terry as a “fundamentals build.” He won’t automatically solve neutral, but he makes your mistakes legible. If you keep getting jumped, your projectile timing is too predictable. If Burn Knuckle gets blocked, you’re cancelling without confirming. If you’re losing at close range, you’re probably pressing a slower normal into the opponent’s turn.

🎮 FATAL FURY: City of the Wolves
Looking to experience this game? Grab your digital key directly on our store for $9.99.
View on Steammoz Store →How the REV System Changes Your Starting Plan
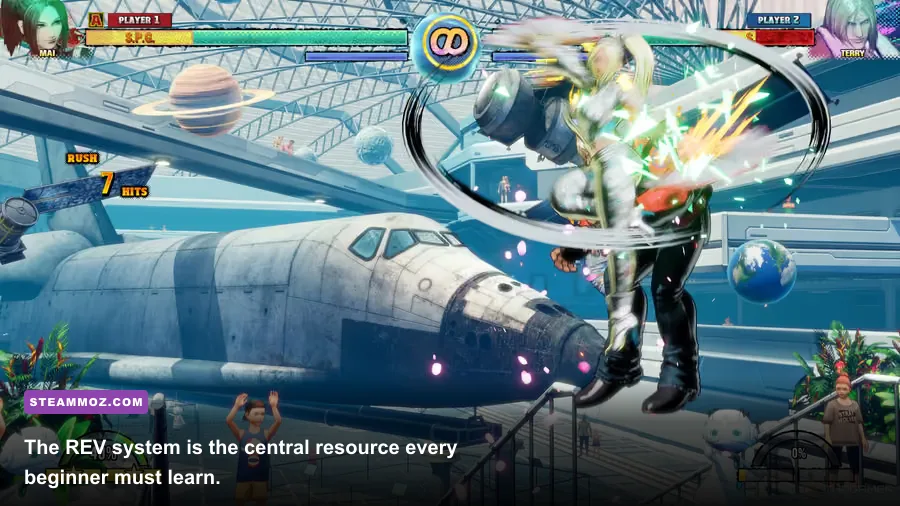
The REV system is the mechanic that gives City of the Wolves its identity. Your REV Meter supports enhanced options such as REV Arts, and characters can also access system mechanics including REV Blow and REV Accel. These options make offense explosive, but they also create the fastest route to self-inflicted losses: spending every resource on the first touch, then having nothing available when the opponent finally cracks your defense.
REV Arts should be treated like an upgrade to a confirmed plan. If a REV-enhanced special gives Terry better damage, corner carry, or pressure, spend it after you know the normal attack connected. Don’t burn the meter on a blind special from full screen. That gamble can look spectacular when it works, but beginners learn more from a clean confirm than from a lucky robbery.
REV Blow is your defensive emergency button and should stay mentally separate from your combo resource. It exists to interrupt or push back pressure when blocking forever is no longer realistic. The important lesson is not to activate it on the first blocked normal. Watch for the opponent’s pattern: repeated dash-ins, a delayed heavy attack, or a throw attempt after they condition you to keep blocking. The more deliberately you use REV Blow, the less often you’ll spend it while the opponent is already prepared.
REV Accel rewards players who understand momentum. It can turn a confirmed opening into a longer offensive sequence, but it’s a poor substitute for knowing which normal connects. Practice the route without REV first. Add the powered version only after you can identify the starter in training mode and online matches.
| REV Option | Best Beginner Use | Common Mistake | Better Rule |
|---|---|---|---|
| REV Arts | Enhance a confirmed special or combo ender | Throwing it out in neutral | Spend after a hit, not before a guess |
| REV Blow | Interrupt a predictable pressure sequence | Using it after one blocked jab | Wait until you recognize the opponent’s pattern |
| REV Accel | Extend offense after a clean confirm | Trying to improvise the route mid-match | Drill one meter route until it’s automatic |
| REV Meter | Close a round or escape a bad defensive situation | Ending every interaction empty | Keep a reserve when the opponent has momentum |
The game’s SPG, or Selective Potential Gear, adds another important layer. Your SPG zone is a limited health section where character-specific potential benefits become available, so you should know when your fighter’s most valuable comeback or pressure option is online. Don’t play as if SPG makes you invincible. It’s a reason to make measured decisions while your health is in the relevant segment, not permission to mash through attacks.
For a deeper look at how fighting games reward resource discipline, our King’s Table: Ragnarok match tips covers the same useful principle from a different genre: spend your strongest option when it changes the outcome, not simply because it’s available.
Marco and Hotaru Are Your Best Second Characters
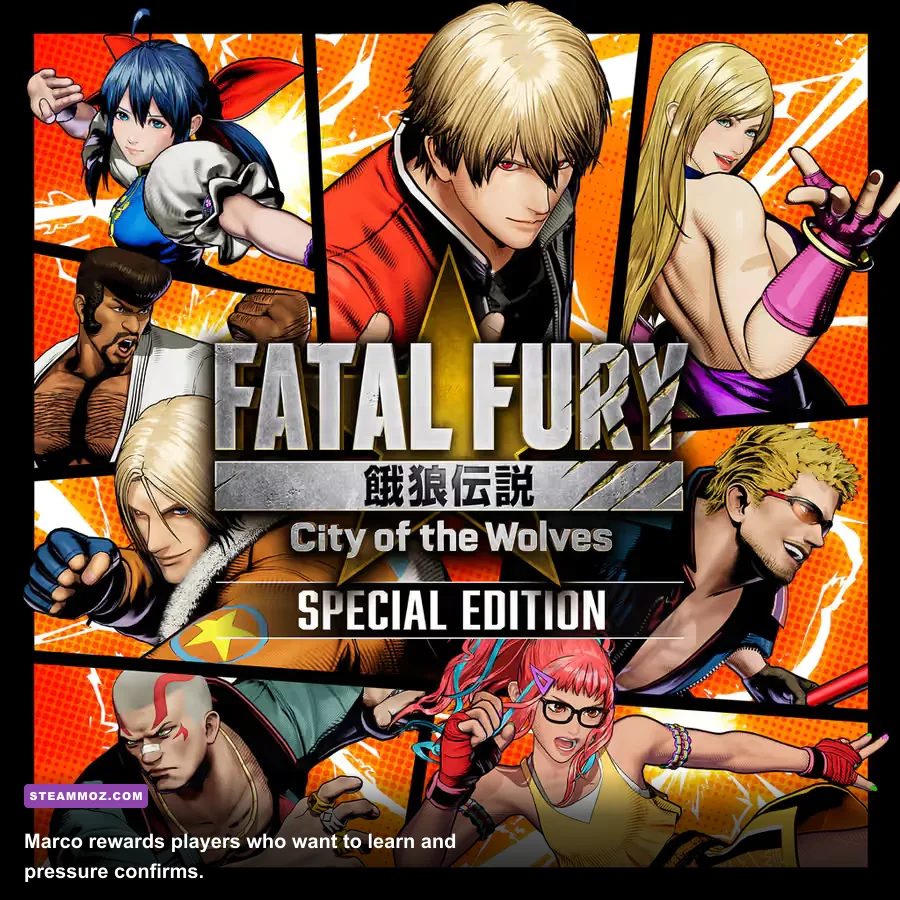
Marco Rodrigues is the natural second pick if Terry feels too comfortable or too straightforward. Marco wants to operate closer, where his martial-arts pressure, strong confirms, and command-grab threat force the opponent to make uncomfortable defensive choices. He’s excellent for learning frame traps and stagger pressure, but he can also teach bad habits if you constantly run forward and press heavy attacks.
Marco’s beginner build is simple: use a grounded poke to establish your range, a quick close normal to check retaliation, and a reliable special cancel after a confirmed hit. His Hakkyokuseiken specials are central to his identity, but the exact strength and follow-up you choose should depend on distance and whether the attack connected. A blocked special is not automatically your turn. Learn which versions leave you safe enough to continue and which ones should end your sequence.
His command grab is strongest after you’ve shown the opponent that you’re willing to strike. If you attempt it immediately, they can jump or backdash. First condition them with a short pressure string, pause just long enough to bait a mash, then use the grab when they’re committed to blocking. Marco is a great teacher because his offense only becomes convincing when you vary the rhythm.
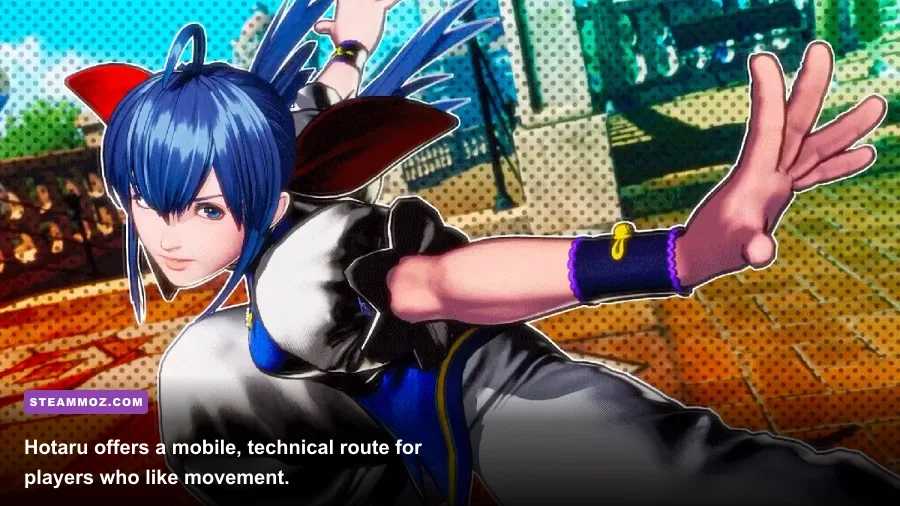
Hotaru Futaba is the better second character for players who prefer movement, whiff punishment, and a more evasive neutral game. She can change sides and angles quickly, but that mobility comes with a higher mental workload. You need to understand where you’ll land, what the opponent can anti-air, and whether your approach leaves you close enough to continue pressure.
| Character | Tier for Beginners | Core Game Plan | Choose Them If... |
|---|---|---|---|
| Terry Bogard | S-Tier starter | Projectile control, grounded confirms, balanced pressure | You want the clearest fundamentals path |
| Marco Rodrigues | A-Tier starter | Close-range pressure, stagger timing, command-grab conditioning | You like offense and reading defense |
| Hotaru Futaba | A-Tier technical starter | Mobility, angle changes, whiff punishment | You enjoy movement more than zoning |
| Rock Howard | B-Tier first pick | Strong confirms and explosive momentum | You already understand basic spacing |
| Advanced specialists | B-Tier for day one | Unique mechanics and stricter execution | You’re willing to spend longer in training mode |
Rock Howard is tempting because his damage and style are immediately appealing, but he’s a better third character than a first one for most players. His routes and spacing decisions are less forgiving when you’re still learning the game’s defensive timing. That doesn’t make him weak; it means his strengths become much easier to appreciate after Terry teaches you what a stable neutral game looks like.
Your First Ten Hours Should Follow This Routine
Start in training mode with Terry and turn on input history. Spend five minutes walking backward and forward without attacking. That sounds dull, but it teaches you where your normal attacks reach and prevents the classic beginner mistake of pressing buttons from a distance where they cannot connect. Then record the dummy jumping toward you and practice your anti-air until you can react without staring at your character’s feet.
Next, record a dummy using a long-range normal, a jump-in, and a blocked pressure string. Your response should be different in each case. Whiff-punish the normal, anti-air the jump, and block until the string ends before taking your turn. This drill is more valuable than memorizing a ten-hit combo because it builds recognition—the skill that actually survives online matches.
Use this progression rather than trying to learn the entire movelist at once:
- Hour one: movement, blocking, anti-airs, and one fast normal.
- Hours two and three: Power Wave spacing, Burn Knuckle confirms, and punish timing.
- Hours four and five: one corner route and one REV Arts route.
- Hours six and seven: defense against throws, jump-ins, and repeated dash pressure.
- Hours eight through ten: ranked or casual matches, reviewing only three mistakes afterward.
Keep your combo list tiny. Your first route should work from a light starter, your second should punish a large mistake, and your third should use REV Meter. If you know three routes but can land them consistently, you’re ahead of the player who watched a flashy combo video and drops it every round.
After each match, ask one question: “What did I fail to recognize?” Don’t write down every lost interaction. Identify the repeated problem. If the answer is jump-ins, return to anti-air practice. If the answer is blocked Burn Knuckle, stop cancelling automatically. If you lose the final round with no REV Meter, you’re spending resource before your opening is confirmed.
Players coming from other tactical games may find this review habit familiar. Steamoz’s Blackguards beginner build guide also focuses on establishing a repeatable foundation before adding complicated options. The genre changes, but the lesson holds: a dependable plan beats a theoretical perfect one.
Beginner Match Plan, Settings, and Mistakes to Avoid
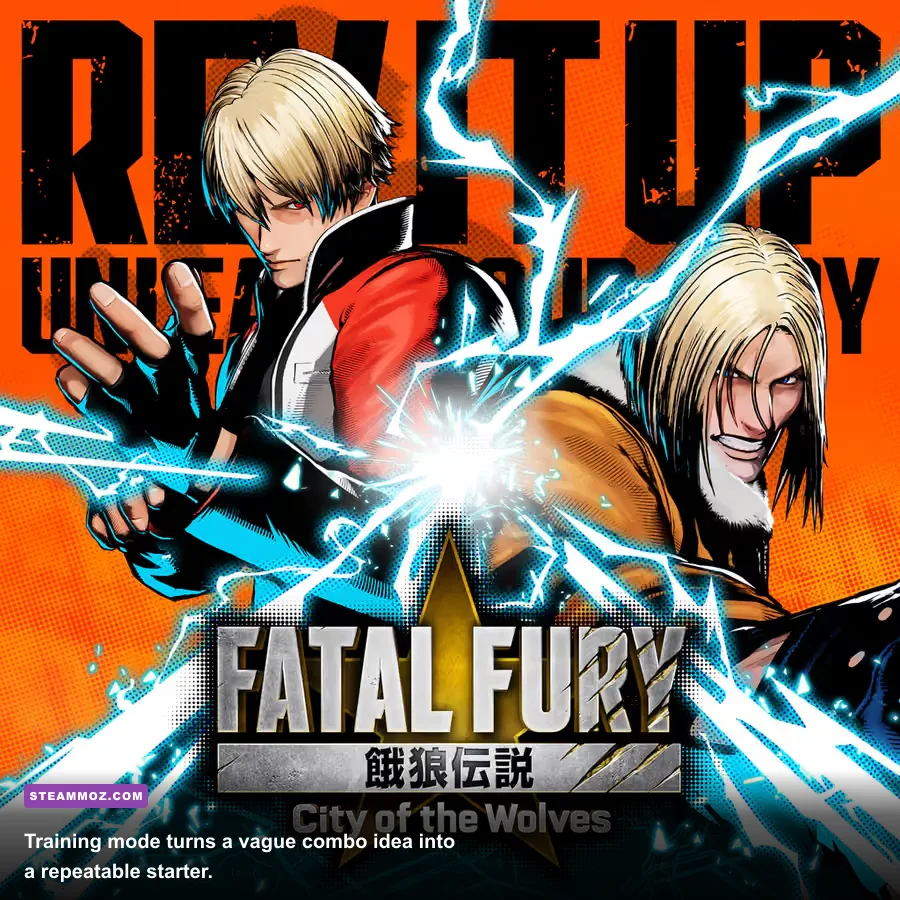
Your default round plan should be deliberately boring. At the start, walk into your preferred mid-range, watch for a jump, and use Power Wave only when you’re far enough away to recover or when you’ve conditioned the opponent not to leap. If the projectile makes them jump, anti-air. If they block, walk forward behind the advantage it creates. If they whiff a heavy normal, punish instead of automatically throwing another projectile.
When you score a knockdown, don’t rush into a complicated setup. Meaty with a quick normal, throw if they block too long, or take a small step backward to bait a reversal. Your purpose is to learn the opponent’s defensive choice. A player who always mashes needs a frame-trap response; a player who always blocks needs a throw; a player who jumps needs a grounded check.
| Situation | First Response | What You’re Watching For | Follow-Up |
|---|---|---|---|
| Opponent jumps from mid-range | Use your anti-air normal | Whether they delay or cross up | Return to grounded pressure after landing |
| Opponent blocks Power Wave | Advance carefully | Abare mash or backdash | Use a quick check or throw |
| You block a risky heavy | Take your turn immediately | Pushback and distance | Use your fastest punish route |
| REV Meter is available | Confirm before spending | Round timer and opponent health | Use REV Arts to secure damage or corner position |
| You are trapped in pressure | Block and identify the gap | Repeated delay or throw attempt | Use REV Blow only for a recognized pattern |
On PC, prioritize stable performance and clear input over flashy presentation. Use the game’s recommended preset first, then lower post-processing or effects if your frame pacing feels uneven. A fighting game is built around consistent timing, so a stable 60 frames per second matters more than extra reflections or background detail. The exact result depends on your graphics card, resolution, and driver, which is why a universal FPS promise would be misleading.
Use a wired controller or a keyboard layout you can reach without stretching. Turn on input display in training mode, and don’t change controls every day. Your hands need time to build muscle memory. If you play on a high-refresh monitor, that can improve responsiveness, but it doesn’t replace stable game performance or good defensive decisions.
Avoid four traps. Don’t jump constantly because the opponent used one projectile. Don’t mash REV Arts because the animation looks powerful. Don’t copy tournament pressure before learning when your turn ends. And don’t switch characters after every loss. Give Terry at least a handful of matches, identify the actual problem, then make one adjustment.
For broader PC troubleshooting habits, our guides to stable high-FPS settings and PC fixes that actually work are useful references, even though the games themselves are very different.
The short version is straightforward: choose Terry, learn Power Wave spacing, anti-air every obvious jump, confirm Burn Knuckle instead of gambling, and save REV resources for moments that change the round. Move to Marco when you want pressure and command grabs; move to Hotaru when you want mobility and sharper whiff punishment. That’s the best starting build because it gives you a complete plan while still forcing you to learn the fundamentals that City of the Wolves rewards at every level.