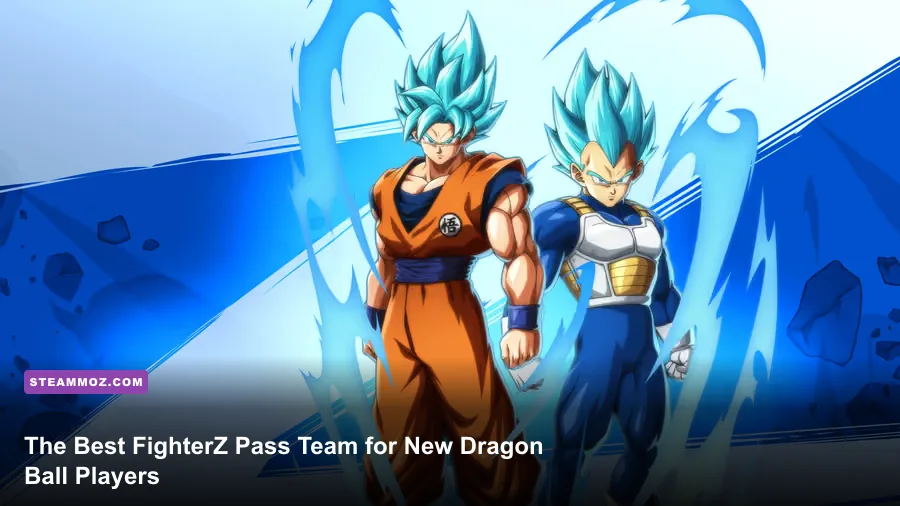
The strongest beginner starting build from the FighterZ Pass is Bardock on point, Base Goku in the middle, and Android 21 on anchor. Bardock gets in without complicated setups, Base Goku supplies one of the easiest neutral assists and excellent DHC utility, while Android 21 becomes a terrifying last character once you understand her stolen moves. If you own only FighterZ Pass 1, replace Android 21 with Base Vegeta or Cooler; the same point-mid-anchor logic still works.
That recommendation isn't about chasing the highest tournament tier. Dragon Ball FighterZ rewards fundamentals far more than a clever-looking character select screen. You need a point character who can force contact, a mid who makes assists and hit-confirms easier, and an anchor who can spend meter without needing another character alive. This team teaches those three jobs while leaving room to grow into assists, safe-jump setups, fuzzy pressure, and more advanced Super Dash punishes.
This guide assumes the current PC version and standard five-button controls: Light Attack, Medium Attack, Heavy Attack, Special Attack, and the two assist buttons. Balance updates have changed frame data and damage over the game's lifetime, so treat exact damage as approximate rather than sacred. The practical rules below are the parts that remain useful whether you're playing ranked, casual matches, or the excellent arcade routes.
The Starter Team and Why It Works
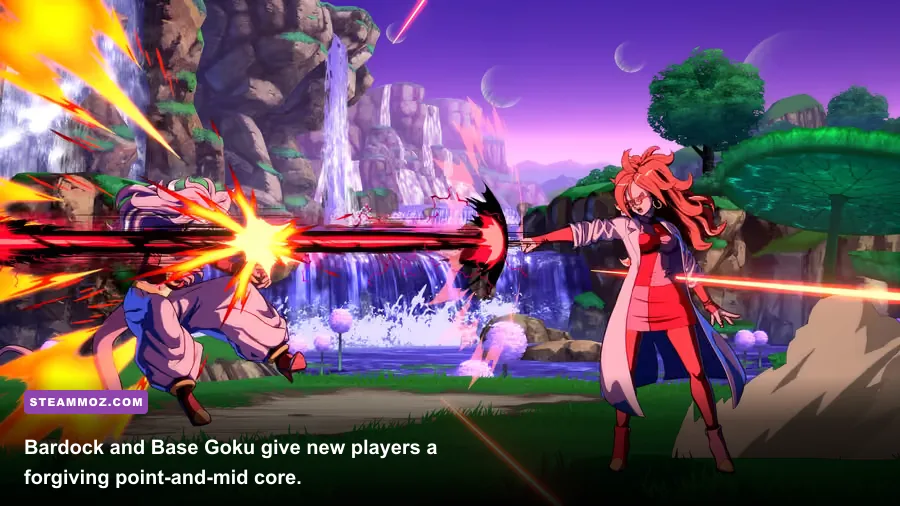
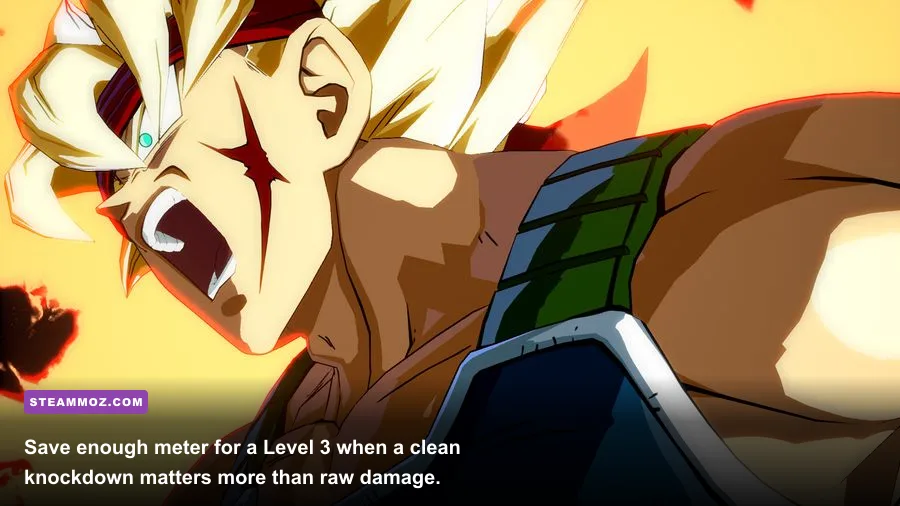
Bardock is the point character because his game plan is immediately readable. His 236L/M/H lariat moves forward, his light version is fast enough to use after basic lights, and his 5L reaches well for a jab. You can begin with simple ground buttons, call an assist, then convert into a corner carry route without memorizing a character-specific puzzle. Bardock also has a Level 3, Rebellion Trigger, that gives you a hard knockdown and a chance to run straightforward offense afterward.
Base Goku belongs in the second slot because Assist A fires a fast Kamehameha-style beam. Beam assists control a horizontal lane, punish careless Super Dashes when timed correctly, and let Bardock approach behind cover. Base Goku's Assist B is a different tool with its own value, but start with A while learning. His position also lets him use meter built by Bardock and convert DHCs into a damaging finish.
Android 21 is your anchor because her normals are useful, her neutral is less demanding than many anchor characters, and her 214S command grab lets her steal special moves from opponents. The stolen moves add flexibility, but don't make that system your first homework assignment. Android 21 can already win with strong buttons, air-to-air attacks, a beam-like projectile after acquiring the right move, and disciplined movement. Learn her basic version before trying to collect every option.
| Slot | Character | Recommended Assist | Primary Job |
|---|---|---|---|
| Point | Bardock | Assist A | Start pressure, win scrambles, build meter |
| Mid | Base Goku | Assist A | Beam coverage, DHC damage, flexible conversions |
| Anchor | Android 21 | Assist A or B | Solo neutral, comeback pressure, meter spending |
There is no traditional strength, agility, or weapon stat screen in FighterZ. Your “build” is team order, assists, meter economy, and the routes you can perform under pressure. Don't waste time looking for hidden stat points. The meaningful optimization is choosing assists that cover your character's weaknesses and arranging the team so every DHC lands cleanly.
If you want a wider look at how Steamoz approaches beginner-friendly builds, compare this team philosophy with our beginner build guide for Clair Obscur: Expedition 33. FighterZ is obviously a different beast, but the lesson is similar: reliable tools beat flashy options you can't consistently use.
🎮 DRAGON BALL FighterZ - FighterZ Pass
Looking to experience this game? Grab your digital key directly on our store for $9.79.
View on Steammoz Store →FighterZ Pass Substitutions That Actually Make Sense
Not every player owns Android 21, and not every FighterZ Pass version contains the same characters. The original FighterZ Pass includes Bardock, Broly, Fused Zamasu, Vegito SSGSS, Base Goku, Base Vegeta, Cooler, and Android 17. FighterZ Pass 2 adds Jiren, Videl, Goku GT, Janemba, Gogeta SSGSS, and Broly from Dragon Ball Super. FighterZ Pass 3 adds Kefla, Ultra Instinct Goku, Master Roshi, Super Baby 2, and Gogeta SS4.
For a clean replacement, use Base Vegeta as anchor if you want a more traditional projectile character. His 236S Big Bang Attack gives you a simple fullscreen check, and his Level 3 provides a strong knockdown. Cooler is another sensible anchor choice: his buttons are large, and his anti-air special can make opponents think twice about jumping. Neither replacement plays exactly like Android 21, but both let you practice the same fundamentals.
If you own FighterZ Pass 2, Janemba is a strong mid alternative with excellent reach and useful teleport-style movement. Gogeta SSGSS is also beginner-friendly as a point or mid, with large normals and damaging, visually obvious specials. In Pass 3, Kefla is the most natural Bardock substitute for a new player who wants aggressive forward movement, while Super Baby 2 offers powerful assists and a more technical neutral game.
| Character | Best Slot | Beginner Strength | Main Catch |
|---|---|---|---|
| Bardock | Point | Simple lariat pressure and strong scrambles | Unsafe habits are easy to punish |
| Base Goku | Mid | Beam Assist A and reliable DHC routes | Needs careful spacing in neutral |
| Android 21 | Anchor | Flexible solo offense and stolen specials | Her move-steal system takes practice |
| Base Vegeta | Anchor | Easy projectile checks and solid Level 3 | Less explosive without meter |
| Janemba | Mid | Long buttons and unusual movement | Teleport options can become predictable |
| Kefla | Point | Fast approach tools and clear pressure | Requires restraint when specials are blocked |
Don't assemble a team solely because three characters are individually popular. Ask whether their assists help your point character enter, whether their supers connect in the order you want, and whether the final character can function alone. This is why Bardock/Base Goku/Android 21 is more useful for a beginner than a random “all-screaming-Saiyan” lineup.
Assist Choices and Team Order
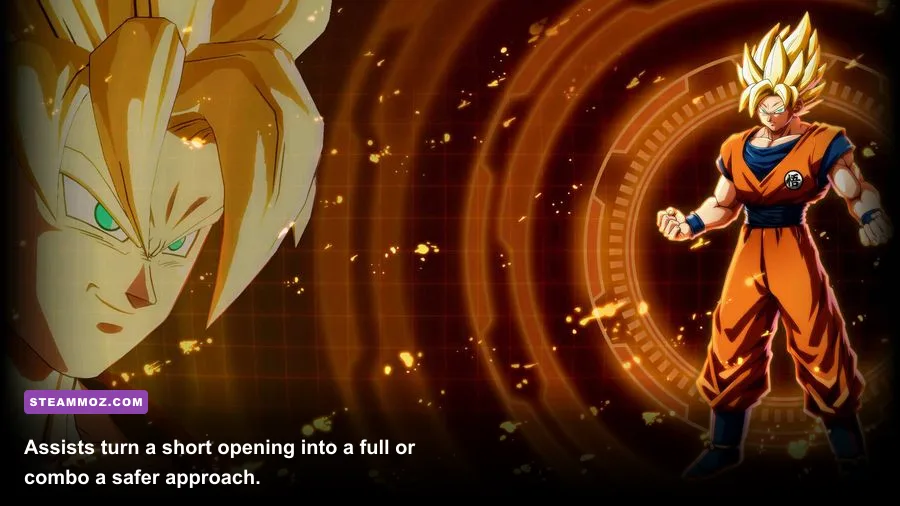
Start with Bardock A and Base Goku A. Bardock's assist is a grounded strike that holds the opponent in place long enough for basic extensions, while Base Goku A covers a broad horizontal space. Call Bardock A when you need a blockstring extension or a little more time to approach. Call Base Goku A when you want to hide a dash, challenge a long-range button, or make a Super Dash attempt awkward.
The important beginner rule is simple: assists are not free. Each assist has a cooldown, and a whiffed call leaves the character unavailable for roughly several seconds. Calling both assists at once can create a powerful layered approach, but it can also leave your point character stranded. Use one assist to solve one problem. If Bardock is already touching the opponent, save the beam for when they try to jump or retreat.
Team order also controls your meter plan. Bardock should usually spend one bar on 236H into a super only when it secures a kill or a valuable corner route. Otherwise, let him build meter and tag Base Goku in with a DHC. Base Goku can then use 236L+M for a Level 1 or route into a stronger sequence. Android 21 wants meter in the final position because a solo character with three or more bars can turn one hit into a corner carry and Level 3 knockdown.
Simple DHC Route
With Bardock, confirm a grounded autocombo or a basic medium starter, use 236M, then cancel into Bardock's Level 1 with 236L+M. During the cinematic, hold the assist input for Base Goku's Level 1 DHC. If the sequence kills, stop there. If it doesn't, use Base Goku's Level 1 and let Android 21 finish with her Level 3 only when the opponent will die or the knockdown is worth the resource.
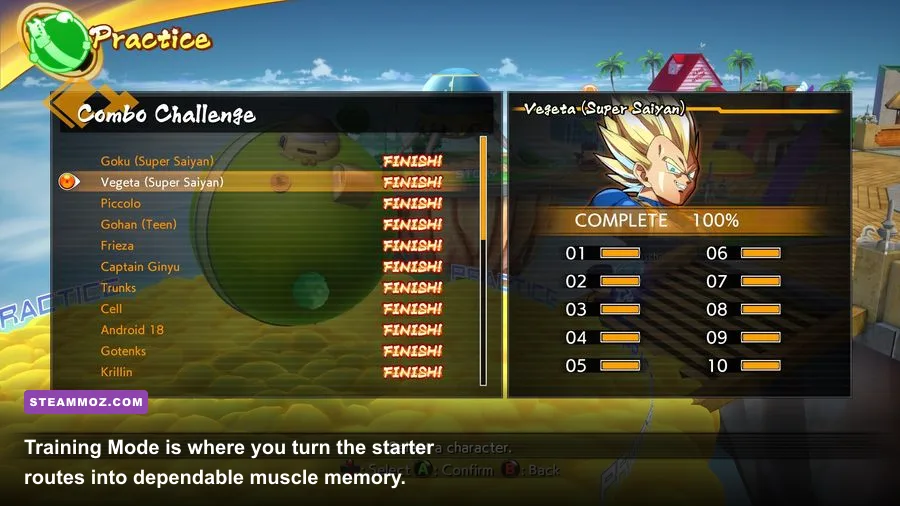
The exact button timing differs depending on the combo and side of the screen, so practice the route in Training Mode rather than assuming every super automatically connects. The game displays input history, frame advantage, and dummy reversal settings; use them. Our settings-focused performance guide covers a different game, but the same principle applies here: stable practice conditions matter.
Beginner Combos You Should Learn First
You only need three combos per character at the start: a ground confirm, an air-to-air conversion, and a corner route. Ignore stylish solo TOD demonstrations until you can recognize when your opponent has been hit. In FighterZ, a missed confirm often costs more than a slightly lower-damage combo because the opponent gets a full turn back.
For Bardock, begin with the universal light autocombo: LLL, then use the wall bounce if the auto combo connects. Next learn a manual route such as 2M > 5M > jc > jM > jL > jL > 2H, followed by a super dash or special ender depending on position. The point isn't maximum damage; it's learning that 2M reaches low, 5M confirms the hit, and the jump-cancel route carries you toward the corner.
Base Goku's basic route follows the same universal skeleton: 2L > 5M > 2M > 5H > 2H > super dash, then use the standard air series into a light ender. Once that feels automatic, add 236M after the ground chain and call Bardock A before the air series. That assist gives you extra time to confirm and helps keep the opponent near the corner.
Android 21 can start with the same universal ground-to-air sequence. After the air series, use her air special ender when you need corner position, or finish with a Level 1 when the kill is guaranteed. Don't force a stolen move into every combo. The character's strength comes from having options, not from showing off every option in every interaction.
| Situation | Starter Route | Goal | Beginner Check |
|---|---|---|---|
| Ground hit | 2L > 5M > 2M > 5H > 2H > jump series | Reliable corner carry | Can you confirm before pressing 5M? |
| Air-to-air | jM > jL > jL > jump cancel | Convert a jump challenge | Don't Super Dash automatically |
| Corner hit | Ground chain > 2H > air series > ender | Knockdown and pressure | Choose safe oki over extra hits |
| Confirmed kill | Any stable route > Level 1 or Level 3 DHC | Spend meter to remove a character | Check the health bar first |
Turn on the Training Mode dummy's Guard First setting. If your combo drops, the dummy blocks after the first possible gap. Then test Recovery Options and Reversal Attack to see whether your ender leaves you exposed. A route that looks perfect against a motionless dummy may fail immediately against a real player who mashes Level 3.
Neutral, Defense, and the Habits That Win Early Matches
Your first neutral goal isn't to land a dramatic overhead. It's to stop losing to the same three actions: random Super Dash, impatient jump-ins, and blocked autocombo pressure. Keep your feet on the ground, watch the opponent's assist timing, and use Bardock's 5L or 2M to contest predictable approaches. When Base Goku A is available, call it behind a forward dash rather than throwing it out from fullscreen without a plan.
Super Dash has armor against many projectiles, but it loses to grounded anti-air attacks, 2H, and properly timed air-to-air buttons. Don't mash 2H the instant you see movement from the opponent; wait until the Super Dash is close enough for the attack to connect. If you repeatedly press too early, the opponent can alter their timing or simply land and punish your recovery.
On defense, hold back and watch for the opponent's assist. Blockstrings become much less frightening once you understand that assists eventually disappear. If Bardock is trapped, you can reflect with Light Attack plus Special Attack, guard cancel into an assist, or jump after a genuine gap. None of these should be automatic. Reflecting at the wrong time can eat a frame trap, while guard canceling costs one bar and may leave your next character vulnerable.
Meter and Sparking Priorities
Spend meter to kill, escape a losing situation, or create a meaningful knockdown. A random Level 1 that leaves the opponent alive and standing usually isn't worth it. Save Sparking Blast for a momentum swing, a safe comeback attempt, or a situation where your last character can exploit the damage and regeneration boost. Activating it at the first sign of trouble often means it expires before you have created a real opening.
Keep Limit Break in mind when only one character remains. The last character receives increased damage and meter benefits, which means Android 21 can become stronger than her raw health total suggests. If Bardock is nearly dead, don't spend every resource trying to preserve him. Sometimes the correct beginner decision is to let him fall, bring in Base Goku with meter, and run a clean two-character sequence rather than panic-tagging repeatedly.
Seven-Day Practice Plan for New Players
On day one, learn movement: forward dash, backdash, super jump, and instant air dash. FighterZ is fast, but you don't need to match tournament players immediately. Spend ten minutes making Bardock cross the screen without jumping, then ten minutes blocking a dummy's light autocombo. Your hands need to stop treating every gap as an emergency.
On day two, learn the universal ground-to-air combo with Bardock. On day three, repeat it with Base Goku and Android 21. On day four, add Bardock A and Base Goku A to the route. On day five, practice punishing Super Dash with 2H, then practice converting the 2H into an air combo. On day six, set the dummy to mash Light Attack after blocking and test your pressure. On day seven, play ten matches while tracking only one goal: confirm hits before committing.
That last restriction is more valuable than chasing a win streak. After each match, identify whether you lost because you failed to anti-air, spent assists carelessly, dropped a combo, or pressed during a gap. Pick one error for the next set. Fighting games improve through specific corrections, not vague promises to “play better.”
| Practice Stage | Time | Skill Target | Success Standard |
|---|---|---|---|
| Movement | 20 minutes | Dash, jump, block, instant air dash | Move without accidental Super Dash |
| Conversions | 25 minutes | Universal ground-to-air route | Eight clean reps out of ten |
| Assists | 20 minutes | Call A assist into a confirmed route | No panic calls on block |
| Defense | 20 minutes | 2H Super Dash and reflect timing | Recognize the approach first |
| Match review | 10 minutes | Find one repeatable mistake | Write down one adjustment |
For official move references, check the Dragon Ball FighterZ Steam page, the Bandai Namco game page, and the official Dragon Ball FighterZ site. For PC players, the publisher's game resources are also worth checking before troubleshooting controller or online issues.
Final Build Verdict
Bardock/Base Goku/Android 21 is the best FighterZ Pass starting team for beginners because every character teaches a different part of the game without demanding a specialist's execution. Bardock teaches contact and pressure. Base Goku teaches assist timing, beam control, and DHC planning. Android 21 teaches patience, solo offense, and resource management. You can swap characters later without throwing away the fundamentals.
Start with Assist A on both Bardock and Base Goku, learn one safe ground confirm, one anti-air conversion, and one knockdown route. Don't burn assists randomly, don't spend meter just because you have it, and don't let an impressive combo replace basic defense. Once those habits settle in, experiment with Bardock B, Base Goku B, Android 21's stolen abilities, and the wider FighterZ Pass roster.
And if this team clicks, keep it for at least 30 matches before changing anything. Constantly rebuilding at the character-select screen feels productive, but it hides the real issue: most beginners need cleaner decisions, not a new tier list. For more fighting-game-adjacent recommendations, Steamoz's games like 10 Second Ninja X and games like F.E.A.R. 2 roundups offer a change of pace after a long ranked session.