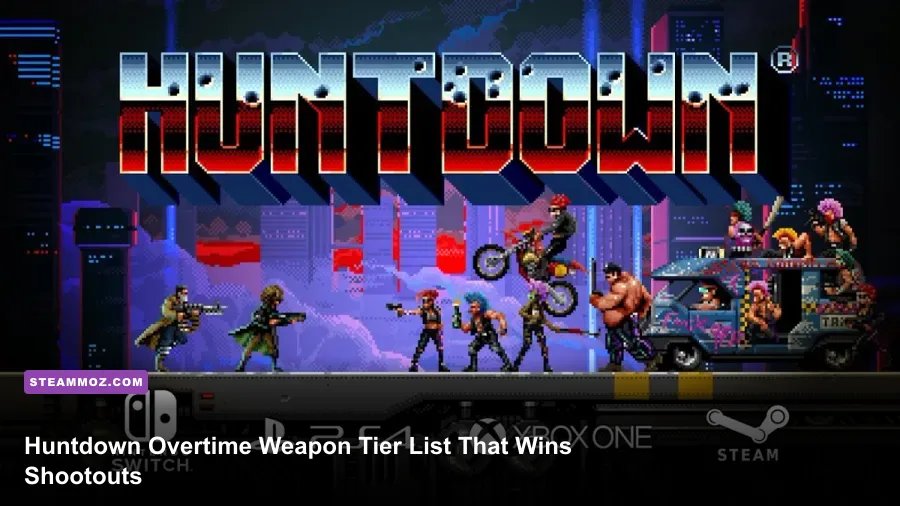
If you want the strongest Huntdown: Overtime loadout, prioritize the shotgun for close quarters, assault rifle for reliable all-purpose damage, grenade launcher for shielded groups, and rocket launcher for bosses or packed arenas. The best equipment is not simply the weapon with the biggest explosion: it is the tool that matches the room, enemy armor, cover, and your character's movement pattern.
Huntdown does not present a traditional RPG-style weapon database with published damage numbers, rarity rolls, or permanent stat upgrades. Weapons are character loadouts and temporary pickups, so this tier list ranks them by practical performance: damage per opening, ammo efficiency, crowd control, safety, and how consistently they solve the game's nastiest encounters. That distinction matters in Overtime runs, where a flashy pickup can disappear before the next arena and fundamentals still decide the result.
This ranking applies to the game's three hunters—Anna Conda, Mow Man, and John Sawyer—and to the weapons found throughout its campaign arenas. For the official baseline, check the Huntdown Steam page and the developer's official Huntdown site. If you enjoy weapon-focused action games, our Ace Combat 7 weapon tier list covers the same question from a very different angle.

Huntdown Overtime weapon tier list
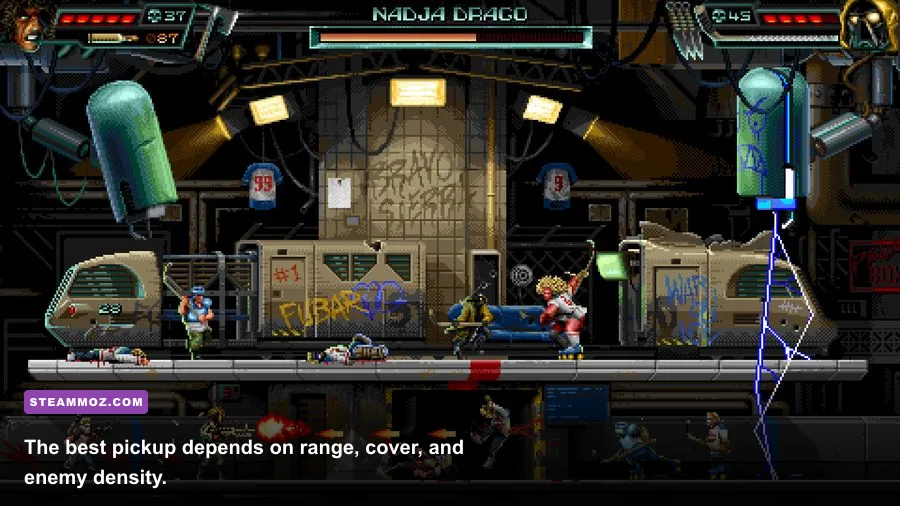
The table below ranks weapons by their total value rather than raw burst damage. A rocket launcher can erase a boss phase, but it is not automatically an S-tier everyday weapon if ammunition is scarce and the projectile is awkward in a cramped corridor. The assault rifle earns its place through consistency, while the shotgun remains the fastest answer to enemies who push into your space.
| Weapon or equipment | Tier | Best strength | Best situation |
|---|---|---|---|
| Shotgun | S | Extreme close-range burst and knockback | Rushers, doorways, tight corridors |
| Assault rifle | S | Reliable sustained damage and reach | Mixed enemy groups and open lanes |
| Grenade launcher | S | Area denial and indirect attacks | Clusters behind cover or on platforms |
| Rocket launcher | A | Huge burst and splash damage | Boss phases and dense reinforcements |
| Submachine gun | A | Fast close-to-mid-range pressure | Mobile enemies and aggressive pushes |
| Revolver | A | Accurate single-target damage | Exposed elites and deliberate duels |
| Dual pistols | B | Flexible fire while moving | Early encounters and running fights |
| Molotov cocktails | B | Persistent fire and lane control | Chokepoints and stationary targets |
| Baseball bat or melee pickup | B | Instant interruption at point-blank range | Desperate defense and isolated enemies |
There is no permanent upgrade path that turns a low-tier weapon into an S-tier one. Your route, timing, and ammunition decide the real value. A grenade launcher in a flat, open room may be less useful than a revolver; the same launcher becomes incredible when enemies stack behind a destructible barrier. Treat the tier list as a starting priority, not a command to ignore the arena.
S-tier weapons explained
Shotgun: The shotgun is the most dependable panic button in Huntdown. Wait until a rusher commits, step into the correct distance, and fire before backing away. The spread covers small movement errors, and the burst can interrupt an enemy before its attack animation completes. Its weakness is obvious: firing from too far away wastes pellets and leaves you exposed. Don't chase a distant target with it when an assault rifle is available.
Assault rifle: This is the safest general-purpose choice. It can pressure enemies across a lane, punish targets during a jump, and finish weakened opponents without forcing you into melee range. Short bursts are better than blindly holding the trigger in a crowded arena. Fire, reposition, then fire again. That rhythm preserves accuracy and keeps you from standing still while a shielded enemy or grenade user sets up.
Grenade launcher: The grenade launcher's value comes from geometry. Bounce shots off walls, fire over low cover, and place explosions where enemies are about to land rather than where they are standing. It is especially strong against groups that use vertical platforms. The launcher is less forgiving in a tiny room, where a mistimed shot can make your own escape route dangerous.
🎮 HUNTDOWN: OVERTIME
Looking to experience this game? Grab your digital key directly on our store for $13.59.
View on Steammoz Store →Best weapons for Anna Conda, Mow Man, and John Sawyer
Each hunter changes how a weapon feels. Anna Conda's mobility makes rapid repositioning and dual-wield pressure natural. Mow Man is at his best when he controls space with heavy weapons and punishes enemies that cross a short distance. John Sawyer rewards a calmer rhythm: line up the shot, exploit a telegraph, and avoid wasting ammunition on targets that can be handled with movement or cover.
| Character | Primary recommendation | Secondary recommendation | Combat priority |
|---|---|---|---|
| Anna Conda | Dual pistols | Submachine gun | Keep moving and maintain pressure |
| Mow Man | Shotgun | Assault rifle | Break pushes and hold close lanes |
| John Sawyer | Revolver | Grenade launcher or explosive pickup | Pick targets and punish openings |
Anna Conda weapon ranking
Anna's dual pistols are excellent for players who shoot while sliding, jumping, and changing elevation. They let you keep damage flowing during movement, but their individual shots are less forgiving than a shotgun blast. Use them to soften a group, then swap to a stronger pickup for the finishing blow. Her submachine gun is the better choice when enemies stay within a medium lane and you need uninterrupted pressure.
Molotov cocktails suit Anna's evasive style because fire can occupy a route while she attacks from another angle. Throw one at a doorway before crossing the room, not after enemies have already surrounded you. The flames are strongest as a positioning tool; they are not a substitute for direct damage against a fast boss.
Mow Man weapon ranking
Mow Man and the shotgun are the game's most immediately satisfying pairing. Let armored enemies enter your preferred range, fire during their recovery window, and retreat before the next attack begins. The shotgun also gives Mow Man a way to reclaim space when several enemies close in at once. If the arena is too open, switch to the assault rifle rather than trying to force every fight into point-blank range.
Heavy explosive pickups are particularly effective with Mow Man because he can survive the dangerous approach needed to create a clean blast. Still, don't spend rockets on a single basic enemy unless that enemy is about to pin you against a wall. Save the ammunition for a boss transition, a reinforcement wave, or a platform section where escape routes are limited.
John Sawyer weapon ranking
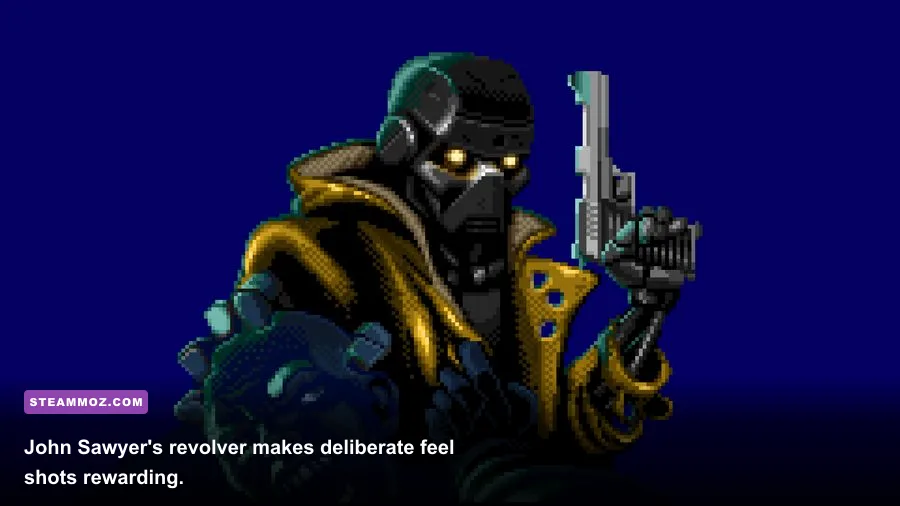
John Sawyer's revolver is an accuracy test, not a spray weapon. Take the extra moment to aim at an exposed target, especially after it finishes a leap or projectile throw. The revolver becomes much stronger when you use cover deliberately: step out, fire, step back, and repeat. This approach also makes it easier to watch enemy telegraphs instead of tunnel-visioning on the reticle.
John benefits greatly from grenades and launchers because explosives compensate for the revolver's lower crowd-control potential. Use the revolver for priority targets and the launcher for enemies that refuse to stand in a clean line. If you are struggling, don't immediately blame the character. The usual mistake is firing too early, before the enemy has entered a vulnerable animation.
How to use explosives, fire, and melee pickups
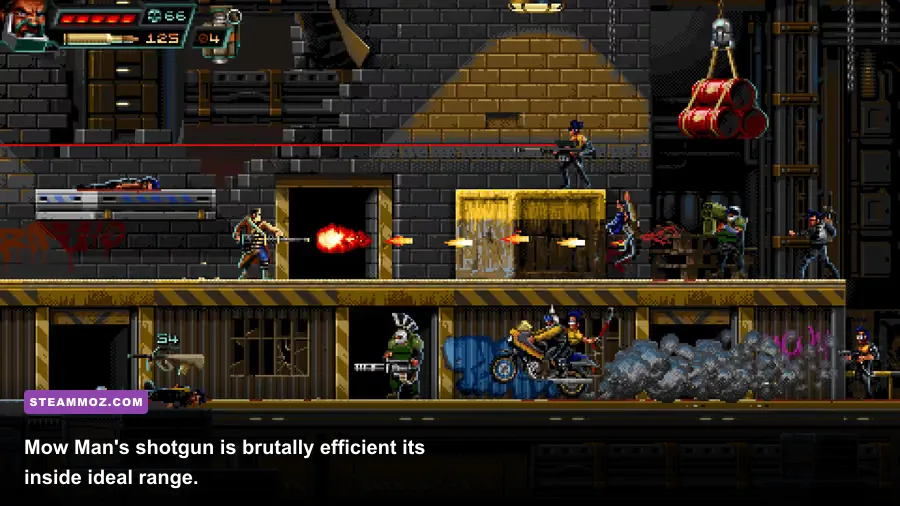
Pickup equipment is powerful because it changes the shape of an encounter. It is also temporary, so the best players use it to remove a specific threat rather than carrying it forever. Explosives should open a fight, fire should restrict movement, and melee weapons should create a brief emergency window. Mixing those roles is what separates a clean Overtime clear from a messy retry.
| Equipment | Use it for | Don't use it for | Timing tip |
|---|---|---|---|
| Rocket launcher | Boss burst and reinforcement waves | One isolated basic enemy | Fire after a boss commits to an animation |
| Grenade launcher | Enemies behind cover or grouped vertically | Point-blank targets | Bounce rounds into the landing zone |
| Molotov | Blocking doors, ladders, and retreat lanes | Chasing fast enemies | Throw before the wave reaches the choke |
| Melee pickup | Interrupting a close attacker | Crossing an open arena | Strike during the enemy's approach |
| Explosive environmental prop | Deleting clustered targets | Breaking cover without an escape route | Trigger it after enemies commit |
Explosive barrels and environmental hazards deserve the same respect as carried weapons. Lure enemies into the blast radius, then trigger the hazard when their movement is constrained by a ledge, door, or platform. Firing too early only scatters the group and forces you to fight the survivors separately. In Overtime-style endurance play, that extra ammunition adds up.
Grenades and launchers also let you attack without exposing your full body. That matters against enemies who punish a straight approach. Fire from behind cover, immediately move to a second position, and watch whether the explosion forced a stagger. Never stand beside the surface you used for a bounce shot; a bad angle can turn crowd control into self-inflicted chaos.
Melee weapons are B-tier overall, but that rating undersells their emergency value. A bat or similar close-range pickup can interrupt an enemy who has already entered your personal space. Swing once, create separation, and return to a firearm. The classic mistake is getting one successful melee hit and then staying close for a second swing while another enemy aims from off-screen.
Boss and arena priorities for Overtime runs
Boss encounters are where weapon hoarding usually fails. A rocket launcher saved for later is worthless if the current phase forces you into a corner. Read the arena first: identify explosive objects, overhead platforms, safe retreat lanes, and the direction reinforcements enter. Then choose a weapon that answers the room rather than the boss's health bar alone.
| Encounter condition | Priority weapon | Enemy telegraph to watch | Correct response |
|---|---|---|---|
| Boss pauses before a charge | Shotgun or rocket launcher | Long wind-up and forward commitment | Move aside, then punish recovery |
| Boss hides behind cover | Grenade launcher | Projectile or summon animation | Bank shots around the obstruction |
| Reinforcements enter in a cluster | Rocket launcher or Molotov | Doors, ladders, or drop-in points activate | Control the entry lane immediately |
| Fast melee enemies flood the room | Shotgun or submachine gun | Short sprint and attack wind-up | Backpedal while firing, then jump or slide |
| Long open sightline | Assault rifle or revolver | Enemy pauses to aim | Use cover and take precise return shots |
Against a charging boss, don't fire the moment the animation begins. Move first. Huntdown's arenas reward preserving a clean lane, and panic shooting often leaves you trapped beside a wall. Once the boss has committed to its direction, step through the opening and fire into the recovery period. A shotgun blast is ideal at close range; a rocket is better if the arena also contains reinforcements.
For projectile-heavy encounters, prioritize the weapon that lets you keep moving. The assault rifle and submachine gun can maintain pressure while you reposition, whereas a slow explosive shot demands more commitment. Use verticality whenever the room provides it, but don't jump blindly into a platform occupied by an enemy waiting off-screen.
Many difficult rooms become manageable when you kill the support enemy first. Shield users, grenade throwers, and enemies controlling a ladder can be more dangerous than the boss during a transition. Spend a single explosive if it removes that problem, then return to your reserved damage weapon. This is why a tier list based only on boss damage gives bad advice.
Best equipment strategy and mistakes to avoid
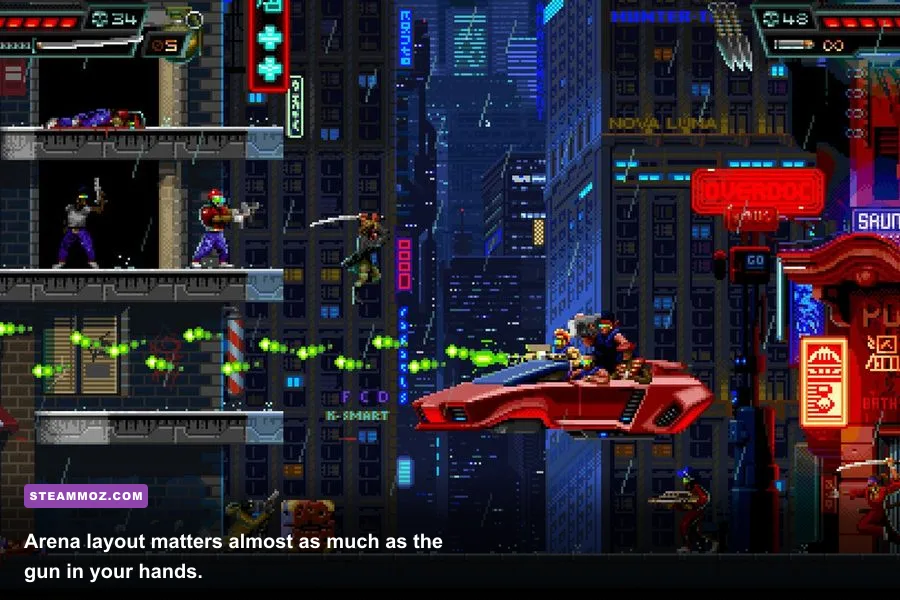
The strongest Overtime setup is a flexible rotation, not a single favorite gun. Start with your character's default weapon to weaken basic targets, switch to the shotgun when the room compresses, and reserve explosives for moments that would otherwise force a risky crossing. That rotation keeps every tool in its ideal job and prevents you from burning rare pickups on problems your standard kit already solves.
Recommended weapon rotation
Open the encounter: Use the assault rifle, revolver, or dual pistols to identify enemy positions and remove exposed targets. Don't rush the first kill if it means stepping into an unscouted lane.
Break the push: Switch to the shotgun when rushers cross the midpoint of the arena. One decisive close-range blast is usually safer than several seconds of retreating while trying to land pistol shots.
Control the room: Throw a Molotov at the main entry route or use the grenade launcher against enemies grouped behind cover. The goal is to split the formation, not merely increase the damage number.
Spend burst damage: Pull out the rocket launcher when the boss is locked into a recovery animation or when reinforcements create a genuine surround threat. If the boss is moving unpredictably, keep the launcher until the next clear telegraph.
Reset after the wave: Move through the arena, collect useful ammunition, and reload before opening the next door. Huntdown rewards momentum, but entering a new room with an empty magazine is self-inflicted difficulty.
The mistakes that wreck good runs
First, don't rank weapons by spectacle. A rocket launcher feels powerful, but a missed rocket has zero value and may leave you without an answer later. Second, don't use Molotov fire as direct burst damage. Its real strength is forcing enemies to choose a worse route. Third, don't hold the shotgun at maximum distance. Closing the gap safely is part of using the weapon.
Fourth, don't ignore movement while aiming. Every firearm becomes better when paired with short slides, jumps, and cover transitions. Fifth, don't reload in the center of a lane when a retreat route exists. Break line of sight, reload, then re-enter on your terms. Finally, don't treat a tier ranking as permission to abandon the weapon already in your hands. If the revolver is loaded and the enemy is exposed, take the shot rather than swapping into danger.
Final ranking for the best Huntdown equipment
For most players, the shotgun is the best emergency weapon, the assault rifle is the best all-rounder, and the grenade launcher is the best tactical pickup. The rocket launcher wins specific boss moments but ranks slightly lower overall because ammunition and positioning limit it. Anna Conda gets the most from dual pistols and the submachine gun, Mow Man is the natural shotgun specialist, and John Sawyer turns the revolver into a precision tool.
The winning rule is simple: use direct-fire weapons to solve targets, explosives to solve formations, and fire to solve movement. Keep a retreat lane open, watch the enemy's wind-up instead of reacting to the projectile itself, and spend your strongest pickup when the room becomes genuinely dangerous. That approach will carry you farther than chasing a supposedly perfect loadout.
Huntdown's appeal is that every weapon remains useful when the player understands its job. If you want more build-focused recommendations after clearing the campaign, try Steamoz's Inertial Drift starter build or our guide to Captain Tsubasa equipment rankings. For more information about updates and the game's core design, the developer homepage is the safest place to start.