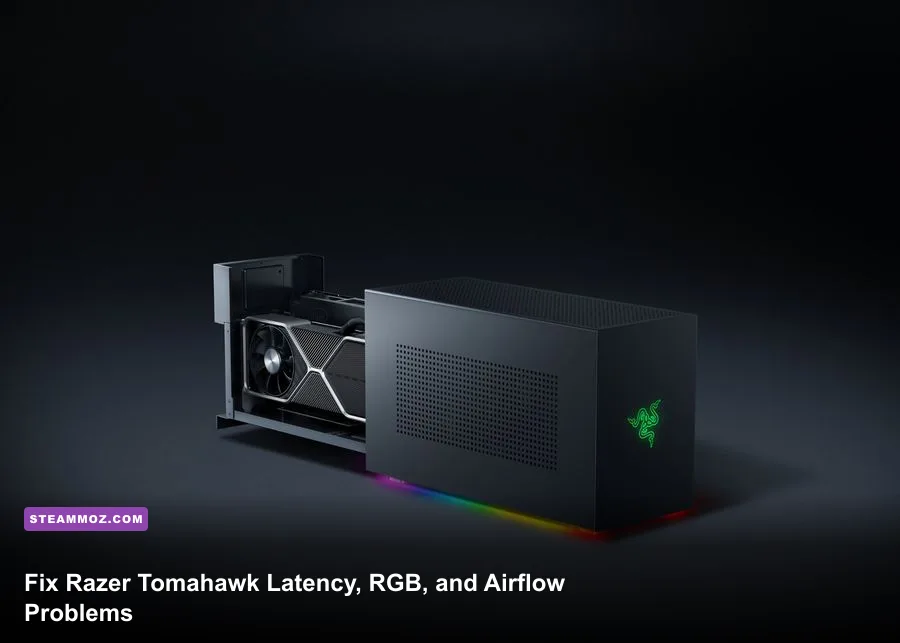
The fastest way to fix common Razer Tomahawk issues is to separate the case from the PC hardware inside it: the Tomahawk ATX is a chassis with an RGB controller, while the Razer Tomahawk Gaming Desktop is a compact Intel NUC9-based system. Neither model adds magical input latency, but blocked airflow, unstable Synapse services, USB power management, Wi-Fi interference, and inconsistent frame pacing absolutely can. Start by updating BIOS, chipset, GPU, and Synapse software, then lock in a sensible fan curve, use wired networking, and cap FPS below your display’s refresh rate.
This distinction matters. A Tomahawk ATX with an RTX 4080 has completely different thermal behavior from the discontinued Tomahawk Gaming Desktop with an Intel NUC9 Extreme Compute Element. The troubleshooting steps below cover both, with model-specific warnings where the hardware behaves differently. Before changing anything, identify your model from the label on the rear panel or the system information screen. You can also compare your setup against the official Razer Tomahawk specifications.
First, identify what is actually lagging
“Latency” gets used for three different problems: network ping, input delay, and frame-time stutter. They feel similar, but the fixes are not interchangeable. A 90 ms ping problem will not be solved by lowering texture quality. A mouse that feels sluggish at 45 FPS will not improve because you changed DNS. Run a repeatable test before touching settings.
- Network latency: In an online match, check the game’s ping and packet-loss graph. Test
ping 1.1.1.1 -tin Windows for several minutes. Stable results around 10–40 ms are usually healthy; sudden jumps or timeouts point to Wi-Fi, the router, or your ISP. - Input latency: Move the mouse on the desktop and in a fixed training range. If the cursor is smooth but aiming feels delayed only at low FPS, the problem is frame time. If every application feels delayed, inspect USB, polling rate, and background software.
- Frame-time stutter: Use CapFrameX, PresentMon, or your game’s frame-time graph. A game averaging 120 FPS can still feel awful if 1% lows fall to 35 FPS because the CPU or GPU is hitting a thermal or power limit.
| Symptom | Likely Tomahawk-related cause | First test | Best first fix |
|---|---|---|---|
| FPS drops after 10–20 minutes | Restricted intake or high CPU/GPU temperature | Log temperatures and clocks | Clean filters, improve fan curve |
| RGB vanishes after reboot | Synapse service, USB header, or controller issue | Check Synapse and Device Manager | Restart services, reseat internal USB |
| Online rubber-banding | Wi-Fi interference or bufferbloat | Compare wired and wireless ping | Use Ethernet and enable router QoS |
| Mouse feels delayed | Low frame rate, USB power saving, or polling conflict | Test at a fixed 120 FPS | Disable USB selective suspend and cap FPS |
Fix overheating, fan noise, and sudden FPS drops

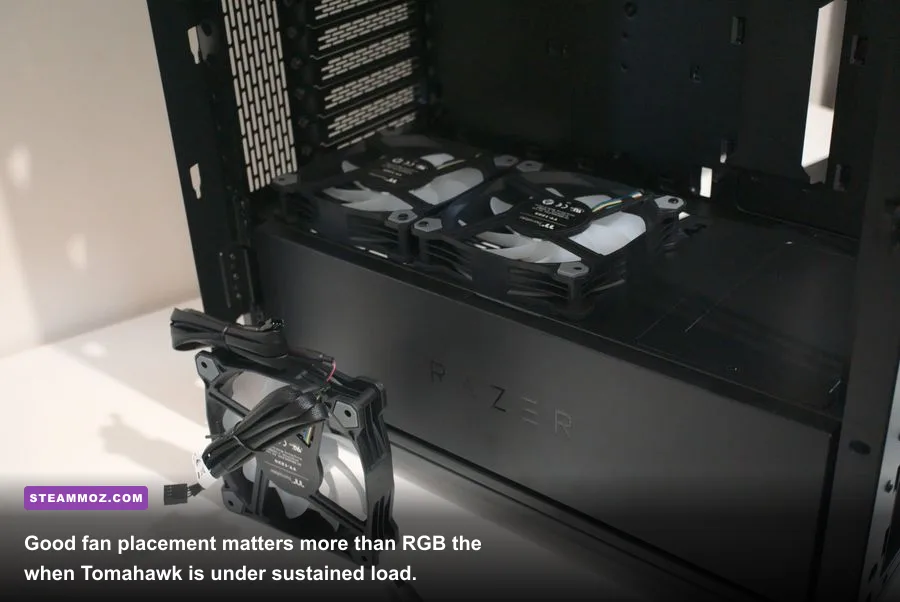
The Tomahawk’s sharp-looking front panel can become an airflow bottleneck when dust builds up or the fans are installed in the wrong direction. For the ATX chassis, aim for slightly positive pressure: two or three front fans pulling cool air in, one rear fan exhausting, and top fans exhausting if your radiator or GPU temperature needs help. Every fan should have a visible, intentional direction. The frame supports airflow; the open side of the fan usually faces the side where air enters.
Start with a baseline. In HWiNFO64, monitor CPU package temperature, GPU hotspot, GPU clock, and thermal throttling while running a demanding title for 20 minutes. A modern gaming CPU briefly touching 90–95°C can be normal, but sustained clock drops are not. For an RTX graphics card, a GPU core in the 70s or low 80s is generally comfortable; a hotspot approaching 100–110°C, depending on the model, deserves investigation. The number that matters is not just peak temperature but whether frequency falls at the same moment.
The reliable airflow reset
- Shut down, switch off the power supply, and unplug the cable. Hold the power button for five seconds before opening the panel.
- Remove dust from front filters, radiator fins, GPU heatsinks, and the power-supply intake. Use compressed air in short bursts and stop fans from free-spinning.
- Confirm front and bottom fans are intake, while rear and top fans exhaust. Reverse-mounted fans are one of the most common silent mistakes.
- Move loose cables away from the GPU intake and front fans. Do not crush the 12VHPWR cable against a side panel; leave a gentle bend radius.
- Set a gradual curve rather than a flat 100-percent profile. For example, use 30% at 40°C, 50% at 60°C, 70% at 75°C, and 85–100% above 82°C, then tune by noise.
| Setting or component | Recommended target | Performance impact | Practical note |
|---|---|---|---|
| Front intake fans | 2–3 fans at 700–1,000 RPM in games | Improves GPU stability | Use dust filters and keep the front unobstructed |
| Rear exhaust | 900–1,200 RPM under load | Reduces CPU heat soak | Keep this fan at least as active as the front intake |
| Top exhaust | 600–1,000 RPM | Moderate temperature gain | Too aggressive a curve can increase noise without better FPS |
| GPU power limit | 90–95% for testing | Small FPS loss, lower heat | Useful for diagnosing thermal throttling |
| FPS cap | Refresh rate minus 3 FPS | Lower heat and latency variance | Use 117 FPS for 120 Hz or 141 FPS for 144 Hz |
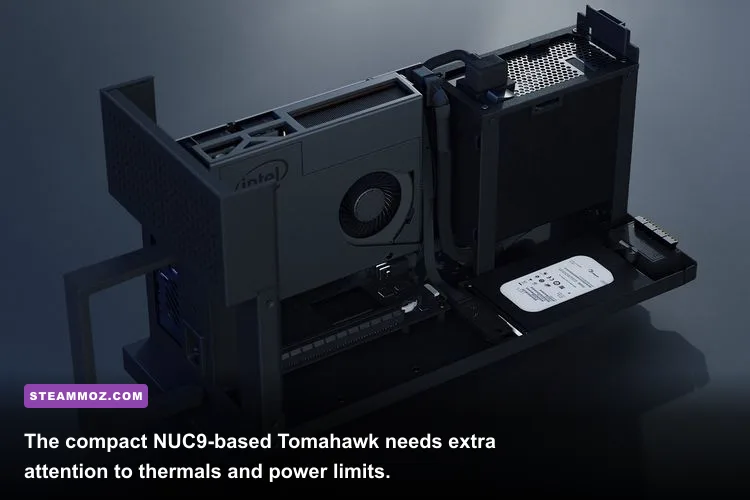
If your Tomahawk is the compact Gaming Desktop, do not apply the ATX fan-layout advice blindly. The NUC9-based design has tighter internal clearances and less freedom for cooler swaps. Keep the side vents clear, place the system on a hard surface rather than carpet, and avoid pushing an overclock before proving that temperatures are stable. The Intel NUC9 Extreme specifications explain why compact cooling and power limits matter more on that model.
For broader PC crash and performance habits, Steamoz’s ELEX PC fixes and low-FPS troubleshooting guide are useful reference points, even though the games differ.
Reduce input latency without making the picture ugly
There is no “Tomahawk latency switch.” Input delay is mostly the combined cost of rendering, display scan-out, USB processing, and network response. The strongest improvement usually comes from keeping frame times consistent, not blindly selecting every low setting. A stable 141 FPS on a 144 Hz monitor generally feels better than a volatile 190 FPS that repeatedly plunges to 70.
A sensible competitive profile
- Enable your monitor’s highest refresh rate in Windows under Settings > System > Display > Advanced display.
- Use DisplayPort when your monitor supports it, then enable Adaptive-Sync, FreeSync, or G-SYNC in the monitor and driver menus.
- For NVIDIA Reflex games, choose On; use On + Boost only if the GPU is not already power- or temperature-limited. Reflex reduces the render queue, while Boost can hold higher clocks at the cost of heat.
- For games without Reflex, test NVIDIA Low Latency Mode on and off. Do not stack driver “Ultra” settings with a game’s own queue control without measuring frame times.
- Cap FPS three frames below refresh: 117 for 120 Hz, 141 for 144 Hz, 162 for 165 Hz, and 237 for 240 Hz. Radeon users can test Radeon Chill or Anti-Lag 2 where supported.
- Turn off motion blur, depth of field, and chromatic aberration for competitive play. These settings rarely add meaningful latency, but they can make motion look softer and harder to read.
| Graphics setting | Recommended competitive value | FPS impact | Visual trade-off |
|---|---|---|---|
| Resolution | Native monitor resolution | High if reduced | Lower resolution is clearer only when upscaling is well configured |
| Upscaling | DLSS Quality or FSR Quality | Large gain in GPU-heavy games | Quality mode preserves more detail than Performance |
| Ray tracing | Off or Low | Very high impact | Reflections and lighting lose accuracy |
| Textures | High, within VRAM limit | Low to moderate | High textures improve surfaces without much latency cost |
| Shadows | Medium | Moderate to high | Lower settings reduce depth and contact detail |
| Reflex or Anti-Lag | On where supported | Usually negligible | Can increase GPU workload in Boost mode |
Windows Game Mode should generally stay enabled. Hardware-accelerated GPU scheduling is worth testing rather than treating as a universal cure; it can help some modern systems and produce no benefit—or occasional oddness—on others. Disable overlays you do not need, including Xbox Game Bar capture, Discord overlay, GeForce overlay, and RGB monitoring widgets. Each is small, but several hooks can create stutter after a driver update.
Stop Synapse, Chroma, and RGB from resetting
RGB problems are usually software or connection problems, not a dead Tomahawk case. Razer Synapse controls Chroma devices through background services, and a Windows update or partial Synapse installation can leave lighting stuck on a default color. Third-party RGB suites such as ASUS Armoury Crate, MSI Center, SignalRGB, and OpenRGB may also compete for the same controller or motherboard header.
Use this clean Synapse sequence
- Install the current Synapse release from the official Razer Synapse page. Reboot even if the installer says it is optional.
- Open Synapse and check whether the Tomahawk appears under Devices. If it does not, close Synapse completely from the system tray and restart the Razer Central and Razer Synapse services in Windows.
- Power down the PC and reseat the internal USB cable connecting the chassis controller. On the ATX model, verify that the controller has SATA power as well as its motherboard USB connection.
- Temporarily uninstall or disable competing RGB applications. Test one lighting controller at a time; simultaneous control is a common reason effects revert after sleep.
- Save a simple static-color profile first. Rainbow effects and game integrations add more software variables, so prove basic control before enabling them.
- If lighting works until sleep or hibernate, disable USB selective suspend under the active power plan and test a full shutdown. Fast Startup can preserve a broken controller state.
Do not confuse a dark RGB strip with a dead fan. The Tomahawk’s lighting controller and its cooling fans are separate systems. If temperatures and fan RPM are normal, troubleshoot Chroma independently. If a fan is not spinning, inspect its PWM connection and BIOS fan monitoring instead of reinstalling Synapse.
Fix Wi-Fi spikes, USB delay, and peripheral dropouts
The Tomahawk chassis does not determine your ping, but the wireless antenna position, motherboard drivers, and USB power behavior inside the finished build do. For competitive games, run Ethernet directly to the router whenever possible. A wired connection removes radio interference and makes diagnosis much easier. If wired ping is stable while Wi-Fi jumps, the case is not the culprit; move the antenna away from the rear I/O, metal shelving, and USB 3.0 hubs.
Update the motherboard’s LAN, Wi-Fi, and chipset drivers from the board manufacturer rather than relying only on Windows Update. On the compact Tomahawk Gaming Desktop, use the platform support packages appropriate to the NUC9 model. Avoid random driver-updater utilities. They often replace a working network driver with an older generic package.
Network and USB checks that actually matter
- Run
ping -tto your router, then to a public address. If the router ping spikes, the issue is local Wi-Fi or bufferbloat. If only the public address spikes, inspect the ISP route. - Pause cloud backups, game downloads, and Windows delivery optimization while testing. A full upload can make a perfect connection feel broken.
- Enable router QoS or SQM if available. Smart Queue Management is usually more useful than changing DNS, which may speed name lookups but does not lower in-match ping.
- Plug the mouse and keyboard directly into rear motherboard USB ports. Avoid unpowered hubs, front-panel extensions, and ports shared with a high-bandwidth external drive while diagnosing dropouts.
- In Device Manager, open each USB Root Hub’s Power Management tab and test with “Allow the computer to turn off this device to save power” disabled.
- Use the mouse manufacturer’s recommended polling rate. A 4,000 or 8,000 Hz mouse can create extra CPU overhead in some games; 1,000 Hz remains the dependable baseline.
| Test result | What it indicates | Action | Expected outcome |
|---|---|---|---|
| Router ping is stable, game ping spikes | ISP route or server issue | Test another server and time of day | Separates local hardware from internet routing |
| Router ping spikes only on Wi-Fi | Interference or weak signal | Use Ethernet or reposition antennas | More consistent ping and fewer packet losses |
| Mouse disconnects under load | USB power, hub, or cable problem | Use rear USB port and disable selective suspend | Stable device connection |
| High polling causes stutter | CPU overhead or game incompatibility | Return to 1,000 Hz | Lower frame-time spikes with little aiming downside |
If you are chasing wider PC optimization problems, Steamoz’s Far Cry 6 settings guide covers the same frame-time principles, while the Filament performance guide is a useful example of separating visual quality from responsiveness.
When to reset BIOS, drivers, or the whole system
Escalate gradually. First restore stock CPU, GPU, and memory settings. XMP or EXPO can be perfectly reliable, but unstable memory often masquerades as game crashes, USB resets, and corrupted RGB software. If problems began after an overclock, remove it before blaming the Tomahawk.
Next, reinstall the GPU driver with a clean installation, update motherboard BIOS only from the board vendor’s support page, and load BIOS optimized defaults. Do not interrupt a BIOS update or use a file intended for a different motherboard revision. On a prebuilt Tomahawk Gaming Desktop, prefer Razer and Intel support packages over enthusiast BIOS experiments.
A full Windows reset is the last resort, not the opening move. Before it, record your BIOS settings, export Synapse profiles, save game configuration files, and photograph internal cable connections. If the system still shows thermal throttling, missing USB devices, or random shutdowns at stock settings, test the power supply, memory, and storage separately and contact Razer Support with logs from HWiNFO, Event Viewer, and your motherboard BIOS version.
The best Razer Tomahawk setup is deliberately boring: clean filters, correctly oriented fans, a measured FPS cap, wired networking, one RGB controller, and no unnecessary overlays. That combination fixes more real-world latency and stability complaints than chasing a single “gaming mode.” Once temperatures, frame times, and ping are all stable, change one setting at a time. You’ll know what helped—and you won’t have to rebuild the entire PC to find out.