
The worst Fate/Grand Order mistakes are wasting Saint Quartz, spreading EXP across too many Servants, burning useful duplicates, ignoring event shops, and leveling skills without a plan. Lock every valuable Servant and Craft Essence, build one reliable team around class advantage, spend AP on permanent progression only when no event is active, and reserve premium materials for servants you will actually use.
FGO is unusually forgiving if you understand its systems, but early resources disappear quickly. A new Master can spend millions of QP on low-impact skills, use rare Ascension materials on a temporary unit, or miss an event-exclusive welfare Servant that would have carried difficult story fights. This Fate/Grand Order worst mistakes to avoid guide focuses on the decisions that permanently slow an account, especially during the first story chapters and your first major events.
1. Do Not Spend Saint Quartz Without a Banner Plan
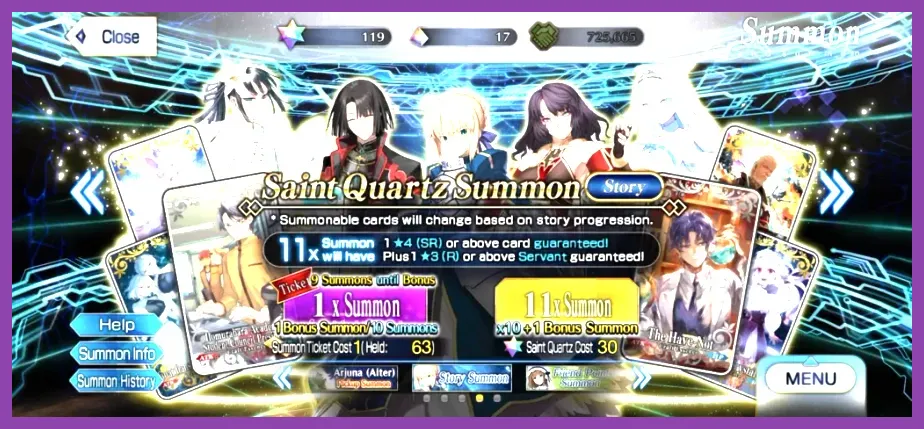
Saint Quartz is your most limited flexible resource, so treating every banner like an emergency is one of the costliest beginner mistakes. Story summons contain a huge pool of Servants and rarely justify rolling with free currency. Instead, choose a specific target, check the banner schedule, and save enough currency to make a serious attempt.
Understand what a realistic summon plan looks like
FGO’s current pity system guarantees the featured five-star Servant after 330 summons on an eligible banner, costing up to 900 Saint Quartz when using multi-summons. Pity rules, eligibility, and banner behavior can change by region or campaign, so read the in-game notice and the official Fate/Grand Order notices before committing. Do not assume that a single multi-roll is a sensible way to chase a limited character.
Save Saint Quartz for a Servant who adds a role your roster genuinely lacks. Castoria is a major Arts support, Koyanskaya of Light enables Buster farming, and Oberon dramatically improves burst damage and farming setups, but none of them should be treated as mandatory for enjoying the story. A powerful friend support can cover difficult content while you save. Also remember that a new Servant needs QP, EXP cards, Ascension materials, and skill materials; rolling a character you cannot raise immediately may not solve your account’s short-term problems.
Never trade gameplay resources for impulse rolls
Do not convert rare Mana Prisms, Rare Prisms, Command Codes, or event resources into summon tickets just because a banner is ending. Tickets are useful, but they should support a plan rather than replace one. Keep Saint Quartz fragments, login rewards, Rank Up Quest rewards, interludes, and strengthening quest rewards separate in your mental budget. For broader gacha resource discipline, the same planning principle applies in Raid: Shadow Legends’ early roster guide, but FGO’s class system makes reckless spending especially painful.
2. Do Not Spread EXP Across Your Entire Roster
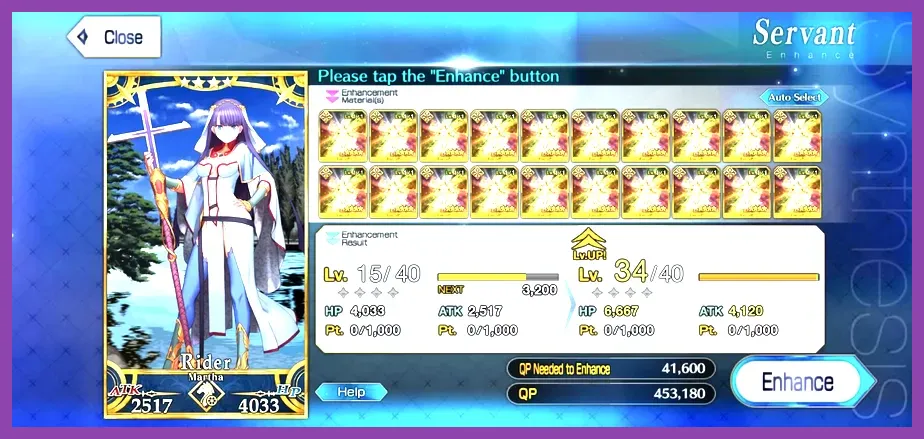
Leveling ten Servants to level 30 feels productive, but a single level 80 or 90 core team is much stronger. Ember cards are limited by AP, QP, and inventory space, while Ascension gates often require specific items from Free Quests or events. Your first target should be a stable group of four to six Servants, not every gold portrait in Chaldea.
Use a practical early roster structure
Prioritize one main damage dealer, one defensive or support option, and a flexible class-advantage answer. Mash Kyrielight is a permanent defensive anchor: her upgrades provide party protection, and her taunt plus damage-cut tools remain useful even after stronger supports arrive. Hans Christian Andersen is a cheap support who can provide healing, stars, and critical support after his upgrades. Arash is one of the best low-rarity farming tools because Stella clears a wave at the cost of his own HP, while Spartacus offers an accessible Buster AoE option.
Do not ignore three-star Servants simply because they are easy to obtain. Euryale is exceptionally effective against male enemies because her Noble Phantasm applies strong charm effects, while Ushiwakamaru delivers reliable single-target Rider damage. Cu Chulainn’s Guts and survivability make him an excellent last-man-standing option. Leveling these units is often more useful than leaving a five-star Servant at level 1 because you lack their Ascension materials.
Level in the correct order
For your main damage dealer, prioritize maximum Ascension and level before expensive skill upgrades. Reaching level 70 or 80 usually increases HP, attack, and card damage more efficiently than taking three skills from level 1 to 4. Then raise the most important skill to level 6, which reduces its cooldown by one turn. Skill level 10 is expensive because it consumes large QP amounts, class gems, Secret Gems, and often crystals or event materials.
Use the class-matched Ember bonus whenever possible: Saber, Archer, and Lancer EXP cards provide more experience to their matching classes, while All-class cards work everywhere. Feed cards in batches, use the “Selected” enhancement option carefully, and keep at least one EXP buffer for a newly summoned Servant. Lock Servants, Craft Essences, and useful duplicates immediately; accidental burning is a preventable account disaster.
3. Do Not Burn Duplicates or Ignore NP Levels
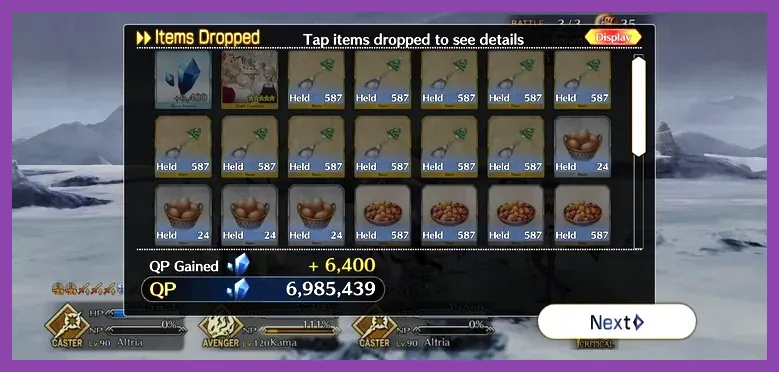
Burning a duplicate four-star or five-star Servant for Rare Prisms is usually a mistake unless you have already secured the Servant’s maximum Noble Phantasm level and understand the account-specific trade-off. A second copy raises NP damage or improves an NP’s overcharge behavior, and extra copies can matter for difficult content. Duplicate Servants also interact with Servant Coins, Append Skills, and Level 120 progression.
Lock first, evaluate later
As soon as a Servant arrives, tap the padlock in the enhancement or Spirit Origin List interface. Do the same for Craft Essences such as Kaleidoscope, The Black Grail, 2030: A Fragment of 2030, Imaginary Element, and event CEs with important starting NP or damage effects. Even a low-level copy can be valuable for a future farming setup.
Do not automatically combine every Craft Essence duplicate. Limit Breaking a CE by feeding four additional copies into the base copy unlocks its stronger effect, but that is not always correct. Keeping separate copies of a powerful CE can be better for farming multiple waves or equipping several supports. The Black Grail, for example, becomes extremely powerful when Limit Broken, but separate copies may still be useful before your account has enough strong damage options.
Spend rare currency with a checklist
Rare Prisms can unlock important items, but they are not a reason to burn a Servant you may need. Before using one, check whether the item is permanent, available through an event rerun, or already obtainable through Mana Prisms. FGO’s inventory systems reward patience. If you are unsure, leave the duplicate locked and revisit it after checking the official FGO website and current in-game exchange listings.
4. Do Not Farm Story Free Quests When an Event Is Live
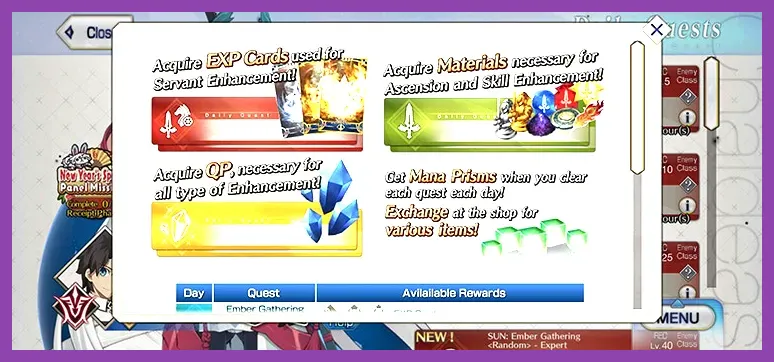
Permanent Free Quests are useful, but event shops are usually the best early-game source of Ascension materials, skill gems, QP, EXP, Friend Points, and Summon Tickets. Spending all your AP on Fuyuki or daily Chaldea Gate quests while an accessible event is active can leave you permanently behind on limited rewards.
Clear events in the right order
Push far enough through the event story to unlock farming nodes, then buy the event Craft Essence if the shop offers one. Equip it on your frontline or support list to increase currency drops. Farm the node with the best currency efficiency available to your account, even if veteran players recommend a later node you cannot clear consistently. A stable three-turn or four-turn clear is better than a theoretical high-efficiency node that requires repeated retries.
Buy limited items first: welfare Servant copies, welfare Ascension items, event CEs, Summon Tickets, Saint Quartz, Lore items, and exclusive Command Codes. After those, prioritize class Gems, Pieces, Monuments, and materials that block your current team. QP and EXP are valuable, but they are repeatable outside the event; a missed welfare Servant or event CE may not return for years.
For AP planning, use apples only after you know the event’s end date and shop requirements. Bronze, silver, and gold Apples are most efficient when they help finish a shop or secure an exclusive reward. Check the official support and FAQ pages for campaign-specific rules, especially when an event changes its AP cost or reward structure.
5. Do Not Ignore Class Advantage and Friend Supports
Trying to brute-force every battle with your strongest-looking Servant wastes Command Spells, revives, and turns. FGO’s class triangle gives normal damage advantage: Saber beats Lancer, Lancer beats Archer, Archer beats Saber; Rider beats Caster, Caster beats Assassin, and Assassin beats Rider. Berserkers generally deal extra damage to most classes but also take more damage, while Alter Egos and special classes have their own matchups.
Build teams around the enemy, not rarity
Check the enemy icons before entering a quest. Against a Lancer wave, an Archer such as Arash or Robin Hood will usually outperform a higher-rarity neutral attacker. Against a Rider boss, a properly leveled Assassin like Sasaki Kojirou or a friend’s powerful Assassin can be safer than forcing Mash and a Berserker into the fight. Bring a single-target Noble Phantasm for bosses and an AoE Noble Phantasm for waves; confusing those roles is a common cause of failed quests.
Borrow the correct Friend Support. A level 120, NP5 Servant with appropriate Craft Essence can carry early story progress, but only if the support matches the quest. Merlin with Prismatic Cosmos, Castoria with Heroic Spirit Portrait or a starting-NP CE, and a high-level Berserker with Black Grail each solve different problems. Refresh the support list instead of spending a Command Spell on a bad matchup.
Read boss gimmicks before pressing Attack
Bosses often use break bars, damage resistance, unremovable buffs, delayed debuffs, or forced support restrictions. Save defensive Noble Phantasms for the enemy’s break-bar retaliation, remove removable defensive buffs with an appropriate skill, and avoid wasting your own NP before a scripted invulnerability phase. If a battle has three break bars, plan damage across several turns rather than assuming one burst will end it.
Finally, do not spend all your materials on a single favorite while leaving your account without a Rider, Caster, Archer, or Assassin answer. A balanced roster clears more content than a collection of isolated high-level units. FGO rewards careful preparation far more than constant summoning, which is why avoiding these mistakes matters more than chasing every new banner.
For additional resource-management habits, compare this approach with Metaphor: ReFantazio’s time-saving beginner tips and the progression planning in our Marvel Future Fight leveling guide. The games differ, but the rule is identical: protect scarce resources, prioritize a functional core, and spend only when the reward improves your immediate progression.