
The undisputed best endgame build in Dragon's Dogma 2 is the Invincible Warfarer Triple-Hybrid—a setup that combines the party-wide invulnerability of Mystic Spearhand's Mirour Shelde, the absurd burst damage of Magick Archer's Ricochet Hunter, and the unrelenting point-blank DPS of Thief's Skull Splitter. Once you enter the treacherous Unmoored World, enemy density skyrockets, rests become strictly limited, and health decay punishes every mistake. To conquer this apocalyptic post-game without dying or relying on rare Allheal Elixirs, the Warfarer vocation offers the perfect answer by removing weapon restrictions and granting access to the game's most broken skill synergies.
Master of All Trades: The Ultimate Warfarer Endgame Setup

The Warfarer vocation is unlocked by giving three bottles of Newt Liqueur to Lamond at the Geyser Hamlet on Agamen Volcanic Island. While the Warfarer features slightly lower baseline stat growths than dedicated single-class vocations (approximately 10-15% lower raw physical and magical attack stats at level 50+), this structural trade-off is completely rendered irrelevant by optimal endgame equipment and Dragonforging upgrades. What makes Warfarer the unmatched titan of the endgame is the core skill Rearmament, which allows you to cycle through multiple weapon types mid-combat instantaneously.
In the post-game Unmoored World, versatility is survival. Pure martial classes like the Fighter or Warrior struggle against airborne Drake weakspots or high-altitude boss pustules, while pure spellcasters like the Sorcerer and Magick Archer are susceptible to getting ambushed and stunlock-killed in tight corridors. The Warfarer solves every conditional threat by carrying three primary weapons: a Duospear for crowd control and party-wide invincibility, a Magick Bow for elemental targeting and corridor wiping, and a pair of Daggers for raw single-target burst when a boss is knocked down.
Unlike standard builds where you might explore alternative playstyles similar to a solo class guide, this Warfarer configuration requires strict hotbar budgeting. Because Rearmament occupies one of your four skill slots, you only have three active weapon skills to allocate across your entire arsenal. Picking three skills that deliver maximum synergy across your equipped weapons is mandatory.
Essential Weapon Skill Combinations and Skill Rotation
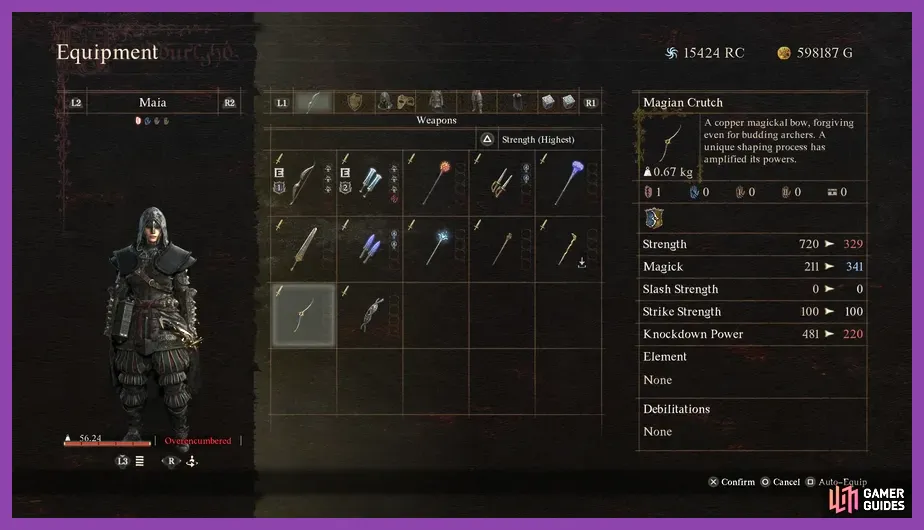
To maximize efficiency, your three custom weapon skill slots must be assigned to high-impact abilities that do not rely on Maister skills (as Warfarer cannot equip ultimate Maister abilities like Heavenly Shot or Formless Feint). Below is the exact skill layout required for this build:
- Slot 1: Mirour Shelde (Mystic Spearhand - Duospear) — Eradicates all incoming physical and elemental damage for 5 seconds for the Arisen and every nearby Pawn. It costs minimal stamina and can be spammed indefinitely.
- Slot 2: Ricochet Hunter / Ricochet Seeker (Magick Archer - Magick Bow) — Fires magickal arrows that bounce off walls, gaining exponential damage and velocity with every collision. Trivializes caves, dungeons, and narrow boss arenas.
- Slot 3: Skull Splitter (Thief - Daggers) — A spinning aerial descent strike that deals dozens of multi-hit physical strikes per second. It boasts the highest single-target physical DPS scaling in Dragon's Dogma 2.
- Core Slot: Rearmament (Warfarer) — Allows you to cycle equipped weapons sequentially.
The Unbeatable Endgame Combat Rotation
Mastering this build hinges on maintaining a seamless combat rhythm across weapon swaps:
- Opener (Defensive Layer): Equip the Duospear and instantly cast Mirour Shelde. This protects your entire party from initial attacks, dragon roars, and stagger effects.
- Ranged & Area Burst: Tap Rearmament to pull out the Magick Bow. If combat takes place in a interior location or near rock formations, unleash Ricochet Hunter. The bouncing projectiles will shred boss health bars and obliterate trash mobs automatically. If fighting in wide open spaces, use basic quick-aim heavy attacks targeting weakspots like dragon hearts or glowing brine pustules.
- Close-Quarters Devastation: Once the target boss is staggered or knocked to the ground by your Pawn's heavy strikes, hit Rearmament again to switch to Daggers. Position yourself right over the target's exposed heart or head, jump into the air, and execute Skull Splitter. Repeat until stamina hits 20%.
- Refresh & Repeat: Swap back to the Duospear, cast Mirour Shelde to refresh invulnerability, and regain stamina safely inside the shield barrier.
Best Endgame Gear, Weapons, and Dragonforging Upgrades
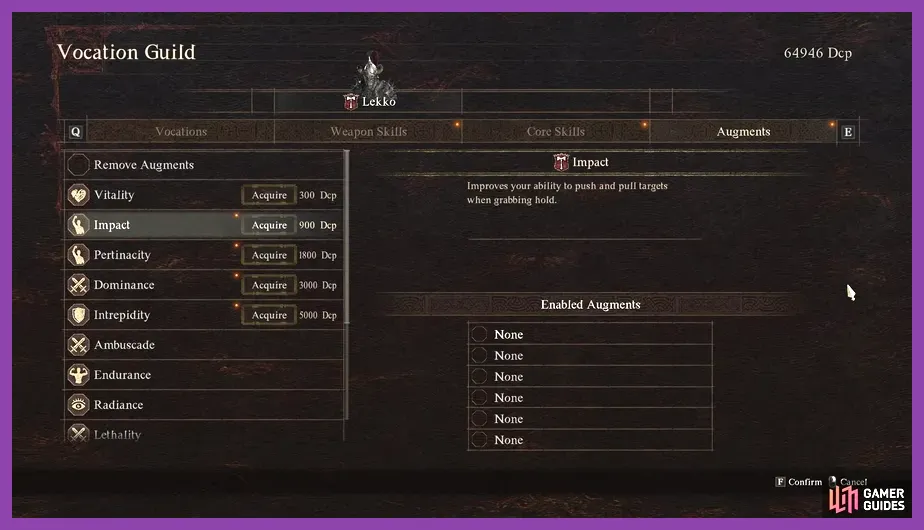
In Capcom's official release of the endgame Unmoored World, high-tier armor and weapons become purchasable from Bayayside Shrine using Wyrmslife Crystals (WLC). To hit maximum damage caps, your gear choice and specific smithing style selection are critical.
Weapon Selection & Enhancement Styles
Do not apply the same smithing style to every weapon. Different weapon types scale drastically better under specific enhancement paths before final Dragonforging:
- Duospear: Lindworm's Fang or Dead Ringer
- Enhancement Path: 3x Dwarven Upgrades, followed by Wyrmfire Dragonforging. Dwarven upgrading vastly increases Knockdown Power (reaching 350+ knockdown value), allowing your simple basic strikes to interrupt boss casting animations easily.
- Magick Bow: Grianmhar or Dragon's Breath
- Enhancement Path: 3x Elven Upgrades (found at Sacred Arbor), followed by Wyrmfire Dragonforging. Elven smithing provides maximum Magick stat scaling, amplifying Ricochet Hunter damage by over 40%.
- Daggers: Heaven's Key or Dragon's Vein
- Enhancement Path: 3x Battahli Upgrades (or Dwarven for raw physical punch), followed by Wyrmfire Dragonforging. Maximize base Physical Attack to allow Skull Splitter to melt boss health bars. Check out our comprehensive weapon tier lists for context on scaling mechanics.
Armor & Accessory Configuration
Warfarer ignores traditional vocation equipment locks, meaning you can wear the highest-defense heavy armor in the game regardless of your active weapon rotation:
- Head: Monarch's Crown (Purchased via Bayayside Shrine using WLC).
- Chest: Dominator's Armor (Highest physical/magickal defense balance with high Knockdown Resistance).
- Legs: Vanguard Greaves.
- Cloak: Commander's Cloak or Wyrmhunter's Cloak.
- Ring 1: Ring of Recitation — Decreases incantation and skill cast time, letting you weave skills faster. (Alternatively, use Ring of Artifice for encumbrance management).
- Ring 2: Ring of Vehemence — Increases your Knockdown Power by 100 points, causing bosses to collapse twice as fast under your Skull Splitter or Magick Bow assaults.
Crucial Augments Configuration for Maximum DPS and Survival

The real secret power of the Warfarer lies in combining passives from every unlocked vocation. To optimize this endgame build, you must level up multiple vocations to rank 6–9 to harvest their elite augments. Refer to our guide on how to streamline vocation progression similar to fast leveling strategies across heavy RPG systems.
Equip these six passive Augments for the absolute highest stat efficiency according to official data verified on the Dragon's Dogma 2 Wiki:
| Augment Name | Source Vocation | Effect & Strategic Value |
|---|---|---|
| Lethality | Archer (Rank 8) | Increases damage dealt when striking a target's weak spot by 5%. Essential for targeting dragon hearts and head weakpoints. |
| Dominance | Warrior (Rank 8) | Increases physical Knockdown Power by 15%. Synergizes directly with Dwarven-forged weapons to trigger boss knockdowns rapidly. |
| Asperity | Sorcerer (Rank 2) | Increases the likelihood of inflicting elemental debilitations (Drenched, Frostbite, Burning), boosting Ricochet Hunter's secondary effects. |
| Exaltation | Mage (Rank 9) | Increases stamina recovery speed by 10%. Crucial for keeping Mirour Shelde and Skull Splitter active without pausing. |
| Zeal | Warfarer (Rank 6) | Reduces the stamina cost of all active weapon skills by 10%. Highly impactful when continuously casting Mirour Shelde and Rearmament. |
| Dynamism | Warfarer (Rank 9) | Reduces weight burden penalties by one tier, keeping your movement speed agile even when carrying three separate weapons and plate armor. |
If you made stat allocation mistakes while leveling earlier classes, check out our insights on respec mechanics and skill reallocation to optimize your character's baseline stats.
Endgame Pawn Synergies and Team Composition

While the Warfarer Arisen carries the majority of offensive and defensive weight, your Main Pawn and hired support Pawns complete the squad synergy. Because your Arisen handles invincibility shields and multi-range DPS, your Pawn party should focus on elemental buffs, stamina utility, and heavy staggering power.
1. The Essential Support Mage (Main Pawn)
Your Main Pawn should ideally be set up as a full Support Mage with a Kindhearted or Calm inclination. Equip them with the following four spells:
- Celestial Paean (Maister Skill): Summon a massive wave of holy light that grants infinite stamina to all party members for 12 seconds and speeds up movement. This lets you endlessly spam Skull Splitter without dipping into exhaustion.
- High Halidom: Instantly cures all elemental debilitations, protecting your Arisen from frost, fire, and sleep.
- High Levin: Lightning elemental strike that hits airborne targets and stuns big foes.
- Argent Succor: Long-range burst healing spell to replenish any chip health lost outside of your shield bubble.
2. Frontline Tank & Knockdown Support (Hired Pawns)
For your remaining two Pawn slots, hire one Warrior and one Sorcerer:
- Warrior Pawn (Inclination: Straightforward): Equipped with Arc of Might or Mountain Breaker. Their primary duty is pulling aggro from large monsters and accumulating massive Knockdown stats while standing safely inside your Mirour Shelde bubble.
- Sorcerer Pawn (Inclination: Calm): Equipped with Meteoron or High Hagol. Their heavy area-of-effect spells freeze or burn vast groups of enemies while you keep them immune to incoming attacks. For broader ideas on team structures, review our party composition synergy guides.
Unmoored World Combat Strategy and Boss Encounters
The post-game Unmoored World presents unique survival rules: red fog slowly consumes regions, resting at inns pushes the timeline forward (risking permanent destruction of cities), and camping sites become hazardous. You must survive extended excursions through high-threat zones without resting.
Tackling Purgener Red Dragon Bosses
Purgeners are massive, mutated dragon bosses stationed at red beams of light across the Unmoored World map. They possess massive health pools and are surrounded by acidic red brine pools. Follow this tactical roadmap using your Warfarer setup:
- Approach and Shield Setup: As you engage the Purgener, immediately cast Mirour Shelde. Ensure your Mage Pawn cast Celestial Paean.
- Destroy Pustules with Magick Bow: Purgeners feature dark pink brine pustules scattered across their neck, wings, legs, and underbelly. Swap to the Magick Bow via Rearmament and hit these pustules with rapid basic shots or Ricochet Hunter if fighting under overhead structures. Popping a pustule deals several thousand damage and stuns the dragon.
- Punish Staggers with Skull Splitter: When the Purgener collapses to the ground, swap to Daggers, climb or stand directly on the chest core, and spam Skull Splitter. With Lethality and high physical attack weapons, you can drop two complete boss health bars in a single down phase.
- Managing Stamina and Loss Gauge: If you take chip damage from toxic fog or fall damage, do not waste Allheal Elixirs immediately. Because Mirour Shelde blocks 100% of damage, you will rarely take direct combat hits, keeping your health bar permanently near max without triggering the Loss Gauge mechanic.
By executing this strategy, gear upgrades become smooth, allowing you to easily farm hundreds of Wyrmslife Crystals per run without dying. For additional endgame gear choices and protective gear options, browse our detailed guide on endgame gear optimizations.
With the Warfarer Triple-Hybrid build—combining Mirour Shelde, Ricochet Hunter, and Skull Splitter—you eliminate every weakness in Dragon's Dogma 2. You hold full party invincibility, infinite range versatility, and unmatched single-target DPS in one clean package. Equip your Dwarven- and Elven-forged weapons, set your augments, and command the Unmoored World with absolute mastery.