
The absolute best team comp synergy in Dead by Daylight relies on a synchronized four-survivor composition that divides labor between a dedicated distraction looper, a fast generator rusher, a frontline healer, and an endgame clutch savior, utilizing overlapping perks like Prove Thyself, We'll Make It, Dead Hard, and Boon: Circle of Healing to completely dismantle even the strongest S-Tier killers. Mastering cooperative play requires moving away from individual survival and treating your squad as a cohesive unit where every member has a specialized role during loops, hook rescues, and map pressure phases.
Understanding the Four Core Survivor Roles
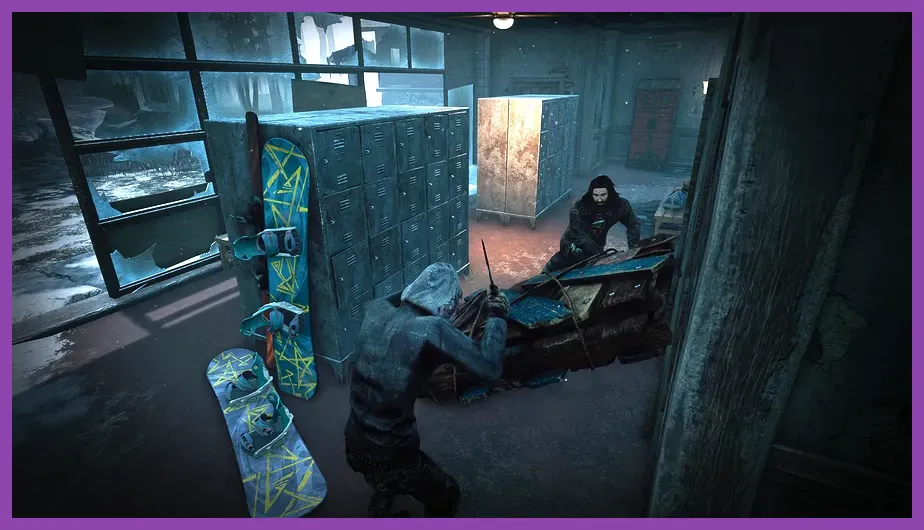
To achieve maximum efficiency in matches, your swf (survive with friends) group must assign distinct roles before entering the lobby. Without defined roles, survivors often overlap tasks, wasting valuable seconds while the killer accumulates hooks and applies deadly pressure. You can review official game updates directly on the Dead by Daylight Steam Page or check community mechanics via the Official Dead by Daylight Wiki for up-to-date stat changes.
For more cooperative multiplayer coordination strategies, take a look at our Sea of Thieves Best Team Comp Synergy Guide or check out Solo Leveling Arise Best Co-Op Multiplayer Builds to see how team roles function across different titles.
The Primary Looper / Distraction Specialist
The primary looper's sole objective is keeping the killer occupied for as many generator repairs as possible. This player needs high-mobility perks, exceptional camera movement, and deep map knowledge. Loadouts should feature:
- Lithe or Sprint Burst: Essential for bursting away from unsafe pallets.
- Windows of Opportunity: Grants constant vision of vault locations and pallet spawns.
- Decisive Strike: Acts as an insurance policy against early tunnel attempts.
- Adrenaline: Provides a clutch health state heal and speed boost when the final generator pops.
The Generator Rusher
While the looper keeps the killer busy, the generator rusher focuses entirely on repairing progression. Every second spent moving away from a generator lowers team efficiency. Equip these perks to maximize speed:
- Prove Thyself: Increases repair speed when working alongside teammates while mitigating the multi-survivor repair penalty.
- Hyperfocus: Rewards consecutive great skill checks with massive progression multipliers.
- Stake Out: Generates tokens while lingering near the killer, turning good skill checks into great ones to feed Hyperfocus.
- Built to Last: Recharges toolboxes to keep generator speeds high throughout the entire match.</p>
</ul>
The Healing and Support Powerhouse
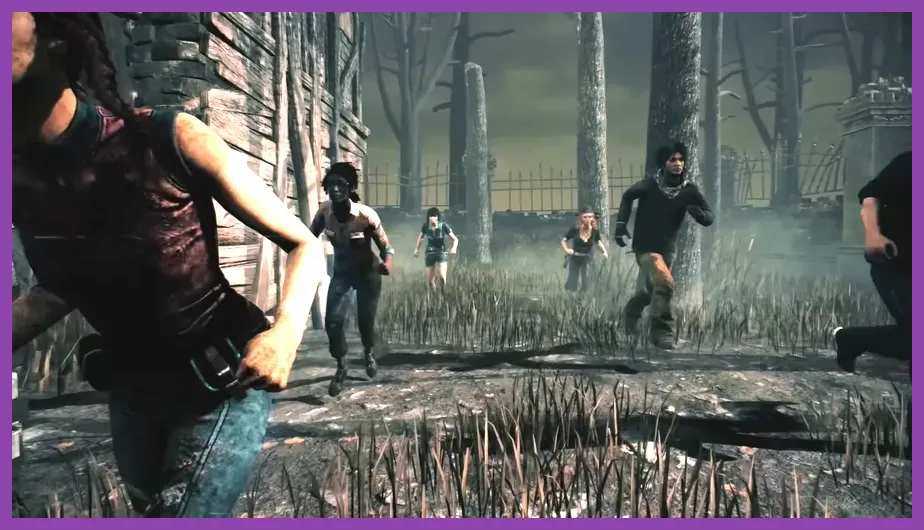
Assigning a dedicated looper ensures generators keep spinning. A dedicated support player ensures that teammates return to full health immediately after unhooking, keeping the team operational and preventing the killer from gaining momentum through quick downs. For players interested in testing other tactical mechanics and system configurations, check out our guide on Stalker 2 Best Secret Locations and Stashes Guide or learn how to tweak your setup using Stardew Valley 1.6 Best Settings for Max FPS for smoother gameplay.
Optimal Support Loadouts
The support player acts as the anchor of the team. When a survivor is hooked, this player is responsible for safe unhooks and immediate turnaround healing. Recommended perks include:
- We'll Make It: Grants a 100% increased unhooking healing speed for 90 seconds after unhooking a survivor.
- Boon: Circle of Healing: Creates a localized zone where survivors heal themselves without med-kits while providing a permanent aura-reading bonus.
- Botany Knowledge: Increases overall healing speed and med-kit efficiency by 30%.
- Borrowed Time: Extends the borrowed time effect to unhooked survivors, preventing quick trades against camping killers.
The Endgame and Sabotage Specialist
The final member of the optimal team composition serves as a wildcard who controls map pressure, disrupts killer hook paths, and guarantees escapes during the endgame collapse. If you enjoy optimizing character growth and loadouts, browse our breakdown of Summoners War Best Skills to Max First or review the mechanical loadouts in Team Fortress 2 Best Unlockable Weapons to Get First.
Sabotage and Clutch Perks
Executing successful sabo plays requires exact timing and communication. Pair these perks for maximum disruption:
- Breakdown: Reveals the killer's aura and breaks hooks when you are unhooked, creating dead zones for future carries.
- Saboteur: Allows you to see hook auras within range and sabotage hooks without toolboxes.
- Empathetic Connection: Increases healing speed and lets injured survivors see your aura from across the map.
- Kindred: Exposes the killer's aura to all survivors when someone is hooked, eliminating guesswork during rescue operations.
Item and Add-On Synergy Across the Team

Item synergy drastically cuts down generator repair times. Perks alone do not create optimal team synergy; item and add-on distribution dictate whether a match ends in a 4-man escape or a clean 4-k sweep by the killer. Proper pre-game lobby communication ensures your team brings a balanced inventory.
Toolbox and Flashlight Distribution
Never bring four flashlights into a match unless you are running a dedicated meme build designed to troll. A balanced item spread includes:
- Two Hyper-Efficient Toolboxes: Equipped with wire spools and brand new parts (or clean socket swivels) dedicated strictly to finishing early-game generators in dangerous areas.
- One Med-Kit: Carried by the support player with charges and healing speed add-ons to supplement Boon circles.
- One Emergency Flashlight or Map: Used by the looper for pallet saves or tracking killer belongings and totem spawns.
Map Control and Communication Tactics
Even with the best perks in Dead by Daylight, poor map awareness leads to sloppy three-gen setups that hand the game to the killer. Coordinate your repairs starting from the outside corners of the map and work inward toward the central generators. This prevents the killer from locking down a tight three-generator cluster during the mid-game phase.
Always communicate killer tracking information using clear callouts. Instead of saying 'he is chasing me,' specify 'the killer is chasing me near shack with no pallets remaining; work on the generator in the main building.' This level of precision allows your generator rusher and support players to maximize efficiency without second-guessing their positioning. For players looking to optimize hardware performance while running intense multiplayer sessions, consult our State of Survival Best Emulator Settings for PC or explore hardware setups via the Stardew Valley 1.6 System Requirements Minimum and Recommended page.
Executing the Endgame Strategy
When the final generator is powered, the dynamic of the match shifts immediately from generator repair to gate management and protection. The team must transition into rescue formations. If a survivor is hooked near the exit gates during the endgame collapse, the support player and the endgame specialist must use body-blocking tactics, Dead Hard endurance tokens, and flashlight saves to secure a multi-person escape. Never attempt solo hero plays unless exit doors are fully powered and opened with escape routes completely cleared of blood warden traps or NOED (No One Escapes Death) hex totems.