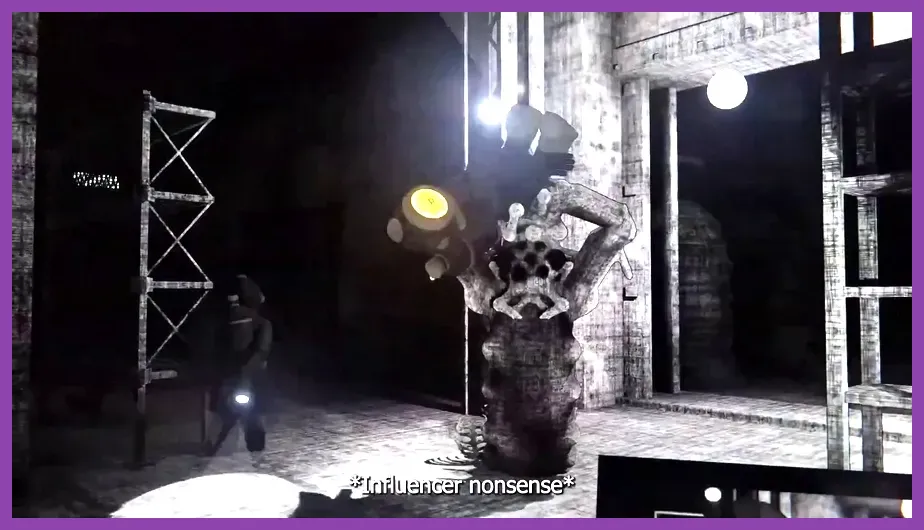
Content Warning viral video SpookTube success view”, “alt”: “Content Warning viral video view screen”, “caption”: “Maximize your hardware capabilities to ensure a lag-free co-op experience.” } ], “content”: “<p>To achieve a smooth 144+ FPS in Landfall Games’ co-op hit Content Warning, navigate to the In-Game Video Settings and set VSync to Off, Shadow Quality to Low, Post-Processing to Medium, and cap your Maximum Framerate to match your monitor’s refresh rate. While Landfall’s ASCII-infused indie aesthetic and low-poly horror styling look deceptively simple, the physics calculations, dynamic lighting, and flashlight shadows can easily tank frame rates on mid-range and budget rigs during hectic monster encounters in the Old World. Whether you are running a high-end desktop or tweaking settings for a handheld like the Lenovo Legion Go or trying to fix performance hitches similar to players troubleshooting crashing on PC in Escape from Tarkov, utilizing an optimized preset is mandatory for keeping your SpookTube videos lag-free.</p>
Recommended Performance Graphics Profile
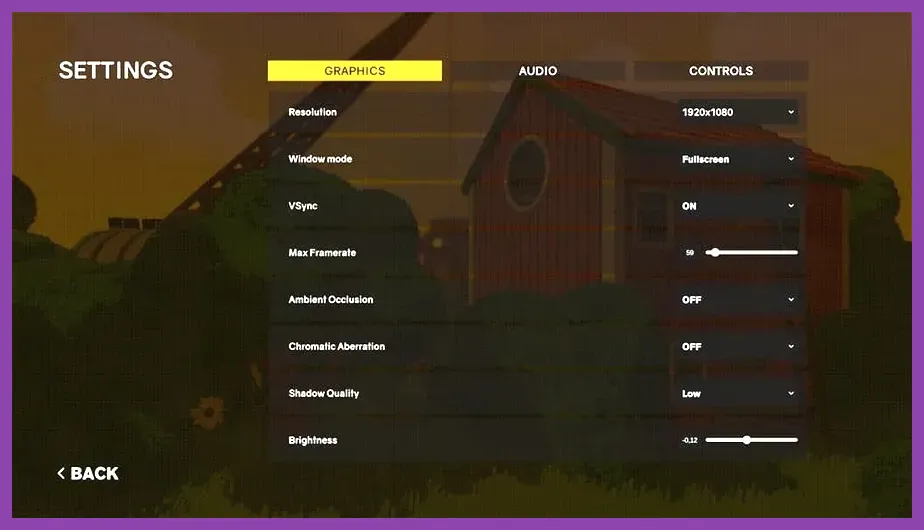
Finding the right sweet spot between visual clarity and high performance ensures you never stutter while escaping grotesque entities like the Barnacle, Flak, or the infamous Knife-face. Because you need quick mouse movement and responsive camera control to record your friends' terrifying demise, maintaining a stable baseline frame rate is your top priority. Below is the ultimate performance-focused configuration that strips away unneeded rendering overhead without sacrificing the creepy atmosphere that makes the game shine.
Apply these exact parameters in your settings menu:
- Display Mode: Exclusive Fullscreen (Never use Borderless Windowed to prevent operating system input lag and frame pacing issues)
- Resolution: Native monitor resolution (e.g., 1920x1080 or 2560x1440)
- VSync: Disabled (Enable G-Sync or FreeSync via your GPU control panel instead)
- Maximum Framerate: Uncapped or set to 144/240 depending on your screen
- Shadow Quality: Low (This single setting offers the biggest performance boost in dark underground corridors)
- Post-Processing: Medium (Keeps the VHS camera filter intact without hammering your GPU's fill rate)
- Texture Quality: High (Content Warning's texture assets are very small and fit easily into standard VRAM)
- Anti-Aliasing: FXAA or SMAA (Avoid heavy MSAA or supersampling)
By locking in these parameters, your system will easily handle the chaos of multiple flashlights cutting through pitch-black rooms, letting you focus entirely on gathering viral footage for your SpookTube channel without hardware hiccups.
Understanding Individual Video Settings
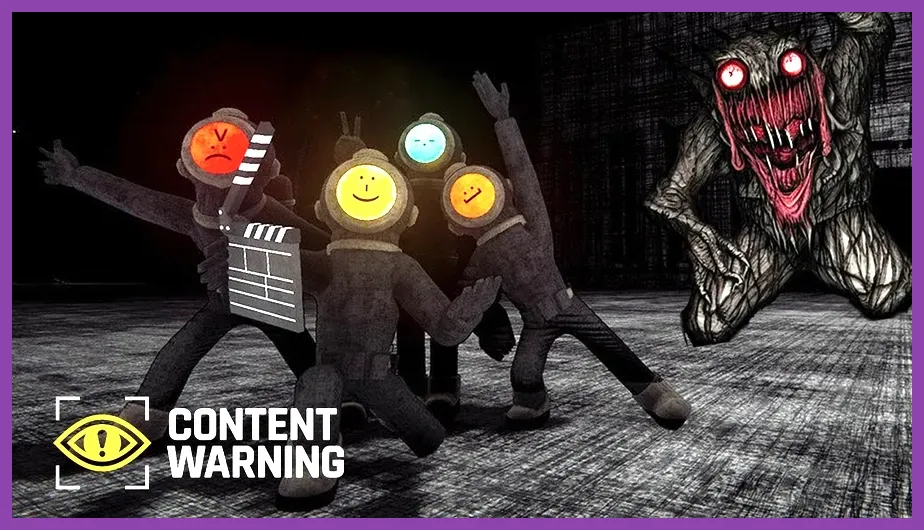
To fine-tune your setup further, it helps to know exactly what each graphical slider does under the hood of the Unity engine. Understanding these mechanics prevents you from wasting performance on settings that offer zero noticeable visual benefit.
Shadow Quality is by far the most demanding option in Content Warning. When multiple players switch on their flashlights simultaneously inside the Old World facility, real-time shadow calculations multiply exponentially. Setting this to Low reduces dynamic shadow map resolution, eliminating massive CPU and GPU bottlenecks when navigating tight spaces with your squad.
Post-processing controls the color grading, bloom, and the distinct retro camera filter that overlays your UI. Dropping this to Medium disables heavy ambient occlusion while keeping the essential camera aesthetic alive. Meanwhile, Texture Quality has almost zero performance penalty on modern graphics cards equipped with 4GB of VRAM or higher, meaning you can leave it maxed out without dropping a single frame.
Optimizing for Lower-End Hardware and Laptops
If you are playing on an older laptop or integrated graphics, you will need to take aggressive steps to maintain a playable framerate. In addition to our core profile, you should check your Windows Graphics Settings and ensure Content Warning is explicitly assigned to your dedicated GPU rather than your integrated processor.
Next, lower your rendering resolution scale if your hardware continues to struggle. Dropping your internal resolution from 1080p to 900p or 720p drastically reduces pixel-shading overhead. While the game will look slightly softer, the massive jump in responsiveness is well worth the trade-off when running away from fast-moving monsters.
Make sure to close background applications like web browsers, Discord overlay hooks, and recording software that you aren't actively using. Content Warning relies heavily on peer-to-peer networking stability, so minimizing background CPU load prevents both frame drops and network desync during intense extraction sequences.
Managing Flashlight and Dynamic Lighting Impact
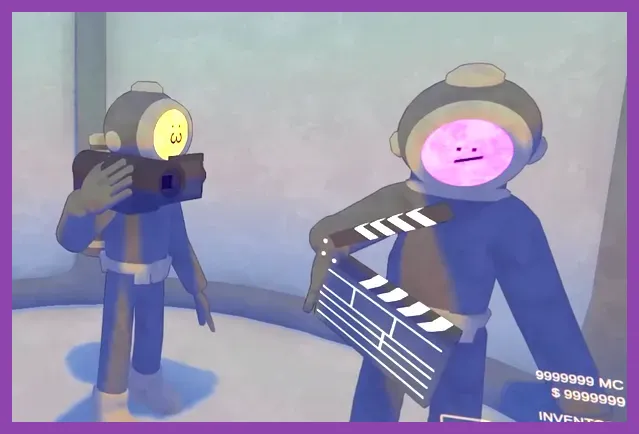
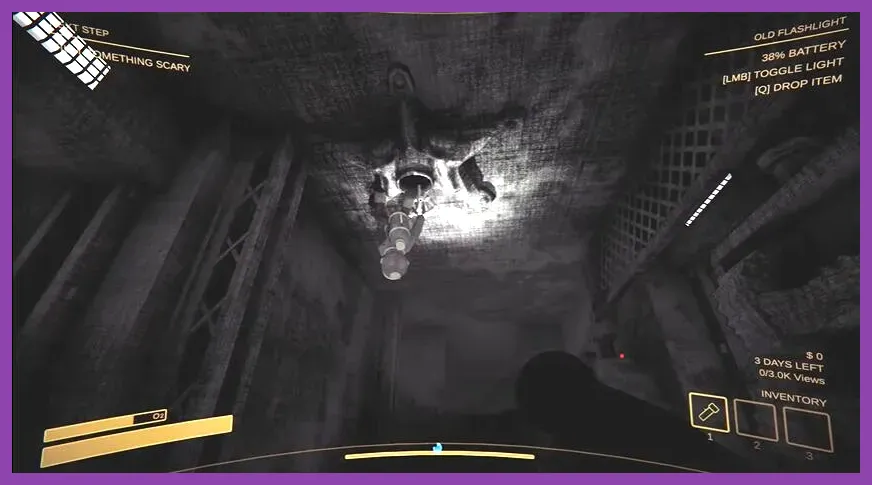
Flashlights are your primary tool for survival in the dark depths of the Old World, but they are also a primary source of frame rate drops. Each active flashlight casts dynamic shadows that must be calculated in real-time by the game engine.
When playing in a full four-player lobby, having all four teammates beam flashlights into a crowded room can cut your frame rate nearly in half if shadows are set to High or Ultra. By lowering shadow settings as recommended, you neutralize this performance tax entirely. Furthermore, consider turning off unnecessary dynamic lights or coordinating with your team to use single illumination sources in wide-open caverns.
If you experience micro-stutters specifically when entering new rooms or when monsters spawn, it is usually a sign of garbage collection or asset loading hitches. Installing the game on a fast NVMe solid-state drive rather than an old mechanical hard drive completely resolves these traversal stutters.
Advanced GPU Control Panel Tweaks
Beyond the in-game options, you can extract extra performance by tweaking your NVIDIA Control Panel or AMD Software settings. These global and application-specific overrides ensure your graphics card dedicates maximum resources to processing Content Warning efficiently.
For NVIDIA users, open the NVIDIA Control Panel, navigate to Manage 3D Settings, select Program Settings, and locate Content Warning. Apply the following parameters for optimal throughput:
- Low Latency Mode: Ultra (Reduces input lag significantly, making camera movement feel instant)
- Power Management Mode: Prefer Maximum Performance (Prevents your GPU from downclocking during brief quiet moments)
- Texture Filtering - Quality: Performance (Squeezes out extra frames with negligible visual degradation)
- Background Application Max Frame Rate: Off or limited to 30 FPS if you regularly Alt-Tab
AMD Radeon users can achieve similar results by enabling Radeon Anti-Lag and setting Texture Filtering Quality to Performance in the Adrenalin software suite. These tweaks work in tandem with the in-game settings to stabilize frame pacing and eliminate jarring micro-stutters during high-speed chases.
Troubleshooting Common Performance Drops
Even with optimal settings, occasional performance anomalies can occur due to server fluctuations or driver conflicts. If you notice your frame rate suddenly tanking mid-run, check your network connection status and ensure your graphics drivers are up to date. Clean installations of new GPU drivers via DDU (Display Driver Uninstaller) often resolve lingering frame pacing bugs.
If stuttering persists, try verifying your game files through Steam to repair any corrupted assets. Keeping your operating system updated and clearing your DirectX shader cache can also work wonders for maintaining consistent frame times across long gaming sessions.
Conclusion
Fine-tuning your visual parameters in Content Warning is the easiest way to guarantee a competitive edge when recording viral videos with your friends. By prioritizing low shadow quality, disabling heavy VSync, and locking in high-performance GPU profiles, you eliminate stuttering and input lag entirely. Equip your diving bell, adjust your settings, and dive back into the depths to capture the ultimate viral masterpiece without hardware bottlenecks holding you back.