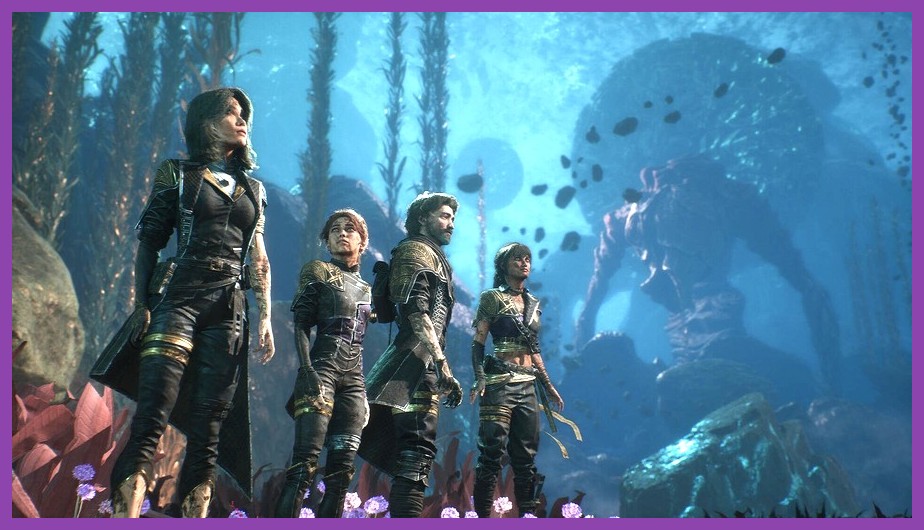
Stepping into the hauntingly beautiful world of Lumière in Clair Obscur: Expedition 33 is an unforgettable experience. Developed by Sandfall Interactive and published by Kepler Interactive, this reactive turn-based RPG blends turn-based strategy with real-time parry mechanics, setting a fresh benchmark for modern RPG games. While the main story line propels your doomed squad towards the enigmatic Paintress to break her cycle of death, the land of Lumière is packed with obscure corners, illusory painted walls, and high-risk optional sub-levels. Missing these secret locations means missing out on the game's best legendary weapons, rare crafting pigments, and game-changing accessories.
Whether you're struggling against early campaign bosses or trying to track down every missing piece of gear for your endgame build, finding these hidden zones is essential. In this exhaustive Clair Obscur Expedition 33 secret locations guide, we'll break down the exact locations, puzzle solutions, unlock requirements, and loot profiles for every major secret across Lumière. Grab your grapple line and ready your parry timing—it is time to hunt down every single secret hiding in the shadow of the Paintress.
Master List of Secret Locations in Clair Obscur: Expedition 33
The world of Expedition 33 is categorized into distinct region tiers, each featuring five main types of secret zones:
- Silent Vaults: Sealed chambers locked behind environmental rune puzzles or hidden keychains. These hold major equipment upgrades and unique gear pieces.
- Canvas Fractures: Tear-like distortions in reality that transport your party into surreal painting dimension dungeons filled with combat challenges.
- Pictomancer Alcoves: Hidden crafting sanctuaries containing rare pigments, catalyst dust, and skill nodes.
- Sub-Level Ruins: Multi-floor subterranean complexes tucked behind crumbling walls or waterlogged drainage grates.
- Superboss Echo Chambers: End-game hidden arenas where you can battle memory reflections of prior Paintresses and high-level monstrosities.
Before diving into detailed location walkthroughs, make sure your game performance is optimized so you don't drop frames during precise jump timing or combat parries. Check out our best Clair Obscur Expedition 33 settings for max FPS to keep your visual clarity pin-sharp while exploring dark ruins.
Early Game Secret Locations (Act 1 & 2 Highlights)
During the opening acts, secret locations provide crucial early stat bumps, starting gear, and skill pigments. Here are the must-find hidden areas early in your journey:
1. The Sunken Promenade Crypt
Location: Sunken Promenade - Lower Docks Sector
How to Access: After clearing the water-draining puzzle near the second checkpoint camp, return to the dock area that was previously flooded. Do not follow the primary path toward the harbor gate. Instead, drop down the rusted ladder on the far left side. Interact with the glowing wall illuminated by faint blue paint drops and hit it with Gustave's overworld strike to shatter the illusory barrier.
Rewards:
- Lumière Marksman Pistol (Early-game ranged sidearm)
- 2x Azure Pigment Vials
- 3,500 Gold (Check our Clair Obscur gold farming guide for early spending tips)
2. Whispering Forest Canvas Fracture
Location: Whispering Forest - Heartwood Glade
How to Access: Look for a large weeping willow tree dripping luminous teal paint. Walk behind the trunk to locate an interactable tear in the air. You will need to complete Lune's primary elemental trial first to earn the ability to harmonize with paint tears.
Challenge & Loot: Entering this Canvas Fracture triggers a multi-wave combat encounter against Spectral Painters. Defeating them unlocks the Ring of Resilient Stride, which boosts your perfect dodge invulnerability window—an absolute lifesaver when practicing early combat timing. Pair this gear with our starting build guide to smash early encounters.
3. Lumière Sewers Sub-Tunnel B
Location: City Outer Wall - Underground Canal Network
How to Access: Before riding the elevator up to the Wall Outpost, search behind the broken steam pipe on the lower level. A small crawlspace allows Gustave to duck through, leading to an abandoned rebellion safehouse.
Rewards: Contains the Ancient Expedition Diary Part I (unlocks backstory codex) and a chest containing the Gilded Stun Baton.
Mid-Game Hidden Dungeons & Canvas Rooms
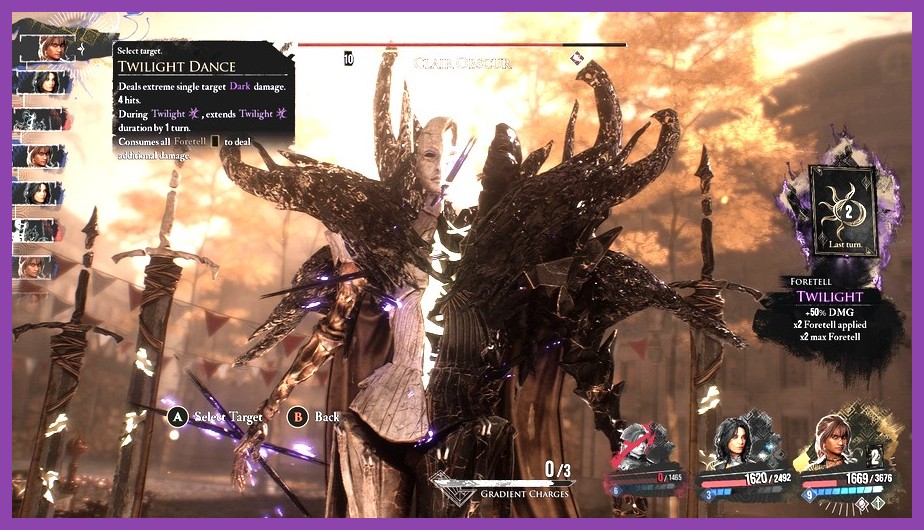
As you venture into the middle acts of Expedition 33, secret locations get significantly larger, featuring full optional dungeons, environmental platforming, and tough miniboss encounters.
4. Monolith Ruins Sub-Level 4
Location: Monolith Valley - Excavation Site Gamma
How to Access: While exploring the ancient Monolith complex, you will encounter three stone pillars with rotating glyphs. Match all three glyphs to the symbol emblazoned on the floor of the upper balcony (Sun, Flame, Crescent). Solving this puzzle opens a floor hatch leading down to Sub-Level 4.
What Awaits: Sub-Level 4 is a miniature dungeon featuring floating stone platforms and lightning-imbued constructs. At the center lies the Vault of the Forgotten Smith, containing one of the weapons highlighted in our best weapons tier list: the Thunderstroke Greatsword.
5. The Shattered Ateliers
Location: Grand Academy - West Wing Archives
How to Access: Inspect the large portrait of the 12th Expedition in the library. Strike the frame with a fire skill or fire-infused overworld tool to burn away the illusion, revealing a hidden spiral staircase behind the canvas.
Key Mechanics & Enemies: The Shattered Ateliers are populated by Animated Canvas Horrors that resist physical damage. Be sure to bring Lune or a magic-focused build. Defeating the gallery warden nets you the Master Pictomancer Palette, increasing your character's skill slot capacity by +1.
6. Forgotten Paintress Shrine
Location: Ashen Peaks - Trail of Tears
How to Access: Follow the path past the frozen waterfall. Use the grapple hook on the high ledge to swing across the canyon to a ledge hidden behind the fog curtain.
Rewards: High-tier skill pigments, 15,000 XP (great for leveling up quickly—refer to our XP farming walkthrough), and the rare Vanguard Shielding Relic.
Late-Game Superboss Chambers & End-Game Vaults
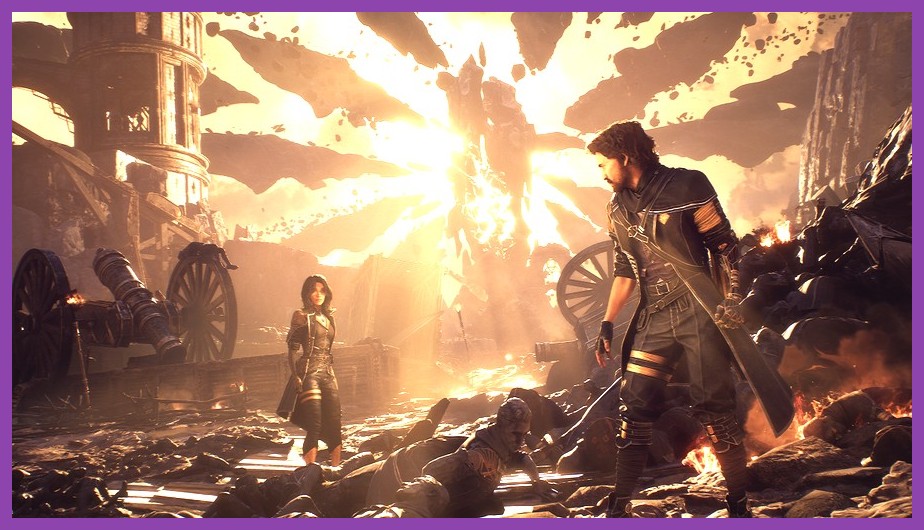
Endgame secrets in Expedition 33 host the most punishing content in the entire game. These areas demand top-tier builds, optimized gear, and flawless execution of parry mechanics.
7. The Void Palette Realm
Location: The Edge of Canvas - Dimensional Rift
How to Access: You must collect all 6 Canvas Shards scattered throughout Acts 1 through 4. Once collected, bring them to the Seer NPC at the Hub Encampment to synthesize the Key of Pure Color. Take this key to the monolith structure standing at the edge of the world.
What Lies Inside: The Void Palette Realm contains three consecutive gauntlets featuring shadow copies of your party members, culminating in a superboss fight against the Chrono-Paintress Reflection. Victories here unlock ultimate endgame gear and high-level skill upgrades needed for our endgame build setup guide.
8. Abyssal Sanctum of the 33rd
Location: Lumière Catacombs - Deepest Vault
How to Access: Requires the Master Skeleton Key, obtained by completing the long sidequest chain involving the Lost Expeditioners. Unlock the iron gate located behind the throne in the Catacombs Boss Arena.
Boss Encounter & Tactics: Inside rests the Forgotten Prime Expeditioner, a superboss that tests every single mechanic in the game—including multi-hit parry sequences and instant-wipe DPS checks. If you are struggling to beat this encounter, check our detailed hardest boss strategy guide for step-by-step boss phase tactics and party synergy setups.
9. Obsidian Obelisk Chambers
Location: Scared Spire - Sky Reach Balcony
How to Access: Interact with the four floating obsidian obelisks located around the spire's perimeter within 60 seconds using your upgraded grapple dash. Successfully activating all four lowers the central forcefield barrier.
Loot Table: Drops the Crown of the Unbound Expeditioner (provides +20% Critical Hit Chance and +30% Parrying Counter Damage).
How to Spot Illusory Walls, Hidden Paths, and Sound Cues
Sandfall Interactive filled Clair Obscur: Expedition 33 with subtle environmental environmental design cues to help sharp-eyed players locate secrets without relying entirely on guide maps. Understanding these audio-visual signals will help you find dozens of minor secret chests and pigment deposits on your own:
- Glowing Paint Leaks: Look closely at brickwork, stone arches, and cliff faces. Illusory walls almost always feature faint, shimmering drips of paint that flow upward against gravity.
- Harmonic Audio Resonance: When approaching a hidden Canvas Fracture or Silent Vault puzzle, your ambient game audio will drop in volume slightly and be replaced by a low-pitched, ethereal cello chime. Put on high-quality headphones to spot these cues easily.
- Cracked Masonry & Overworld Actions: Certain walls look structurally sound but bear a faded white chalk symbol. Use Gustave's heavy overworld strike or Lune's burst spell to break through these weak points.
- Mini-Map Anomalies: Keep a close watch on your top-corner radar. If you notice a walkable corridor or empty black void on the map that has no obvious entrance, there is almost certainly an illusory wall or grapple point directly adjacent to it.
High-Value Rewards Found in Secret Locations
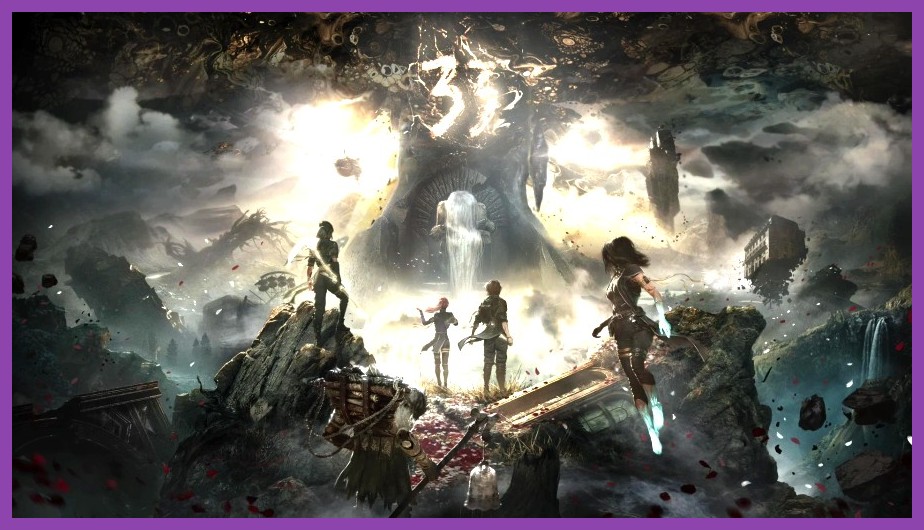
Why bother spending hours hunting down every hidden corner in Lumière? Because secret locations house the absolute best equipment, crafting materials, and cosmetic customization in Clair Obscur: Expedition 33. Check out the reward breakdown below:
| Secret Type | Primary Rewards | Best For |
|---|---|---|
| Silent Vaults | Legendary Weapons, Unique Armor, Boss Accessories | Combat power spikes & build optimization |
| Canvas Fractures | High XP Drops, Canvas Shards, Ultimate Skill Books | Fast leveling & skill tree progression |
| Pictomancer Alcoves | Prismatic Pigments, Catalyst Dust, Recipe Scrolls | Crafting consumables & weapon upgrading |
| Superboss Vaults | S-Tier Endgame Weapons, Secret Trophies, Hero Outfits | 100% completion & NG+ preparation |
If you prefer running a single overpowered character rather than managing full party synergy during secret boss fights, check out our solo class character guide to build an unstoppable lone-wolf combatant.
Maximizing Your Secret Hunting Run: Build & Traversal Tips
To make your secret hunting across Lumière as smooth and efficient as possible, keep these practical traversal tips in mind:
1. Upgrade Traversal Tools Early: Do not waste hours trying to reach high ledges in Acts 1 and 2 if you don't have the double-jump or grapple extension unlocked. The game encourages backtracking! Drop a custom waypoint marker on your map whenever you see an unreachable chest or seal, then revisit it once you unlock new traversal mechanics in Act 3.
2. Equip Utility Accessories: Several accessories reward exploration. The Pathfinder's Compass Ring flashes blue whenever you step within 20 meters of an unopened chest or secret door, making secret hunting infinitely easier in dark dungeons.
3. Keep Fire & Light Abilities Ready: Many hidden passages are blocked by thick brambles or dark canvas veils that require persistent elemental damage to burn or dissolve. Keep at least one party member equipped with a fire or light-based skill at all times.
4. Check Behind Waterfalls & Elevators: It is a classic RPG trope for a reason! Virtually every waterfall and major descending elevator shaft in Expedition 33 hides a secret alcove, chest, or hidden lore document behind or beneath it. Never take an elevator without checking what is sitting in the pit below!
By exploring every inch of Lumière and clearing out all hidden Canvas Fractures and Silent Vaults, you will gear up your squad with top-tier loot, unlock incredible backstory lore, and dominate every challenge the Paintress throws your way. For more comprehensive walkthroughs, class builds, and gaming insights, explore our dedicated guides section right here on Steamoz!