New Byte Driver players should prioritize control, route knowledge, and reliable income over raw speed. Keep your boost for exits and emergencies, brake before turns instead of during them, upgrade handling before top speed, and treat every run as a chance to learn traffic patterns. Those four habits prevent most early crashes and turn Byte Driver's twitchy streets into a manageable rhythm.
Byte Driver looks simple at first glance, but its challenge comes from stacking small decisions at high speed. You are reading the road, choosing a route, managing momentum, watching your vehicle's condition, and deciding whether one more risky shortcut is worth the payout. The game rewards players who build consistency rather than players who simply hold the accelerator.
Before your first serious session, check the game's current notes on the official Steam listing and compare your controls with the latest patch information in the Steam Community hub. Balance changes can affect upgrade costs, traffic density, and handling, so older videos may not match your build.
1. Learn the car before chasing the payout
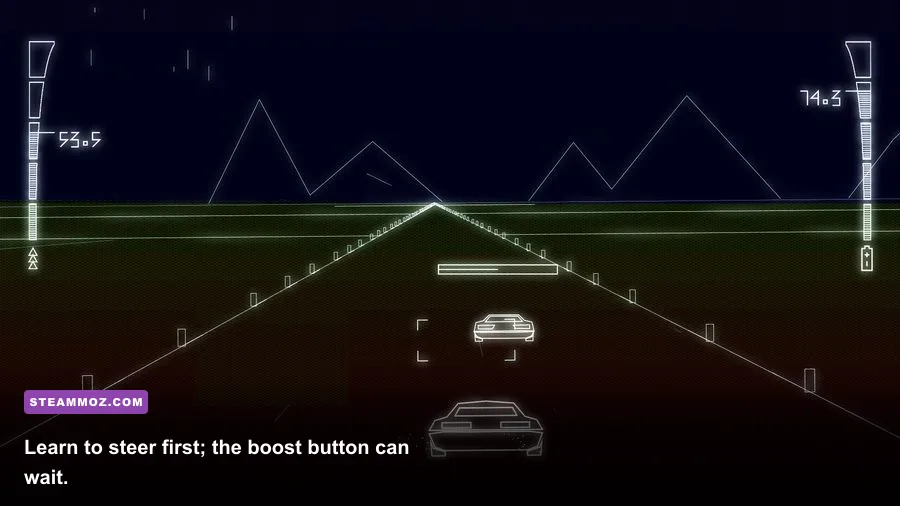
Your first goal is not a perfect delivery. It is learning how Byte Driver's vehicle responds to steering, braking, acceleration, and boost. Spend the opening runs on low-risk streets and deliberately test one action at a time. Find out how long the car takes to stop, how sharply it turns at full speed, and whether a tap or a held input gives you better control.
The most common beginner mistake is steering too late. Players see a corner, turn at the corner, and then blame the car when it slides into a wall. Start steering before the bend, release the accelerator for a moment, and use a small correction after the apex. That creates a smoother line and keeps your vehicle pointed toward the next street.
Do not mash boost whenever the meter is available. Boost magnifies whatever line you have already chosen. If you are aimed at traffic, boosting simply makes the collision arrive sooner. Use it on a clear straight, after leaving a slow corner, or when a contract timer gives you enough room to accept extra risk.
What to practice in the opening hour
- Brake before corners rather than halfway through them.
- Use short steering corrections instead of holding a direction continuously.
- Drive one route without boosting to understand its natural rhythm.
- Repeat the route with boost only on exits and open straights.
- Notice which traffic lanes produce predictable gaps.
That practice may feel slower than chasing a high score, but it gives you something more valuable: repeatable muscle memory. Byte Driver becomes much easier when your hands already know how much speed a corner can carry.

🎮 Byte Driver
Looking to experience this game? Grab your digital key directly on our store for $3.99.
View on Steammoz Store →2. Use a route plan, not the shortest line
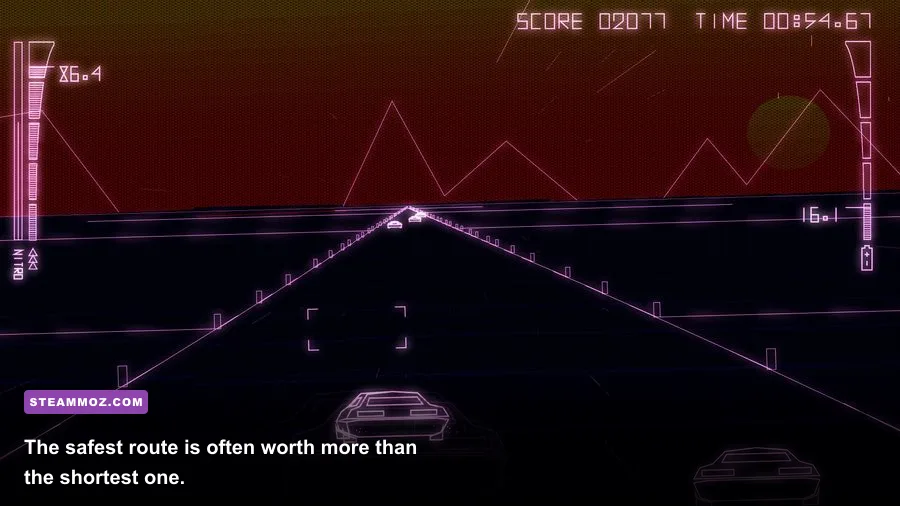
A direct route is not automatically the best route in Byte Driver. The shortest path can contain tight intersections, dense traffic, awkward turns, or a finish approach that forces a last-second correction. A route that takes a few more seconds but gives you two long straights may deliver more money because it reduces crashes and lets you preserve your vehicle's condition.
Study the road ahead before accepting a high-value contract. Look for three things: how many hard turns appear in sequence, whether the route funnels you into a narrow lane, and where you can safely spend boost. If a route has two difficult corners back-to-back, avoid entering the first one at maximum speed. The second corner is where inexperienced drivers usually run out of room.
Use landmarks to memorize routes. A large sign, a bright intersection, a distinctive building, or a split in the road can become a visual checkpoint. Instead of thinking about every turn as a fresh problem, divide the route into sections. You want to know, for example, that the first straight is safe for boost, the next junction needs a brake tap, and the final approach rewards patience.
| Route Type | Main Advantage | Primary Risk | Best Use |
|---|---|---|---|
| Long straight route | Easy boost windows | Traffic suddenly crossing lanes | Early contracts and speed practice |
| Compact downtown route | Shorter travel distance | Frequent corners and collisions | Experienced runs with strong handling |
| Outer-road route | More reaction time | Lower peak speed | Safe money farming and recovery |
| Shortcut-heavy route | High time-saving potential | Unpredictable hazards | Only after learning the main road |
When in doubt, take the route you can finish cleanly. A completed moderate contract usually beats a failed premium contract, especially when repairs or lost time erase the larger reward.
3. Spend your first credits on handling
Early upgrade choices shape the entire learning curve. New players naturally want more top speed, but top speed is useful only when you can keep the vehicle on the road. Handling, braking response, and acceleration control generally deliver more value in the opening stage because they forgive small mistakes and make unfamiliar routes easier to read.
Think of upgrades in this order: handling first, braking or grip second, acceleration third, and maximum speed last. That order is not a rigid rule for every playstyle, but it is the safest default. A faster car that repeatedly clips barriers is not earning money faster; it is converting credits into repair costs and lost attempts.
Handling also improves more than cornering. It helps you make emergency lane changes, recover after a glancing collision, and avoid traffic without swinging into another obstacle. Those moments happen constantly in Byte Driver, so the benefit appears across an entire run rather than only at major turns.
| Upgrade Priority | Why It Matters | When to Buy | Beginner Verdict |
|---|---|---|---|
| Handling | Reduces wide turns and improves corrections | First meaningful upgrade | S-tier starting investment |
| Braking or grip | Shortens setup time before corners | After basic handling | S-tier for dense routes |
| Acceleration | Returns speed after traffic and turns | Midway through early progression | A-tier all-round choice |
| Boost capacity | Creates more burst opportunities | When routes are familiar | A-tier for confident drivers |
| Top speed | Raises the ceiling on clear roads | Later progression | B-tier until control is reliable |
Do not spread credits across every category. A half-upgraded vehicle is hard to evaluate because each weakness remains. Build one dependable strength first, then patch the specific problem you keep encountering. If you consistently miss corners, buy control. If you finish safely but fail timers, improve acceleration or boost economy.
4. Treat boost as a timing tool
Boost is not simply a faster accelerator. It is a resource that changes the timing of a run. The strongest use is usually after a corner, when your vehicle is already aligned and the road ahead is visible. Boosting before a corner creates extra work because you must shed that speed immediately.
Save a small reserve whenever possible. A completely empty meter leaves you vulnerable if traffic closes a lane or a contract suddenly demands a final burst. You do not need to hoard every charge, but avoid spending the final segment unless the finish is clearly in sight.
Boost can also recover momentum after a non-catastrophic mistake. If you clip a barrier but remain pointed down the correct road, a short burst may restore the run's pace. If you are facing the wrong direction, however, boost is usually the wrong answer. Correct the car first, then accelerate.
A simple boost rhythm
- Enter a corner at a speed you can actually control.
- Release or tap the accelerator before the apex.
- straighten the vehicle toward the exit.
- Activate boost only once the next lane is clear.
- Release boost early if traffic or a junction appears.
That rhythm feels conservative, but it produces faster average times than frantic boosting. The goal is not the highest speed on one straight. It is maintaining useful speed for the whole route.
5. Read traffic like a pattern, not a surprise
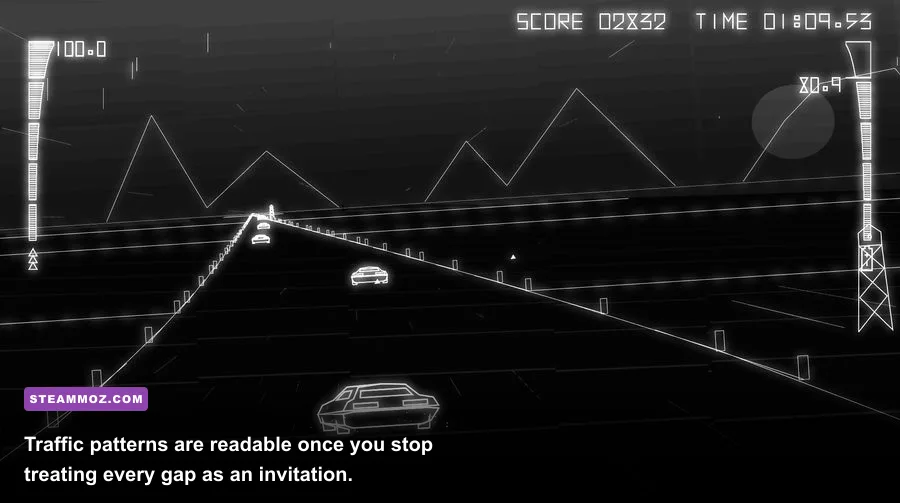
Traffic in Byte Driver is dangerous because it interrupts your planned line. Instead of staring only at the vehicle immediately ahead, scan two or three car lengths farther down the street. Early information gives you time to choose a lane; late information forces a panic turn, which often causes a second collision.
Approach intersections with your thumb or finger ready to make a small correction. Many crashes happen because the player commits to a straight line before checking what is entering from the side. Slow slightly at blind junctions. Losing a fraction of a second is better than losing the entire run.
When traffic blocks the ideal lane, do not automatically cross all the way to the opposite side. A shallow lane change keeps your options open and makes it easier to return to the route. Large steering inputs are harder to undo, especially at high speed.
After a collision, resist the urge to panic. First identify whether the car is still aligned with the route. If it is, stabilize and continue. If it is angled toward an obstacle, stop accelerating for a moment and correct the heading. The extra second prevents a chain reaction that turns one mistake into three.
6. Manage damage, timers, and risk together
Speed, vehicle condition, and contract time are connected. A risky shortcut might save seconds but cost enough damage to make the next section slower. Likewise, driving carefully for too long can cause a timer failure even if the car remains pristine. Good Byte Driver play is about finding the point where risk produces a real return.
Use the first third of a run to build information. Learn the route, identify traffic, and preserve the vehicle. The middle third is where you can spend boost on known straights. In the final third, compare the remaining distance with your resources. If the car is damaged and the road becomes crowded, stop taking unnecessary shortcuts. A clean finish is worth more than a spectacular crash near the goal.
| Situation | Recommended Decision | Why It Works | Avoid |
|---|---|---|---|
| Healthy car, clear straight | Use a controlled boost | Converts open road into safe speed | Boosting into an unseen junction |
| Damaged car, dense traffic | Take the wider route | Protects the run from chain collisions | Risky shortcuts for small gains |
| Low timer, familiar road | Spend remaining boost | You can predict the next hazards | Trying a new route under pressure |
| Low timer, unfamiliar road | Prioritize alignment and survival | A crash guarantees failure | Blind full-speed cornering |
Keep a mental record of why a run failed. “I was too slow” is often incomplete. Maybe you used boost before a corner, entered the wrong lane, or spent the reserve early. Fixing the actual cause is how your times improve.
7. Tune the PC settings for stable reactions
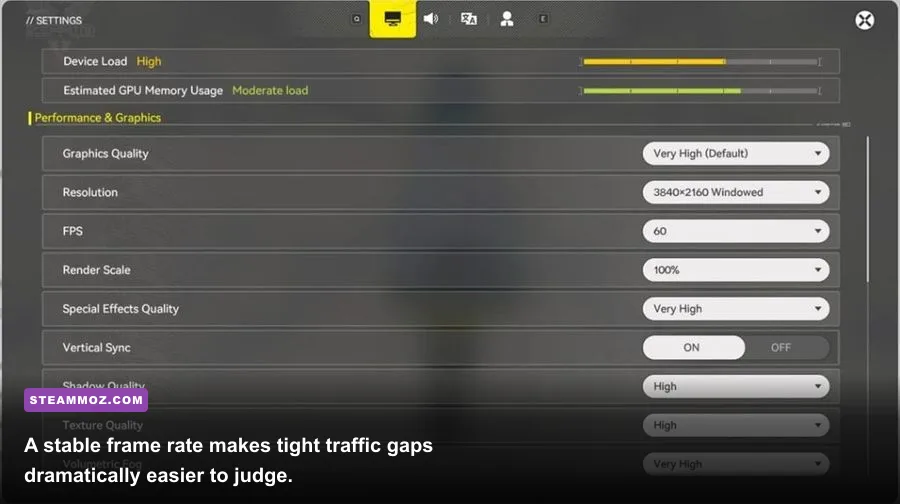
Byte Driver's visual style may be lightweight, but stable performance still matters. A consistent frame rate makes traffic movement easier to judge and keeps input timing predictable. If your frame rate fluctuates during busy sections, lower expensive settings before sacrificing responsiveness with unnecessary latency.
Start with a frame-rate cap that your PC can hold consistently. A locked 60 frames per second is better than an unstable 90 that repeatedly drops during traffic-heavy scenes. If your monitor supports a higher refresh rate and your system can maintain it, raise the cap gradually and test the busiest route rather than an empty road.
Reduce shadows, reflections, post-processing, and effects before lowering resolution. Resolution has the largest immediate visual cost, while shadow and reflection settings often provide a better performance trade-off. Disable motion blur if it makes traffic harder to track; the cinematic effect is not worth missing a lane change.
| Setting | Recommended Value | FPS Impact | Visual Note |
|---|---|---|---|
| Frame-rate limit | Stable 60 FPS or your monitor refresh | High stability benefit | Improves timing consistency |
| Resolution | Native resolution first | High performance impact | Lower only after other tweaks |
| Shadows | Medium | Medium to high | Small detail loss in exchange for smoother traffic |
| Reflections | Low or medium | Medium | Neon surfaces remain readable |
| Post-processing | Medium | Medium | Reduces bloom and visual clutter |
| Motion blur | Off | Minimal | Sharper hazard recognition |
For more PC optimization ideas, Steamoz's guide to making every frame count and its locked-FPS settings guide cover the same practical priorities: stable output, low latency, and clarity over spectacle.
8. Build a repeatable money-making loop
Do not measure progression by the size of a single reward. Measure it by credits earned per successful minute. Once you find a safe route, repeat it until you can complete it with minimal damage. This gives you a dependable bankroll for upgrades and teaches you the city at the same time.
Mix familiar contracts with one challenging attempt. Running only safe jobs can leave you underprepared for later demands, while attempting the hardest mission repeatedly can drain your resources. A strong cycle is two reliable runs followed by one test run. If the test exposes a specific weakness, return to the safe route and upgrade for that problem.
Keep enough money for recovery rather than spending every credit immediately. A new upgrade is exciting, but entering the next session with no buffer makes a single bad run feel punishing. Byte Driver's progression is smoother when you always have room to absorb a mistake.
9. Use replays and failures as data
Every failed run contains a useful clue. Mark the exact point where control disappeared: a blind intersection, a corner entered too quickly, a boost used with poor visibility, or a traffic weave attempted without an escape lane. Then change one variable on the next attempt. If you change everything at once, you will not know which adjustment helped.
Try a route at three speeds. First, drive it slowly enough to memorize the geometry. Second, drive at normal pace and note where braking is required. Third, add boost only in the sections that stayed clear in the previous attempt. This method turns a chaotic route into a sequence of known decisions.
That learning approach is useful across reaction-heavy games. If you enjoy precision action as well as driving, Steamoz's Katana ZERO coverage and its survival tips for new players approach failure the same way: isolate the mistake, adjust, and repeat with purpose.
10. Follow the veteran rule: finish clean
The best Byte Driver players do not look fearless. They look boring until the exact moment speed matters. They leave room around their car, brake earlier than beginners expect, and save boost for sections where it can produce a clean exit. That discipline creates faster average runs and unlocks better upgrades sooner.
Use this ten-point checklist before every serious attempt:
- Confirm your controls feel comfortable.
- Choose a route you understand.
- Check whether the reward justifies the risk.
- Enter the first corner under control.
- Keep your boost for clear exits.
- Scan beyond the nearest traffic car.
- Make shallow lane changes whenever possible.
- Protect the vehicle when damage begins to stack.
- Spend credits on the weakness causing failures.
- Review the exact reason for every crash.
Once these habits settle in, Byte Driver stops feeling like a constant reaction test and starts feeling like a conversation between your inputs and the road. You will still crash—everyone does—but the crashes will become specific, understandable, and fixable. That is the turning point for new players: not driving faster, but knowing exactly when speed is worth spending.
For additional beginner-focused game advice, check Steamoz's guides to starting small and building efficiently and fine-tuning settings for demanding runs. Before reporting performance problems or balance changes, also check the developer's latest notices through the game's official Steam updates search.