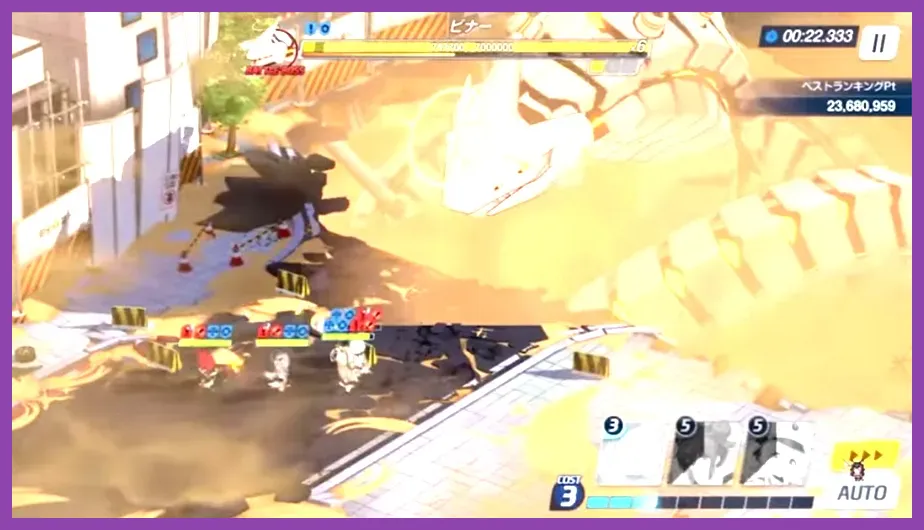
Mastering the Blue Archive endgame requires absolute precision in squad composition, EX skill cycling, and stat optimization to conquer Extreme, Insane, and Torment difficulty Total Assault and Joint Firing Drill raids. To consistently clear these high-tier encounters, Senseis must build teams centered around core meta Strikers like Wakamo (Swimsuit), Himari, and Ako, paired with specialized equipment tiers and strict skill level investments (MAX EX, 7/7/7 or 10/10/10).
Meta Striker Tier List for Endgame Raids

Striker units dictate your frontline damage output and sustain. Focusing your Pyroxenes and Elephs on these S-Tier units guarantees high performance across Mystic, Explosive, and Penetration armor types.
- S-Tier (Essential): Wakamo (Swimsuit) for Mystic raid single-target burst, Azusa (Swimsuit) for armor-breaking Explosive utility, and Mika for unmatched Piercing single-target annihilation. For more character optimization strategies, check out this character tier list analysis.
- A-Tier (High Utility): Izuna for continuous movement and Mystic attack speed, Hoshino (Armor) for heavy tanking capabilities, and Cherino for crucial Cost Recovery enhancement in multi-wave stages.
- B-Tier (Situational): Aru for positional AoE crit scaling and Shiroko (Cycling) for specific mobility-heavy raid mechanics.
For more detailed insights into tactical synergy and team compositions, refer to the official Blue Archive Wiki.
Special Support Unit Combinations
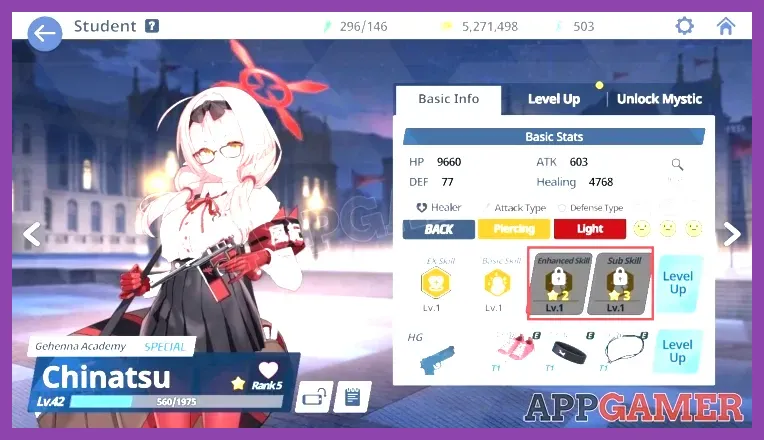
Special students do not occupy physical tiles on the grid, but their passive stat boosts and EX skills form the backbone of any viable endgame build. Neglecting this slot results in massive damage loss.
The Meta Support Core
Himari and Ako remain the undisputed king and queen of Special support. Himari provides a massive Attack buff via her EX skill while passively accelerating your Skill Cost Recovery rate. Ako grants a staggering Critical Damage and Critical Rate buff to your primary DPS carry (such as Mika or Wakamo). Combining these two buffs during a single EX window creates the signature "hypercarry" nuke capable of erasing entire boss health bars in seconds. If you enjoy optimizing team setups, you may also appreciate this team synergy guide.
Offensive and Defensive Flex Supports
When bosses require cleansing or shielding rather than pure damage, substitute secondary supports with Serina for localized repositioning and low-cost heals, or Kotama for a broader flat Attack aura across all four Strikers. Review additional squad balancing ideas through this team composition resource.
Equipment Tiers and Stat Priorities
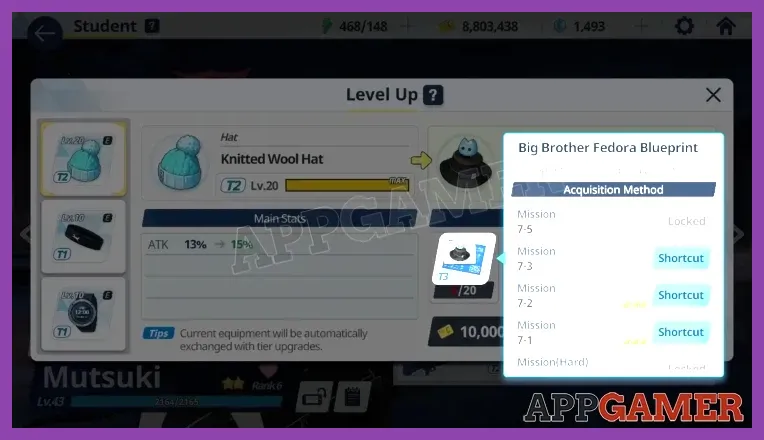
Endgame builds crumble without fully upgraded Tier 8 and Tier 9 equipment. Every student relies on three specific gear slots that dictate their survivability and damage ceilings.
- Hat / Gloves / Shoes (Slot 1): Always prioritize maxing out offensive gear for your primary DPS dealers to scale Critical DMG, Attack, and Accuracy. For tanks, prioritize Bags and Badges.
- Hairpin / Badge / Charm (Slot 2): Vital for granting HP, Defense, and Healing Effectiveness. Tanks like Tsukuyo and Hoshino demand T9 Badges to mitigate incoming Perorodzilla or Hieronymus phase attacks.
- Watch / Necklace / Pendant (Slot 3): Provides critical stats like Critical Resistance or additional Crowd Control Duration. Check out how resource farming impacts gear progression in this material crafting breakdown.
To understand the official developer guidelines on balance patches and updates, visit the official Nexon Blue Archive site.
Skill Investment and Priority Order

Pyroxenes and Activity Reports are scarce commodities in Kivotos. Wasting skill books on secondary traits will stall your progression.
Prioritizing EX Skills to Max Level
Your primary damage dealer's EX skill must always reach Level 5 immediately. For example, Mika's EX skill cost drops and damage multipliers skyrocket at max rank. Support EX skills like Himari's should also be prioritized to maximize uptime.
Normal, Sub, and Passive Skills
Follow the benchmark 4/M/M/M or M/M/M/M investment rule for top-tier DPS units. Passive skills that grant flat Attack or Critical Damage percentage increases yield exponential returns during high-difficulty Torment raid phases. For further skill unlocking strategies, review this skill unlocking guide.
Combat Rotation and Boss Mechanics

Executing a flawless build means nothing if your skill rotation is mistimed against raid boss gimmicks. Understanding attack telegraphs is the final hurdle of the endgame.
- Cost Cycling: Always cycle low-cost skills (such as Fuuka or Serina at 2 cost) to clear unwanted cards from your hand until your hypercarry and support cards appear.
- Gimmick Interruption: Against bosses like Hod or Binah, save your Crowd Control or heavy stagger skills to break their charging gauges before they unleash party-wiping AoE attacks.
- Terrain Advantage: Always match your student's outdoor, indoor, or urban mood preference. An S-mood student deals significantly more damage than a D-mood student, overriding minor stat differences in gear.
Farming Routes and Resource Management
Sustaining multiple endgame raid teams requires an optimized daily routine. Prioritize Hard Bounties for skill books, Commission stages for Credits and Experience Reports, and Special Requests for Equipment Blueprint farming.
Never miss 3x or 2x campaign drop events. Allocate your Pyroxene refreshes strategically during double reward weeks to stock up on Oparts and higher-tier artifacts needed for Unique Equipment (UE30 and UE40) upgrades. For tactical efficiency tips applicable across various mobile titles, check out this performance and optimization guide.