Blackguards 2 becomes dramatically easier once you stop treating every fight like a simple damage race. Build a party with different jobs, spend action points carefully, exploit terrain, save consumables for decisive turns, and control the campaign map instead of rushing objectives. These 10 Blackguards 2 tips will help new players survive the opening battles, develop Cassia's crew intelligently, and avoid the expensive mistakes that make this tactical RPG feel harsher than it really is.
Blackguards 2 is a turn-based RPG from Daedalic Entertainment built around The Dark Eye ruleset. Its battles are compact, but the maps are full of elevation, hazards, chokepoints, destructible objects and scenario-specific objectives. The official Blackguards 2 Steam page is still the best place to check the current PC version, while Daedalic's game page provides the developer's overview. If you enjoy tactical learning curves, our guide to starting builds for tactics beginners covers several of the same fundamentals.
1. Build roles before chasing damage
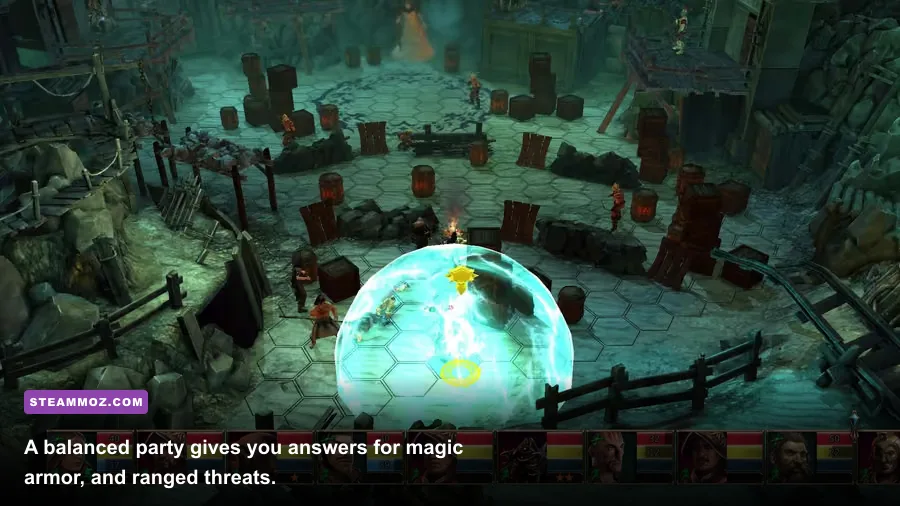
Your first instinct may be to give every character the most damaging weapon available. Resist it. Blackguards 2 rewards a party that covers several tactical jobs: a durable frontliner, a reliable ranged attacker, a spellcaster or support specialist, and at least one character who can finish weakened targets.
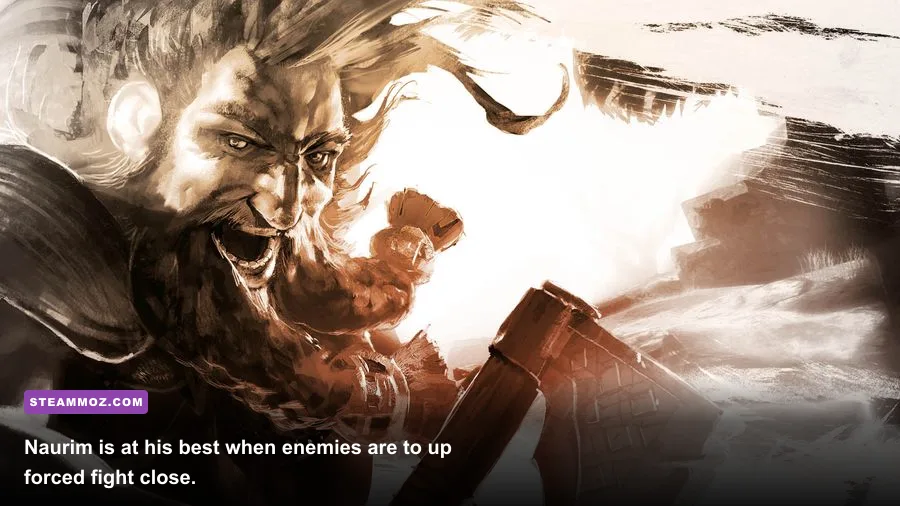
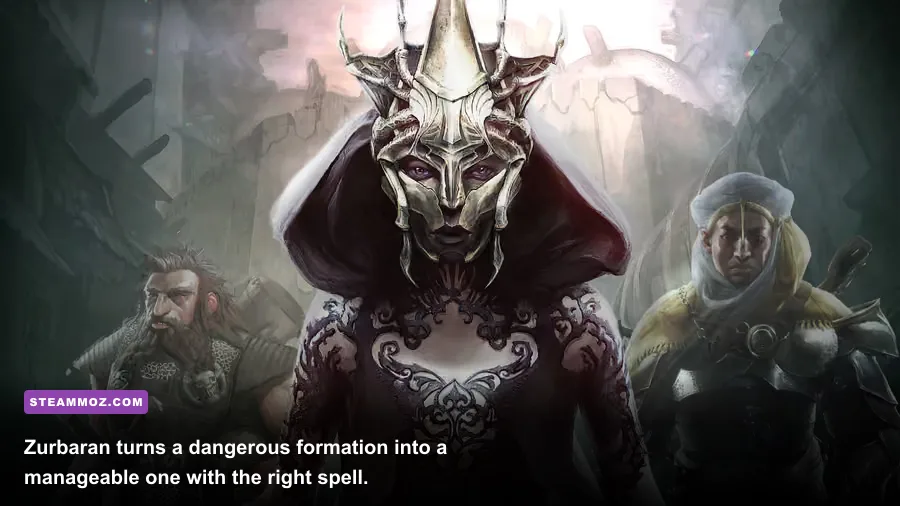
Cassia is the campaign's central character and can develop into a flexible leader, but she shouldn't be forced into every role at once. Naurim is the natural close-range bruiser. His dwarf durability and axe-focused identity make him excellent at holding a lane, punishing enemies who approach, and occupying dangerous melee units. Zurbaran brings magical utility and ranged pressure, while Takate is particularly valuable when you need mobility, opportunistic attacks and a character who can reach exposed targets.
Think in terms of jobs rather than a rigid class system. A sword user can protect a caster, but a shield-oriented setup is more useful when a map contains narrow approaches. A bow or crossbow user can soften targets before melee engagement, but ranged damage becomes much stronger when allies prevent enemies from closing the distance.
| Party role | Strong candidate | Priority | Why it matters |
|---|---|---|---|
| Frontline anchor | Naurim | Strength, Constitution, melee talent | Absorbs pressure and blocks approaches |
| Flexible leader | Cassia | Survivability plus a clear secondary role | Adapts to scenario objectives |
| Magic and control | Zurbaran | Intelligence and spell utility | Handles clustered or protected enemies |
| Mobile finisher | Takate | Dexterity, mobility and attack accuracy | Reaches wounded or isolated targets |
For a broader look at ranking equipment by battlefield purpose, compare this approach with Steamoz's weapon ranking guide. The lesson carries over: a weapon is only strong when it fits the situation.

🎮 Blackguards 2
Looking to experience this game? Grab your digital key directly on our store for $0.99.
View on Steammoz Store →2. Spend attributes around one plan
Blackguards 2's character development punishes unfocused upgrades. The temptation to raise every attractive attribute creates characters who are mediocre at everything and excellent at nothing. Pick a core plan, then spend points to make that plan reliable.
Strength improves the value of physical melee attacks, while Dexterity supports characters who depend on finesse, ranged weapons or accurate positioning. Constitution is the safest investment for a character expected to stand in danger. Intelligence is the obvious priority for a spell-focused Zurbaran or magic-oriented Cassia. Courage and related defensive considerations also matter because a character who fails morale or defensive checks at the wrong moment can collapse even with good damage numbers.
Don't turn Naurim into a half-built archer because you found a good bow. Don't split Zurbaran between several unrelated weapon talents before his spell kit is functioning. If you want a hybrid, make the hybrid deliberate: establish one dependable attack pattern first, then add a secondary option once the character can already contribute every turn.
A practical early allocation rule
Put your first upgrades into the attribute that directly supports a character's most frequent action. Next, improve survivability or accuracy. Only then buy luxury options such as a second weapon family, niche spells or abilities that require perfect positioning. This keeps every level-up immediately useful rather than merely interesting on paper.
3. Treat action points like a limited resource
The most common beginner mistake is spending every available action point on movement before checking what the turn actually needs. Movement, attacks, special abilities and item use all compete for your turn's economy. A character who walks too far to land one ordinary hit may end up unable to retreat, defend an ally or finish a wounded enemy.
Start each turn by identifying the most important result: kill a dangerous caster, reach a capture point, block a passage, or prevent an ally from being surrounded. Then count the movement needed to achieve it. If the target is not going to die, consider stopping one tile earlier and preserving the option to attack next turn from a safer position.
Flanking and elevation can improve an attack enough to justify extra movement, but not every attack deserves the detour. The best turn often looks uneventful: move into a doorway, threaten an approach, protect Zurbaran, or force an opponent to waste its next turn walking around an obstacle.
Use the end-turn decision as a safety check. Ask whether an enemy can reach the character, whether a ranged attacker has line of sight, and whether the unit is standing on a hazard. If the answer is yes, spend the final action on defense, repositioning or an item rather than hoping the next initiative cycle goes your way.
4. Learn the map before you start the fight
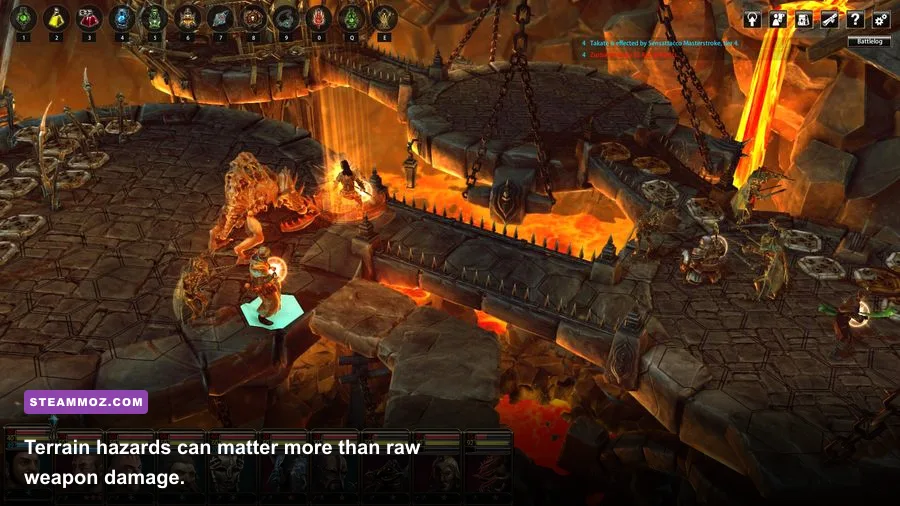
Blackguards 2's maps are tactical puzzles disguised as arenas. Before moving the first unit, scan for high ground, narrow bridges, explosive objects, traps, water, fire, impassable edges and objective locations. The safest opening is often determined before combat begins.
Chokepoints are especially powerful. Put Naurim where two or three enemies must pass through him, then place ranged attackers behind the obstruction. This limits the number of enemies who can attack simultaneously and gives your fragile characters time to work. Open ground has the opposite effect: melee units can surround your frontliner, cavalry or fast enemies can reach the back line, and every mistake becomes harder to undo.
Hazards are not just environmental decoration. They can discourage movement, separate groups and punish enemies that are already committed to an approach. They can also hurt your own party, so never push an opponent into a dangerous tile unless you know the effect and duration. A dramatic knockback is worthless if it leaves Cassia standing in the same hazard.
Scenario objectives matter just as much as kills. Some battles reward reaching a location, surviving a number of rounds or interacting with an object. Killing every visible enemy may be unnecessary and can expose you to reinforcements. Read the objective text carefully, then build a route that completes it with the fewest risks.
5. Choose weapons for the battlefield
There is no single best weapon category in Blackguards 2. Axes, swords, spears, bows, crossbows and two-handed weapons solve different problems. Your choice should reflect enemy armor, distance, available space and the character's attribute investment.
Axes and two-handed weapons are attractive for direct damage, especially on Naurim, but they demand better positioning because the user is usually exposed after committing. Swords and shield-oriented setups provide a safer frontline pattern when a character must hold an objective. Spears are useful when you need to threaten a tile without immediately giving up defensive spacing. Bows and crossbows let you contribute while avoiding retaliation, although they become unreliable when enemies reach the back line or block line of sight.
Don't compare weapons only by their headline damage. Accuracy, range, attack cost, usable abilities and the character's relevant talent can matter more than a small damage advantage. A slightly weaker weapon that lands consistently is better than a high-damage option that repeatedly misses or forces bad movement.
| Weapon style | Best user | Strength | Main warning |
|---|---|---|---|
| Axe | Naurim | Excellent close-range pressure | Can overextend after a kill |
| Sword and shield | Cassia or frontline recruit | Reliable defensive lane-holder | Lower burst than two-handed options |
| Spear | Flexible melee character | Controls approach distance | Needs careful facing and spacing |
| Bow | Takate or ranged specialist | Damage without immediate retaliation | Line of sight and ammunition pressure |
| Crossbow | Ranged specialist | Strong single-target threat | Less forgiving when enemies close in |
| Two-handed weapon | Naurim or strength build | High physical impact | Demands protection and clean positioning |
Upgrade equipment after checking the whole party, not immediately after every purchase. Keeping enough money for healing supplies and critical utility is often worth more than replacing one weapon with a marginally stronger version.
6. Use magic to change the fight
Zurbaran's value isn't measured only by the largest number that appears over an enemy. Magic can disable a threat, punish a cluster, protect a vulnerable character or create the opening needed for a clean melee turn. A control spell that prevents an enemy from acting can be worth more than a damage spell that leaves it fully capable of attacking.
Target enemy roles, not random health bars. Remove or disable ranged attackers before they chip down your back line. Interrupt dangerous spellcasters when possible. Use area effects when opponents are forced through a chokepoint, but avoid catching your own units merely because the visual effect looks impressive.
Spell resources are finite, so don't burn your strongest option against a weak enemy who is already surrounded. Normal attacks and positioning should handle routine targets. Save dependable control or high-impact magic for the turn that prevents a death, breaks a defensive formation or completes an objective before reinforcements arrive.
Keep Zurbaran behind a screen, but don't bury him so deeply that he loses line of sight. A caster needs protection and angles. Naurim can create that space by occupying the front, while Cassia or Takate can eliminate enemies that slip around the first line.
7. Focus fire and finish wounded enemies
Splitting damage across five enemies feels productive, but it usually creates five active threats. Focus fire reduces the number of attacks coming back at you. Pick one target, surround it only when the formation is safe, and spend attacks until it is removed or completely disabled.
Prioritize targets in this order: enemies capable of killing a fragile party member immediately, ranged attackers with a clear line of sight, spellcasters or controllers, fast units that can reach objectives, and finally durable melee units. This isn't a rigid formula, but it prevents the classic beginner disaster where the party spends three turns attacking a tough warrior while an archer quietly destroys Zurbaran.
Don't chase a fleeing enemy if doing so breaks your formation. A wounded opponent who is unable to reach an objective may be less urgent than the fresh enemy approaching from the opposite side. Tactical RPGs reward threat management, not emotional revenge.
When a target is nearly defeated, use the cheapest reliable attack available. Save a powerful ability for a second target unless the kill prevents retaliation this round. That small habit preserves resources across long scenarios.
8. Spend consumables before the crisis
Healing potions, offensive items and other consumables are not trophies. They exist to keep the party functional during the battle that follows. New players often finish a fight with a full inventory because they were waiting for a worse emergency; by then, the emergency has already killed someone.
Use healing when a character is likely to take another hit before receiving support, not only when the health bar is nearly empty. A wounded frontliner who continues blocking a passage can be more valuable than a healthy character standing safely at the rear. Conversely, don't spend a potion on a unit that can retreat behind cover and avoid further damage.
Items also have an action cost, so plan them during movement. If using a potion means abandoning a crucial attack or objective, reposition first and heal when the unit is no longer exposed. Keep a reserve for scripted encounters and battles with unusual victory conditions, but don't confuse “reserve” with “never use.”
Before difficult missions, visit the shop, inspect available gear and confirm that each character has an answer to common threats. This preparation is especially important after a string of battles leaves armor damaged or healing supplies depleted.
9. Save before every major decision
Blackguards 2 is designed around consequences, and a campaign save can save you from repeating a difficult sequence after a poor purchase, failed battle or awkward map decision. Maintain a rotating set of saves rather than relying on one file. Keep one before entering a major mission, one after completing it, and one before spending a large amount of gold.
Saving doesn't replace learning the system. Use reloads to understand why a plan failed: did the enemy reach the back line because your blocker moved, did a spell miss because the target resisted, or did an attack leave you standing on a hazard? The goal is to improve your next attempt, not to reroll every imperfect damage result.
Pay attention to the difference between a bad turn and a bad battle. A missed attack may be recoverable. Losing your only frontliner while enemies are still at full health usually means the positioning plan failed several turns earlier. Reloading at the mission start and changing the opening formation is more productive than repeatedly replaying the same doomed middle turn.
For PC troubleshooting advice if the game behaves badly on a modern system, Steamoz's guide to fixing crashes and rescuing FPS is a useful companion.
10. Plan the campaign, not just the next battle
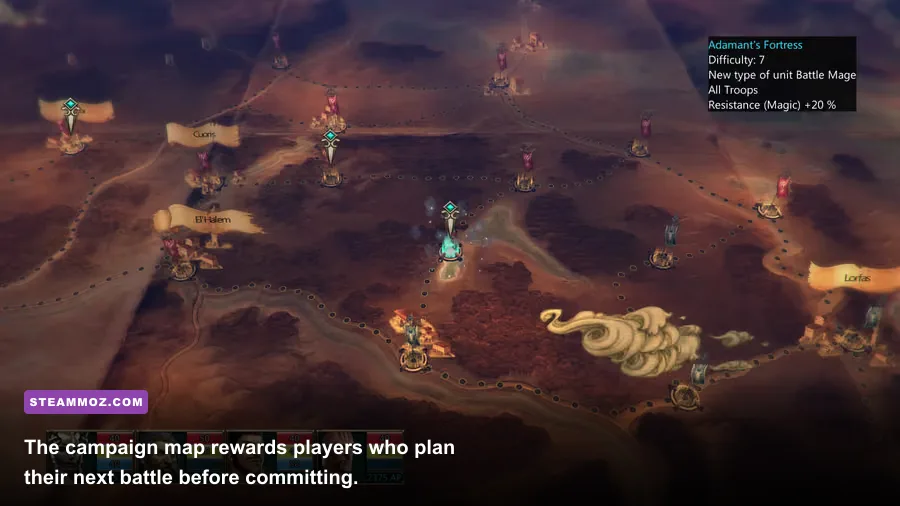
The campaign map changes how you should value victory. A mission that looks profitable may drain healing supplies, damage your roster and leave you poorly prepared for the next objective. Check available routes, rewards and likely difficulty before committing. If the game gives you a choice between objectives, choose the one that strengthens your party's current weakness rather than blindly chasing the most attractive reward.
Keep your roster developed enough to absorb setbacks. A single wounded character shouldn't make the next mission impossible, so avoid funneling every upgrade and every useful item onto one hero. Cassia remains central, but Naurim, Zurbaran and Takate each provide tools that become more important as encounters grow more specialized.
Use a simple preparation checklist:
- Confirm every active character has a weapon suited to the plan.
- Check health, armor, ammunition and consumable stock.
- Review each character's attributes and talents after leveling.
- Identify the mission objective before deciding who needs protection.
- Save before entering a major battle or spending significant gold.
Finally, accept that retreating, reloading and changing your formation are normal parts of Blackguards 2. The game isn't asking you to win every encounter with maximum speed. It wants you to read the map, create favorable trades and make the enemy fight on your terms. Once you build around roles, protect your action economy and stop wasting turns on low-value attacks, the campaign's difficulty curve becomes much more manageable. For more strategy-game habits, our fundamentals for winning under pressure has plenty of useful crossover.