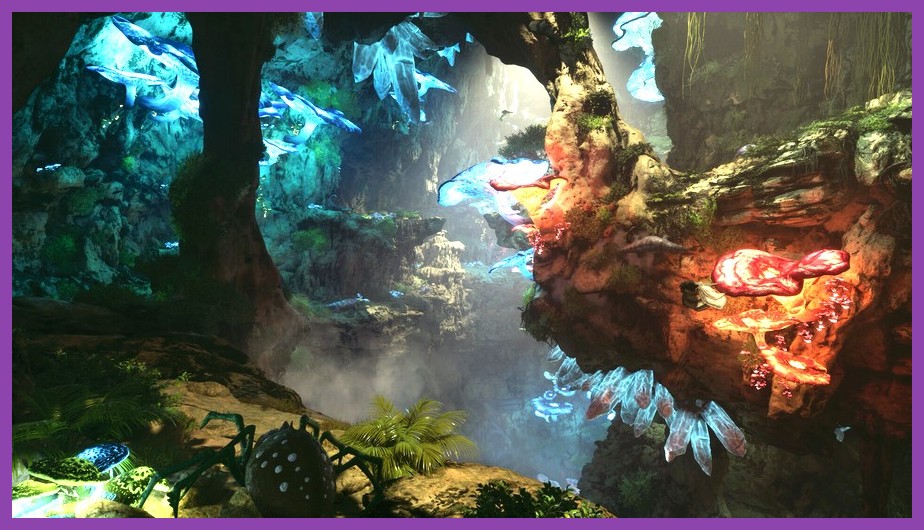
If you've spent any real time building bases, taming Rexes, and surviving the harsh wilderness of The Island in ARK: Survival Evolved, you already know that true progression happens underground. Cave delving isn't just an optional sideshow; it is mandatory if you ever plan to summon boss monsters at the Obelisks, grab game-changing Ascendant blueprints, or farm resources by the thousands.
Subterranean exploration in ARK is terrifying, unpredictable, and easily one of the most thrilling parts of the game. Pitch-black caverns house swarms of poisonous Titanoboas, gear-melting Arthropleuras, and blinding bats, all while hiding precious Artifacts and high-tier supply drops. Whether you're looking for a chill starter dungeon or gearing up for the brutal hazards of the Swamp and Snow caves, this ultimate guide breaks down every key ARK Survival Evolved cave location and reward across The Island map.
Why Cave Exploration Matters in ARK: Survival Evolved
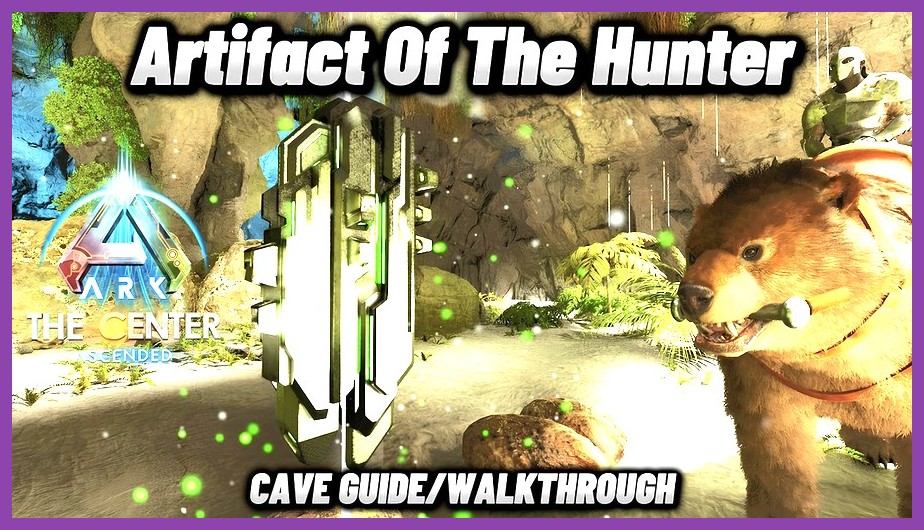
Before strapping on your leather boots and crafting a hundred torches, it pays to understand exactly why stepping into pitch-black tunnels full of rabies-ridden bats is worth the hassle. Caves in ARK serve three major gameplay purposes: collecting Artifacts, farming high-rarity loot crates, and gathering massive amounts of specialized resources.
Artifact Collection for Boss Arenas
Artifacts are glowing relics situated at the deepest point of each cave. You must sacrifice these Artifacts alongside trophies from apex predators (like Megalodon Teeth or Tyrannosaurus Arms) at Obelisks to open boss portals. If you want to fight the Broodmother Lysrix, Megapithecus, or the Dragon, cave diving is non-negotiable. If you enjoy deep progression systems in survival titles, exploring caves offers a similar high-stakes loop to what you would find in our ARC Raiders endgame build guide.
High-Tier Loot Crates & Blueprint Farming
Unlike surface supply drops that float down from the sky, subterranean loot drops scale much higher in quality. Deep caves feature Yellow and Red Loot Crates that drop Mastercraft and Ascendant equipment blueprints. Gaining a blueprint for an 80+ armor saddle or a high-damage Pump-Action Shotgun will drastically upgrade your survivor's power budget.
Dense Resource Nodes
Caves act as dense resource hotspots. While metal, crystal, and obsidian can be found on mountain peaks, caves pack these nodes closely together alongside thousands of chitin-bearing insects. If you bring a specialized gatherer like a Megatherium or a Doedicurus into specific tunnels, you can walk out with enough material to fuel your industrial forge for weeks.
Lower South Cave (Hunter Cave) Coordinates and Rewards
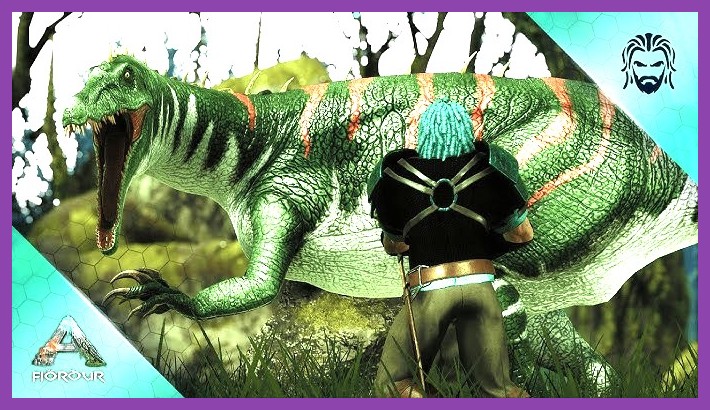
The Lower South Cave, commonly called the Hunter Cave, is universally considered the best starter dungeon on The Island. Located near the southern coastline, it features relatively weak enemies, manageable temperatures, and simple navigation pathways.
Cave Overview & Exact Coordinates
- Map Coordinates: Lat 80.2, Lon 53.5
- Artifact Found: Artifact of the Hunter
- Temperature: Mild (Cold, but manageable with basic gear)
- Key Enemies: Araneo, Pulmonoscorpius, Titanoboa, Sarco, Onyc
Loot Drops & Key Rewards
The primary prize here is the Artifact of the Hunter, required to summon the Broodmother on Easy (Gamma) difficulty. Beyond the artifact, you will encounter Green and Blue Cave Loot Crates. These crates frequently yield blueprints for Chitin Armor, Crossbows, Metal Pikes, and Ramshackle Saddles. It is also an excellent early-game hotspot for harvesting Chitin, Stone, and small amounts of Crystal.
Strategy & Recommended Gear
Because the pathways inside the Hunter Cave are tight but mostly level, smaller mounts fit perfectly. A high-level Sabertooth or Raptor makes quick work of the snakes and spiders. Alternatively, bringing a Baryonyx gives you great mobility and quick self-healing from fish meat in the water pits at the cave bottom. Bring a torch, a few health brews, a pike, and standard hide armor.
Central Cave (Pack Cave) Coordinates and Rewards

Moving inward toward the center of The Island, the Central Cave (Pack Cave) steps up the challenge with steeper vertical drops, narrow chokepoints, and denser clusters of aggressive bugs. It sits near the base of the volcano.
Cave Overview & Exact Coordinates
- Map Coordinates: Lat 41.5, Lon 46.9
- Artifact Found: Artifact of the Pack
- Temperature: Cold (Requires warmth solutions)
- Key Enemies: Onyc, Araneo, Pulmonoscorpius, Arthropelura, Megalosaurus
Loot Drops & Key Rewards
The Artifact of the Pack sits waiting at the end of the cave network. Supply drops inside the Central Cave consist of Blue and Yellow crates, offering strong upgrades for Flak Armor, Fabricated Firearms, and saddles for mid-tier tames. Additionally, the Central Cave has dense metal and crystal spawns near its entrance corridors, making it a great resource hub for mid-level bases looking to fast-track gear crafting. If you enjoy games with heavy crafting loops, you might also like checking out our Clair Obscur Expedition 33 crafting guide.
Strategy & Recommended Gear
Beware of the dangerous Arthropleura (giant centipedes). Their spit damages armor instantly, destroying your expensive chest pieces in a single hit. Bring a ranged weapon like a high-quality Crossbow or Longneck Rifle to kill Arthropleuras from a distance before engaging in melee. Note that Megalosaurus sleep here during the day; if you wander in at night, they wake up and become terrifying apex predators. A Baryonyx or a Direwolf squeezed inside with a Cryopod handles this dungeon cleanly.
Swamp Cave (Immune Cave) Coordinates and Rewards

If you ask experienced players where to farm the absolute best gear on The Island, they will immediately point you to the Swamp Cave (also known as the Cave of the Immune). It is widely regarded as the ultimate XP and blueprint farming location in the game, but it comes with a severe environmental trap: the air inside is toxic.
Cave Overview & Exact Coordinates
- Map Coordinates: Lat 62.7, Lon 37.3
- Artifact Found: Artifact of the Immune
- Temperature: Warm / Toxic Hazard Zone
- Key Enemies: Araneo, Titanoboa, Arthropleura, Meganeura, Leech
Loot Drops & Key Rewards
The Swamp Cave features rapid-respawning Red Loot Crates. These crates drop legendary Ascendant blueprints for Pump-Action Shotguns, Flak Armor, Rex Saddles, and Giganotosaurus Saddles. Farming this cave repeatedly is standard procedure for tribes preparing for Hard (Alpha) boss fights. Furthermore, the swarms of Meganeura (giant dragonflies) provide unlimited XP and millions of Chitin when harvested with a Megatherium.
Strategy & Recommended Gear
You cannot step into this cave without full protective gear. You must wear either a complete Scuba Set (Scuba Mask, Scuba Tank, Scuba Leggings) paired with Ghillie Gloves/Boots, or a full Hazard Suit. If any piece breaks or is removed, the toxic gas will drain your health bar in seconds. Bring extra gear parts in case an Arthropleura hits you. The ultimate strategy for this cave is unpodding a high-level Megatherium inside. Megatheriums gain the "Bug Killer" buff upon killing insects, multiplying their damage and damage resistance exponentially. You will slaughter hundreds of bugs effortlessly while soaking up massive XP gains. Playing with teammates makes clearing these monster swarms even smoother; check out our recommendations for the best co-op games on Steam if you love multiplayer survival outings.
Snow Cave (Strong Cave) Coordinates and Rewards
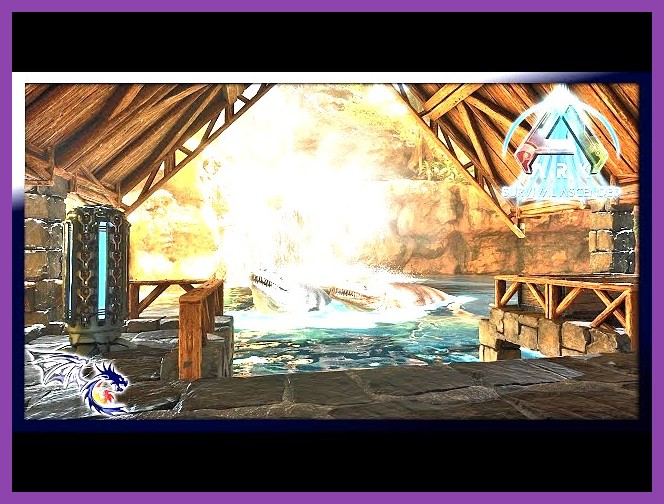
Located in the frozen northern reaches, the Snow Cave (Cave of the Strong) is arguably the hardest land cave on The Island. It tests survivor fortitude with extreme sub-zero temperatures, narrow bridges over instant-death ice abysses, and over-leveled monsters that spawn far above the standard level cap.
Cave Overview & Exact Coordinates
- Map Coordinates: Lat 29.1, Lon 31.8
- Artifact Found: Artifact of the Strong
- Temperature: Extreme Hypothermia (Sub-Zero)
- Key Enemies: Direwolf, Polar Bear, Yeti, Purlovia, Sabertooth
Loot Drops & Key Rewards
The Artifact of the Strong is required for summoning the Alpha Megapithecus and Alpha Dragon. Because of its intense difficulty, the cave contains high-density Red and Yellow cave drops that reward top-tier sniper rifles, assault rifles, heavy armor, and rare platform saddles.
Strategy & Recommended Gear
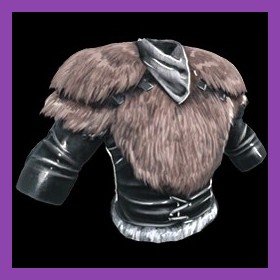
Survival here demands strict thermal management. High-hypothermic insulation Fur Armor (preferably Mastercraft or Journeyman tier), Otters perched on your shoulder, and Medical Brews are mandatory to combat freezing. The single biggest hazard inside the Snow Cave is the Purlovia. These prehistoric badgers burrow underground and stun-dismount players who walk near them. If a Purlovia knocks you off your tame, the surrounding mob of level 250+ Yetis and Polar Bears will tear you apart in seconds. Use Grenades or a Yutyrannus fear roar (if brought in via Cryopod) to unburrow Purlovias safely from a distance. If you enjoy deep strategic preparation like this, browse our handpicked guides section for more tactical walkthroughs.
Underwater Caves - Caverns of Lost Faith and Lost Hope
Caves aren't restricted to dry land. Deep ocean trenches off the coast of The Island conceal two massive underwater caverns that contain vital artifacts for boss battles and high-value aquatic resources.
Caverns of Lost Faith (Brute Cave)
- Coordinates: Lat 53.7, Lon 10.4
- Artifact: Artifact of the Brute
- Key Features: Located on the western ocean floor. Narrow underwater tunnels filled with Megalodons, Electrophorus (electric eels), and Cnidaria (jellyfish).
Caverns of Lost Hope (Cunning Cave)
- Coordinates: Lat 16.1, Lon 10.4
- Artifact: Artifact of the Cunning
- Key Features: Positioned in the northwest ocean abysses. Extremely dense groups of Alpha Megalodons, Mosasaurs, and swarms of jellyfish.
Loot Drops & Oceanic Harvests
Both ocean caves contain Red Deep Sea/Cave Loot Crates holding high-grade marine gear, riot gear blueprints, and compound bow schematics. Additionally, these ocean floors are paved with hundreds of Silica Pearls and rare Black Pearls, essential components for crafting late-game Tek Tier technology.
Strategy & Recommended Gear
Attempting these caves without high-end aquatic mounts is suicidal. The clear MVP tame here is the Basilosaurus. Unlike Megalodons or Plesiosaurs, the Basilosaurus is completely immune to shock attacks from jellyfish and electric eels, preventing you from getting permanently stun-locked and knocked off your mount. Equipping high-stat Scuba gear is vital for infinite oxygen and clear underwater vision. PC gamers looking to mod their ocean experience or tweak cave settings can read our guide on how to use Steam Workshop mods.
Cave Taming and Gear Checklist for Safe Exploration
Going into any cave unprepared usually results in losing your hard-earned gear and favorite mounts. Here is a definitive checklist of gear, items, and mounts to assemble before embarking on any spelunking run across The Island map.
Essential Equipment & Consumables Checklist
- Cryopods: Essential for transporting large combat tames (like Megatheriums or Thylacoleos) through tiny cave entrances.
- Medical Brews: Bring at least 30-50 brews per run to counter poison status effects and direct environmental damage.
- Bug Repellant: Keeps Onyc and Araneo neutral unless you walk directly into them, allowing you to pick your fights strategically.
- Grappling Hooks & Crossbow: Crucial for retrieving your body if you fall into deep ravines, or for climbing to safe vantage points above dangerous melee mobs.
- Sleeping Bags / Transmitters: Place a bed or sleeping bag right outside the cave entrance so you have an immediate spawn point if things go wrong inside.
- Stimberries or Stimulant: Counteracts the heavy torpor delivered by Titanoboa bites and Pulmonoscorpius stings.
Top 4 Best Cave-Exploring Tames Ranked
| Tame Name | Best Cave For | Primary Advantage |
|---|---|---|
| Baryonyx | Hunter, Pack, Devourer Caves | Fits through narrow gaps, swims fast, jump ability, heals quickly on fish meat. |
| Megatherium | Swamp Cave (Immune) | Gains massive combat buffs after killing insects; harvests astronomical Chitin amounts. |
| Thylacoleo | Carnivore / Upper North Cave | Climbs walls to bypass terrain hazards; inflicts percentage-based bleed damage on high HP mobs. |
| Basilosaurus | Lost Faith & Lost Hope (Underwater) | Immune to jellyfish stun locks; high health pool soaks heavy ocean damage. |
Whether you're hunting down every last Artifact to challenge the Overseer or establishing an efficient Red Crate farming routine, mastering these cave locations guarantees a steady stream of elite blueprints and endgame resources. Pack your gear, pocket your cryopods, and prepare your tames—the deep dark depths of ARK await!