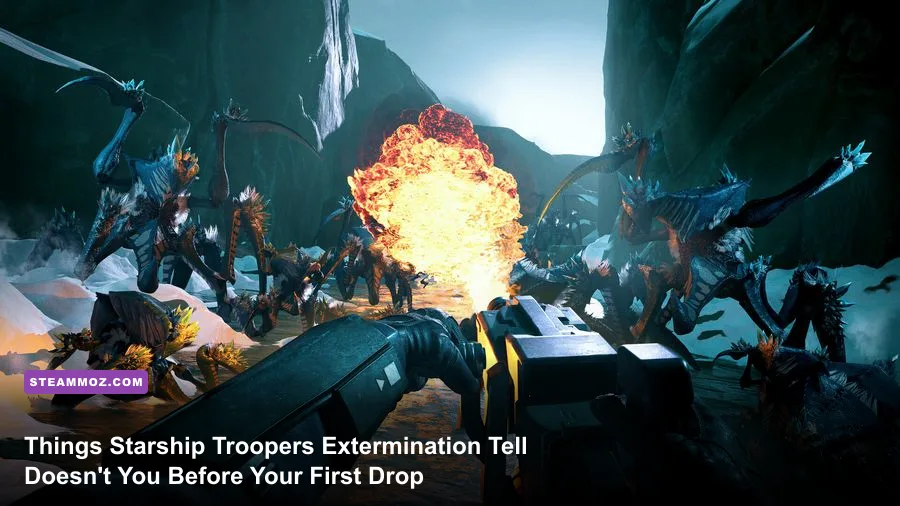
Starship Troopers: Extermination is not your standard run-and-gun co-op shooter; it is an unforgiving, 16-player logistical war simulator disguised as frantic sci-fi carnage. If you spawn into Valaka or Agni Prime expecting to effortlessly mow down swarms like a lone action hero, you will deplete your company's reinforcement tickets within six minutes and leave your team stranded without an ARC defense grid. Surviving high-intensity operations demands total mastery of resource routes, corpse physics geometry, target prioritization, and strict class synergy before you pull your first trigger.
Offworld Industries built this experience on the gritty, tactical foundation of squad-level communication. Every bullet fired, wall welded, and canister lugged across dusty canyons directly dictates whether your drop ship extracts with a hull full of survivors or becomes an smoldering tomb. If you want to contribute to the United Citizen Federation rather than feeding the swarm, these foundational survival tenets will keep you breathing through the hardest extraction phases.
1. Reinforcement Tickets Run the War, Not Your Hero Complex

The single biggest mistake green recruits make is hitting the respawn key the instant their visor cracks. Every single death in Starship Troopers: Extermination subtracts from a shared pool of reinforcement tickets visible at the top of your screen. When that ticket counter hits zero, respawns freeze entirely. Anyone who dies during the final ARC defense or the extraction scramble remains dead for the rest of the operation. Running out in the open to duel a Tiger Bug solo does not just get you torn to ribbons—it actively steals a life from a squadmate who might need it to fix a breached generator later.
Instead of hammering your spacebar to bleed out, enter the downed crawl state and ping your location. Combat Medics carry Medical UAV drones and long-range Stim Pistols specifically calibrated to yank you back onto your feet without burning a ticket. Even non-medic classes carry basic revive capabilities via the universal interact key. Unless your carcass is sitting squarely underneath the foot of a rampaging Royal Guard or swimming in incendiary bile, lie still, mark incoming bugs for your perimeter shooters, and let a squadmate clear the immediate threat before reviving you.
Understanding pacing here is as vital as mastering your combat kits in games like Far Cry 6's best beginner build where survivability trumps blind aggression. Conserving tickets during initial ore harvesting and secondary beacon capture leaves an essential cushion for the final defense stage, where elite Arachnid variants will test every structural joint of your perimeter.
2. The Class System: Picking Your Gear for 16-Player Synergy
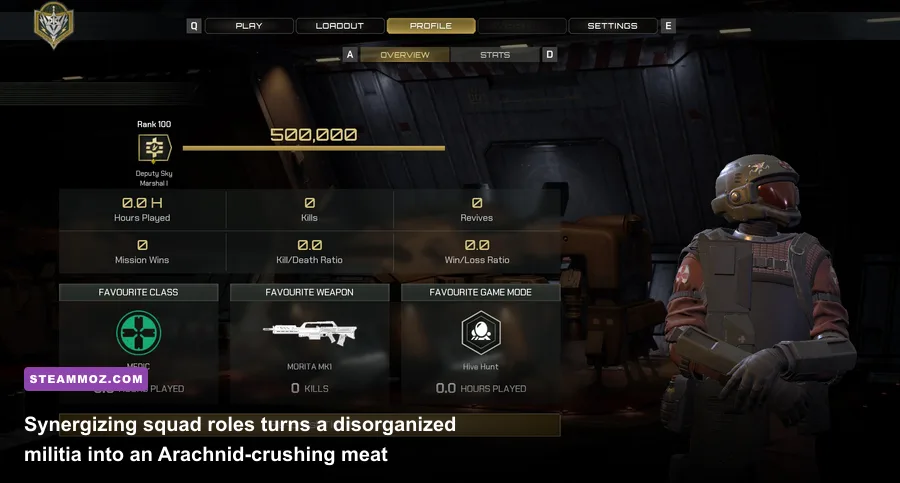
Gone are the early alpha days of three generic soldier roles; the full-release suite features six specialized classes designed to interlock like gears in a heavy machine: Demolisher, Guardian, Medic, Hunter, Ranger, and Engineer. Locking into a match with four snipers and zero engineers is an automatic death sentence on Hard or Insanity difficulty. Balanced company composition ensures structural repair uptime, uninterrupted ammo flow, and fast perimeter clearing.
Every weapon features distinct handling, armor penetration values, and recoil profiles. If you love tracking weapon effectiveness curves like we did in our Far Cry 3: Blood Dragon weapons tier list, you will quickly realize that raw damage per second means nothing if your rounds ping harmlessly off heavy chitin armor plates. The Morita Mk1 provides stable, dependable suppression against low-tier Drones and Warriors, but tackling Tiger Bugs or armored Royal Guards requires hard armor penetrators like the C-32 Anti-Materiel Rifle or high-explosive ordnance from the Chi-Hong Grenade Launcher.
| Class Name | Primary Function | Signature Ability / Gear | Crucial Tactical Responsibility | Beginner Mistake to Avoid |
|---|---|---|---|---|
| Guardian | Anchor & Crowd Control | Deployable Defensive Shield | Hold choke points, draw aggro from Tiger Bugs | Setting shields that block friendly firing arcs |
| Demolisher | Heavy Swarm Clearing | High-Explosive Munitions / Cluster | Decimate clustered Warrior waves instantly | Shooting explosives point-blank into friendlies |
| Medic | Field Sustain & Revival | Medical UAV / Stim Pistol | Remote triage, emergency speed-boost buffs | Pushing the front line instead of staying back |
| Hunter | High-Mobility Recon & Flank | Jump Jets / High Vantage Harass | Hunting Gunner bugs perched on ridge lines | Floating over open swarms without an escape route |
| Ranger | Long-Range Target Elimination | Target Spotting & DMR Precision | Paint elite bugs, headshot high-threat artillery | Tunnel-visioning down scopes while Warriors flank |
| Engineer | Logistics & Fortification | Overclock Tool / Turret Deployment | Keep ammo caches stocked, reinforce inner walls | Treating the build tool purely as a personal toy |
When selecting your secondary utilities, coordinate directly with your sub-squad. Carrying an extra Ammo Fabricator instead of an explosive mine might feel unglamorous, but when an entire platoon runs bone-dry on magazines during a three-minute siege wave, that single crate will turn the tide. If your team's hardware is struggling to maintain frame rates during these chaotic 16-player fire drills, check our performance tuning guides like the ELEX PC fixes that rescue your FPS to ensure stuttering doesn't ruin your firing rhythm.
3. Base Building 101: Why Grid Geometry and Corpse Piles Save Outposts

Base building in this game is an active structural engineering puzzle governed by Offworld Industries' proprietary "Carnage" engine. In most shooters, fallen enemy corpses fade into thin air after a few seconds. In Starship Troopers: Extermination on Steam, Arachnid bodies do not despawn immediately—they pile up, creating physical, climbable mounds of dead flesh. If your company builds a uniform, flat wall and slaughters two hundred Warriors at the perimeter, those bodies will quickly stack into a ramp, allowing subsequent waves to run straight over your ramparts and drop onto your base core.
To counteract this, your base layouts must prioritize layered defenses, crisscrossing sightlines, and smart funneling rather than monolithic shoebox fortresses:
- Never Box in the ARC Core: Enclosing the central objective in solid walls without internal corridors prevents your mobile defenders from rotating when a wall inevitably collapses. Leave open sprint lanes and elevated walkways.
- Electric Fences Behind Hard Walls: Place heavy bunker walls as the exterior ablative layer, but weave electric fences directly behind them. If a breach occurs, the electric current stuns penetrating bugs, giving Demolishers time to saturate the breach with splash damage.
- Elevated Turrets and Clean Sightlines: Never build watchtowers directly touching the perimeter wall. If the wall is climbed or breached, the tower goes down with it. Place defensive towers slightly inward with overlapping fields of fire covering the outer wall's base.
- Spacing Ammo Stations: Never clump multiple ammo fabricators together. A single stray mortar shell from a Grenadier Bug can wipe out your squad's entire ammunition resupply infrastructure in one blast. Scatter them evenly around secondary defensive nodes.
Using your Build Tool efficiently requires a rhythm. Left-click deploys blueprints, right-click welds structures into place, and middle-click or designated hotkeys deconstruct damaged or poorly placed walls to recoup construction resources. Much like managing complex nests in natural strategy sims like our Empires of the Undergrowth guides, spatial management and bottleneck planning are the real arbiters of defensive survival.
4. Bug Threat Intelligence: Prioritizing High-Value Arachnids
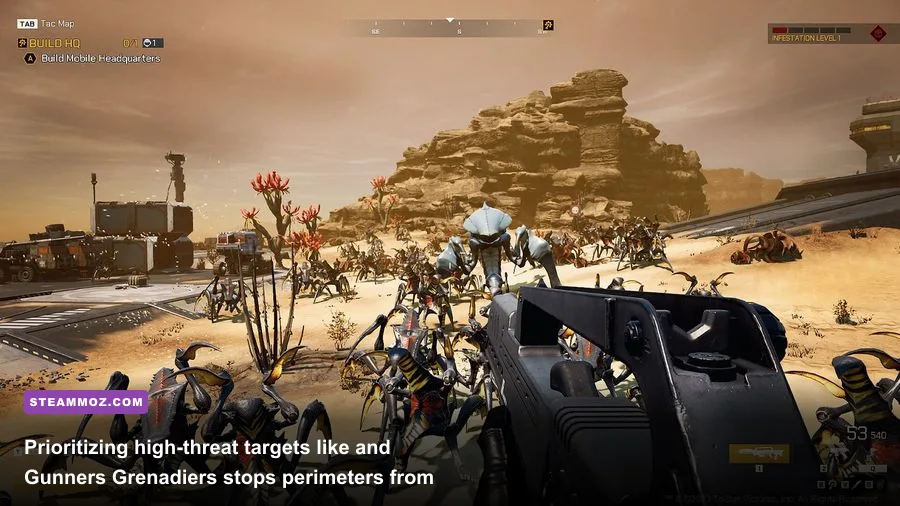
Emptying an entire drum of Morita ammunition into normal Warrior Bugs while ignoring high-tier specialist Arachnids is the quickest way to watch an outpost implode. Every Arachnid variant fulfills a specific assault role on the battlefield, from expendable wave fodder to biological artillery. You need to identify sound cues, silhouettes, and engagement distances the second they appear on the horizon.
Official updates on the developer portal at Offworld Industries continuously refine the artificial intelligence and pathfinding of these swarms. When an alarm rings out indicating a wave shift, your company must pivot focus immediately according to the threat hierarchy detailed below.
| Arachnid Type | Threat Tier | Primary Attack Vector | Critical Weakpoint | Optimal Countermeasure |
|---|---|---|---|---|
| Drone | Low | Melee swarms, flank harassment | Entire unarmored frame | Morita fire, melee bash, electric perimeter fences |
| Warrior | Moderate | Coordinated charges, breach pushes | Mouthparts & neck joint | Sustained rifle fire, shotgun bursts, shock traps |
| Gunner | High | Long-range precision yellow plasma darts | Glowing abdomen underbelly | Hunter/Ranger long-range sniper fire, smoke screens |
| Tiger Bug | Severe | Heavy armored ram, wall shredding | Soft underbelly and rear leg joints | Anti-Materiel Rifles, Rocket Launchers, Guardian taunts |
| Grenadier | Critical | Arced high-explosive biological artillery | Vulnerable glowing mortar sac while firing | Immediate Hunter strike team or heavy airstrike beacons |
| Plasma Bug | Catastrophic | Base-leveling blue mortar bombardments | Abdomen sides during ignition phase | Coordinated squad sortie outside the base with heavy ordnance |
When you hear the deep, echoing thud of a Grenadier launching artillery, stop firing at foot bugs. Scan the ridgelines immediately. Grenadiers park themselves several hundred meters away behind rock outcroppings, lobbing incendiary biological shells that can obliterate three bunkhouses and half a squad in two impacts. Designate nimble Hunters equipped with Jump Jets or Rangers with high-magnification scopes to track down and eliminate these artillery bugs before they zero in on your ARC generator.
Tiger Bugs demand an entirely different treatment. Their front armor plates deflect standard intermediate caliber rifle rounds with sickening metallic pings. Fighting a Tiger face-to-face is suicide. Instead, Guardians must brace with shields to halt their charge while squadmates flank around their sides to pump buckshot and explosive slugs into their unarmored rear joints and soft ventral tissue.
5. The Extraction Protocol: Dying on the Dropship Ramp Still Counts
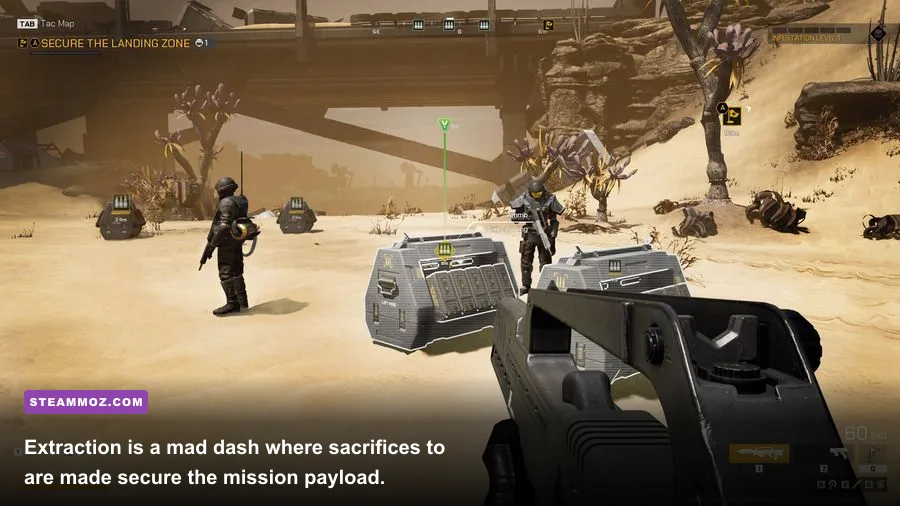
The final phase of any Starship Troopers: Extermination match is a desperate, adrenaline-drenched sprint. Once the ARC objective is completed or the extraction countdown initiates, base defense ends instantly. The Federation dropship will touch down anywhere from 200 to 500 meters away across rugged, bug-infested terrain, and you have roughly two to three minutes to get aboard before it lifts off into low orbit.
New players frequently throw away hard-earned victory points during this final dash through three disastrous habits:
The Lone-Wolf Sprint
Bolting from the base the microsecond the dropship landing zone appears guarantees you will run headfirst into ambush spawns of Warriors and Gunners waiting in the canyons. Always move in fireteams of four to six. Leapfrog your movements: half the squad lays down suppressive fire while the other half sprints forward, then switch roles when their stamina bars recharge.
The Ramp Stand-Off
Standing outside the dropship ramp attempting to boost your personal kill count is the ultimate rookie sin. Bugs spawn infinitely during extraction, scaling aggressively in both numbers and elite variant frequency. When you reach the dropship ramp, get inside the transport bay immediately. Standing on the exterior ramp blocks friendly firing lines and risks getting you slapped down by an incoming Tiger, forcing medics into an impossible rescue dilemma with 10 seconds left on the clock.
Misunderstanding the Extraction Scoring
The mission victory and primary experience payouts are determined by completing the mission parameters and successfully lifting the ship. While your company receives bonus requisition points for every surviving trooper sitting inside that cabin, a partial extraction is infinitely better than a squad-wipe failure. If four troopers are pinned down in a canyon 300 meters back with 15 seconds remaining, do not leave the dropship to play hero. If the ship takes off with even one living soul aboard, the mission succeeds. Remember your Mobile Infantry oath: the mission comes first, the individual comes second.
As you run this gauntlet, performance drops can be deadly during these high-particle extractions. If your rig stutters under heavy particle load when dozens of bug carapaces explode simultaneously, optimizing your display configurations—much like tuning profiles found in our escape low-FPS optimization guide—will keep your crosshairs locked onto targets when every microsecond counts.
Starship Troopers: Extermination rewards patience, tactical spatial awareness, and collective discipline over twitch reflexes. Treat every wall you build as an investment in your company's survival, keep your eyes on the reinforcement ticket counter, maintain overlapping fields of fire, and you just might live long enough to earn your citizenship. Now grab your Morita, weld the gate shut, and do your part.