For most Steam PC games, the fastest route to higher FPS and smoother play is simple: lower ray tracing first, use DLSS, FSR, or XeSS in Quality mode, reduce volumetric effects and shadows, then cap your frame rate a few frames below your monitor’s refresh rate. Keep textures high if your GPU has enough VRAM, because texture quality usually costs far less performance than lighting, reflections, or view distance.
That recipe works, but blindly dragging every slider to Low leaves a lot of free visual quality on the table. A competitive Counter-Strike 2 setup, a cinematic Cyberpunk 2077 profile, and a CPU-heavy game such as Helldivers 2 need very different compromises. The goal is not the biggest number in the corner. The goal is a frame-time graph that stays flat while you turn, aim, drive, or sprint through a crowded area.
Start With the Settings That Hit FPS Hardest
Every graphics option has a performance cost, but the expensive ones change depending on whether your GPU or CPU is the bottleneck. GPU-bound games spend most of their time rendering pixels, lighting, shadows, and effects. CPU-bound games are limited by simulation, draw calls, enemy AI, or player count. You can identify the problem with an overlay such as MSI Afterburner: if GPU usage sits around 95-99 percent, lower resolution-heavy options; if the GPU is at 60-80 percent while one or more CPU cores are maxed out, reducing resolution will barely help.
| Setting | Recommended Value | Typical FPS Impact | Visual Trade-Off |
|---|---|---|---|
| Ray Tracing | Off or Low | Very High, often 20-45% | Less realistic reflections, shadows, and global illumination |
| Volumetric Fog and Clouds | Medium | High, around 8-20% | Less dense fog and softer atmospheric lighting |
| Screen-Space Reflections | Medium | Medium, around 5-12% | Reduced reflection quality on wet floors and water |
| Shadow Quality | Medium or High | Medium, around 5-15% | Lower resolution and shorter shadow distance |
| View Distance | High | Medium to High in open worlds | Fewer distant objects and less foliage detail |
| Texture Quality | High, if VRAM allows | Low on FPS, high on VRAM | Lower texture sharpness at Medium or Low |
| Ambient Occlusion | SSAO or Medium | Low to Medium, around 3-8% | Less contact shading around corners and objects |
| Motion Blur | Off | Almost no FPS gain | Cleaner image during fast camera movement |
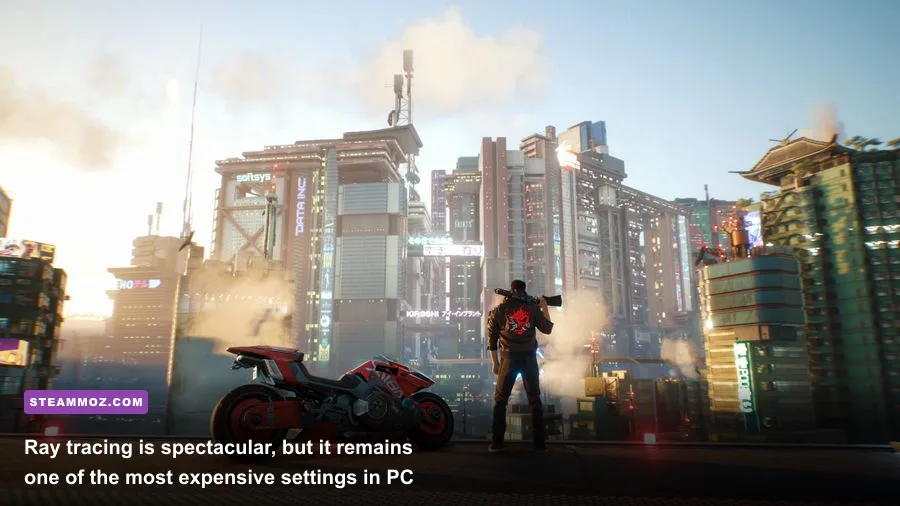
Ray tracing deserves special treatment. In Cyberpunk 2077, switching from Ultra raster settings to RT Medium can be more expensive than lowering several traditional options at once. On a 12GB RTX 3060, a practical 1080p profile is High textures, Medium shadows, Medium volumetrics, Screen-Space Reflections Medium, and ray tracing disabled. If you enable RT, use DLSS Balanced or Performance only when you can accept softer fine detail.
Textures are the setting many players lower unnecessarily. They mostly affect VRAM capacity rather than raw shader workload. A 6GB card may need Medium textures in Hogwarts Legacy or The Last of Us Part I to avoid streaming hitching, while an 8GB or 12GB card can often keep High textures at 1080p. If you see delayed textures, sudden pauses when entering a new area, or VRAM warnings, texture quality is a memory problem—not necessarily an FPS problem.

🎮 FORM
Looking to experience this game? Grab your digital key directly on our store for $14.99.
View on Steammoz Store →Use DLSS, FSR, and XeSS Without Destroying Image Quality
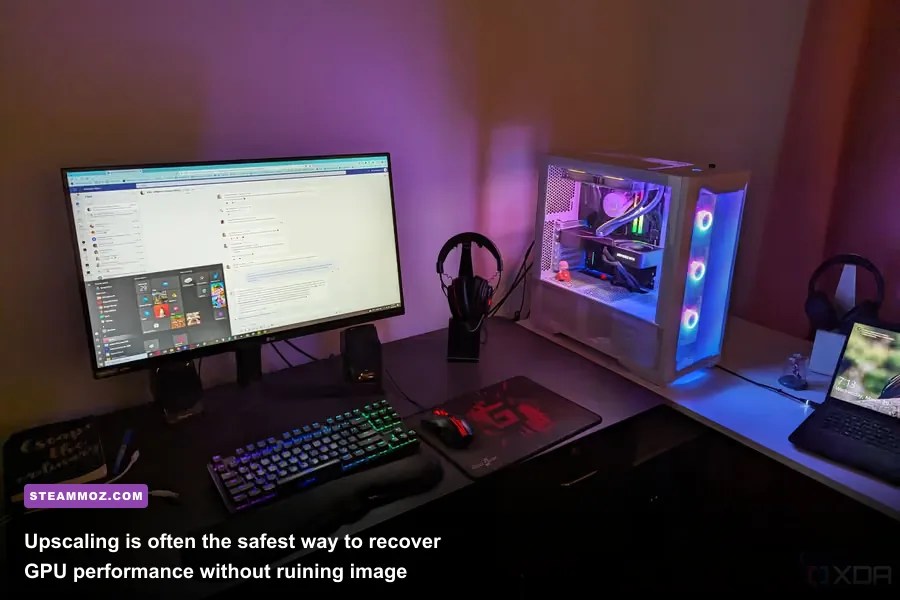
Upscaling renders the game below your display resolution and reconstructs the image to look sharper. At 1440p, DLSS Quality usually renders internally near 1706×960 before reconstructing to 2560×1440. That gives the GPU fewer pixels to shade while preserving much more detail than a basic resolution drop. FSR 2 and FSR 3 work on a wider range of graphics cards, while Intel XeSS can look especially clean on supported Intel Arc hardware and remains usable elsewhere.
Choose the mode based on your target, not the marketing label
Use Quality when your native resolution is 1440p or 4K and you want a crisp image. Balanced is the sensible middle ground for demanding games at 1440p. Performance is primarily a 4K rescue mode or a way to keep a weak GPU above 60 FPS. At 1080p, aggressive upscaling can look noticeably soft because the internal image becomes too small for fine geometry and text.
| Resolution | Best Starting Mode | When to Drop Lower | What to Watch For |
|---|---|---|---|
| 1080p | Native or Quality | Only when GPU-limited below 60 FPS | Soft foliage, shimmering wires, blurry HUD elements |
| 1440p | DLSS/FSR Quality | Balanced for heavy ray tracing | Ghosting around moving characters and particles |
| 4K | Quality or Balanced | Performance for 60 FPS targets | Upscaling artifacts on thin geometry |
| Steam Deck 1280×800 | FSR Quality or game-specific scaler | Balanced for 40 FPS targets | Text clarity and shimmering distant detail |
Do not stack every sharpening filter. If DLSS or FSR already includes sharpening, setting driver-level Radeon Image Sharpening or NVIDIA Sharpening too high creates halos around windows, wires, and character silhouettes. Start around 20-30 percent in the game’s sharpening slider, then adjust while looking at foliage and brickwork rather than a static wall.
Frame Generation is different from upscaling. DLSS 3 and FSR 3 generate intermediate frames, which can make a game look smoother, but they do not reduce the delay of the original rendered frames. Use it after you have a real baseline of roughly 55-60 FPS, not as a cure for a 30 FPS game. In a single-player title such as Cyberpunk 2077, it can be excellent. In Counter-Strike 2, it is usually the wrong choice because latency and visual predictability matter more than a larger displayed FPS number. NVIDIA explains the technology in its official DLSS overview, while AMD documents supported versions through its FidelityFX Super Resolution page.
Build Three Profiles for Different Steam PC Games
There is no single best graphics preset. Save a profile for cinematic AAA games, a profile for competitive shooters, and a profile for CPU-heavy multiplayer games. This takes five minutes and stops you from ruining a beautiful single-player game just because one online match stuttered.
AAA visual profile: 60 FPS with strong image quality
For Cyberpunk 2077, Red Dead Redemption 2, or Star Wars Jedi: Survivor, begin with High textures, High model detail, Medium shadows, Medium volumetrics, and High anisotropic filtering. Anisotropic filtering at 8x or 16x is cheap on modern GPUs and keeps roads, floors, and terrain sharp at an angle. Disable ray tracing first. If your GPU still struggles, lower reflections and volumetrics before texture quality.
At 1440p on an RTX 4070-class system, a sensible target is a locked 60 or 72 FPS rather than an unstable 90-110 FPS. In a demanding open-world game, this cap reduces power spikes and makes traversal feel more consistent. For a VRR display running at 144Hz, try a 138 FPS cap only if the machine can hold it during the heaviest scenes.
Competitive profile: clarity, latency, and predictable frames
In Counter-Strike 2, Valorant, Apex Legends, and Rainbow Six Siege, use native resolution when possible, disable motion blur, disable depth of field, and keep effects low enough that muzzle flashes and smoke remain readable. Counter-Strike 2 players commonly use Low shadow quality, Low particle detail, 4x MSAA or CMAA2 depending on hardware, and 8x anisotropic filtering. Keep Global Shadow Quality higher if you want to see useful player shadows around corners, but test the setting after major game updates.
Use NVIDIA Reflex On + Boost in supported games when latency is the priority. AMD Anti-Lag 2 is the comparable option on supported Radeon hardware. Turn V-Sync off in the game when using a properly configured VRR display, then cap FPS slightly below refresh rate. For a 144Hz monitor, 141 FPS is a useful starting point; for 240Hz, try 237 FPS. The cap matters because running fully uncapped can push the render queue and create inconsistent input response.
CPU-heavy multiplayer profile: protect frame times
Helldivers 2, Battlefield 2042, Microsoft Flight Simulator, and large survival games can become CPU-bound during crowded moments. Lowering resolution may do almost nothing when the simulation is the limit. Reduce crowd density, terrain decoration, view distance, physics quality, and shadow distance where the game exposes those controls. In Helldivers 2, keep textures High if VRAM allows, but reduce fog and reflection quality before sacrificing texture detail.
That distinction is also why a game can show 100 FPS in an empty training area and collapse to 55 FPS during a 16-player fight. Benchmark the busiest location, not the menu or opening corridor. For troubleshooting-heavy games, our guides on ELEX PC crashes and FPS and EscapeVR: The Basement performance fixes show why stability checks should come before visual tuning.
Set the Cap, Sync, and Drivers for Smooth Frame Times
A high average FPS can still feel awful if frame times spike. A game delivering 120 FPS averages about 8.3 milliseconds per frame, while 60 FPS averages 16.7ms. The important part is consistency: a sudden 50ms frame feels like a hitch even if the counter returns to 120 immediately afterward.
For G-SYNC or FreeSync, enable VRR in the monitor and operating system, then use either the game’s limiter or a reliable external limiter. Cap slightly below the refresh ceiling: 58 FPS for a 60Hz display, 72 for 75Hz, 117 for 120Hz, 141 for 144Hz, and 162 for 165Hz. This leaves enough headroom for the VRR range and avoids repeatedly hitting the display’s maximum.
V-Sync is not automatically bad. With VRR, a common setup is driver V-Sync enabled, in-game V-Sync disabled, and an FPS cap below refresh. Without VRR, V-Sync removes tearing but adds latency and can cause a harsh drop from 60 to 30 FPS if the game misses a refresh. Use the combination that produces the flattest frame-time graph on your display.
| Display | Target Cap | Recommended Sync Setup | Best Use |
|---|---|---|---|
| 60Hz, no VRR | 60 FPS or 59 FPS | V-Sync On if tearing is distracting | Story games and older Steam titles |
| 144Hz with FreeSync/G-SYNC | 141 FPS | VRR On, driver V-Sync On, game V-Sync Off | Most modern gaming PCs |
| 165Hz with VRR | 162 FPS | VRR On with a frame limiter | Fast shooters and racing games |
| Steam Deck 60Hz | 40 or 60 FPS | Use SteamOS limiter and per-game profile | Balancing battery life and smoothness |
Update your GPU driver when a new release specifically supports the game you are playing, but do not assume every update improves performance. Shader compilation stutter can appear after a driver change or major patch while the game rebuilds its cache. Let the title sit in its menu for a few minutes, run a short repeatable route, and avoid judging performance during the first seconds after loading a new area.
Also close overlays you do not use. Steam Overlay, Discord, GeForce Experience, Radeon Software, browser video playback, and RGB utilities can each add small overhead or create conflicts. The old Far Cry 6 settings guide is a useful example of how a few targeted changes beat lowering every option to Low.
Test Your Settings Like a PC Gamer, Not a Menu Tourist

Use a repeatable benchmark route. In Cyberpunk 2077, save near a crowded Night City intersection and drive the same loop for 60 seconds. In Counter-Strike 2, use the same workshop benchmark or practice map while throwing the same smokes. In Helldivers 2, test during an active firefight rather than the ship. Record average FPS, one-percent lows, GPU usage, VRAM usage, and frame time.
One-percent lows are especially valuable. If your average is 90 FPS but one-percent lows sit at 38 FPS, the game will feel uneven. Lowering volumetrics, shadow distance, or crowd detail may raise the average only slightly while lifting those lows substantially. That is a better trade than chasing 10 extra FPS in an empty hallway.
Change one setting at a time and test for at least two minutes. Large areas need time to stream assets, and shader caches may not be finished after the first camera turn. If a setting changes image quality but barely moves performance, put it back on High. If it causes a large GPU usage drop with little visible loss—usually fog, reflections, or shadow resolution—it belongs in your optimized profile.
For older or unusually fragile games, check the game’s official documentation before forcing launch parameters. Steam’s official client and store provide the baseline installation environment, while publisher support pages are safer than random DLL downloads. Our Filament performance settings and Everspace 2 FPS-first troubleshooting guide cover the kind of stutter and crash problems that graphics sliders alone cannot solve.
A reliable final checklist
- Confirm whether the GPU or CPU is limiting performance.
- Disable ray tracing before lowering textures.
- Use Quality upscaling at 1440p and avoid aggressive modes at 1080p.
- Keep anisotropic filtering at 8x or 16x when available.
- Cap FPS below your monitor’s refresh rate when using VRR.
- Test one-percent lows in the busiest real gameplay scene.
- Use Frame Generation only after the base frame rate is already responsive.
- Save separate profiles for AAA, competitive, and CPU-heavy multiplayer games.
The best Steam PC graphics settings are not the lowest settings and they are not always Ultra. They are the settings that protect frame-time consistency while preserving the details you actually notice. Turn off the expensive effects you do not miss, keep textures and filtering high when your VRAM permits, use sensible upscaling, and lock the result to a stable target. That combination delivers smoother aim, cleaner camera movement, and a far better gaming session than an impressive but erratic FPS peak.