
The best Drizzlepath starting build is a comfortable exploration setup: use keyboard-and-mouse movement, keep sprint available for long climbs, play at a steady 60 frames per second, and follow landmarks instead of hunting for imaginary loot or combat upgrades. Drizzlepath is not an RPG with classes, weapons, skill trees, armor, or stat allocation. It’s a first-person walking simulator from Tonguç Bodur, built around atmosphere, landscape, movement, and reaching the next point of interest.
That distinction matters because plenty of searches for a “Drizzlepath best starting build guide for beginners” assume there’s a hidden character system waiting to be optimized. There isn’t. You can’t raise strength, unlock a better flashlight, equip boots, or select a damage-focused route. Your real build is the way you configure the game and approach its environments. Get that right and Drizzlepath becomes a relaxing, visually striking journey. Get it wrong and motion blur, uneven frame pacing, or aimless wandering can drain the experience quickly.
This guide treats the game honestly while still giving you a practical opening setup. It covers controls, graphics, pacing, navigation habits, performance fixes, and the mistakes that make a short walking simulator feel longer than it should. If you want a broader look at similar atmospheric adventures, Steamoz’s In Stars and Time review is a good reminder that exploration games often work best when you stop trying to play them like conventional RPGs.
What the Drizzlepath beginner build actually includes
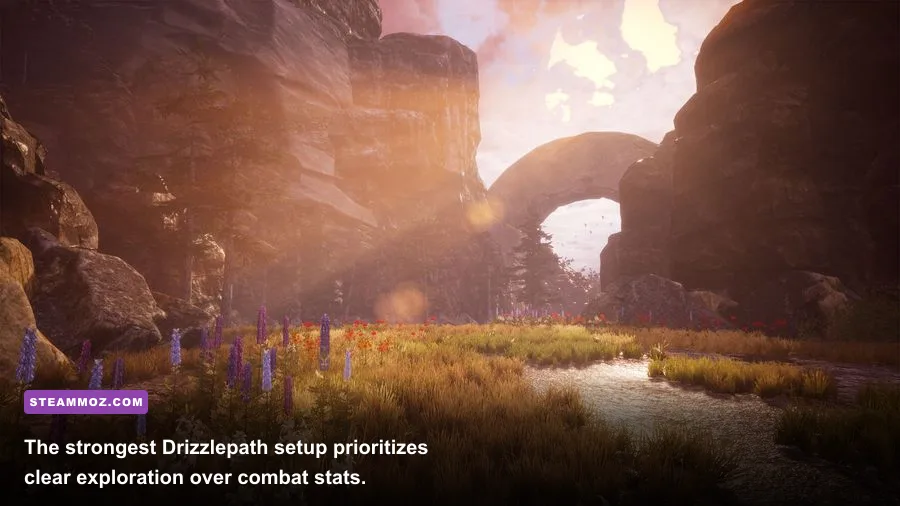
Think of your Drizzlepath setup as four decisions: input, display, performance, and pace. Input determines whether looking around feels natural. Display controls how clearly you can read the path and distant landmarks. Performance affects comfort, especially during turns and movement through dense scenery. Pace determines whether you notice the environmental details that carry the game’s mood.
There are no named classes or combat roles to rank. The closest thing to a “best build” is a stable 60-FPS exploration profile with a moderate mouse sensitivity, minimal visual distractions, and enough image quality to preserve foliage, fog, and terrain edges. If your PC can’t hold 60 FPS, a locked 30 FPS is still preferable to wild swings between 45 and 90. Consistency matters more than a large peak number in a game where the main activity is smooth first-person walking.
| Build Element | Beginner Recommendation | Why It Works | Common Mistake |
|---|---|---|---|
| Movement | Keyboard and mouse | Precise direction changes and fast camera control | Using extreme mouse sensitivity |
| Frame rate | Locked 60 FPS | Smooth walking and less distracting stutter | Chasing unlimited FPS with unstable frame pacing |
| Resolution | Native monitor resolution | Keeps distant paths and landmarks clear | Dropping resolution before lowering expensive settings |
| Visual style | Low motion blur, readable contrast | Reduces nausea and improves route recognition | Maxing every effect on an older GPU |
| Play pace | Walk, pause, scan, continue | Prevents missed turns and environmental details | Sprinting constantly and losing orientation |
Before launching, check the game’s current listing on the official Drizzlepath Steam page for platform details, updates, and player reports. Older Unity games can behave differently across modern drivers, ultrawide monitors, and Windows display modes, so don’t assume a setting that works in another walking simulator will behave identically here.

🎮 Drizzlepath
Looking to experience this game? Grab your digital key directly on our store for $1.49.
View on Steammoz Store →The exact first-session control setup

Start with keyboard and mouse unless you strongly prefer a controller. First-person walking is the entire mechanical foundation, and mouse input gives you the cleanest control over small camera adjustments. Put movement on the standard WASD layout, keep jump or interact on its default binding unless the game gives you a reason to change it, and make sure sprint is easy to reach. You don’t need a complicated keybind profile because Drizzlepath doesn’t ask you to juggle abilities, inventory items, or combat actions.
Mouse sensitivity is where beginners most often sabotage the opening hour. If a tiny wrist movement spins your view toward the sky, lower sensitivity until a comfortable full turn takes roughly one broad mouse swipe. The ideal number varies by mouse DPI, so there’s no honest universal slider value. The test is simple: you should be able to look behind yourself without lifting the mouse repeatedly, while still making controlled adjustments when lining up with a narrow trail.
Use a normal field of view if the game exposes an FOV slider. Extremely wide FOV can make the horizon look stretched and may exaggerate motion sickness. Extremely narrow FOV makes the scenery feel claustrophobic and forces more head movement. Begin at the default value, then adjust in small steps. There’s no combat advantage to a wide FOV here, so comfort should win.
How to move without losing the trail
Walk in short bursts when you enter a new area. Stop at bends, rotate slowly, and identify at least one landmark behind you before proceeding. A distinctive rock, tree cluster, building silhouette, bright patch of sky, or change in terrain can serve as a mental breadcrumb. Drizzlepath’s environments are designed to guide you visually rather than through a conventional quest log, so route memory is more useful than speed.
If you reach an open-looking area and aren’t sure where to go, don’t immediately spin in circles. Backtrack to the last place where the path was obvious. Most confusion comes from walking past a turn while staring at a dramatic vista. The game wants you to look around, but it also expects you to read the ground. Follow the clearest continuation of the trail first, then investigate side scenery after you’ve confirmed your direction.
Best Drizzlepath graphics settings for a smooth start
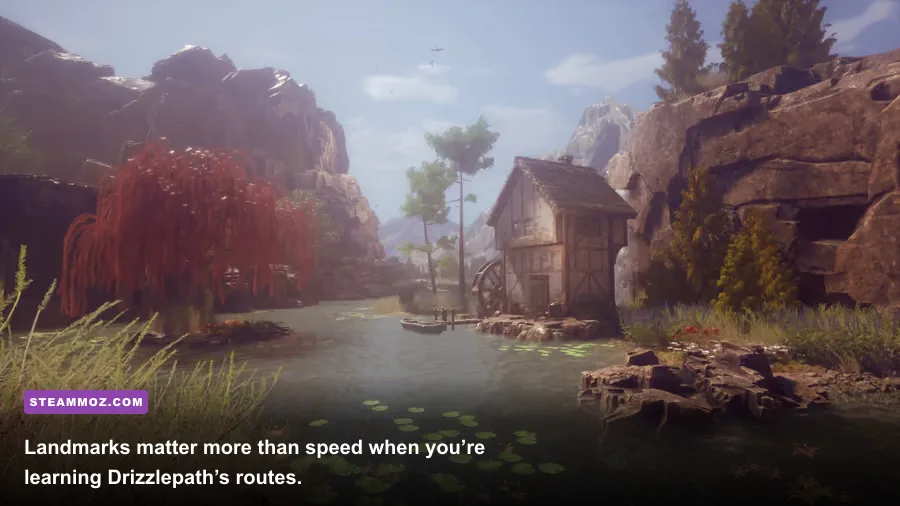
Drizzlepath’s appeal lives in its scenery, so the goal isn’t to flatten every setting for maximum FPS. Preserve resolution and texture clarity first, then reduce expensive effects that add atmosphere at a high performance cost. Fog, shadows, and post-processing can be visually attractive, but they’re also the settings most likely to create unstable frame times on older hardware.
| Setting | Recommended Value | FPS Impact | Visual Note |
|---|---|---|---|
| Display mode | Fullscreen or borderless, whichever is smoother | Low to medium | Test both if alt-tabbing causes stutter |
| Resolution | Native resolution | High | Best for distant terrain and path edges |
| Texture quality | High if VRAM allows | Low to medium | Preserves surface detail without major GPU cost |
| Shadow quality | Medium | Medium to high | Medium usually keeps depth while reducing dips |
| Anti-aliasing | Medium or default | Medium | Reduces shimmering on foliage and geometry |
| Post-processing | Medium | Medium | Lower it if haze or effects hurt clarity |
| Motion blur | Off or lowest available | Minimal | Sharper camera turns and less nausea |
| V-Sync | On if tearing appears | Small | Useful when your display lacks adaptive sync |
Apply the profile, then test it in the busiest-looking outdoor section rather than staring at a blank menu. Walk, turn 180 degrees, and move through foliage for several minutes. A high average FPS doesn’t tell the whole story; brief stutters are especially noticeable during slow exploration because there’s no action noise to mask them. If performance is poor, lower shadows and post-processing before touching resolution. If that isn’t enough, reduce anti-aliasing and then resolution one step.
Players with an adaptive-sync monitor should enable FreeSync or G-SYNC and use a sensible frame cap below the display’s maximum refresh rate. Players without it can use V-Sync to eliminate tearing. Don’t stack several frame limiters without testing them. Older Unity games can feel worse when the driver cap, in-game V-Sync, and external overlay all fight for control.
For wider PC troubleshooting, Steamoz has dedicated guides for crashes and poor performance and low FPS in older PC releases. The fixes aren’t Drizzlepath-specific, but the fundamentals—updated drivers, sensible overlays, and checking background load—still apply.
The smartest route strategy for new players
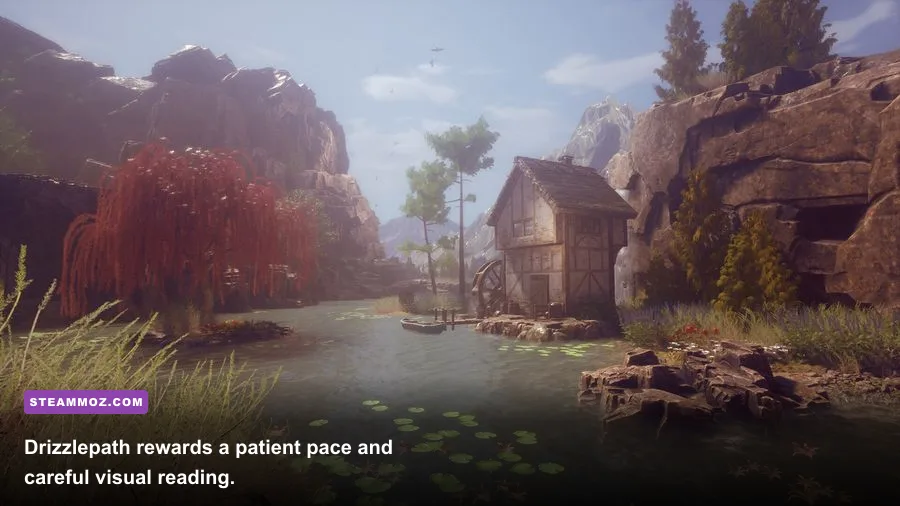
Drizzlepath doesn’t hand you a combat loop to master, so navigation becomes the skill ceiling. The most reliable strategy is landmark chaining. Pick the next visible point that appears connected to the current path, walk toward it, and periodically turn around to memorize the previous landmark. This creates a mental sequence instead of asking you to remember an entire landscape at once.
Use the landscape as your objective marker
Look for visual hierarchy. Paths are usually easier to read than grass or rock, and human-made structures tend to stand out against natural terrain. Bright openings, elevated ridgelines, fences, bridges, towers, and large buildings can all indicate progression. Don’t treat every side trail as a secret. In a walking simulator, a tempting detour may simply be a scenic pocket with no reward attached.
That doesn’t mean you should rush directly to the endpoint. Drizzlepath’s value is in the journey’s atmosphere: changes in weather, distant views, sound design, and the way the route frames the environment. Explore deliberately. Walk off the obvious line only when you can still identify your return point. If you’ve lost the route, stop moving and use a slow 360-degree scan instead of continuing deeper into an unrecognizable area.
Save or checkpoint behavior can vary by release and platform, so test it early rather than assuming every pause creates a reliable recovery point. If the game offers a manual save option, use it before experimenting with a side route. If it relies on automatic progression, avoid quitting immediately after reaching a new area; give the game a moment to register your progress.
What not to waste time optimizing
There is no weapon tier list, damage rotation, experience farm, or secret stat breakpoint in Drizzlepath. Searching for one will send you toward advice for unrelated games or other titles that share the Drizzlepath name. You also don’t need to restart because you chose the wrong opening class—there are no classes. The best beginner build is not hidden behind a difficult decision at the start.
Don’t obsess over collecting everything unless you personally enjoy environmental searching. Drizzlepath is primarily a directed scenic experience, not a loot-driven open world. Likewise, don’t sprint through the entire route just because movement feels safe. Running can make it easier to miss environmental details, overshoot a bend, or lose your mental map. Sprint when you’re retracing familiar ground or crossing a long, uncomplicated stretch; walk when the route is new.
And don’t crank every setting to Ultra just because the game looks quiet. A calm scene can still produce frame-time spikes when shadows, fog, and post-processing are active across a large outdoor view. Stable performance makes the camera feel more grounded, which matters far more than a minor increase in distant shadow detail.
Your final Drizzlepath starter profile
For a clean first playthrough, use keyboard and mouse, moderate sensitivity, the native resolution of your display, medium shadows, medium anti-aliasing, reduced post-processing, and motion blur disabled. Target a locked 60 FPS, or a stable 30 FPS if your hardware can’t maintain 60. Keep sprint accessible, but treat it as a travel convenience rather than a default movement mode.
Once you’re in the world, follow the strongest visible trail, stop at every major bend, memorize landmarks behind you, and backtrack whenever the route stops making sense. That’s the entire “build,” and it’s more useful than any invented list of weapons or skills. Drizzlepath is at its best when you give its landscapes room to work. Adjust the technical setup until the image is clear and the motion is steady, then let the path set the tempo.
For more beginner-friendly build thinking in actual RPGs, compare this approach with Steamoz’s Clair Obscur: Expedition 33 beginner build. That game genuinely has stats, abilities, and equipment choices. Drizzlepath doesn’t—and recognizing that difference is the most important optimization of all.
You can also review the creator’s wider catalog through the Tonguç Bodur Steam developer page. If you’re looking for the official store description and system information, use Drizzlepath on Steam before changing your hardware or configuration. Start comfortable, keep the frame rate consistent, and let the scenery—not a nonexistent skill tree—be your guide.