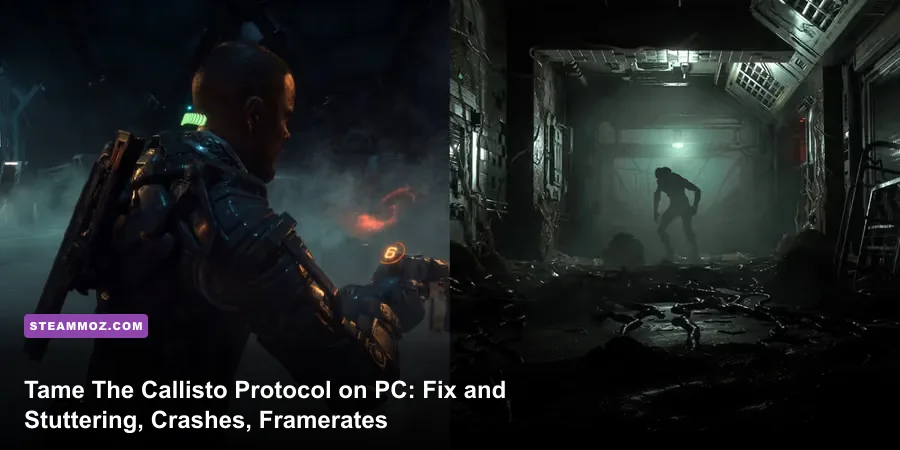
If The Callisto Protocol is choking your gaming rig with vicious micro-stutters, erratic 20-FPS drops, or sudden crashes straight to desktop, you aren't alone. The game's atmospheric horrors in Black Iron Prison were built on a heavily modified Unreal Engine 4 pipeline that struggles with real-time shader compilation, runaway VRAM consumption, and poor thread management on modern multi-core processors. You can fix these issues right away by switching your rendering pipeline to DirectX 11 (or applying a custom Engine.ini cache script in DirectX 12), turning off Ray-Traced Shadows, setting AMD FSR 2 to Quality mode, and expanding your Windows virtual memory pagefile to at least 16GB. These adjustments eliminate frame hitching during intense Biophage ambushes and stop mid-combat desktop crashes in their tracks.
Why The Callisto Protocol Stutters and Crashes on PC
To fix performance issues in Striking Distance Studios' sci-fi survival horror title, you need to understand what is breaking under the hood. The game suffers primarily from Pipeline State Object (PSO) cache misses. When you enter a new cell block or an enemy bursts out of a ventilation shaft, the engine attempts to compile complex lighting and particle shaders on the fly rather than pre-compiling them during boot. This causes your CPU to stall while waiting for the GPU, leading to severe frametime spikes that feel like brief one-second freezes.
On top of shader stutters, modern Intel 12th, 13th, and 14th Gen processors with hybrid architectures (Performance and Efficiency cores) suffer from thread dispatch confusion. Windows often dumps critical rendering worker threads onto low-power E-cores instead of P-cores, causing 100% CPU spikes and instant stuttering. Meanwhile, running full ray tracing alongside high volumetric fog easily exceeds the 8GB VRAM buffer found on popular mid-range cards, resulting in catastrophic Out of Video Memory errors and crashes to desktop. Much like sorting out launch hitches seen when applying ELEX PC fixes that stop crashes and rescue your FPS, stabilizing The Callisto Protocol requires calming engine-level asset streaming.

🎮 Protocol
Looking to experience this game? Grab your digital key directly on our store for $19.99.
View on Steammoz Store →DirectX 12 vs DirectX 11 and Critical Launch Commands
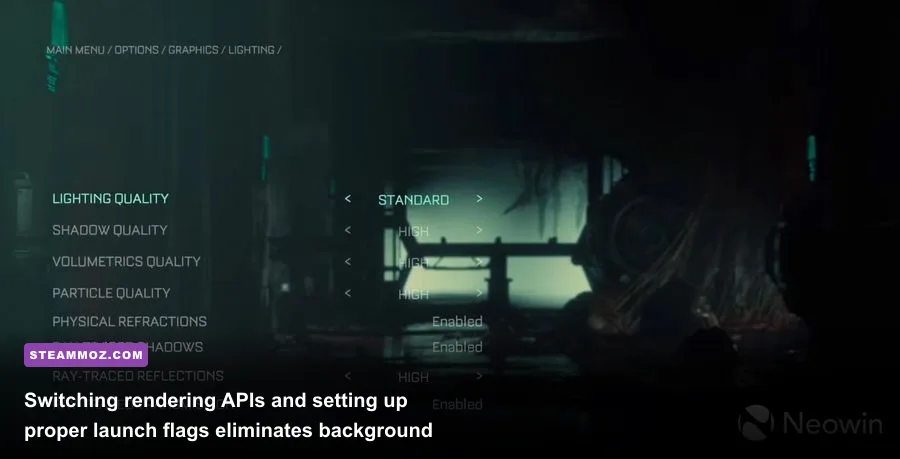
Choosing between DirectX 11 and DirectX 12 makes a massive difference in stability depending on your hardware. While patch updates pushed through the The Callisto Protocol Steam page have improved the game's initial shader pre-caching screen, DirectX 12 remains demanding on mid-tier GPUs. If your card has 8GB of VRAM or less, switching to DirectX 11 bypasses several DirectX 12 ray-tracing overhead pipelines entirely, immediately smoothing out minimum 1% frametimes.
If you want to keep DirectX 12 for ray-traced ambient occlusion or superior multi-threaded CPU handling, you should force specific launch commands through your game client. Right-click the game in your library, open Properties, and paste the following parameters into the Launch Options field:
-high -USEALLAVAILABLECORES -notexturestreamingNext, you can manually expand the Unreal Engine streaming pool to stop texture popping and hitching. Press Win + R, paste %LOCALAPPDATA%\TheCallistoProtocol\Saved\Config\WindowsNoEditor\, and open Engine.ini in a text editor. Scroll to the very bottom, add a new line, and paste the following block:
[SystemSettings]
r.Streaming.PoolSize=4096
r.CreateShadersOnLoad=1
r.Shaders.Optimize=1
r.FinishCurrentFrame=0
Save the file and set it to Read-only under Properties so the game doesn't overwrite your tweaks. This forces the engine to pre-load critical shader blocks into system memory, mirroring the asset-streaming improvements we detailed in our guide for Everspace 2: Wrath of the Ancients crashing and FPS fixes.
The Best Graphics Settings for Maximum Framerate and Visual Fidelity
The Callisto Protocol features aggressive graphical presets that punish even upper-tier graphics cards. Ray tracing is by far the biggest performance killer. Ray-Traced Shadows create muddy, unstable frametime spikes across tight corridors without offering a substantial visual upgrade over high-resolution screen-space shadows. Ray-Traced Reflections look gorgeous on damp metallic floors, but they slice your framerates in half.
To hit a rock-solid 60 to 120 FPS without transforming the terrifying atmosphere into visual sludge, use our fine-tuned custom profile below. Dialing in visual parameters yields noticeable efficiency leaps, just like setting up Far Cry 6 GOTY upgrade pass settings for max FPS or adjusting render scaling in Filament Marmalade Edition settings for higher FPS.
| Graphic Setting | Default Preset | Optimized Setting | FPS Impact | Visual Cost |
|---|---|---|---|---|
| DirectX Version | DirectX 12 | DX12 (High-End) / DX11 (Mid-Range) | +8% to +15% (DX11) | Disables Ray Tracing on DX11 |
| Ray-Traced Shadows | Enabled | Disabled | +18% to +24% | Negligible; rasterized shadows are sharp |
| Ray-Traced Reflections | Enabled | Disabled | +22% to +35% | Moderate; SSR handles wet floors well |
| Shadow Quality | Ultra | Medium or High | +7% | Slight softening at edge distances |
| Volumetrics Quality | High | Medium | +9% | Minor density loss in heavy steam vents |
| Screen Space Reflections | High | High | +3% | Maintains slick, muddy corridor reflections |
| Mesh Quality | Ultra | High | +4% | Zero noticeable difference on characters |
| Motion Blur & Depth of Field | Enabled | Disabled | +2% | Significantly improves combat clarity |
| AMD FSR 2.1 | Off | Quality | +25% to +40% | Near-native sharpness with massive frame gains |
Turning on AMD FidelityFX Super Resolution technology in Quality mode is an absolute game-changer here. Even if you're running an Nvidia GeForce RTX card, FSR 2.1 reconstructs clean edges along metallic grates and blood spatter while drastically lowering internal rendering load.
How to Stop Desktop Crashes and Out of Video Memory Errors
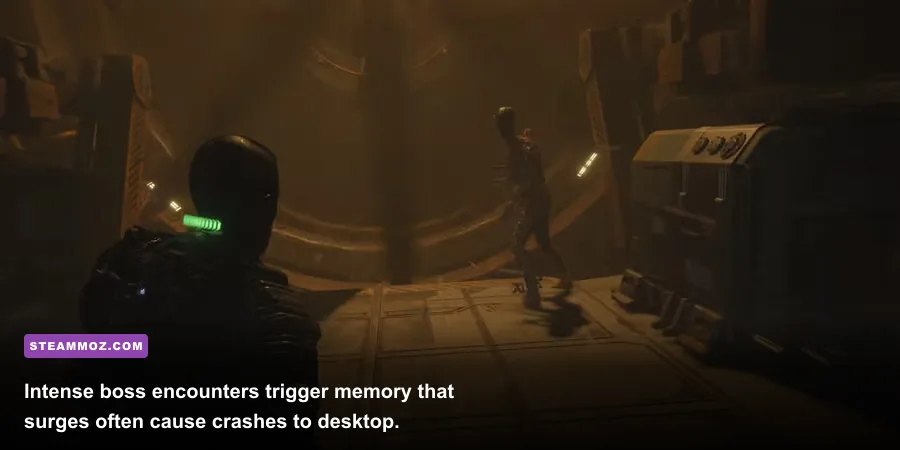
If your game freezes and drops straight back to the desktop without an error code, you are likely hitting an unhandled memory exception. During heavy combat scenes featuring the mutated Two-Head brute or rapid GRP telekinesis throws, the game rapidly allocates and deallocates texture buffers. If your Windows pagefile is too small or restricted to an older mechanical hard drive, the application crashes immediately.
Set a custom virtual memory pagefile to fix this issue:
- Press
Win + Pause/Breakor open Settings > System > About and select Advanced system settings. - Under the Performance section, click Settings, then open the Advanced tab.
- Click Change under Virtual Memory. Uncheck Automatically manage paging file size for all drives.
- Select your fastest NVMe SSD (the drive where Windows or the game is installed).
- Click Custom size, set Initial size to
16384MB, and set Maximum size to24576MB. - Click Set, then hit OK and restart your PC.
Next, wipe out driver-level pipeline conflicts. Use Display Driver Uninstaller (DDU) in Windows Safe Mode to scrub old display files, then install the latest WHQL-certified Game Ready or Adrenalin driver. Disable intrusive third-party overlays such as Discord, RivaTuner Statistics Server (RTSS), and the GeForce Experience in-game overlay. Background hooks frequently collide with Unreal Engine's internal crash reporter, triggering desktop drops similar to the issues resolved in our guide for EscapeVR: The Basement crashing and low FPS fixes.
System Profiles and Hardware Tuning for Butter-Smooth Frametimes
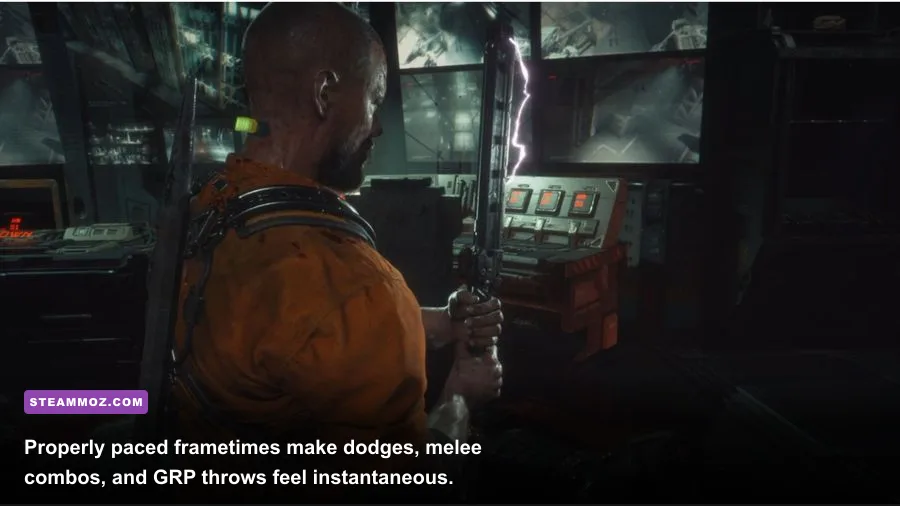
In a tense survival horror title, a rock-solid 60 FPS feels far better than an erratic framerate bouncing between 45 and 90 FPS. Erratic frametimes ruin your parry and dodge inputs when fighting Biophages hand-to-hand. To achieve consistent frametimes, use the Nvidia Control Panel or AMD Radeon Software to lock your maximum framerate to your display's sweet spot (e.g., 60, 90, or 120 FPS). This prevents your GPU from maxing out at 100% capacity, leaving enough thermal and computational headroom to chew through unexpected asset loads without dropping frames.
Before jumping back into the prison depths, verify that your computer meets baseline performance thresholds. If you're building or tweaking a gaming setup, reviewing hardware targets like those in our breakdown of Fatal Fury: City of the Wolves PC specs explained helps set realistic expectations for demanding modern releases.
| Hardware Tier | Target Resolution | Target Profile | Upscaler Mode | Expected Framerate |
|---|---|---|---|---|
| Budget (GTX 1660 Super / RX 5600 XT / 6-Core CPU) | 1080p | DirectX 11, Medium Settings, Shadows Medium | FSR 2 Balanced | 55 - 60 FPS Solid |
| Mid-Range (RTX 3060 Ti / RX 6700 XT / 8-Core CPU) | 1440p | DirectX 12, High Settings, No Ray Tracing | FSR 2 Quality | 75 - 90 FPS Solid |
| Enthusiast (RTX 4070 Ti / RX 7900 XT / Modern i7 or Ryzen 7) | 1440p / 4K | DirectX 12, Ultra Settings, RT Reflections Only | FSR 2 Quality | 90 - 120+ FPS Solid |
If you encounter rare bugs where Jacob Lee clips through elevator shafts or audio falls out of sync after a load screen, check the official Striking Distance Studios Support portal to verify that your game files match the latest patch build. With your Engine.ini caching active, DirectX 11 or optimized DirectX 12 configured, and ray tracing bottlenecks removed, you can finally experience Black Iron Prison the way it was meant to be played: fluid, terrifying, and completely uninterrupted by stutters.