
If you're dealing with sudden desktop crashes, wild frame-time spikes, or unplayable micro-stutter in The Last of Us Part 2 on PC, the issue almost certainly traces back to VRAM overflow, background shader recompilation, or storage-streaming bottlenecks. To stop crashes immediately, expand your Windows virtual memory pagefile to a manual 24GB–32GB, drop Texture Quality down one tier so your VRAM meter stays at least 1.5GB below maximum capacity, and verify that your graphics drivers are cleanly installed via DDU. For erratic stuttering during Seattle traversal, force a 10GB Shader Cache limit inside your GPU control panel, lock your frame rate 3 FPS below your monitor's native refresh rate using an external limiter, and move the installation folder to an ultra-fast NVMe SSD. These quick adjustments stabilize your frame pacing right away and prevent the engine from choking your hardware.
Why The Last of Us Part 2 PC Struggles With Stuttering and Crashes
Naughty Dog's proprietary engine was architected from the ground up around the PlayStation's unified high-speed memory architecture. When translated over to Windows systems via DirectX 12, that unified memory pipeline fractures into distinct system RAM and discrete GPU VRAM pools. Whenever the game rapidly streams ultra-high-resolution character models, dynamic mud deformation, and dense volumetric fog across Seattle's overgrown streets, it places an extraordinary burden on both memory buses. If your hardware can't swap assets back and forth fast enough, the engine simply locks up or throws an unceremonious crash to desktop.
Much like the troubleshooting hurdles players faced in our Elex PC crash and FPS rescue guide, modern open-ended ports frequently push storage sub-systems harder than players anticipate. In The Last of Us Part 2, asset streaming relies heavily on DirectStorage and aggressive multi-threading. When the engine streams massive environmental data—such as Ellie navigating the flooded streets on horseback during Seattle Day 1—it tries to decompress textures directly into your video memory on the fly. If you're running an 8GB or 10GB GPU, those assets instantly spill into system RAM, creating massive 100ms frame-time spikes that feel like complete freezes.
Furthermore, modern hybrid CPUs featuring dedicated Performance and Efficient cores (like Intel's 12th, 13th, and 14th Gen architectures) often misroute heavy background worker threads to low-power E-cores. When crucial decompression routines or physics updates get stalled on an E-core, your graphics card sits idle waiting for instructions, resulting in sudden, violent framerate drops down into the single digits. Understanding this tug-of-war between storage streaming, memory allocation, and CPU scheduling is the key to tuning your rig for locked, console-smooth gameplay.
Step-by-Step Fixes for Hard Crashes to Desktop (CTD)

Hard crashes to desktop in this title typically strike during two moments: during loading screens after dying, or mid-cinematic when a new zone renders in the background. Nearly 90% of these crashes trigger an out-of-memory (OOM) fault code or an engine failure linked to corrupted shader files. Walk through these system-level remedies to eradicate unstable runtime crashes for good.
1. Manually Configure Your Windows Virtual Memory Pagefile
Modern games running aggressive DirectStorage asset pipelines will instantly crash if Windows automatically manages a pagefile that is too small for sudden memory spikes. When VRAM fills up, Windows tries to allocate virtual swap space on your drive. If that space isn't pre-allocated, the application dies. Setting a generous, static pagefile eliminates memory-overflow crashes entirely:
- Press Windows Key + R, type
sysdm.cpl, and hit Enter. - Navigate to the Advanced tab and click Settings under the Performance box.
- Select the Advanced tab inside the new window, then click Change under Virtual Memory.
- Uncheck "Automatically manage paging file size for all drives".
- Select your fastest solid-state drive (preferably your NVMe boot drive or game drive).
- Click Custom size, then set both the Initial size (MB) and Maximum size (MB) to 24576 (24GB) or 32768 (32GB).
- Click Set, followed by OK, and reboot your PC.
2. Force-Clear Corrupted Shader Cache Files
If your game started crashing right after an official title patch or a GPU driver update, your compiled shader cache is likely desynchronized. Rather than letting the engine choke on outdated instructions, wipe the cache so the client can compile a fresh, clean set. For official recommendations and patch notes, always keep an eye on the official Naughty Dog support hub.
To purge your shader files manually on an Nvidia system:
- Close the game and open Windows File Explorer.
- Navigate to
%LOCALAPPDATA%\NVIDIA\DXCacheand delete all files inside the folder. - Navigate to
%LOCALAPPDATA%\D3DSCacheand delete those contents as well. - If you run an AMD GPU, open the AMD Software: Adrenalin Edition, jump to Gaming > Graphics > Advanced, and click Reset Shader Cache.
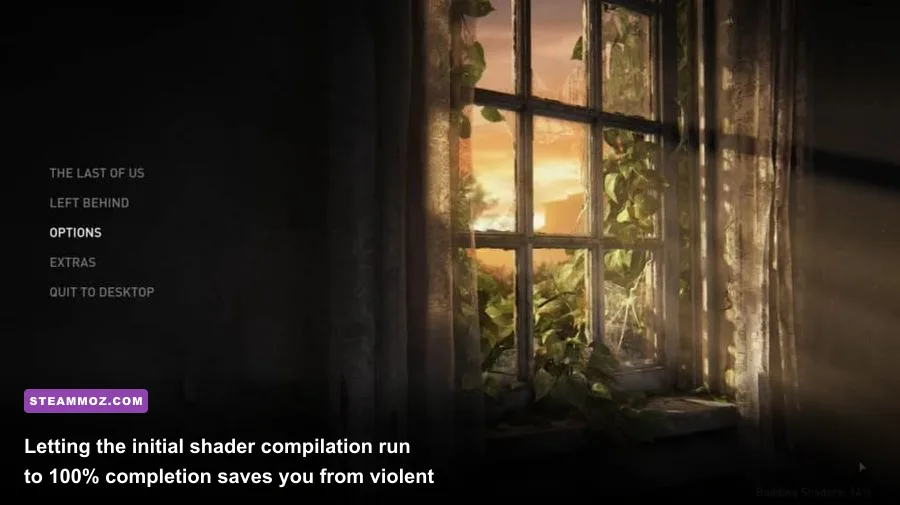
- Relaunch the game and sit at the main menu until the "Building Shaders" indicator reaches 100%. Never jump straight into the campaign while shaders compile in the background, or your frame rates will fall through the floor.
3. Disable Aggressive Third-Party Overlays and Background Hooks
The anti-tamper and memory-hooking utilities in modern PlayStation PC releases are notoriously sensitive to external telemetry injectors. If you're experiencing hard crashes without an error dialogue, shut down background overlays. Temporarily turn off the Discord In-Game Overlay, GeForce Experience In-Game Overlay, and MSI Afterburner's RivaTuner Statistics Server (RTSS). If you must use RTSS for frame-rate limiting, set its "Application Detection Level" to Low or Medium rather than High to prevent hook collisions.
Much like fixing startup hitches detailed in our troubleshooting guide for EscapeVR The Basement performance drops, rogue background hooks love to intercept rendering context changes. Running a lean background environment is the easiest way to keep your graphics pipeline clear.
Eliminating Micro-Stutter, Traversal Lag, and DirectStorage Hitches
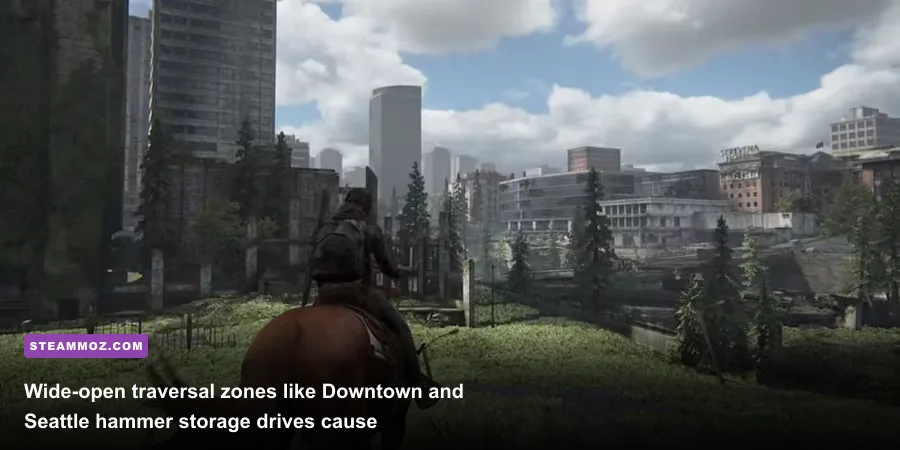
Even if your hardware pushes an average of 80 FPS, erratic frame pacing can make the combat feel floaty, sluggish, and disjointed. Micro-stutters in The Last of Us Part 2 primarily emerge from two sources: storage I/O bottlenecks when crossing world streaming boundaries, and erratic thread allocation across asymmetrical CPU cores.
Curing Intel Hybrid CPU Threading Issues
If you're gaming on an Intel Core i5, i7, or i9 chip spanning the 12th to 14th generations (such as the 13600K or 14700K), your system splits tasks between high-power P-cores and energy-saving E-cores. Windows doesn't always schedule game-critical tasks appropriately. You can use utility programs like Process Lasso to pin the game's executable exclusively to your Performance cores:
- Launch The Last of Us Part 2 and alt-tab out to open Process Lasso.
- Locate the game executable inside the active processes list.
- Right-click the process, hover over CPU Affinity, choose Always, and select Select CPU Affinity.
- Uncheck all E-cores (typically CPU 16 through CPU 23 or CPU 24 depending on your model) so the game strictly operates across your primary physical cores and hyperthreads.
Managing DirectStorage and NVMe Drive Placement
Installing this title on a mechanical hard drive (HDD) or even an older, saturated SATA SSD is a recipe for unfixable micro-stutters. The asset streaming system expects read throughput speeds exceeding 2,500 MB/s. Ensure your game library sits on an M.2 NVMe SSD operating over PCIe 3.0 or PCIe 4.0. If your drive runs low on remaining capacity, garbage collection routines will slow down burst transfers, introducing hitching whenever Ellie enters a brand-new combat arena or clears an intense cinematic transition.
If you've tackled stuttering across other massive titles—such as our deep dives in Everspace 2 frame pacing troubleshooting—you know how much SSD thermal throttling matters. Make sure your NVMe drive isn't overheating underneath your graphics card's backplate during sustained gaming sessions.
Establishing a Rock-Solid Frame-Time Cadence
An unlocked, fluctuating framerate between 55 and 95 FPS creates jarring frame delivery hiccups that feel far worse than a flat, immovable baseline. To establish perfectly flat frame times:
- Enable G-Sync or FreeSync inside your GPU control software.
- Set your monitor's display refresh rate to its native value (e.g., 144Hz or 165Hz).
- Turn V-Sync ON globally inside the Nvidia Control Panel or AMD Software (leave in-game V-Sync OFF).
- Cap your frame rate exactly 3 to 4 frames below your refresh ceiling (e.g., lock to 140 FPS on a 144Hz screen, or lock to a stable 60 FPS / 90 FPS if targeting consistency).
- Set Low Latency Mode (Nvidia Reflex) to On + Boost inside the game settings to lower input lag and steady GPU execution queues.
The Optimal Graphics Settings Preset: Visuals vs. FPS
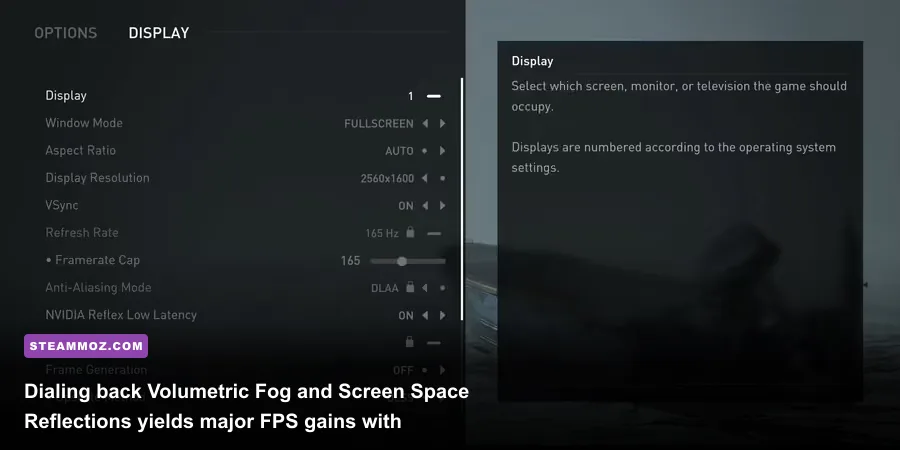
The PC graphics suite for The Last of Us Part 2 offers dozens of toggles, but only a handful account for the vast majority of performance hits and VRAM penalties. Cranking every slider to Ultra will punish even modern powerhouses like the RTX 4080 without providing an obvious visual upgrade. Understanding which settings cost frame rates without offering noticeable upgrades helps you tune the game efficiently.
Below is an exhaustive breakdown of the settings that matter most, their rendering impact, and their optimal values for keeping frame times smooth across demanding encounters like the hospital basement with Abby or the flooded shopping mall with Ellie.
| Graphic Setting | Optimal Value | Estimated FPS Gain | Visual Impact & Hardware Note |
|---|---|---|---|
| Texture Quality | High (8GB VRAM) / Ultra (12GB+ VRAM) | 3% – 5% | Dictates VRAM usage. Setting this too high on an 8GB card is the primary cause of hitching and crashes. |
| Volumetric Fog & Clouds | Medium / High | 12% – 18% | Ultra renders dense voxel fog grids that melt rasterization pipelines in misty Seattle landscapes. |
| Screen Space Reflections | High | 6% – 9% | Medium introduces noisy grain to puddles and flooded rivers. High cleans the noise without Ultra's heavy cost. |
| Contact Shadows | High | 3% – 4% | Essential for grounding characters and foliage into the world; minimal performance cost on modern GPUs. |
| Ambient Shadow Quality | Quarter / Half Resolution | 7% – 11% | Full-resolution ambient shading eats shader cores for virtually invisible detail upgrades in dark corners. |
| Dynamic Object Shadow Quality | Medium / High | 5% – 8% | Governs shadow clarity from moving infected and flashlights. High preserves smooth shadow penumbras. |
| Screen Space Shadows | Medium | 4% – 7% | High and Ultra add tiny self-shadows beneath vegetation that chew through GPU compute power unnecessarily. |
| Depth of Field Quality | Low / Off | 4% – 6% | Pure aesthetic preference. Turning this down or off eliminates heavy cinematic blur and saves GPU fill rate. |
| Motion Blur Intensity | 0 – 2 (Player Choice) | 1% – 2% | Lowering motion blur sharpens fast camera sweeps while providing slight camera panning performance relief. |
| Anisotropic Filtering | 16x | < 1% | Nearly free on any modern GPU architecture. Keeps pavement, wood, and brick textures sharp at oblique angles. |
Just like we outlined in our settings breakdown for Far Cry 6 maximum frame rates, tuning down volumetric geometry and shadow filtering delivers an instant performance uplift without washing out the visual mood. Pair these settings with temporal upscaling (DLSS, FSR 3.1, or Intel XeSS set to Quality mode) to give your GPU the breathing room it needs to sustain smooth 60+ FPS gameplay at 1440p or 4K.
Advanced System Tweaks, Paging Files, and Driver Tuning

If you've dialed in your in-game settings and are still encountering sporadic micro-stutters during heavy shootouts with the Seraphites, you'll need to look at driver-level properties and engine configuration parameters. Many of these adjustments mirror the optimizations covered in our Filament Marmalade Edition performance guide, where fine-tuning driver pipelines completely eliminates micro-hitching.
Expanding the Driver Shader Cache Size
By default, the Nvidia driver allocates a variable 4GB shader cache ceiling. For a game as visually complex as The Last of Us Part 2, that cap fills up in just a few hours of play, forcing the driver to purge and recompile shaders on the fly. To fix this:
- Open the Nvidia Control Panel.
- Go to Manage 3D Settings > Global Settings.
- Scroll down to Shader Cache Size.
- Change the value from "Driver Default" to 10 GB or 100 GB.
- Click Apply in the bottom right corner.
Expanding this parameter provides a massive buffer where compiled PSO (Pipeline State Object) data can sit permanently across your entire campaign run, preventing runtime hitches when entering new environments.
| Hardware Tier | Target Resolution & FPS | Upscaler Setting | Target VRAM Safety Margin | Critical Setting Tweaks |
|---|---|---|---|---|
| Entry-Level (RTX 3060, RX 6600, 8GB Cards) | 1080p @ 60 FPS | DLSS / FSR Quality | Keep usage below 7.1 GB | Textures: Medium/High; Volumetrics: Medium; Shadows: Medium; Pagefile: 24GB |
| Mid-Range (RTX 4070, RX 7700 XT, 12GB Cards) | 1440p @ 80–100 FPS | DLSS / FSR Quality | Keep usage below 10.5 GB | Textures: High/Ultra; Volumetrics: High; Screen Space Reflections: High |
| High-End (RTX 4080+, RX 7900 XT, 16GB+ Cards) | 4K @ 90–120 FPS | DLSS Balanced / Frame Gen | Keep usage below 14.5 GB | Textures: Ultra; All Lighting: High/Ultra; Turn off Depth of Field |
Hardware Accelerated GPU Scheduling (HAGS): Toggle Test
Hardware-Accelerated GPU Scheduling (HAGS) hands memory management tasks directly over to your dedicated GPU processor. While HAGS is mandatory if you intend to activate DLSS 3 Frame Generation on modern RTX 40-series cards, it can occasionally induce micro-stutters on older 8GB cards like the RTX 2060 Super or RTX 3070 during high-VRAM scenarios. If you are experiencing persistent traversal micro-stutter on an older card, test turning it off:
- Open Windows Settings > System > Display > Graphics.
- Click Change default graphics settings.
- Toggle Hardware-accelerated GPU scheduling to Off, then reboot your machine.
- Test the game; if stutter persists or if you need Frame Generation, toggle it back on.
Editing the Game's Internal Configuration File
For fine-grained control over post-processing parameters that lack individual in-game menus, head directly into your local configuration directory. You can locate your settings file at:
%USERPROFILE%\Saved Games\The Last of Us Part II\usersettings.cfg
Open this file with a basic text editor like Notepad. Here, you can verify that your resolution scale matches your monitor's native display, confirm that dynamic resolution scaling isn't overriding your fixed render targets unexpectedly, and verify that fullscreen exclusive modes are locking refresh rates properly. Before tweaking values manually, always duplicate the file as a safe backup. For community-tested tweaks and patch discussions, make sure to visit the active Steam Community Hub to check what the playerbase is discovering with every fresh hotfix.
By giving the game a generous pagefile buffer, locking your frame delivery to eliminate pacing hiccups, and dialing back demanding volumetric settings, you transform The Last of Us Part 2 from an erratic stutter-fest into one of the most stunning, immersive post-apocalyptic experiences your PC can produce.