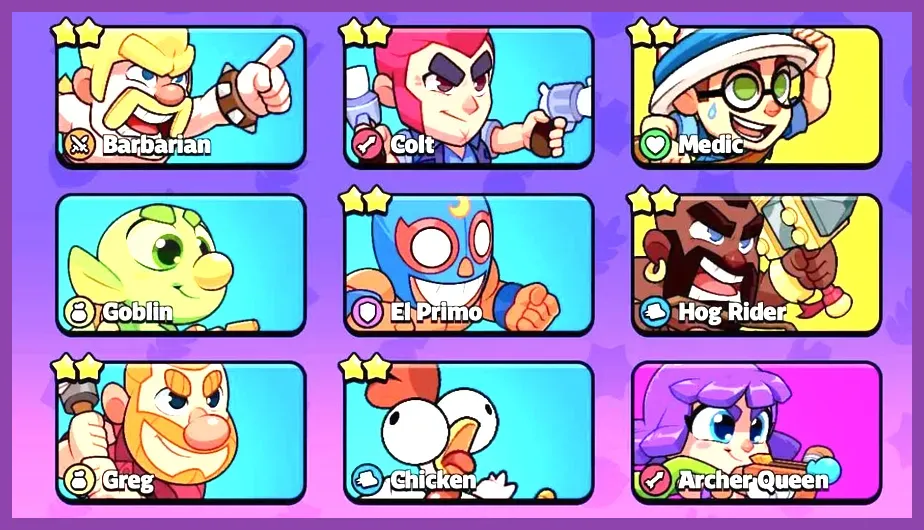
The strongest all-purpose Squad Busters team starts with a durable frontline, adds reliable ranged damage, then fills the remaining picks with movement or economy utility. For most maps, prioritize Barbarian or El Primo up front, Colt, Archer Queen or Wizard behind them, and use Hog Rider, Trader, Mavis or Medic to solve movement, loot or sustain problems. Fuse important units instead of collecting every new character, and choose upgrades that match the modifier and game mode.
Squad Busters is less about building a permanent five-character lineup than adapting to the units offered by chests. Every character has a role, rarity and evolution path: Baby, Classic, Super and Ultra forms improve the unit and unlock stronger abilities. This guide explains what each major character contributes, which combinations are dependable, and when a seemingly powerful pick should be left in the chest.
How Character Evolutions and Fusions Work
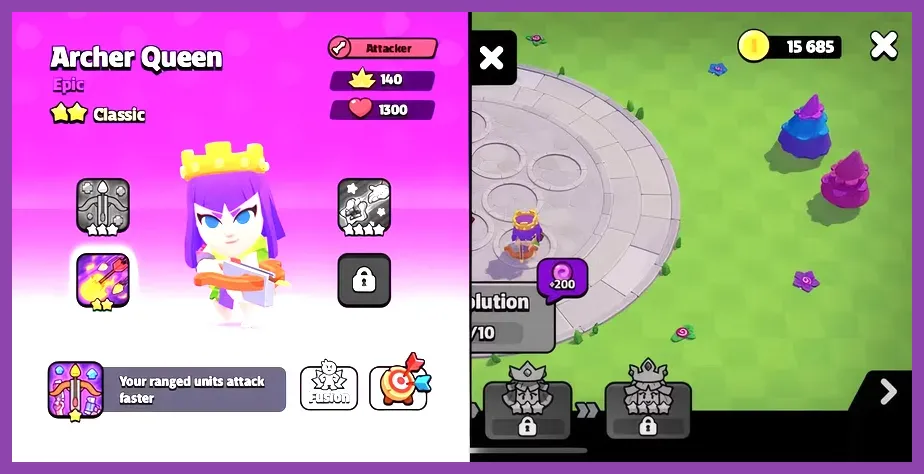
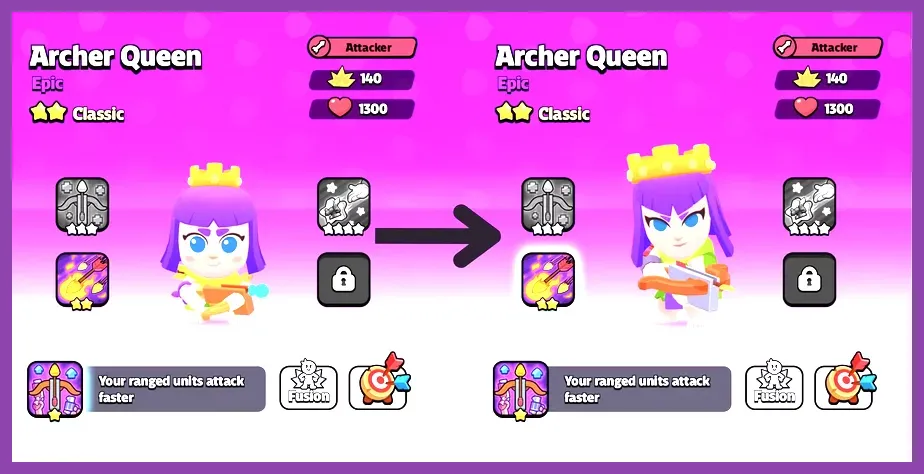
Characters begin in Baby form and become more effective as they progress through Classic, Super and Ultra. The most important short-term power spike during a match is a fusion. Collecting three copies of the same character combines them into one larger unit, preserving squad strength while making the group easier to control. A fused character also frees chest choices for other roles, which is often more valuable than adding a fourth different attacker.
Do not fuse automatically. A second copy of a key unit can be useful when your squad needs more bodies, and taking a fresh support character may be better than completing a low-impact fusion. Fuse damage dealers when they are repeatedly firing, frontline units when they are absorbing focused attacks, and economy units only after they have paid for their place with resources.
Character abilities change with evolution, so check the preview before spending coins or choosing a chest. Super forms are usually the first major breakpoint for a run, while Ultra forms can define a late-game strategy. The exact ability text and balance values can change between updates; Supercell’s official Squad Busters site and official news and patch notes are the safest places to verify current changes.
Best Frontline and Melee Characters
Barbarian: the dependable early fighter
Barbarian is one of the safest opening choices because he adds immediate melee damage without demanding a specific team. His role is simple: stand between fragile ranged units and opposing squads, clear ordinary monsters and contest chests. He is especially valuable when the first map modifier encourages close combat. Keep him near Colt, Archer Queen or Wizard so he buys them time to attack.
El Primo: control through disruption
El Primo is a frontline bruiser with better disruption than a basic damage dealer. His leap can close distance and interfere with enemy formations, making him useful against ranged squads that would otherwise kite your team. Pick him when other players are contesting open areas or when the match contains dangerous backline units. He is less efficient when your squad already has a strong tank and lacks sustained ranged damage.
Heavy and Frank: specialist tanks
Heavy is a powerful stationary damage option when your squad can hold its ground. He works best in a defensive formation around a chest, resource node or boss target, but his value drops if you spend the entire match rotating between objectives. Frank is a slower, high-impact melee choice for players who can protect his approach. Neither should replace movement utility in a map that demands constant chasing.
Tank: the objective-focused bruiser
Tank is strongest when mounted on a Tank or when a vehicle objective is central to the match. She can turn an early vehicle pickup into a serious pressure advantage, particularly if your backline includes Colt or Archer Queen. Take Tank when the map gives you access to the relevant vehicle and avoid forcing her into a squad that cannot exploit that mechanic.
Best Ranged Damage Characters
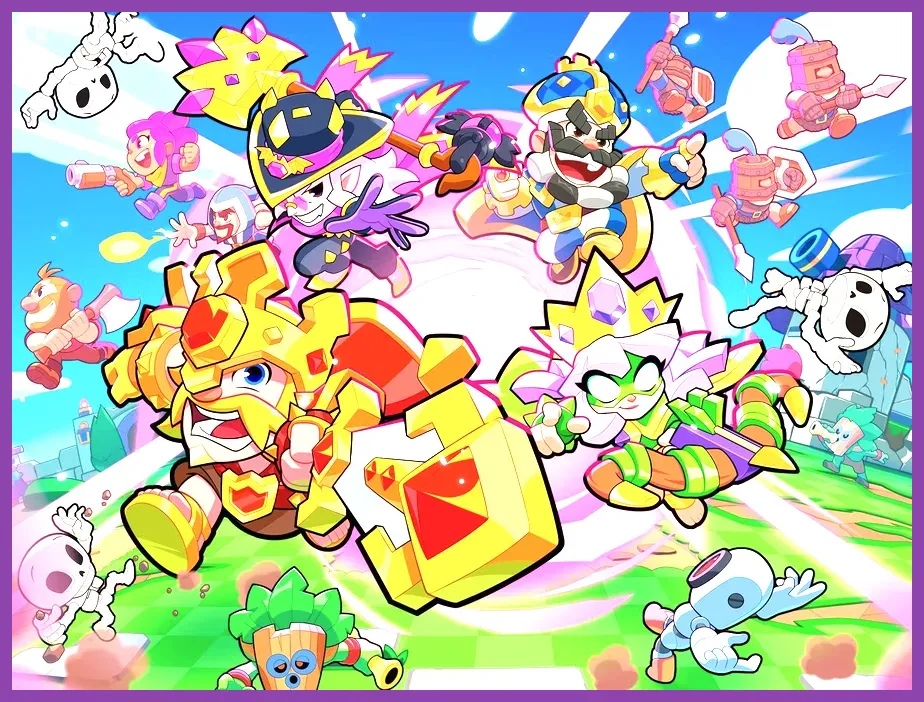
Colt: the consistent damage core
Colt is one of the most reliable ranged attackers in the roster. His rapid shots clear weak monsters quickly and punish large targets when the squad stays aligned. He is a strong default pick because he does not need a special setup, but he must be protected: enemy melee units can erase him if El Primo, Barbarian or another body is not in front.
Archer Queen: the best ranged multiplier
Archer Queen is a premium backline choice for squads built around ranged attacks. Her presence improves the performance of ranged characters, so pairing her with Colt, Wizard, Bea or another projectile user creates more value than pairing her with five melee units. Keep the squad spread enough to avoid one enemy attack hitting everything, but close enough that the frontline continues to screen her.
Wizard: utility and spell access
Wizard brings spell-oriented utility and becomes much more valuable after reaching the evolution that grants additional spell capacity. He is a flexible pick when the map offers useful spells and your team needs answers to clustered enemies. Wizard is not a substitute for a tank; take him after securing a unit that can keep opponents away from the backline.
Dynamike, Bea and Spike
Dynamike excels at area damage, making him excellent against dense monster groups and tightly packed enemy squads. Bea rewards players who can maintain distance and make use of her bee-related attack mechanics. Spike is a strong area-control damage dealer when enemies are forced through narrow routes. These characters are more map-dependent than Colt, but each can outperform him when enemies cluster or terrain limits movement.
Best Support, Healing and Economy Characters
Hog Rider and Max: movement specialists
Hog Rider is one of the best utility picks because grass movement lets the squad rotate quickly and approach fights on favorable terms. He is particularly effective on maps with large grass areas and valuable edge objectives. Max improves squad movement speed and is a strong choice when the match is decided by chasing, escaping or reaching the center before rival teams. Choose one movement specialist early; taking both is justified only when mobility is clearly the match's main constraint.
Medic and Battle Healer: sustain choices
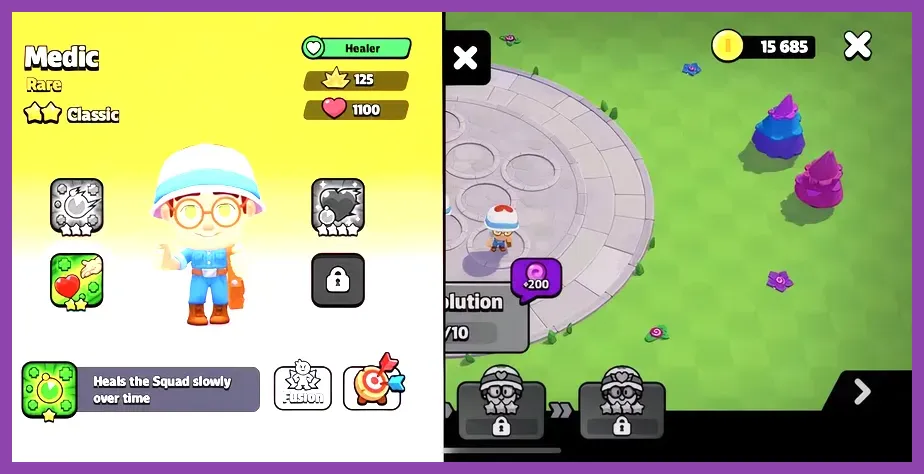
Medic restores health outside direct combat and helps the squad recover between skirmishes, while Battle Healer provides more immediate durability during fights. Medic is excellent for long farming routes and repeated monster encounters. Battle Healer is better when rival players are forcing close engagements. Healing does not make a bad formation invincible: disengage when your frontline collapses instead of waiting for health recovery during concentrated enemy fire.
Trader, Mavis and Greg: economic engines
Trader converts collected gems into additional value, making him a strong pick for players who can safely farm and preserve their gem lead. Mavis improves the value of crops and supports resource generation, while Greg is built around cutting trees and gathering from the environment. These units are powerful before the final confrontation but weak if taken without a plan. One economy character is usually enough; two can delay your combat curve unless the map has abundant resources and low early pressure.
Penny and Chicken
Penny rewards exploration by helping the squad find treasure, so she fits routes built around opening chests and collecting map resources. Chicken provides eggs that improve movement-related options and is useful when you need an early tempo boost. Both are better as transitional picks than as the foundation of a final combat squad. Replace them with damage or frontline power when the match begins concentrating around the center.
Epic Characters and High-Impact Picks
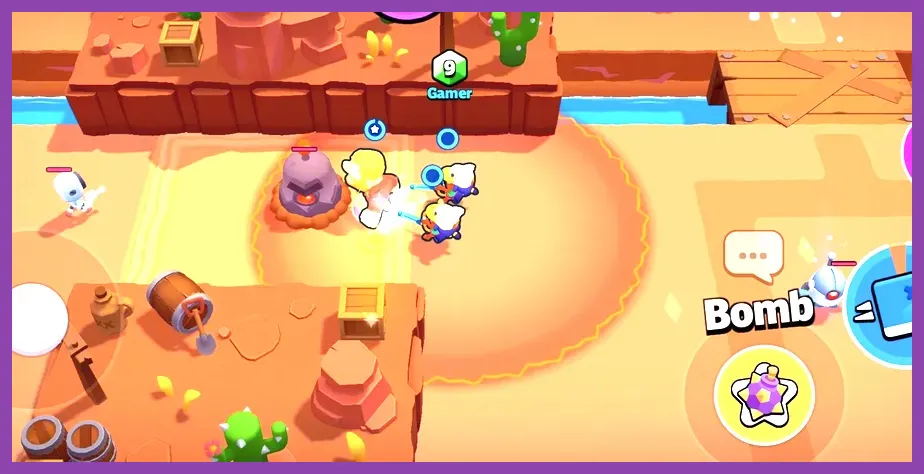
Epic characters are not automatically correct choices. Their rarity makes each chest appearance exciting, but a character that does not match your current formation can create a weaker squad than a common unit.
Witch and Nita
Witch adds summoned support through skeletons, giving the squad extra bodies and damage during extended engagements. She performs best behind a durable frontline and is especially useful when enemies must fight through narrow spaces. Nita brings a bear companion that adds pressure and helps occupy targets. Both characters gain value when you can protect them long enough for their summons to influence the fight.
Leon and Mortis
Leon is a stealth-oriented assassin who can create surprise pressure against vulnerable ranged units and retreat before the opposing squad turns. He is strongest in the hands of players who understand when to enter and leave a fight. Mortis is a melee finisher who benefits from collecting defeated units and cleaning up weakened targets. Neither should be sent alone into a full enemy squad; use them after the frontline has created an opening.
Royale King, Ice Wizard and Dr T
Royale King offers a defensive, trap-based style that works around objectives and predictable approaches. Ice Wizard provides slowing and control, allowing your damage dealers more time to fire and making escapes easier. Dr T uses a controllable mechanical threat and can create pressure when the map gives you room to maneuver it. These are strategic picks rather than universal carries: select them when their control tools solve the map's main problem.
Reliable Team Compositions by Match Plan
Balanced farming squad
Start with Barbarian, Colt, Hog Rider and Medic, then add Archer Queen, Wizard or a second frontline unit. Barbarian protects the formation, Colt clears monsters, Hog Rider handles rotations and Medic reduces downtime. This composition is forgiving and works well for learning routes, but it should disengage from specialized late-game squads rather than forcing every fight.
Ranged-control squad
Use El Primo, Archer Queen, Colt, Wizard and Ice Wizard. El Primo creates the opening, Archer Queen amplifies the ranged core, Colt supplies consistent fire, Wizard adds spell flexibility and Ice Wizard slows pursuit. Maintain a compact wedge formation, focus the same target and move backward while firing instead of allowing melee units to surround the Queen.
Fast objective squad
Combine Barbarian, Hog Rider, Max, Trader and Colt. This lineup is designed to rotate, collect resources and leave losing fights quickly. It is not ideal for prolonged boss damage, so use speed to choose engagements rather than trying to out-tank a dedicated combat squad. Trader is the replaceable slot if enemy pressure makes farming unsafe.
Summon and sustain squad
Pair El Primo, Witch, Nita, Battle Healer and Colt. The frontline and healer keep enemies occupied while Witch’s skeletons and Nita’s bear add bodies to the fight. This formation becomes especially effective in crowded areas, but it needs disciplined target selection: focus the closest threat to Witch and Nita instead of scattering attacks across the map.
Character Selection Rules for Every Match
Use the first two chests to establish a role, not to chase a perfect roster. If the first choice is Colt, look for a frontline unit next. If you open El Primo first, prioritize ranged damage before another melee character. After that, select one mobility or sustain tool and only then consider economy or specialist picks. A squad with three compatible roles usually beats a collection of individually strong characters.
Watch the opponent list before committing to a fight. Squads full of ranged characters should be approached through cover or disrupted with El Primo, Leon or Ice Wizard. Large melee squads can be kited by Hog Rider and Colt, while economy-heavy teams should be pressured before they convert resources into a final power spike. Do not spend all your coins rerolling for one named character; the chest system rewards flexible decision-making.
For route planning, start with the safest monster groups, collect enough resources to afford a meaningful upgrade, then rotate toward the center before the timer makes every encounter unavoidable. Fuse your main damage dealer when possible, but preserve at least one frontline body. If a boss appears, attack from the side, keep the squad moving around its telegraphed area attacks, and stop attacking when a rival squad arrives unless your health and numbers clearly favor the contest.
Players who want broader progression advice can pair this roster guide with Steamoz’s free-to-play Squad Busters guide and the resource-focused fastest way to get Gold guide. The same principle applies to both: spend resources on repeatable power, not on a flashy pick that does not fit the current run.
Final Character Priority
For a dependable general-purpose priority list, take Archer Queen, Colt, Hog Rider, El Primo, Barbarian, Medic and Wizard whenever the offered choices support them. Add Battle Healer, Max, Ice Wizard, Witch or Nita when the map and squad formation justify their roles. Treat Trader, Mavis, Greg, Penny and Chicken as economic specialists, and choose Tank, Heavy, Frank, Leon, Mortis, Spike, Royale King or Dr T when their mechanics match the objective.
The winning habit is to build around function: frontline first, damage second, then mobility, healing or economy. Fuse only when the upgrade improves the role you already need, keep your formation focused, and leave losing engagements early. With those priorities, nearly every character becomes useful in the right match, while the supposedly strongest roster choices stop being automatic traps.