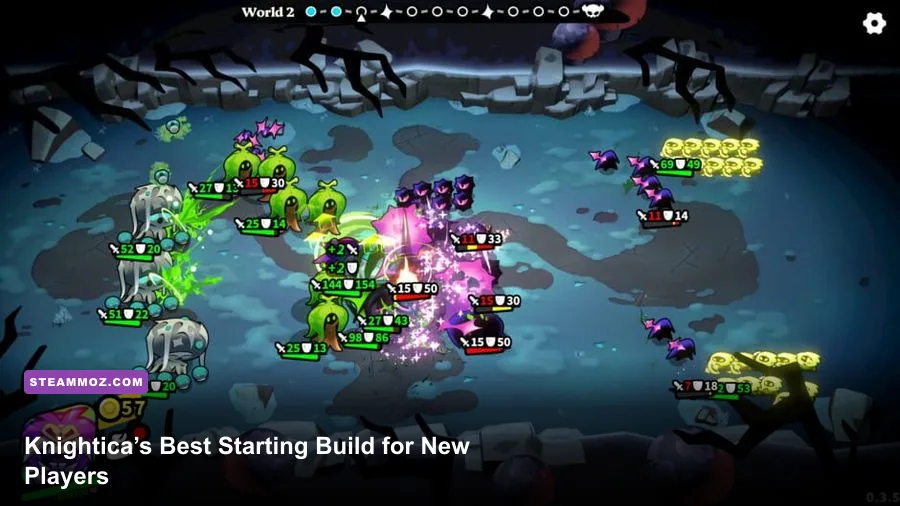
The best Knightica starting build for beginners is a balanced sword-and-shield setup: prioritize Vitality and Stamina first, invest in Strength only when a weapon requires it, and build around Guard Counter, Shield Bash, and a short heavy-attack punish. It isn't the flashiest route, but it gives you room to learn enemy timing, survives mistakes, and remains useful long after the first major area.
This guide is aimed at a first playthrough rather than a speedrun. Knightica rewards deliberate spacing more than frantic button-mashing, and the early game quietly punishes players who spend every point on raw attack power. The starter plan below gives you dependable defense, efficient stamina usage, and enough damage to avoid turning every encounter into a ten-minute duel.
Before committing to a build, check the game's current official Steam listing for patch notes and control changes. Balance updates can alter scaling, stamina costs, or weapon requirements. If you enjoy this kind of early-game planning, our guides to Alekhine’s Gun starting builds and Blood Rush beginner builds follow the same practical, no-nonsense approach.
The beginner build at a glance
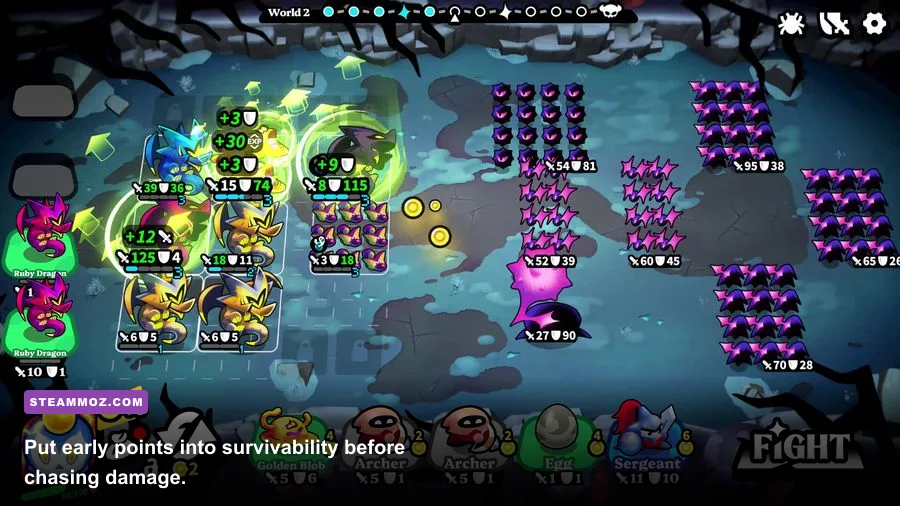
The core setup is simple: use a one-handed sword, pair it with the strongest medium shield you can comfortably carry, and keep your equipment load below the first heavy-movement threshold. You want enough protection to survive a missed parry without becoming so slow that every enemy attack catches you during recovery.
For your first ten character levels, the safest progression is roughly 40 percent Vitality, 35 percent Stamina, and 25 percent Strength. That isn't a rigid mathematical rule; weapon requirements should always take priority. If your next sword needs 12 Strength and you have 10, meet the requirement before adding another point to Vitality.
| Build Element | Beginner Recommendation | Why It Works | Early Target |
|---|---|---|---|
| Primary weapon | One-handed sword | Fast recovery, reliable reach, low stamina cost | Meet its Strength requirement first |
| Off-hand | Medium shield | Blocks mistakes without excessive movement penalty | Prioritize guard stability |
| Core stat | Vitality | Raises your margin for error | 12-15 by the first major boss |
| Second stat | Stamina | Supports blocking, dodging, and counterattacks | 10-13 by the first major boss |
| Damage stat | Strength | Unlocks heavier swords and improves scaling | Only after requirements are met |
| Armor profile | Medium load | Preserves usable dodge recovery | Stay below heavy-load threshold |
Why not begin with a two-handed great weapon? It can hit harder, but its longer recovery animations make early mistakes expensive. Why not use a light dual-wield setup? It has excellent damage potential, yet it demands more precise spacing and offers no dependable answer when a new enemy interrupts your attack. The balanced setup wins because it teaches the game's fundamentals while still killing ordinary enemies quickly.

🎮 Knightica
Looking to experience this game? Grab your digital key directly on our store for $8.99.
View on Steammoz Store →Stat priorities and the first ten levels
Spend your first point on the stat that unlocks your chosen weapon, then stop chasing Strength until your health and stamina feel comfortable. New players often see a damage stat and assume every level belongs there. In Knightica, a dead character deals zero damage, and low stamina creates more deaths than low attack power because it prevents the block-to-counter rhythm that makes the early combat system manageable.
Vitality should be your first long-term investment. It gives you a larger buffer against unavoidable chip damage, failed rolls, and attacks that look safe but include a second hit. Stamina is nearly as important because every defensive action competes for the same resource. A shield raised at the wrong moment can drain the bar, leaving you unable to dodge the follow-up.
Strength is a breakpoint stat early on. Add it to satisfy weapon requirements or reach a meaningful scaling threshold, but don't blindly level it after every victory. If a sword gains only a tiny amount of attack power from the next Strength point while Vitality would let you survive another hit, the defensive option is usually better for a first run.
| Level Range | Priority | Suggested Allocation | Gameplay Goal |
|---|---|---|---|
| 1-3 | Weapon requirement | Strength until your sword is usable | Establish a reliable moveset |
| 4-6 | Vitality | Two or three points | Survive heavy hits and mistakes |
| 7-8 | Stamina | Two points | Block once and still counter or retreat |
| 9-10 | Vitality or Stamina | Alternate based on comfort | Prepare for elite enemies and bosses |
There is one important exception: if your preferred weapon has a high requirement, meet it before following the table. Weapon access is more valuable than an abstract stat plan. The best beginner build is the one you can actually equip, not the one that looks optimal on a character planner.
Weapon, shield, and armor choices
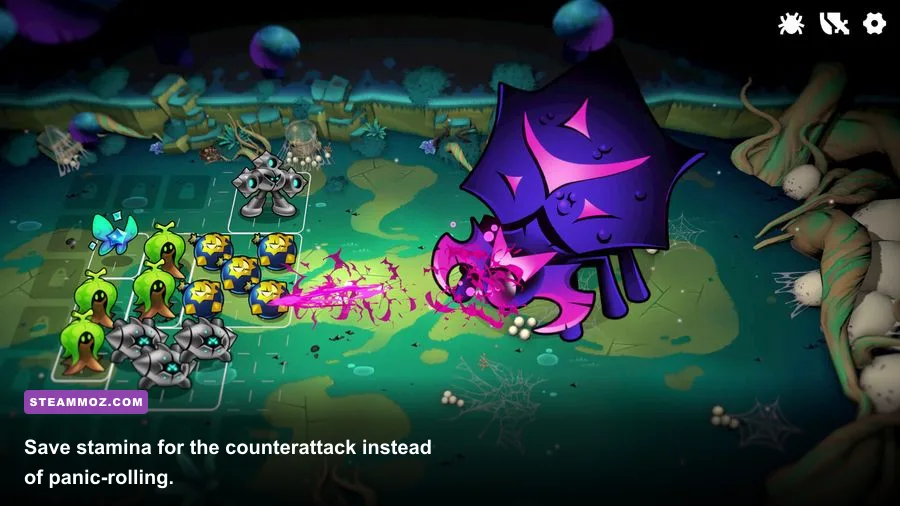
Use a straight sword or arming sword through the opening areas. Its light attack should be your default tool because it recovers quickly enough to punish missed enemy swings without locking you into a long animation. The heavy attack is a finisher, not an opener. Use it after a Guard Counter, a Shield Bash stagger, or a boss whiff.
A medium shield is the sweet spot. Small shields can be excellent for players who already understand parry timing, but their weaker stability makes ordinary blocking expensive. Large shields offer stronger defense, yet their weight and stamina burden can push a beginner into sluggish movement. Look for guard stability first, then physical damage reduction, then weight.
Armor should be judged as a complete loadout rather than as individual pieces. A stronger chest piece isn't an upgrade if it pushes you into a heavy roll or prevents a quick retreat after blocking. Keep a spare light helmet or pair of gloves in your inventory. Swapping one item is often enough to restore mobility after equipping a better chest piece.
| Gear Slot | Preferred Choice | Stat to Watch | Common Beginner Mistake |
|---|---|---|---|
| Main hand | One-handed sword | Reach and stamina cost | Using heavy attacks as the default |
| Off-hand | Medium shield | Guard stability | Holding block until stamina is empty |
| Chest armor | Best medium piece | Protection per weight | Ignoring equipment-load penalties |
| Accessories | Health or stamina bonuses | Practical survivability | Choosing damage bonuses too early |
| Upgrade material | Primary sword first | Damage per resource | Splitting materials among five weapons |
Upgrade one main sword before experimenting with alternate weapons. Early resources are limited, and a focused weapon upgrade improves every encounter. Keep the starting sword as a backup only if its moveset feels better than the replacement; otherwise, dismantling or selling surplus gear gives you more value than carrying a museum of underpowered options.
The combat rotation that carries the early game
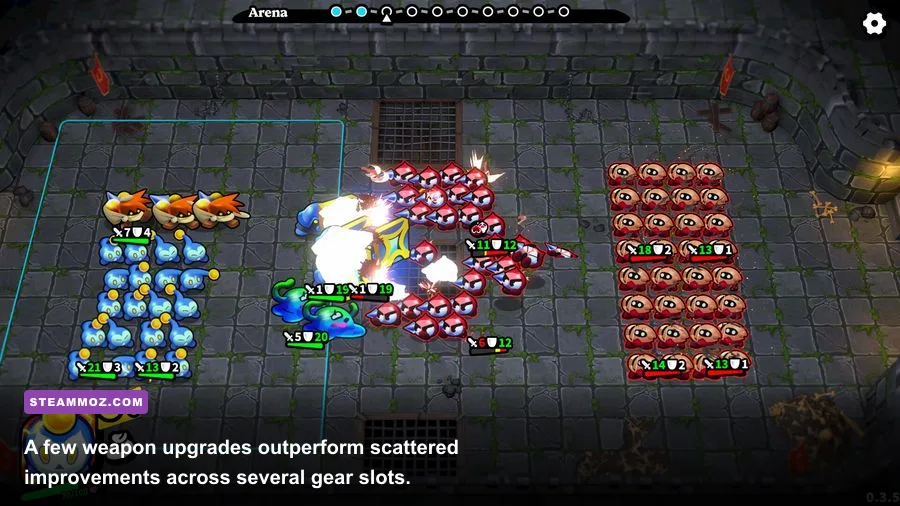
Knightica's safest opening sequence is not complicated: approach with your shield lowered, bait the enemy's first swing, block or sidestep it, then answer with one light attack. If the enemy staggers, add a second light hit. If it doesn't, reset your spacing immediately. The restraint matters. Greedy three-hit strings are how ordinary enemies turn a winning exchange into a death screen.
Use Shield Bash as a tempo tool
Shield Bash is most valuable when it interrupts an enemy preparing a slow attack or creates enough stagger for a heavy strike. Don't throw it at every target. Its stamina cost can leave you exposed, especially against enemies with rapid follow-ups. Treat it as a controlled interruption, not a button you mash whenever an enemy is close.
Save Guard Counter for committed attacks
Guard Counter works best against readable overhead swings, lunges, and large horizontal attacks. Hold your block through the impact, then counter once the hit connects. Pressing the counter too early turns a safe block into an ordinary attack and often gets you clipped by the enemy's active hitbox.
Keep one stamina segment in reserve
This is the most important rhythm in the build. Never spend the final portion of your stamina bar on a follow-up unless the enemy is already staggered. You need that reserve to dodge a delayed second hit or disengage from an unexpected area attack. A modest attack that leaves you mobile is better than a large combo that ends with an empty bar.
| Enemy Signal | Correct Response | Follow-Up | What Not to Do |
|---|---|---|---|
| Weapon pulled far behind body | Guard or sidestep late | Guard Counter | Roll immediately on the wind-up |
| Short step toward you | Keep shield ready | One light attack after contact | Commit to a heavy opener |
| Enemy glows or raises both arms | Create distance | Re-enter after the effect ends | Block an unblockable attack |
| Stagger animation | Close the gap | Heavy attack or finisher | Chasing with a full combo |
For more progression-focused advice, compare this approach with our breakdown of fast leveling and gold farming in Banished. The games differ, but the lesson carries over: secure reliable upgrades before chasing high-risk rewards.
Boss preparation and the first major difficulty spike
Before a major boss, repair your primary weapon, refill healing items, and remove any gear that pushes you into a heavy movement category. Then spend a few attempts learning the boss without attacking. Watch for the difference between a true opening and a bait animation. Many bosses deliberately leave a weapon extended, then follow with a delayed sweep designed to punish impatient players.
Your boss rotation should be even shorter than your regular combat rotation. Block or dodge the first attack, land one light hit, and retreat. Use Shield Bash only when the boss is clearly committed to a long animation. Save your heavy attack for a confirmed stagger. If you can't see the boss's hands, shoulders, or weapon, you shouldn't be standing close enough to swing.
Ranged enemies and arena adds change the plan. Clear weak ranged threats first if they can interrupt your healing, but don't chase them across the entire arena. Use pillars, corners, and elevation changes to break line of sight, then return to the boss before its position resets. The sword-and-shield build is strongest when fights stay controlled; chaos is the real boss mechanic.
| Preparation Check | Target | Reason |
|---|---|---|
| Primary weapon | Fully repaired and upgraded ahead of spare gear | Shortens every damage window |
| Health | Full before entering | Prevents wasting healing during the opener |
| Equipment load | Medium movement category | Preserves dependable escape timing |
| Stamina | Enough for one block plus one dodge | Protects against delayed follow-ups |
| Boss plan | One or two hits per opening | Reduces animation-lock deaths |
Don't change your entire build after one failed boss attempt. First ask what actually killed you: insufficient health, an empty stamina bar, a missed telegraph, or damage that was simply too low. Only the last problem demands more offense, and even then a weapon upgrade is usually better than rebuilding your character.
Upgrades, mistakes, and when to respec
Put early upgrade materials into your main sword and shield rather than spreading them across every weapon type. A secondary weapon is worth maintaining only when it solves a specific problem, such as poor reach or an enemy resistant to your primary damage profile. Otherwise, it drains resources without improving your actual options.
The three biggest beginner traps are easy to avoid. First, don't level Strength far beyond your current weapon's needs. Second, don't equip every piece of armor with the highest displayed defense if it ruins movement. Third, don't treat blocking as a passive state. Raise the shield for the impact, then lower it so stamina can recover before the next exchange.
If Knightica allows stat respecs, wait until you've tested the fundamentals rather than resetting after every weapon discovery. Respec when you have enough information to commit to a real direction: a heavier great-weapon build, a parry-focused light build, or a shield-counter tank. Until then, the balanced setup remains the most efficient learning platform.
Players who like methodical resource management may also enjoy A Rogue Escape’s progression tips, while our Black Clover: Quartet Knights leveling guide covers a much more aggressive power curve. Knightica sits between those extremes: patient play wins fights, but focused upgrades keep the pace moving.
Final verdict on the best Knightica starter build
The balanced sword-and-shield build is the right first choice because it covers Knightica's most dangerous early weaknesses: low stamina discipline, unfamiliar enemy timing, and costly mistakes. Meet weapon requirements with Strength, invest heavily in Vitality and Stamina, keep a medium equipment load, and upgrade one reliable sword before collecting alternatives.
In combat, block the committed hit, counter once, and leave before the enemy's next animation begins. Use Shield Bash to interrupt, not panic. Spend heavy attacks only on staggered targets. That rhythm may look conservative beside a high-damage glass-cannon build, but it gives beginners something more valuable than a damage spreadsheet: enough control to learn what the game is actually asking you to do.
For version-specific balance changes, consult the Knightica Steam page, the developer's official Steam community hub, and any current developer patch discussions. Build around the fundamentals first; once the timing clicks, almost every more specialized Knightica setup becomes easier to understand.