
The fastest way to level up and build gold in BLACK CLOVER: QUARTET KNIGHTS is to clear Story missions first, complete their optional objectives, then move into short objective-focused online matches with a role that can reliably score participation rewards. There is no legitimate monster-respawn gold exploit or traditional RPG grinding route: the game is built around mission completion, match results, character progression, and customization rewards. Spend early currency on useful skill options, avoid cosmetic purchases until your core roster is ready, and farm the activity you can finish consistently rather than chasing flashy eliminations.
That distinction matters. Quartet Knights looks like an RPG because it has unlocks, skill customization, a story campaign, and a large Black Clover roster, but its combat economy behaves more like an arena action game. Your return comes from finishing objectives and winning engagements around them. A 12-kill defeat can be less valuable than a clean Zone Control win where you captured the point, revived allies, and completed the match bonus.
Start with Story missions, not random online queues

Story Mode is the best opening route because it teaches the game's four classes while handing you predictable progression rewards. Begin with the main chapters and clear every available mission objective before replaying anything. The optional tasks are usually faster to complete during the first run than they are to target later, when you'll have to repeat an entire mission for one missed condition.
Use the first chapters to test the difference between a Fighter, Shooter, Support, and Defender. Asta is a forgiving Fighter because his melee pressure and gap-closing tools let you recover from positioning mistakes. Yuno offers safer ranged pressure and mobility, while Noelle can contribute damage without abandoning defensive utility. Mimosa is valuable when a mission's difficulty comes from attrition rather than a single dangerous target.
Don't rush past dialogue and mission screens if you're hunting currency. Check the reward panel before launching, note the completion conditions, and select the shortest available mission that matches your current roster. If a mission asks you to defend a location, bring a Defender or Support instead of forcing a pure damage setup. Failing a long objective wastes more time than giving up a little theoretical damage per second.
| Progression activity | Best use | Why it pays off | Recommended approach |
|---|---|---|---|
| First-time Story clear | Early unlocks | Predictable rewards and tutorials | Complete every visible objective |
| Story replay | Reliable solo farming | No queue time or teammate dependence | Choose the shortest high-success mission |
| Zone Control | Fast active matches | Captures, defense, and assists generate participation | Play the objective, not the scoreboard |
| Crystal Carrying | Team-based reward farming | Progress comes from escort and interruption | Rotate between carrier protection and denial |
| Casual elimination play | Practice only | Less predictable farming value | Use it to learn matchups, not grind currency |
The best early loop is simple: clear a new story mission, claim the reward, inspect unlocked customization, and only then replay a mission if you need more currency. For players who prefer technical optimization, the same principle applies as in our high-FPS settings guide: remove avoidable downtime before trying to squeeze out a faster route.

🎮 BLACK CLOVER: QUARTET KNIGHTS
Looking to experience this game? Grab your digital key directly on our store for $4.99.
View on Steammoz Store →Build a farming roster around four combat jobs
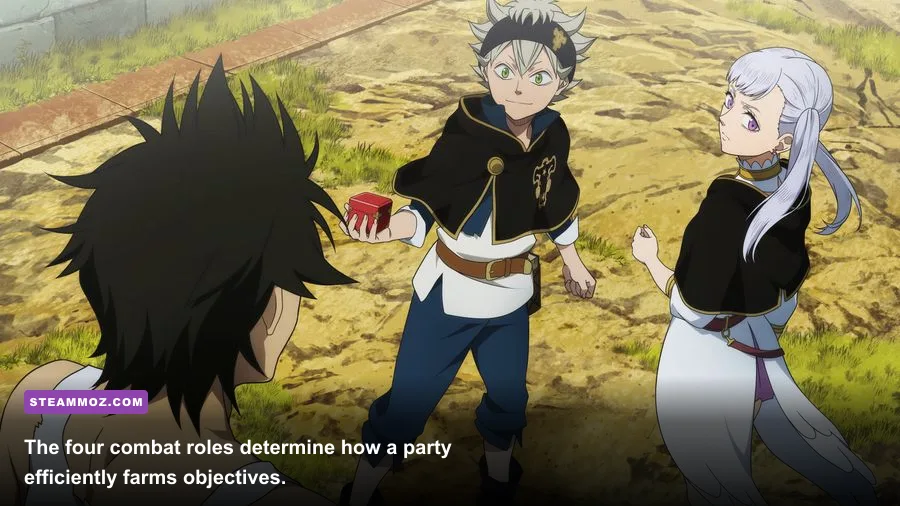
Fast leveling in Quartet Knights isn't about maximizing one character's damage. It's about keeping the team functional when the mission changes from attacking to escorting, defending, or recovering a downed ally. Build a small roster with one reliable pick for each class, then invest in the characters you actually enjoy. A flexible roster also protects you from the most common farming disaster: joining a team with four damage dealers and no one capable of holding a point.
Fighters are best when you need to force enemies away from an objective. Asta's anti-magic sword attacks are particularly useful against players who rely on a predictable ranged channel. Close the distance, spend your burst while the target is isolated, and disengage before the enemy team collapses. Luck is a stronger pick when you understand spacing and can repeatedly punish wounded targets, but he is less forgiving during a long solo replay.
Shooters generate value by applying pressure before the fight reaches the objective. Yuno can harass approach routes and reposition quickly, while Gauche rewards players who understand sightlines and can maintain safe angles. Don't stand in the open trading damage. Your goal is to make the opposing team arrive late, arrive injured, or split its formation.
Supports are often the fastest way to improve reward consistency. Mimosa's healing keeps a team in the fight and reduces the number of failed attempts caused by chip damage. Vanessa brings utility that can disrupt enemy timing, while Charmy can sustain allies when a team commits to a prolonged push. Support score is easy to underrate because it doesn't always appear as a knockout, but healing, rescue, and objective assistance directly increase your chance of finishing a match.
Defenders turn a successful farm into a repeatable farm. Noelle can protect space while still threatening enemies who dive too deeply. Yami is useful when displacement and crowd control matter more than raw survivability. If the objective is stationary, plant yourself where opponents must pass rather than chasing them into empty corners of the map.
| Role | Strong farming picks | Core job | Common mistake |
|---|---|---|---|
| Fighter | Asta, Luck | Break isolated targets and clear space | Chasing kills away from the objective |
| Shooter | Yuno, Gauche | Control lanes and soften pushes | Taking open-field duels without cover |
| Support | Mimosa, Vanessa, Charmy | Heal, rescue, and disrupt enemy tempo | Hiding so far back that allies get no help |
| Defender | Noelle, Yami | Hold zones and punish dives | Leaving the capture area to chase damage |
For a useful comparison, our weapon tier-list breakdown follows the same rule: consistency beats theoretical peak power when you're repeating content for rewards. Pick the character whose survival and objective tools you can execute every run.
Farm gold by stacking objective participation

Online matches are your best repeatable source once Story Mode stops giving new rewards. The exact amount earned per match depends on the mode, result, and reward conditions, so don't build a route around a fixed gold-per-minute number. Matchmaking time, disconnects, and failed queues can erase the advantage of a supposedly lucrative mode.
For efficient farming, prioritize Zone Control when the queue is healthy. Capturing the zone, defending it, assisting kills inside the area, and interrupting enemy captures are all more useful than roaming for isolated eliminations. Stay close enough to contest but not so tightly grouped that one area attack hits everyone. A Defender anchors the point, a Support keeps the anchor alive, and the Fighter or Shooter pressures the enemy's approach.
Crystal Carrying is also strong when your team communicates. The carrier should not sprint alone. Protect the route, clear the next corner before moving, and rotate responsibility when the carrier becomes the focus target. If you're not carrying, your job is to stop the enemy's progress and create a safe lane. A failed delivery after several minutes is poor farming, even if the team collected plenty of knockouts.
Queue for the mode with the shortest reliable match cycle. If Zone Control games regularly become one-sided or matchmaking takes several minutes, a quick Story replay may produce more currency over the same real-world hour. Track three things across five matches: queue time, average match length, and completed rewards. That small sample is more useful than copying a farm route from a different platform or region.
Never leave early unless the game explicitly awards completion credit. Disconnecting or abandoning a losing match can turn ten minutes of play into zero progression and may affect matchmaking penalties. Finish the objective, collect the post-match screen, and move to the next run. Players who want more efficiency tips can also borrow the discipline from our hidden-rewards farming guide: confirm the reward trigger before resetting the activity.
Spend currency on skills before cosmetics

Early gold disappears quickly if you buy every costume, voice option, or visual customization the moment it becomes available. Your first priority should be functional skill customization for the characters you use in Story Mode and online objectives. The correct purchase is the one that improves uptime, survivability, or objective control—not necessarily the skill with the largest damage number.
For Asta, favor a loadout that lets him reach ranged opponents and continue pressure after the first hit. For Yuno, value safe poke and repositioning so he can keep firing without feeding the enemy Fighter. Mimosa should prioritize reliable healing access and a setup that lets her stay near allies without being caught by the first dive. Noelle benefits from tools that help her hold space and punish enemies who commit to close range.
Read the skill descriptions carefully and test each option in a low-stakes mission. A cooldown that looks only slightly shorter can be more valuable than a small damage increase because it lets you interrupt another capture attempt or save an ally before the next enemy rotation. Likewise, a wide-area skill may produce less damage on paper but dramatically improve a defend mission.
| Purchase priority | Spend early? | What to look for | Why |
|---|---|---|---|
| Core skill options | Yes | Cooldown, range, healing, control | Improves successful clears |
| Character-specific utility | Yes, for mains | Escape tools and objective pressure | Reduces failed attempts |
| Cosmetic unlocks | Later | Outfits, visual effects, voice items | Doesn't improve farming speed |
| Duplicate niche options | Usually no | Only buy for a defined matchup | Preserves currency for the active roster |
Keep a reserve rather than spending down to zero. New characters or newly available customization can change your preferred farming setup, and a reserve prevents you from having to replay old content just to afford one practical upgrade. This is the same reason we recommend a measured upgrade order in our beginner build guide: build a dependable foundation before chasing style.
Use a tight combat rotation for faster clears

The most important speed trick is managing enemy attention. Don't open with every cooldown. Start by forcing a response, then use the second skill when the opponent is committed. Against AI, this often means baiting a defensive ability before using your burst. Against players, it means attacking from a different angle while your Defender or Support occupies the front.
Asta's basic rotation is approach, pressure, confirm the hit, then disengage before the enemy team arrives. Black Meteorite is most valuable when it connects after the target has spent an escape option; throwing it into a ready defender wastes the burst window. Yuno should begin from range, relocate after revealing his position, and avoid standing still while channeling pressure. Noelle should enter the objective with enough health to survive the first focus fire rather than arriving already damaged from an unnecessary duel.
Supports should watch ally health and enemy movement at the same time. Heal before the ally reaches critical health if the ability has travel time, but don't waste a major cooldown on a teammate already retreating safely. Defenders should use body position as much as abilities: standing between the opponent and the capture zone can buy more time than chasing a target who has already left the area.
For solo Story farming, pause between encounters only long enough for cooldowns that directly affect survival or the next objective. If the mission's timer is generous, safe clears beat reckless speedruns. A failed attempt costs the entire run's time, while a cautious ten-second reset rarely matters.
Fix performance problems that quietly ruin your farm
Stable frame pacing matters more than a high screenshot number in a melee-heavy arena. Stutters can make Asta's approach miss, cause a delayed dodge, or leave you outside the capture area during a tick that decides the match. On PC, start with the game's recommended settings, then lower effects and shadows before reducing resolution. Keep character readability high: you need to see spell telegraphs and distinguish allies from opponents.
| Setting | Recommended starting value | Performance impact | Competitive note |
|---|---|---|---|
| Display mode | Exclusive fullscreen if available | Low | Can reduce background interference |
| Resolution | Native, then one step lower | Medium to high | Lower only after effects and shadows |
| Shadows | Low or medium | Medium | Small visual loss, useful FPS gain |
| Effects and particles | Medium | High during team fights | Improves spell readability when reduced |
| Anti-aliasing | Medium | Low to medium | Keep it if jagged edges distract you |
| Frame cap | Stable target below average FPS | Improves consistency | Don't chase unstable peaks |
Close overlays and recording tools while testing. If the game feels inconsistent, compare a quiet Story mission with a full online team fight; that reveals whether the issue is general performance or effect-heavy combat. Our stutter troubleshooting checklist covers the same diagnosis-first approach.
Finally, use the official Steam page for current platform details and patch information, and check Bandai Namco's official game page before assuming an old farming method still works. The cleanest route remains consistent: finish new Story content, replay short successful missions, use objective-focused online roles, buy functional skills first, and measure gold per real minute rather than per match. That approach won't produce a magical infinite-money glitch, but it will build a stronger roster with far less wasted time.