
If you’re brand new to GUILTY GEAR -STRIVE-, start with Sol Badguy and build your game plan around five tools: 5K, 2S, far Slash, Gunflame, and Volcanic Viper. That isn’t an RPG build with stats or equipment—Strive has neither. It’s a practical starter loadout that teaches spacing, anti-airs, pressure, reversals, Roman Cancels, and wall breaks without burying you under a huge move list.
Sol is the best first character for a very specific reason: almost every basic fighting-game question has a useful Sol answer. Need a fast check? Press 5K. Need to challenge a jump? Use 6P or Volcanic Viper. Need to approach? Bandit Bringer and dash pressure help you take space. Need to punish a mistake? Clean Hit Volcanic Viper, Heavy Mob Cemetery, or Tyrant Rave can make the opponent regret it immediately.

Why Sol is the best starting build
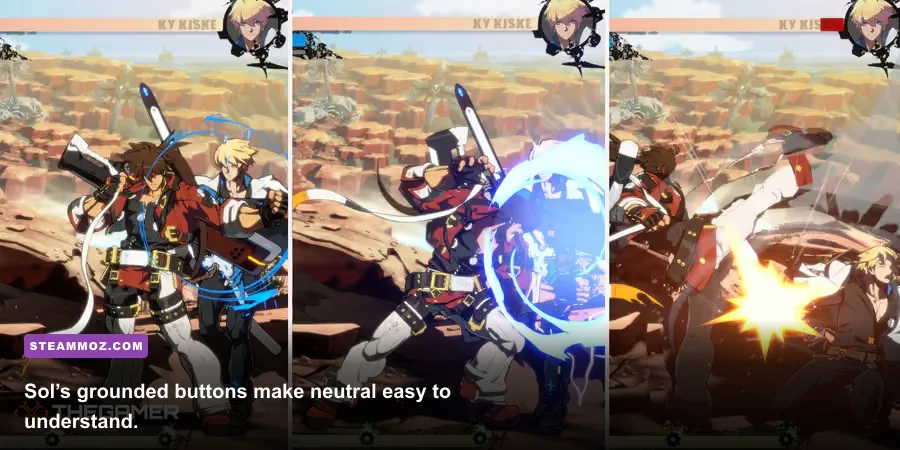
Sol’s design rewards fundamentals while still giving you explosive damage. His normals are quick, his close-range pressure is threatening, and his special moves are simple enough to remember under tournament-level stress. He also has enough health to survive beginner mistakes, although his effective durability is not infinite and careless mashing will still get punished.
The goal is not to memorize every route in Dustloop or copy an expert’s pressure tree on day one. Your first build should answer four situations:
- Grounded opponent: use 5K, 2S, or far Slash to contest space.
- Jumping opponent: use 6P for a reliable anti-air, or Volcanic Viper when you need a fully invincible answer.
- Opponent blocking: use close Slash pressure, delayed Gatlings, tick throws, and Bandit Bringer sparingly.
- Opponent making a mistake: confirm into Bandit Revolver, Tyrant Rave, or a Roman Cancel extension.
Sol’s main weakness is that many of his best options are close-range tools. You can’t mindlessly throw out Night Raid Vortex or Heavy Mob Cemetery and expect results. The starter plan is strongest when you walk forward, block, take small risks, and force the opponent to respect your buttons before committing to a special move.
| Starter Tool | Primary Job | Why Beginners Need It | Main Warning |
|---|---|---|---|
| 5K | Fast check and combo starter | Excellent at close range and easy to confirm | Short reach |
| 2S | Low poke | Controls the ground and leads into pressure | Can be challenged if predictable |
| Far Slash | Mid-range button | Great reward when the opponent walks forward | Whiffing it is dangerous |
| 6P | Anti-air | Upper-body invulnerability makes jumps manageable | Must be timed, not mashed |
| Gunflame | Space control | Forces movement and supports approach | Leaves you vulnerable on a bad read |
🎮 GUILTY GEAR -STRIVE-
Looking to experience this game? Grab your digital key directly on our store for $19.99.
View on Steammoz Store →Sol’s exact starter move list
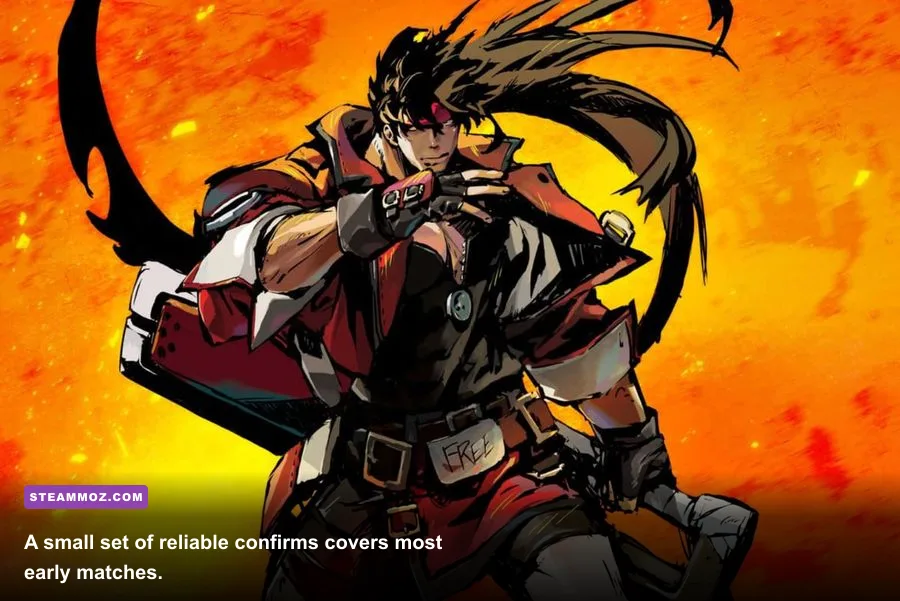
Put these inputs on a notepad beside your monitor or controller. The notation uses the standard numpad system: 5 is neutral, 2 is down, 6 is forward, and 4 is back. “P,” “K,” “S,” “HS,” and “D” mean Punch, Kick, Slash, Heavy Slash, and Dust.
- 5K: your quick standing button. Use it after blocking an unsafe attack, during close pressure, and as a confirm into 2D.
- 2K: a fast low attack. Pair it with 5K so the opponent cannot simply stand block every turn.
- 2S: Sol’s practical low-range poke. It is a strong button for controlling the space just outside throw range.
- Far Slash: press S from slightly farther away. This is one of your best checks against opponents walking into you.
- 6P: the universal-style anti-air option. It has upper-body invulnerability, so press it early against predictable jumps rather than waiting until the opponent is already beside you.
- 2D: the sweep. It knocks down and creates a chance to run forward, meaty, or set up a simple safe-jump-style pressure sequence later.
- Gunflame: quarter-circle forward plus Punch. The projectile travels along the floor and creates a slow-moving threat that can cover your approach.
- Bandit Revolver: quarter-circle forward plus Kick. It is useful after a confirmed 5K or 2K, but don’t throw it out raw against a patient defender.
- Bandit Bringer: quarter-circle forward plus Heavy Slash. This leaping strike can go over some low attacks, but it is not a free approach button.
- Volcanic Viper: forward, down, down-forward plus Slash or Heavy Slash. The Slash version is a fast reversal; the Heavy Slash version is slower, more powerful, and travels farther.
- Night Raid Vortex: quarter-circle back plus Kick. It slides low across the floor and can punish careless projectiles, but it is risky when blocked.
Remember that Sol’s special moves are not equally safe. Gunflame is a zoning and approach tool, Bandit Revolver is a combo ender, and Volcanic Viper is primarily an anti-air or reversal. Treating all three as interchangeable is the fastest way to donate your turn.
The beginner combo route that actually works

Start with short, repeatable confirms instead of flashy corner loops. Your first objective is recognizing whether 5K or 2K connected, then finishing without dropping the combo. These routes work well as a foundation, though exact frame behavior and damage can change with balance updates, counter hits, scaling, and character weight.
| Situation | Input Route | Purpose | Beginner Focus |
|---|---|---|---|
| Close hit | 5K > 2D | Simple knockdown | Learn hit confirmation |
| Low confirm | 2K > 2D | Low attack into knockdown | Keep the input clean |
| Medium confirm | c.S > 2S > 2H > Bandit Revolver | Reliable damage and corner carry | Delay the heavy normal slightly |
| Far button hit | f.S > 5H > Gunflame | Converts mid-range success | Do not force it if f.S whiffs |
| Anti-air hit | 6P > 5K > 6S > Bandit Revolver | Rewards anti-air timing | Confirm whether 6P counter-hit |
| Metered punish | c.S > 2H > Tyrant Rave | High damage from 50 tension | Save meter for a real opening |
Here’s the rhythm for the close Slash route: press close Slash, crouching Slash, Heavy Slash, then quarter-circle forward plus Kick. If the first attack is blocked, stop automatically after close Slash or replace the sequence with a safer pressure decision. If the opening attack counter-hits, you have more room to continue, but don’t build your entire neutral around fishing for counter hits.
When you land 5K or 2K, the safest beginner habit is to confirm visually into 2D. If the opponent blocks, don’t complete the same sequence every time. Hold back, dash-block, or use a delayed button. Good Strive defense is built by making your pressure hard to predict, not by pressing more buttons per second.
Neutral, pressure, and the “starter build” game plan
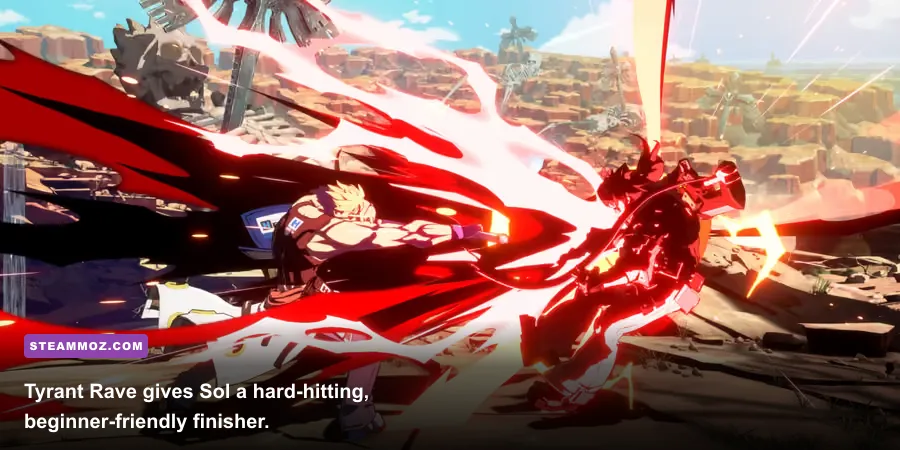
Play the first round slowly. Walk into the range where far Slash can connect, then watch what the opponent does. If they jump, 6P. If they dash, 5K or 2S. If they block and wait, dash forward and threaten throw. If they swing at your approach, block first and punish the recovery instead of trying to win every exchange with a bigger button.
Gunflame is your most useful space-control special, but its value comes from what it makes the opponent do. A grounded Gunflame can force a jump, backdash, or forward advance. Each response gives you information. If they jump, prepare 6P. If they back away, take ground. If they advance behind the projectile, block and challenge only when you understand the gap.
Sol’s close Slash pressure is where the character starts feeling unfair in the hands of a patient player. After close Slash, you can use another close Slash, crouching Slash, throw, frame trap, or a delayed Heavy Slash. Don’t autopilot all five options. Start with close Slash into a safe normal, then add throw once the opponent respects your buttons. After they begin mashing, delay your attack slightly and let their button lose to your frame trap.
Bandit Bringer has a useful low-profile trajectory and can surprise opponents who are staring at your grounded buttons. It is not plus-on-block magic, though. Use it occasionally after conditioning, especially when you expect a low attack or passive defense. Against an opponent who blocks it consistently, stop spending your turn on it.
Roman Cancel, tension, and wall-break priorities
Roman Cancel is the part of Sol’s starter build that turns a simple hit into a round-winning sequence. You need 50 tension, shown by the meter at the bottom of the screen. Press the Roman Cancel buttons after a connected attack to slow the opponent and extend your combo. Red Roman Cancel usually follows an attack that connected; Purple Roman Cancel appears after a whiffed move and is mainly a defensive or neutral reset tool.
For your first practical RC route, use a confirmed close Slash or far Slash, then activate Red Roman Cancel and dash forward. Continue with close Slash, crouching Slash, Heavy Slash, and Bandit Revolver. In the corner, you can add more ambitious routes later, but the important lesson is spending meter only after you have already earned a hit.
Never spend 50 tension automatically because the meter is full. Sol gets enormous value from Tyrant Rave when you have a clear punish, and Heavy Mob Cemetery can close a round when the opponent is afraid to jump. You also need meter for Faultless Defense, Yellow Roman Cancel, and defensive burst situations. A beginner who saves half a bar for defense often survives longer than a player who burns everything on a low-probability combo.
Wall breaks matter because a corner advantage is powerful, but the positive bonus after breaking the wall can give you momentum and meter. If your combo reaches the wall, finish with Bandit Revolver or a super when it will break. Don’t reset into a risky mix-up just to keep the opponent trapped unless you already understand the setup. A guaranteed wall break is usually the better starter decision.
Training Mode drills and settings for week one
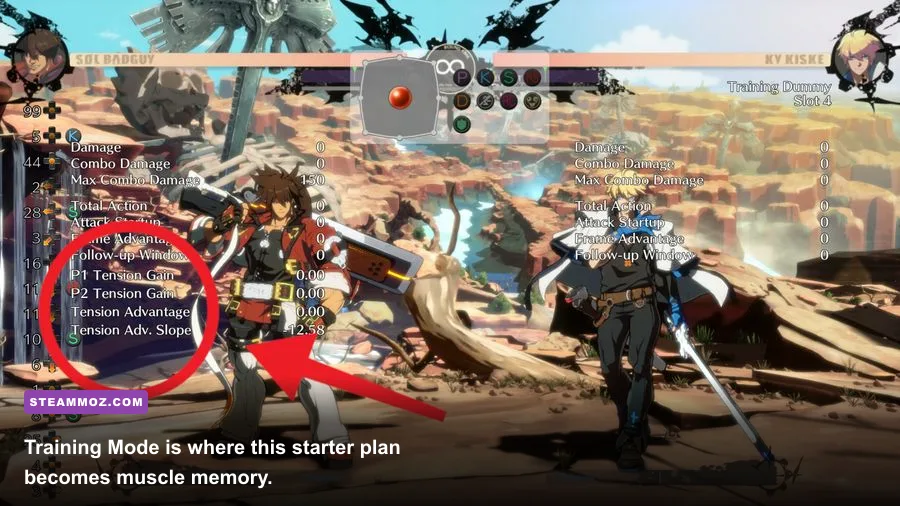
Spend 10 minutes on each drill before jumping into ranked matches. In Training Mode, set the dummy to stand and block randomly, then practice confirming 5K into 2D only when the attack connects. Next, record the dummy jumping forward and practice 6P. Finally, record a fast button after blocking and test whether your close Slash pressure leaves a gap you can cover.
Use the frame display if you have it enabled, but don’t obsess over a single number. The practical questions are more useful at first: can the opponent punish this move, can I challenge after blocking it, and does my button reach? Sol’s pressure changes with spacing, pushback, counter-hit state, and the opponent’s character, so memorizing “safe” in isolation can create bad habits.
For PC players, prioritize a stable frame rate and low input delay. Strive is designed around precise timing, and inconsistent performance can make a move feel unreliable even when your input is correct. If your computer struggles, lower shadows, effects, and post-processing before sacrificing clarity. V-Sync, display mode, and driver behavior can also affect latency, so test your final setup in Training Mode rather than trusting a menu number.
| Training Session | Drill | Success Target | Why It Matters |
|---|---|---|---|
| Session 1 | 5K > 2D and 2K > 2D | 10 clean confirms | Builds your basic offense |
| Session 2 | 6P against recorded jump | 8 of 10 anti-airs | Stops predictable approaches |
| Session 3 | c.S pressure into throw or frame trap | Switch options deliberately | Teaches opponent conditioning |
| Session 4 | Red Roman Cancel route | 5 consecutive clean reps | Makes meter conversions automatic |
| Session 5 | Block, punish, and reversal practice | Identify the gap correctly | Improves defense and patience |
Common beginner traps to stop immediately
The first trap is mashing Volcanic Viper every time you wake up. The move has invincibility, but experienced opponents will bait it, block, and punish you heavily. Use it when you have a read, then occasionally block on wake-up so the opponent cannot build their entire offense around baiting your reversal.
The second trap is using Heavy Mob Cemetery from neutral. It looks spectacular and can punish a very specific read, but it is not a normal approach tool. The same goes for raw Night Raid Vortex. These moves should solve a problem you identified, not fill silence because you don’t know what to press.
The third trap is chasing damage before learning defense. Hold block, learn Faultless Defense to create space, and use Burst before the opponent’s combo becomes impossible to escape. Strive gives you powerful defensive resources, but they work best when you recognize the opponent’s route instead of spending them in panic.
For broader performance advice, our guides to higher FPS graphics settings, stable PC frame rates, and reducing performance overhead cover the same practical principle: consistency beats a prettier screenshot when timing matters.
What to learn after Sol’s basics click
Once you can anti-air reliably, confirm low hits, and spend Roman Cancel without dropping your route, explore the rest of Sol’s toolkit. Learn Wild Assault, defensive YRC decisions, corner safe-jump setups, and character-specific punishments. Then study matchups through replays instead of immediately switching characters because one opponent beat you.
Use the official Guilty Gear Strive site for patch information, check the Steam version and system details, and follow Arc System Works for developer announcements. Community frame-data resources are useful, but always confirm a route in your current game version because balance patches can alter damage, frame advantage, and combo timing.
The best beginner build is deliberately small: 5K and 2K for confirms, 2S and far Slash for neutral, 6P for anti-airs, Gunflame for space control, Bandit Revolver for knockdowns, and Volcanic Viper for calculated reversals. Master those tools and Sol stops feeling like a character with too many moves. He becomes what every first character should be: a clear lesson in how Strive wants you to play.