The best Blood Rush starting build for beginners is a fast melee setup built around the Blood Blade, early attack-speed upgrades, one dependable healing option, and a single burst skill for elites. Prioritize damage consistency before critical-hit luck, keep enough stamina for two emergency dodges, and spend your first upgrade points on survivability only after your basic attack can reliably finish normal enemies.
That sounds simple, but Blood Rush is unusually good at baiting new players into bad spending. The game rewards aggressive movement, yet charging into every group drains your resources and leaves you exposed to delayed attacks. This guide focuses on a stable first run: a build that works with ordinary drops, teaches the combat rhythm, and remains useful when the game starts mixing ranged enemies with fast melee threats.
The Best Beginner Setup at a Glance
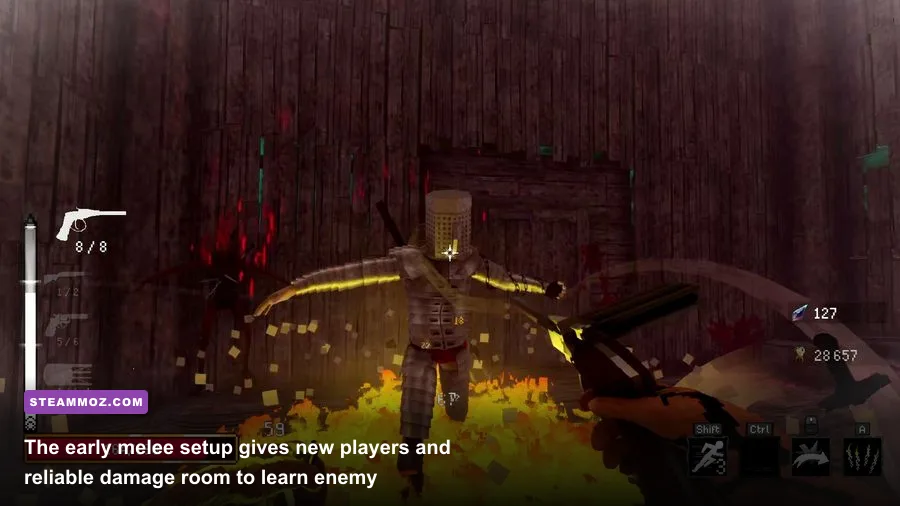
Your first goal is not to create the highest theoretical damage build. It is to create a character that can survive mistakes while still killing quickly enough to control the arena. The Blood Blade is the strongest starting choice for that job because its short recovery animation lets you attack, step away, and re-enter without committing to a long combo.
Use the basic attack for ordinary targets, then reserve your active blood skill for enemies that either shield themselves or force you out of melee range. Don't burn your entire resource bar at the start of a room. Blood Rush's encounters become much safer when you enter the final third of a fight with one mobility or burst option available.
| Build Element | Beginner Choice | Reason | Priority |
|---|---|---|---|
| Primary weapon | Blood Blade | Fast recovery and reliable close-range damage | Start immediately |
| Core damage | Attack Speed | Improves damage consistency and hit-and-run play | Very high |
| Secondary damage | Blood Burst | Clears clustered enemies and pressures elites | High |
| Defense | Maximum Health | Forgives missed dodges and contact damage | Medium-high |
| Utility | Dash cooldown reduction | Creates more escape windows | Medium |
| Luxury stat | Critical chance | Strong later, unreliable during the opening rooms | Low early |
There is one important exception. If your first two upgrade choices offer no attack-speed, health, or cooldown option, take flat damage rather than forcing a fragile critical build. A mediocre bonus that appears repeatedly is usually stronger than a perfect bonus you never see again. For a broader look at how to approach punishing RPG progression, Steamoz's Kenshi progression guide is a useful comparison.

🎮 Blood Rush
Looking to experience this game? Grab your digital key directly on our store for $13.04.
View on Steammoz Store →Skill Order and Stat Priorities
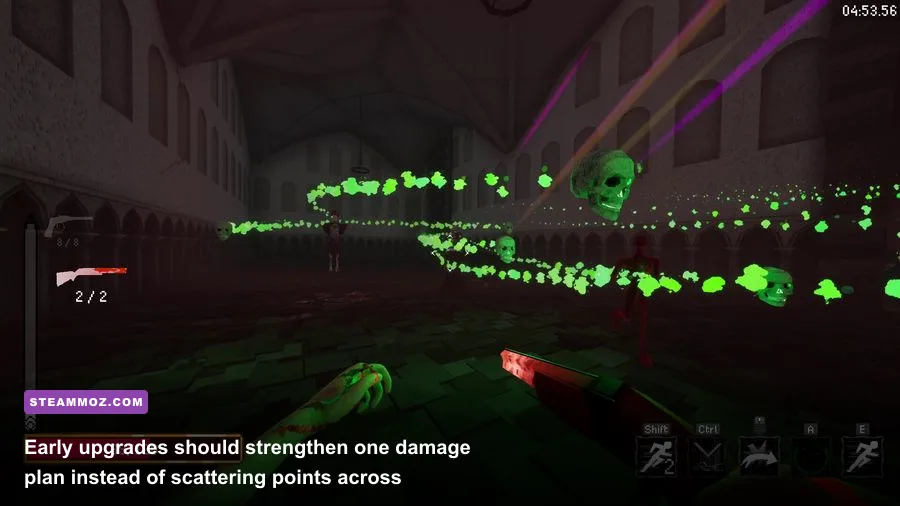
Follow a simple upgrade order through the opening section: attack speed first, maximum health second, Blood Burst damage third, then dash cooldown. This order keeps the build functional whether the run gives you offensive relics or mostly defensive ones. Your character should feel noticeably faster before you start chasing critical-hit multipliers.
Recommended first ten upgrades
Take attack speed on upgrade one whenever it is available. On upgrade two, choose health or damage depending on the room's enemy mix. If you are losing most of your health to contact hits, take health; if enemies are surviving long enough to surround you, take damage. Upgrade three is the ideal point for Blood Burst, because the skill is much more valuable once it can remove weak enemies in one cast.
After that, alternate between the stat your build is missing. A useful rule is to keep your effective damage and survivability within one upgrade tier of each other. Three damage upgrades with no health investment make the first elite encounter brutally swingy. Three health upgrades with no offensive improvement create long fights where the arena fills with projectiles.
| Upgrade Stage | Preferred Pick | Backup Pick | Why It Matters |
|---|---|---|---|
| Upgrade 1 | Attack Speed | Flat Damage | Shortens basic attack downtime |
| Upgrade 2 | Maximum Health | Attack Speed | Protects the first run from minor mistakes |
| Upgrade 3 | Blood Burst | Flat Damage | Improves crowd control and elite pressure |
| Upgrade 4 | Dash Cooldown | Maximum Health | Adds an escape option during crowded rooms |
| Upgrade 5 | Blood Burst Damage | Attack Speed | Lets one cast finish weaker targets |
| Upgrade 6-10 | Damage and health balance | Cooldown reduction | Prevents the build from becoming one-dimensional |
Don't rush into critical chance simply because a relic has a flashy description. Critical chance needs enough attacks per second to produce consistent value, and beginners usually lose more damage by abandoning safe positioning than they gain from occasional large hits. Once the Blood Blade is attacking quickly, critical damage becomes a sensible late-run investment.
For a second run, you can experiment with a glass-cannon version: attack speed, critical chance, critical damage, and Blood Burst cooldown. That setup clears rooms faster, but it assumes you already recognize the game's red attack indicators and know when an enemy is about to lunge. The beginner version is deliberately less exciting on paper and far more reliable in practice.
Combat Rotation That Keeps You Alive
Blood Rush combat becomes manageable when you stop treating the dodge as a panic button. Open each room by moving around its edge, identify the fastest enemy, and attack only after that target commits to its animation. With the Blood Blade, the clean rotation is two or three basic strikes, a short retreat, then a diagonal dash through the enemy's recovery window.
Normal enemies
Against slow melee enemies, circle clockwise and let them swing first. Their attack recovery is your damage window. Hit twice, move out, and repeat. Holding the attack button while standing in front of a target is the fastest way to absorb unnecessary contact damage. If several enemies overlap, use Blood Burst at the edge of the group rather than dashing into its center.
Fast enemies and ranged attackers
Fast enemies should be your first target, even when they have less health than the larger units. Their leap or dash usually has a clear wind-up, but the follow-up hit can arrive before a new player expects it. Keep your own dash until the attack begins, then move diagonally across the enemy instead of directly backward. This changes your angle and prevents the next target from pinning you against a wall.
Ranged enemies create a different problem. Don't chase one across the entire room while melee units remain active. Pull the group toward the ranged attacker, eliminate the closest melee threat, and use Blood Burst when the enemies overlap. If you have to choose between taking one projectile or spending your dash, take the projectile only when your health buffer can absorb it. A dash with a short cooldown is more valuable than a few points of damage.
| Situation | Threat to Watch | Correct Response | Common Beginner Error |
|---|---|---|---|
| Slow melee pack | Overlapping swings | Attack twice, retreat, re-enter | Standing still for a full combo |
| Fast charger | Brief crouch or lunge wind-up | Dash diagonally after commitment | Dashing before the attack starts |
| Ranged group | Projectile overlap | Group enemies and cast Blood Burst | Chasing one shooter into danger |
| Elite enemy | Delayed area attack | Save dash and punish recovery | Spending every resource immediately |
| Low health room | Greed after a kill | Reset position before collecting drops | Running into danger for loot |
Watch the floor, not just the enemy model. Several attacks are designed to distract you with a large animation while the actual danger appears as a ground marker. If your frame rate stutters during crowded rooms, reduce effects before lowering resolution. Steamoz's stutter-to-smooth-FPS settings guide explains why stable frame pacing is more useful than a high average number.
Weapons, Gear, and Shop Spending

Gear upgrades should support the Blood Blade rather than tempt you into changing the entire build halfway through a run. Take a stronger weapon when its base damage is meaningfully higher, but don't replace a fast weapon with a slow one just because the slower item has better rarity. The beginner build depends on frequent safe attacks, and long recovery animations make every missed swing more expensive.
Prioritize equipment with attack speed, maximum health, cooldown reduction, and flat damage. Lifesteal is excellent when it appears early, but it should be treated as a bonus rather than your only defensive plan. Healing effects usually require you to keep attacking, and that means lifesteal becomes unreliable precisely when you are surrounded or trying to disengage.
| Gear Stat | Early Value | Mid-Run Value | Verdict |
|---|---|---|---|
| Attack Speed | Excellent | Excellent | Best all-purpose offensive stat |
| Flat Damage | Excellent | Good | Strong before multipliers are available |
| Maximum Health | Excellent | Good | Best safety investment for new players |
| Cooldown Reduction | Good | Excellent | Gets better once Blood Burst is upgraded |
| Critical Chance | Average | Excellent | Delay until attack speed is established |
| Lifesteal | Good | Good | Helpful, but never replaces dodging |
At shops, buy a guaranteed health or attack-speed upgrade before gambling on a random chest. New players often spend everything on rerolls and reach the next combat room with no safety net. Keep a small reserve for healing after an elite encounter. You don't need to leave every shop empty; you need enough currency to recover when the run goes badly.
Don't ignore ordinary drops. A common item with attack speed can outperform a rare item that only improves a skill you never cast. Read the whole effect, including conditions. If an item activates only below a health threshold, it belongs in a risky second build, not in your first attempt to learn the game.
Boss Preparation and Performance Settings
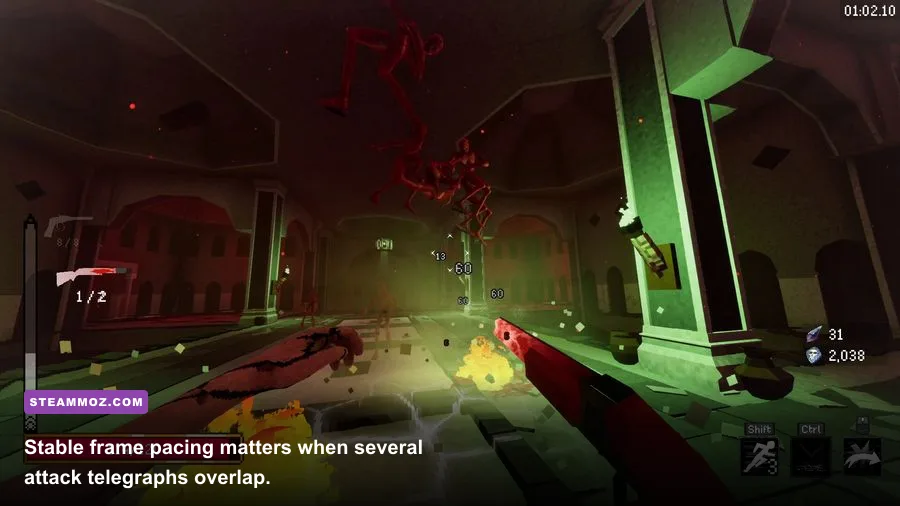
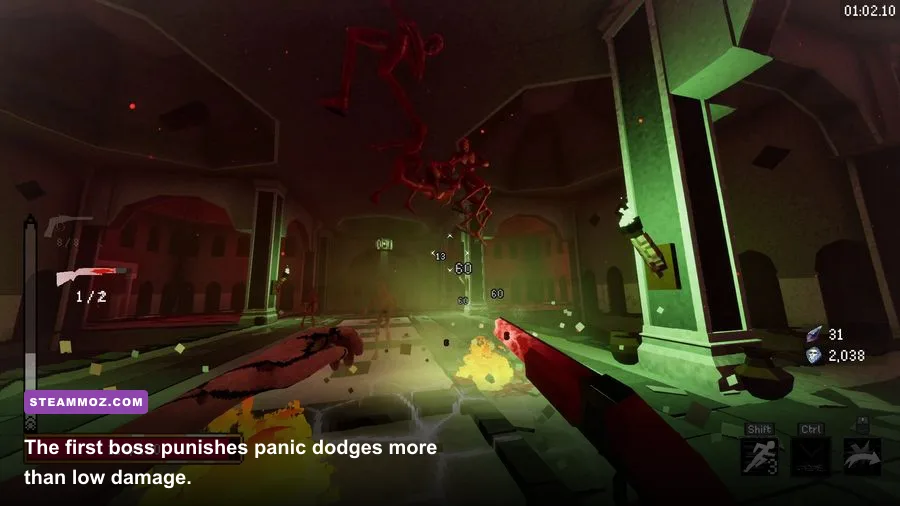
The first boss is less a damage check than a movement exam. Enter with Blood Burst ready, full or near-full health, and a dash available. During the opening phase, attack only after the boss completes its large swing or charge. When the arena marker appears, move out first and attack second. The safest damage is always damage taken during recovery, not damage squeezed into an active animation.
When the boss summons smaller enemies, don't tunnel on the boss unless its health is almost empty. Remove fast summons first, then use Blood Burst to clear the remaining cluster. A room full of minor enemies can turn a predictable boss pattern into an unavoidable collision. Keep the arena open, and your Blood Blade build will have enough space to work.
| Boss Moment | Telegraph | Counter | Damage Window |
|---|---|---|---|
| Wide melee swing | Weapon raised and brief pause | Step outside the arc | Immediately after the swing |
| Charge attack | Boss faces you and locks direction | Diagonal dash at commitment | During the recovery slide |
| Ground danger | Colored floor marker | Leave the marker, then reposition | After the effect ends |
| Summon phase | Boss pauses or retreats | Kill fast adds first | After the arena is clear |
For PC performance, target a stable 60 frames per second if your system can hold it. Turn down screen effects and shadow quality before reducing the game's resolution, because those settings usually clean up visual clutter without making enemy telegraphs blurry. Disable motion blur if available, and keep effects high enough that Blood Burst remains visually distinct from enemy area attacks.
Players on older hardware should use a locked frame-rate profile rather than chasing unstable highs. A consistent 45 or 60 FPS makes dash timing easier than a counter that jumps between 38 and 90. Steamoz's low-FPS troubleshooting guide covers the same practical priorities for stutter-sensitive games.
How to Transition Beyond the Beginner Build
Once you can finish several rooms without relying on emergency healing, start specializing. The safest upgrade path is attack speed into critical chance, with Blood Burst cooldown supporting crowd control. If you find strong lifesteal, you can move toward an aggressive sustain build. If your drops are mostly cooldown effects, turn Blood Burst into the center of the run and use the Blood Blade to finish survivors.
What you should not do is restart every time the first upgrade choices aren't perfect. Blood Rush is built around adapting to the options in front of you. If attack speed never appears, flat damage and cooldown reduction can carry the opening. If health upgrades dominate, accept the durable route and play longer fights. The strongest beginner habit is learning to make a good build from imperfect pieces.
Before each room, ask three questions: which enemy can reach me first, where is my escape route, and what resource am I saving for the next wave? That checklist sounds basic, but it turns frantic combat into a repeatable process. The Blood Blade, Blood Burst, health investment, and disciplined dash timing give you enough margin to answer those questions without gambling the entire run.
For more build-focused reading, compare this approach with Steamoz's beginner starting-build guide and Kings Bounty II build breakdown. If you want to verify current weapon descriptions or patch changes, check the game's official Steam listing and the developer's latest Steam announcements before committing to a long-term variation.
The short version is still the best one: use the Blood Blade, take attack speed early, add health before chasing criticals, save Blood Burst for pressure moments, and dodge after enemy commitment rather than before it. That rhythm won't make every room harmless, but it gives beginners the most important advantage in Blood Rush: enough control to learn why a run failed and the tools to fix it next time.