
Start with Aivar, commit your first skill points to Might, and build a mixed army around durable melee units, ranged damage, and one reliable support option. That is the most forgiving King's Bounty II Duke's Edition starting build for beginners because it gives you strong early damage without demanding perfect spell knowledge, ideal management, or flawless positioning. Keep Aivar’s army balanced, save your best units instead of trading them recklessly, and use the overworld to recruit before taking difficult fights.
The Duke’s Edition does not radically change the campaign’s opening balance. Its extra content is useful, but it does not make a weak army suddenly efficient. The fundamentals still decide your first ten hours: leadership controls how much of each unit you can field, unit losses are expensive, and battles are won by action-point management rather than by clicking the biggest attack every turn.
Why Aivar Is the Best First Hero
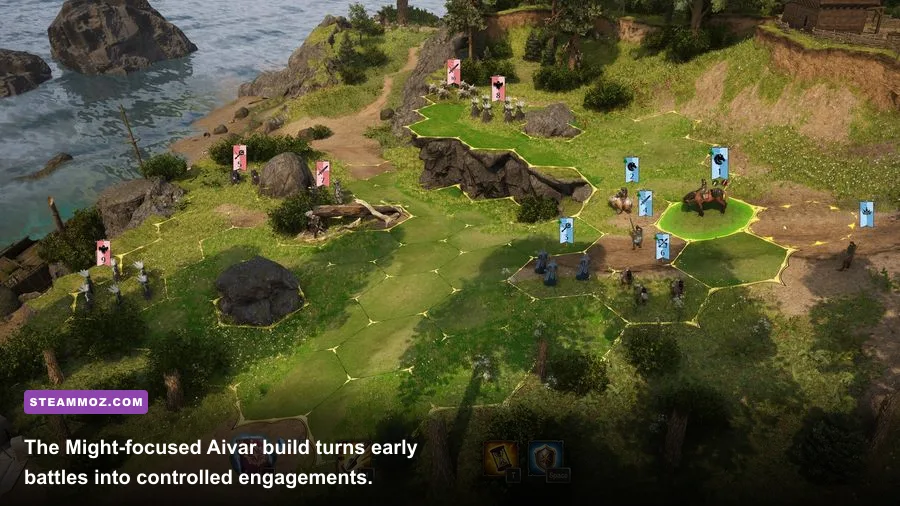
Aivar is the cleanest entry point because his Might identity rewards the habits beginners should learn anyway. He is built around direct combat, physical army support, and practical battlefield decisions. You can concentrate on movement, formation, and targeting instead of learning every spell school while also trying to understand King's Bounty II’s four ideals: Might, Order, Magic, and Anarchy.
That does not mean Aivar is automatically powerful. His campaign still punishes careless losses, especially when a valuable unit stack is reduced before a second encounter. His advantage is consistency. Aivar’s combat plan works on ordinary bandits, undead, beasts, and heavily armored enemies without requiring a narrow counter-build.
Choose Aivar if you want to learn the game’s tactical layer first. Katharine is more spell-dependent and becomes much more interesting once you understand mana, spell timing, and battlefield control. Elisa offers a more Order-oriented approach with stronger emphasis on disciplined armies and ideal choices. Aivar lets you make a few imperfect decisions and still recover.
| Hero | Beginner Difficulty | Core Strength | Why Pick Them |
|---|---|---|---|
| Aivar | Lowest | Might and direct army support | Best all-purpose first campaign |
| Elisa | Medium | Order and disciplined forces | Good for players who value stable formations |
| Katharine | Highest | Magic and spell flexibility | Best after learning combat fundamentals |
During dialogue, do not chase every ideal equally. Some conversations let you gain Might, Order, Magic, or Anarchy points, and those choices affect access to parts of the hero progression system. A few off-theme decisions will not ruin Aivar, but consistently selecting Might-flavored answers keeps your build coherent and avoids spending points in branches you are not using.
Before starting, it is worth checking the official Steam listing for King’s Bounty II for the current edition contents and PC requirements. The game’s large outdoor areas can feel very different from its turn-based battles, so stable performance matters when you are scouting routes and spotting interactable objects.
🎮 King's Bounty II - Duke's Edition
Looking to experience this game? Grab your digital key directly on our store for $4.99.
View on Steammoz Store →The Exact Beginner Skill Path
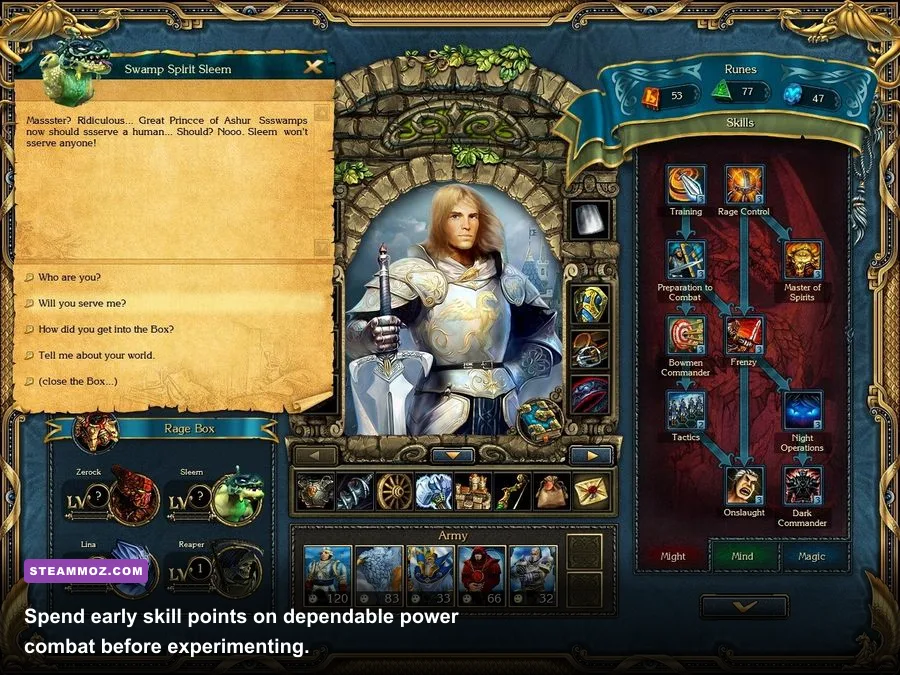
Your first priority is not collecting every interesting ability. It is building a character who improves the army you already have. Put early investment into the Might side of Aivar’s progression, favoring combat and army-enhancement nodes before spending heavily on Magic or Anarchy. The strongest beginner mistake to avoid is scattering points across four ideals and ending up with several half-developed benefits.
Levels one through three
Take the first available Might combat option, then continue toward the next Might upgrade that improves direct fighting or army performance. The exact order can vary slightly depending on the nodes currently unlocked, but the principle is firm: your first three points should make ordinary engagements safer. You want more reliable damage, stronger frontline exchanges, or better tactical flexibility—not a niche effect that only works in one encounter.
If the game offers you a choice between an immediate Might node and a distant mixed-ideal reward, take the immediate Might node. Early combat is where the return is highest. A 10-percent improvement to a commonly used action is more valuable than a clever late-game plan when your army is still made up of inexpensive troops.
Levels four through six
Continue down the Might route until your core combat option is established. After that, take one utility point from Order or Magic only if it directly solves a problem you are experiencing. Order is useful when your army needs more structure and survivability; Magic is worth considering when you have access to a spell that can protect a frontline unit or punish a tightly packed enemy formation.
Do not rush into Anarchy on this build. Anarchy can support aggressive and unusual strategies, but it is less forgiving when you are still learning how enemy movement, retaliation, and unit abilities interact. Avar’s beginner build should be boring in the best possible way: it needs to work in almost every battle.
| Early Stage | Priority | What It Solves | What to Avoid |
|---|---|---|---|
| Levels 1–3 | Might combat nodes | Low early damage and fragile exchanges | Splitting points among all four ideals |
| Levels 4–6 | More Might, then one utility node | Improves consistency and recovery | Deep Anarchy investment without a plan |
| After level 6 | Round out Order or Magic | Adds defense, control, or spell support | Buying skills that do not match your army |
Save before spending a major skill point if you are unsure how a node works. Read the complete description, not just the short tooltip. Some upgrades affect Aivar personally, while others influence unit behavior or army composition. That distinction matters. A personal damage improvement is not automatically better than an army bonus when your damage comes from several stacks.
For a broader look at how game systems can reward careful build planning, compare the approach with our Fated Souls weapon tier list. The games are very different, but the same rule applies: a dependable core usually beats a flashy option that only works under perfect conditions.
Build A Balanced Army, Not a Favorite Unit Parade
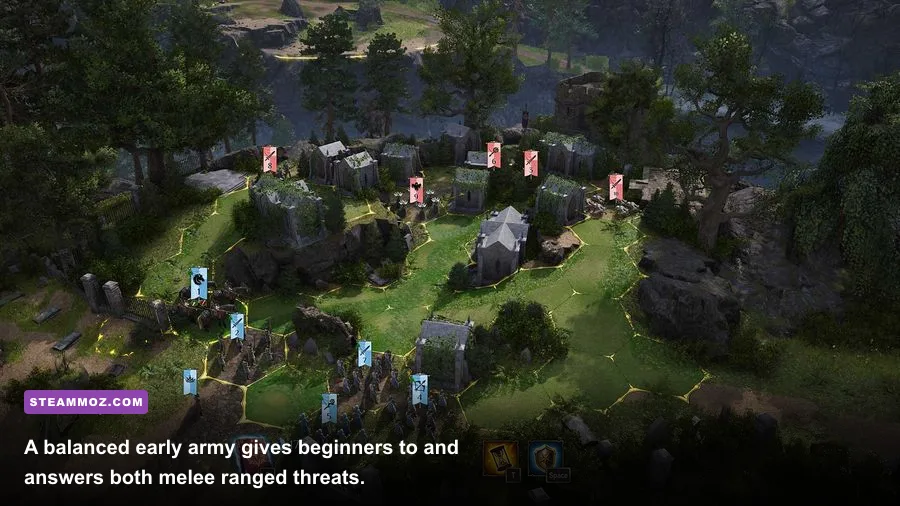
Aivar’s best beginner army has three jobs covered: hold the front, deal damage from safety, and respond to a problem the first two groups cannot solve. That usually means at least one durable melee stack, one ranged stack, and one flexible slot for cavalry, support, or a creature with a useful ability.
Use Peasants and other low-cost troops as disposable early bodies only when the alternative is losing a more valuable stack. Archers are excellent while enemies are approaching, but they become vulnerable when a fast unit reaches them. Swordsmen and similar frontline units are better at absorbing attention, buying your ranged troops another turn to fire. The exact roster available to you changes as you explore, so think in roles rather than chasing a fixed five-unit recipe.
Recruitment is part of the build. Visit settlements, castles, and military locations after each major story step, then compare available units with your current leadership capacity. Do not spend all your gold on a single expensive stack if it leaves the rest of the army empty. A balanced group of four useful stacks normally performs better than one elite stack surrounded by weak filler.
Positioning and action points
At the beginning of a fight, keep ranged units behind the frontline and avoid moving them unless the new position creates a real shot. Movement consumes action points, and a wasted move can cost an attack. Put durable units where they can block a route or force the enemy to spend a turn approaching. You do not need to charge immediately. Let melee enemies enter your damage zone when possible.
Focus fire. Reducing one enemy stack to zero removes its actions, attacks, and special abilities. Splitting damage across three targets often feels productive but leaves three threats alive. Start with the enemy that can reach your ranged units fastest, then eliminate units with powerful area attacks or dangerous retaliation effects.
| Army Slot | Recommended Role | Battlefield Job | Beginner Warning |
|---|---|---|---|
| Frontline | Swordsmen or durable melee unit | Blocks routes and absorbs attacks | Do not expose it without ranged support |
| Ranged damage | Archers or another ranged stack | Focus-fires approaching threats | Protect it from fast flankers |
| Flexible slot | Cavalry, creature, or utility unit | Flanks, finishes targets, or solves special threats | Do not waste it on an isolated charge |
| Support slot | Healer, buffer, or control unit | Extends the army’s staying power | Preserve it; support losses are hard to replace |
Unit losses are not just a battle statistic. They can damage your next encounter because replenishing a stack costs gold and sometimes requires finding the right recruitment location again. If a fight is going badly, reload rather than stubbornly trading half an army for a victory. That is especially important before quests that chain several encounters together.
Spells, Gear, and the Combat Rotation
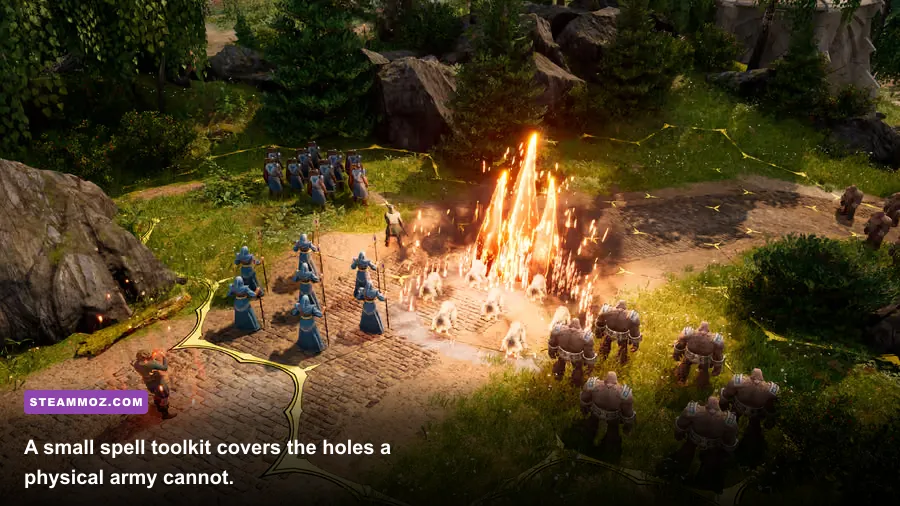
You do not need a full caster Aivar, but you should use the spell system as a force multiplier. Keep one defensive or control spell available and one damage spell for finishing a weakened stack. Haste is valuable when it lets a key unit reach an important tile or attack before an enemy gets its turn. Fireball can punish clustered units, but do not cast it simply because multiple targets are available—friendly positioning and future action economy matter more than a little extra damage now.
Healing and protection effects are strongest when used before a unit is nearly dead. A defensive spell that prevents a stack from losing models can save more gold than a late heal can recover. If you have a spell that changes movement or disables a threat, use it to protect your archers rather than spending every turn on raw damage.
Gear should follow the same logic as the skill path. Prefer bonuses that improve Aivar’s main combat plan, survivability, leadership, or resource economy. Do not equip an item solely because its headline number is higher. Check whether the effect applies to the hero, the army, or a particular unit type. A bonus for a unit category you are not fielding is effectively dead weight.
A reliable turn sequence
First, inspect enemy movement ranges and special attacks. Second, identify the fastest threat to your ranged line. Third, use the frontline to create a safe firing lane rather than rushing into the middle. Fourth, focus fire until one enemy stack disappears. Finally, spend any remaining action points on repositioning, guarding a choke point, or preparing the next exchange.
Aivar’s personal attack should support the army instead of replacing it. Hit a target that your units are already close to finishing, or use the hero to remove a weak enemy stack and deny its turn. Do not walk Aivar deep into hostile territory for a single attack unless you know the enemy cannot surround him on the following turn.
For technical preparation, our guides to turn-based RPG performance settings and reducing PC stutter cover useful general principles. King’s Bounty II does not need competitive frame rates, but stable frame pacing makes exploration and camera-heavy fights feel considerably better.
Exploration Rules That Keep the Build Alive
Do not follow the main quest marker blindly. Explore nearby roads and side paths first, collect visible loot, and speak to NPCs before committing to a major encounter. Side content often provides gold, equipment, experience, and recruitment opportunities that make the next story battle dramatically easier.
Save before entering suspicious locations and before accepting quests that sound like they will lead directly into combat. The overworld contains enemies whose strength is not always obvious from a quick glance. If an encounter feels far above your army, leave, improve your roster, and return later. Retreating is good strategy, not failure.
Use the map to plan recruitment loops. After buying or finding a valuable unit, avoid immediately taking a high-risk fight that could erase it. Return to a safe area, save, and test the army against a manageable opponent. This gives you a chance to learn how the new unit spends action points and whether its ability fits your formation.
Watch your gold. Recruitment, replenishment, and equipment all compete for the same budget. Early in the campaign, replacing losses is more important than buying a marginal upgrade. Once your core army is stable, start investing in better gear and more specialized units.
The official King’s Bounty II website and publisher information from 1C are useful references for edition details and announcements, but they will not teach the most important lesson: protect your army’s future turns. Every decision should be judged by what it leaves alive for the next battle.
Once Aivar has a stable Might foundation, a dependable frontline, protected ranged damage, and one flexible support slot, the campaign opens up. You can branch into Order for more disciplined army play, Magic for stronger battlefield control, or Anarchy for a more aggressive experiment. Wait until your core is working before making that choice. The best beginner build is not the one with the most complicated skill tree—it is the one that survives long enough for you to understand the rest of the game.