
The best Fated Souls weapon is the one that keeps damage consistent under pressure: heavy blades lead the general-purpose ranking, fast weapons dominate single-target punish windows, and ranged gear is strongest when a boss gives you room to work. This tier list ranks each equipment archetype by real combat value rather than its biggest possible damage number, with upgrade cost, recovery time, stamina demand, and reliability all counted.
There is an important distinction here. Fated Souls does not reward blindly chasing a single “highest DPS” item. A weapon that looks spectacular against a stationary target can feel awful against mobile enemies, shielded opponents, or bosses that punish long recovery animations. Your best loadout is the one that turns your preferred attack range into repeatable damage while leaving enough stamina for a dodge or defensive response.
Use this ranking as a decision tool when loot starts competing for limited upgrade materials. If you want a broader progression mindset, Steamoz's starting build breakdown covers a similar problem: early choices should support the whole campaign, not just the next room.
S-Tier weapons are the safest investment
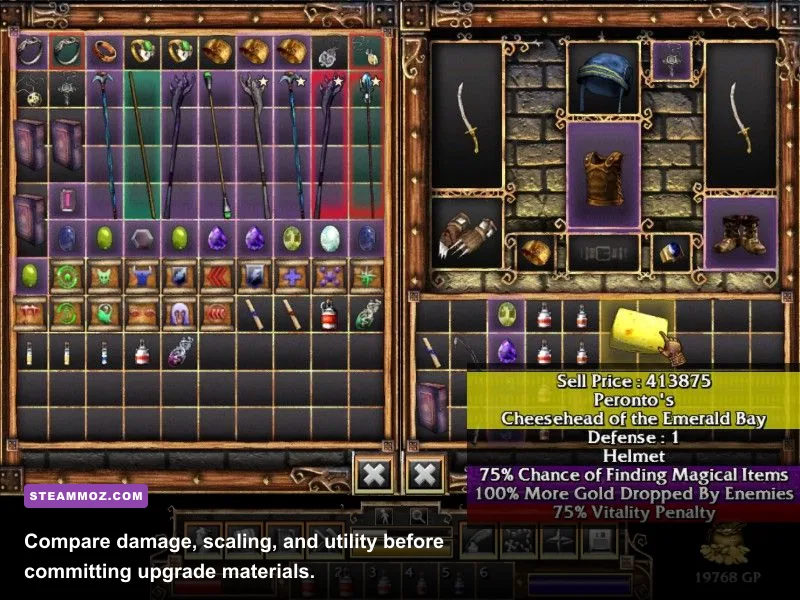
S-Tier equipment wins because it has very few bad matchups. These weapons may not always produce the flashiest critical hit, but they connect reliably, recover quickly enough to escape danger, and remain useful after enemy health starts scaling. If you are learning the game or spending your first rare upgrade materials, this is the tier to trust.
Heavy blades and balanced swords
The heavy blade archetype earns the top spot through stagger pressure and efficient hit trading. Its broad swings can catch two or three enemies when you funnel them through a doorway, while charged attacks create the kind of interruption that prevents weaker enemies from finishing their own animations. The downside is obvious: whiffing is expensive. A missed heavy strike leaves you committed long enough for a fast enemy to close the gap.
Balanced swords are slightly less dramatic but even more dependable. Their short recovery makes them excellent for the basic attack, dodge, basic attack rhythm that carries much of the early and mid-game. Against bosses, use the first hit to test range, then commit to the second only when the enemy has just completed a telegraphed attack. That small discipline matters more than squeezing in one extra swing.
Why S-Tier beats theoretical damage
Damage on the equipment screen does not account for missed attacks, interrupted animations, or time spent recovering after a bad trade. A slower weapon needs a clear opening to outperform a balanced sword. In ordinary rooms, those openings are inconsistent. S-Tier weapons therefore provide the best average result across exploration, elite encounters, and bosses.
| Weapon archetype | Tier | Best strength | Main drawback | Best user |
|---|---|---|---|---|
| Heavy blade | S | Stagger and multi-target pressure | Long recovery after a miss | Aggressive melee player |
| Balanced sword | S | Reliable damage and quick recovery | Lower burst than specialist weapons | New and experienced players |
| Reliable bow | S- | Safe chip damage and spacing | Needs room and ammunition management | Patient ranged player |
| Fast dagger | S- | Boss punish windows and mobility | Poor reach and weak crowd control | Players who know enemy timing |
The reliable bow sits just below the melee leaders only because several encounters compress the arena. In an open room, however, it can be the strongest practical option. Keep moving, fire after an enemy commits, and avoid draining your stamina simply to maintain distance. Ranged safety disappears the moment you cannot dodge the attack you invited.

🎮 FATE
Looking to experience this game? Grab your digital key directly on our store for $7.99.
View on Steammoz Store →A-Tier gear rewards a deliberate playstyle
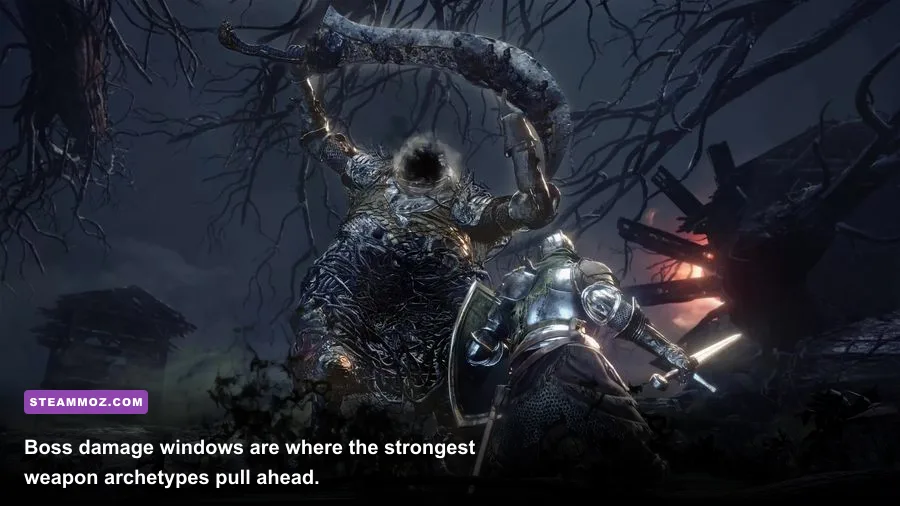
A-Tier equipment is powerful, but it asks you to build around its limitations. These weapons can outperform S-Tier choices in the right hands, particularly when a character's attributes, accessories, or passive bonuses amplify their strengths. They rank lower because a mistake costs more and their best situations are narrower.
Fast daggers and twin weapons
Fast weapons are excellent for exploiting short boss openings. Their value comes from how quickly they can deliver a safe burst and return you to movement. Do not treat them like miniature heavy blades. The correct pattern is usually one or two hits, reposition, and wait for the next telegraph. Standing beside an enemy and mashing until stamina runs dry removes the very mobility that makes this archetype strong.
Daggers are especially effective against targets with long end-lag after a missed attack. Circle just outside the hitbox, bait the swing, then step in for a short sequence. Their weakness is reach. In crowded rooms, a dagger user can waste time navigating around targets that a sword would hit immediately. If your run contains several shielded or armored enemies, a balanced weapon may deliver more useful damage even when its displayed numbers are lower.
Axes and high-impact weapons
Axes occupy the high-risk, high-reward side of A-Tier. Their attacks are valuable when you can stagger an enemy before it reaches you, and they pair naturally with equipment that improves strength, poise, or stamina recovery. The catch is that their attack cadence makes them vulnerable to fast enemies. Use them at the edge of their range rather than directly underneath a boss, and never start a charged attack while another enemy is outside your camera view.
Staves and elemental tools
Magic-oriented equipment becomes more attractive when enemy weaknesses matter. A staff can solve problems that a physical weapon cannot, especially when a boss punishes close-range aggression. Still, elemental damage should be treated as a matchup advantage, not a universal answer. If the target resists the element or the room gives you no space to cast, the staff's lower physical fallback becomes painfully obvious.
| Archetype | Tier | Build requirement | Ideal scenario | Why it falls short of S-Tier |
|---|---|---|---|---|
| Fast dagger | A+ | Mobility and stamina discipline | Short boss openings | Limited reach and crowd control |
| Dual weapon | A | Attack-speed or crit support | Single targets without armor | Can overcommit very easily |
| Heavy axe | A | Strength, poise, stamina | Staggerable elites | Slow recovery and poor corrections |
| Elemental staff | A | Resource and elemental support | Known elemental weakness | Inconsistent against resistant targets |
The upgrade rule for A-Tier items is simple: do not spread resources across every interesting drop. Pick one damage identity. A dagger build wants bonuses that improve repeated contact and movement; an axe build wants to survive the commitment; a staff build wants enough resource sustain to keep casting without sacrificing defensive options.
B-Tier choices can still carry a campaign
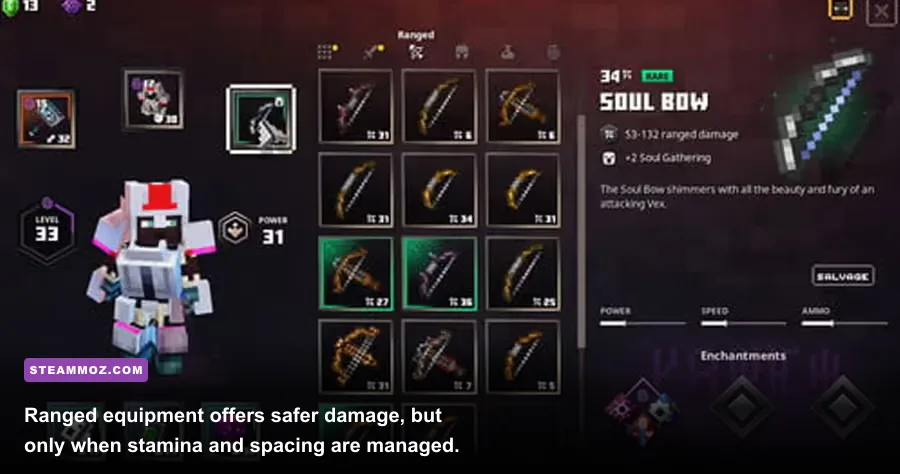
B-Tier does not mean unusable. It means the equipment has a clear problem that stronger options solve more cleanly. These weapons are often perfectly fine in the early game, and they can remain competitive if your character's passive bonuses happen to fit them. The mistake is upgrading a B-Tier item simply because it dropped early and feels familiar.
Short-range blunt weapons
Blunt weapons are useful when stagger is more important than raw reach, but their limited attack coverage makes them awkward against groups. They work best when you can isolate an enemy, punish a recovery animation, and retreat before a second target enters the exchange. Their strongest feature is usually control, not damage. If a weapon cannot reliably finish an enemy before the next attack arrives, its stagger value becomes much less impressive.
Slow bows and basic projectile gear
A slow ranged weapon can look efficient because every projectile hits hard. In practice, its long firing cycle creates a dangerous pause, particularly when enemies can close distance quickly. Use it from elevated terrain or behind a chokepoint, and switch to a melee backup when the room collapses around you. Ranged gear should create distance, not force you to defend yourself at point-blank range with an awkward firing animation.
Starter weapons after the first upgrade break
Starter equipment deserves a brief defense. Its moveset is usually readable, its resource costs are manageable, and its early upgrade requirements are low. That makes it a smart tool for learning enemy telegraphs. Once you unlock a weapon with better scaling or a more useful special attack, though, the starter option generally stops being a good long-term investment. Keep it as a backup if you like its timing, but do not let sunk upgrade cost dictate your entire build.
| Equipment type | Tier | Useful for | Do not use it when |
|---|---|---|---|
| Short blunt weapon | B+ | Isolated targets and stagger practice | Several mobile enemies surround you |
| Slow projectile weapon | B | Chokepoints and elevated positions | The arena has no safe firing lane |
| Starter sword | B | Learning timing and conserving resources | A stronger scaling weapon is fully upgraded |
| Low-range magic tool | B- | Early elemental testing | The target resists its damage type |
One useful rule separates smart B-Tier use from wishful thinking: test the weapon against an elite, not a basic enemy. Basic targets die before their weaknesses matter. Elites expose recovery problems, range problems, and stamina problems immediately. If the weapon cannot safely answer an elite's approach, it needs unusually strong damage or crowd control to justify its slot.
For players who enjoy experimenting with unusual loadouts, the best approach is similar to optimizing graphics settings: change one variable at a time and compare the result. Steamoz's performance settings guide applies the same practical principle to frame-rate tuning, and the logic works just as well for equipment testing.
Best equipment pairings for bosses and progression
A weapon tier list only becomes useful when it leads to a complete loadout. Your main weapon determines how you deal damage, but defensive equipment decides whether you can repeat that plan after the first mistake. Prioritize survivability until you understand a boss, then replace defensive pieces with damage bonuses once the encounter's timing feels routine.
The all-purpose melee setup
Pair a balanced sword or heavy blade with stamina-focused defensive gear. The goal is not to tank every hit; it is to preserve enough stamina for one attack string and one emergency dodge. Choose accessories that improve your primary damage stat only after your stamina pool supports the weapon's full rotation. A high-damage build that constantly enters a boss phase empty is weaker than a modest build that can always escape.
The assassin setup
Fast daggers need movement support. Favor bonuses that improve stamina recovery, critical consistency, or damage against exposed targets. Open with a single safe hit after a boss telegraph, then disengage. If the boss has a long stun or knockdown animation, that is when you spend your full combo. Never waste the complete rotation on a normal attack that can be interrupted halfway through.
The ranged setup
Bow and staff builds need two things: a reliable escape route and enough resource economy to survive a long phase. Stand near the edge of the arena rather than directly in a corner. Fire after the boss begins a committed animation, then move before the attack ends. This keeps your damage consistent without forcing you to react to an attack while locked into your own animation.
| Build | Main weapon | Secondary priority | Combat loop | Best against |
|---|---|---|---|---|
| Balanced melee | Balanced sword | Stamina and defense | One to two hits, dodge, reset | Mixed rooms and unknown bosses |
| Stagger bruiser | Heavy blade or axe | Strength and poise | Bait, charged hit, punish stagger | Slow elites and armored targets |
| Mobile assassin | Dagger or dual weapon | Mobility and crit support | Short burst, disengage, repeat | Predictable single targets |
| Ranged controller | Bow or staff | Resource sustain and defense | Attack after telegraph, reposition | Large arenas and slow bosses |
During progression, upgrade your main weapon before splitting materials between several alternatives. A weapon one or two upgrade levels ahead often performs better than a theoretically superior drop that you cannot afford to develop. Keep a secondary weapon only when it solves a specific problem, such as a ranged option for a boss that punishes melee or a fast blade for enemies that refuse to stagger.
Do not ignore defensive equipment with apparently smaller numbers. A piece that reduces stamina cost, improves recovery, or extends your safe health threshold can add more real damage than a minor attack bonus. Every avoided interruption is another completed attack cycle. That is why the best equipment ranking is based on completed encounters, not training-room screenshots.
If you are coming from a game with more elaborate party gearing, Steamoz's endgame build guide is a useful reminder to match gear bonuses to a role rather than stacking attractive numbers at random.
How to spend upgrades without ruining a run
Upgrade economy is where many Fated Souls runs go wrong. Players find an exciting weapon, invest immediately, then discover that its attack pattern clashes with the next area's enemies. Before spending rare materials, take the weapon through three tests: a crowded room, an elite, and a boss-style punish window. If it performs acceptably in all three, it is probably a stronger investment than a specialist weapon with a higher peak.
Use a three-question equipment check
First, can the weapon hit an enemy without standing inside its danger zone? This measures practical reach and animation commitment. Second, can you cancel or recover from a missed attack before the enemy's next strike? This measures safety. Third, does the weapon still function when stamina or resources are low? This measures endurance. A weapon that fails all three tests should stay at its current upgrade level until you have a very specific reason to use it.
Next, inspect the rest of the loadout. Damage bonuses are valuable only when they amplify your actual attacks. A critical bonus is less useful on a slow weapon that rarely reaches a vulnerable target; a stamina bonus is less useful on a ranged build that never gets pressured. Build around the attack you perform most often, not the stat that looks most impressive in a menu.
| Upgrade priority | When to choose it | Benefit | Common mistake |
|---|---|---|---|
| Main weapon damage | Almost every general-purpose run | Shortens every encounter | Overinvesting before testing the moveset |
| Stamina or resource sustain | When attacks prevent reliable dodges | Improves damage and survival together | Treating defense as lost damage |
| Critical or elemental bonus | When the build consistently triggers it | Raises burst during known windows | Using it against resistant targets |
| Secondary weapon | Only when it solves a matchup | Provides tactical coverage | Splitting scarce materials too early |
The final ranking is straightforward. Choose a balanced sword or heavy blade if you want the strongest blind-run option. Choose a dagger when you already understand enemy timing and can exploit short openings. Choose a bow or staff when the arena gives you space and you are disciplined about movement. Axes and blunt weapons are excellent specialists, but they should be upgraded for a clear purpose rather than because their peak damage looks impressive.
Keep checking the Fated Souls Steam listing and the game's Steam community hub for patch notes, balance changes, and player-discovered interactions. The developer's official Steam developer updates should take priority if a future patch changes weapon scaling or upgrade costs.
And if your broader problem is performance rather than gear, Steamoz's guide to crashes and PC lag has the right troubleshooting mindset: fix the technical bottleneck first, then judge the game fairly. In Fated Souls, do the same with equipment. Test the full combat loop, invest in what you can execute consistently, and let the flashy damage numbers come second.