
The fastest route in Dragon Ball Z: Kakarot Daima Edition is a loop of Training Room fights, story substories, experience-water usage, and gemstone selling. Don’t waste time hunting random enemies or buying every upgrade immediately. Stack a meal bonus, clear the highest unlocked Training Room challenge, spend your Ultimate Sacred Water on the character who needs it most, then convert your spare gemstones and enemy drops into Zeni at a merchant. In the Daima content, that same rhythm works particularly well because the Demon Realm’s missions naturally combine combat EXP with exploration loot.
One important clarification: Kakarot calls its currency Zeni, not gold. “Gold farming” guides for this game are talking about building a large Zeni reserve for healing items, cooking ingredients, vehicle upgrades, and shop purchases. The official Steam page lists the Daima Edition content and current PC version, while Bandai Namco’s official Kakarot site is the safest place to check DLC ownership and patch details.
Start with the right leveling loop
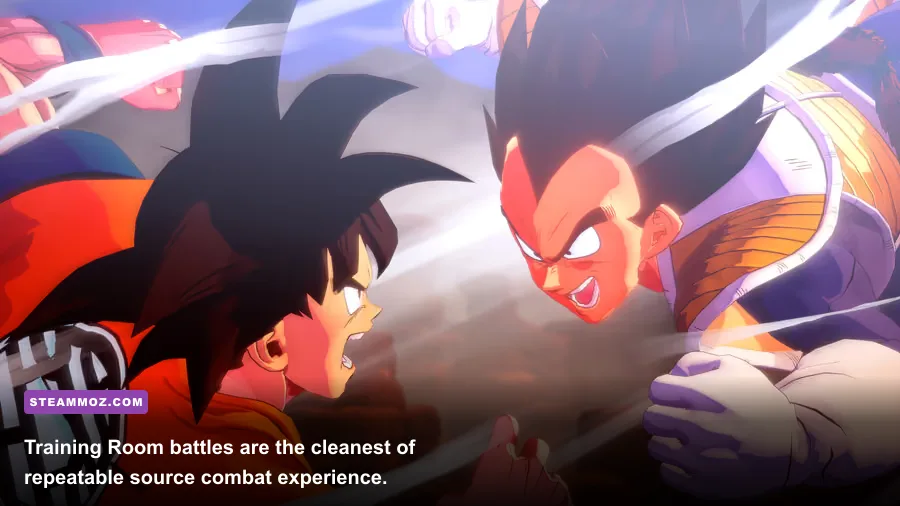
Kakarot’s open world tempts you into fighting every dinosaur, robot, and red-aura enemy you see. That’s usually inefficient. Standard enemies give modest EXP, and their levels stop being meaningful once your party is several chapters ahead. The better plan is to prioritize content with guaranteed rewards: main missions, substories, Training Room challenges, villainous enemy encounters, and the purple experience items found in the field.
Before a serious run, visit a cook and prepare a full-course meal if you have the ingredients. Meals can raise attack, defense, HP, Ki, or experience gain depending on the recipe, and the exact bonus varies by meal quality. A full-course meal is more valuable than eating several unrelated dishes because the bonuses apply together for a fixed duration. Save the strongest food for a story boss, a high-level Training Room fight, or a long Demon Realm sweep.
Also check the Community Board. The Training Community Board is the obvious EXP-focused choice, but the best board setup depends on what you’re doing. Put characters with strong Training-board links together, then activate Soul Emblems with matching community skills. Don’t rip apart a good Adventurer or Cooking setup just to gain a tiny level bonus; cooking can indirectly speed leveling by making hard fights shorter and reducing healing-item spending.
| Activity | EXP value | Time efficiency | Best use |
|---|---|---|---|
| Main story missions | Very high and fixed | Excellent | Push the narrative when available |
| Training Room | High repeatable reward | Excellent | Close a level gap between missions |
| Substories | Medium to high | Good | Leveling support characters and unlocking rewards |
| Villainous enemies | High for the required effort | Good | Combat practice, Soul Emblems, and loot |
| Random open-world enemies | Low after story progression | Poor | Only fight them while gathering materials |

🎮 DRAGON BALL Z: KAKAROT DAIMA EDITION
Looking to experience this game? Grab your digital key directly on our store for $24.99.
View on Steammoz Store →Use Sacred Water without wasting EXP
Experience items are the biggest shortcut in Kakarot, but blindly feeding them to your strongest character can leave the rest of your active party behind. Open the pause menu, choose Items, and look for Sacred Water variants. Super Sacred Water and Ultimate Sacred Water are especially valuable because they provide much more EXP than ordinary recovery items. Their precise value can change with progression and version, so the practical rule is simple: use the item’s displayed reward rather than relying on an old online chart.
Spend the water immediately before a difficult mission when possible. Kakarot’s party level matters most when a character is close to the recommended enemy range; pushing an already overleveled Goku even higher gives less practical value than lifting Piccolo, Gohan, Vegeta, or a newly unlocked Daima party member into fighting shape. Keep at least one strong experience item in reserve for a mandatory character switch.
There’s also a powerful catch-up trick after a cutscene changes your party. Check every playable character’s skill tree, equip the best unlocked Super Attacks, and then use experience water on the character with the weakest level. A higher level with an outdated palette still performs badly. Vegeta’s Big Bang Attack, Piccolo’s Special Beam Cannon, Gohan’s Masenko, and Goku’s Kamehameha are all worth keeping upgraded when available, but don’t drain every Z Orb on minor passive nodes before your core attacks are current.
Make the Training Room your repeatable farm

The Training Room, accessed through the Capsule Corporation facility once the feature is unlocked, is the most dependable repeatable leveling tool in the base game. Speak with Bulma and select the highest completed challenge you can clear quickly. The best farm is not automatically the highest number on the menu. A challenge that takes three minutes with a full team can beat a higher one that takes ten minutes, consumes recovery items, and forces you into repeated stun animations.
For speed, open with a support-assisted stun sequence. Use a character’s ranged Ki attack while the enemy is approaching, trigger a support ability, and spend your burst window on a high-damage Super Attack. When an enemy is charging a red aura attack, stop trying to trade hits. Guard, vanish behind the attack, or use a Surge window to interrupt the animation. Kakarot rewards clean burst damage more than long basic-combo strings.
Daima characters and mechanics can alter the feel of the fights, but the same rule holds: build around the highest unlocked attack you can launch consistently. Don’t choose a move only because its listed damage is larger. Ki cost, charge time, tracking, and whether the enemy can interrupt it matter more in a farm. If your Training Room clear is slow, lower the challenge once, improve the skill palette, and return after upgrading the Training Community Board.
| Farm setup | Core priority | Combat rotation | When to use it |
|---|---|---|---|
| Goku-led burst | Kamehameha and Ki damage | Charge Ki, support attack, Kamehameha during stun | Fast single-target clear |
| Vegeta-led burst | Big Bang Attack and damage passives | Guard enemy opener, vanish, Big Bang Attack | Enemies with predictable charges |
| Piccolo support | Stun and ranged pressure | Keep distance, Special Beam Cannon after opening | Safer farming against aggressive mobs |
| Daima progression party | Current palette and level balance | Use the newest reliable Super Attack, then rotate supports | New Demon Realm missions and boss preparation |
Farm Zeni by selling the right loot
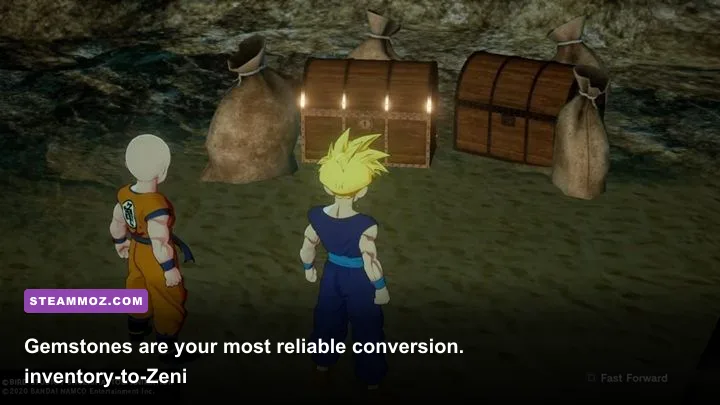
The cleanest Zeni method is selling valuables, especially gemstones, instead of dumping useful materials into shops. Explore every region with Ki Sense active and pick up visible mining deposits. Ruby, Sapphire, Diamond, and other gemstone items are designed to be sold for money. They aren’t the same as Z Orbs, upgrade materials, or cooking ingredients, so check the item description before pressing Sell.
Merchant inventories and sell prices can vary with the item, but the principle never changes: sell valuables in batches after a long exploration run. Flying between scattered shops to sell one item at a time kills your hourly return. Visit a nearby merchant after completing a cluster of substories, a villainous enemy route, or a Demon Realm gathering sweep.
Enemy drops also add up. Dinosaur meat and other food materials are normally better used for cooking, especially if you’re preparing a full-course meal, while clearly labeled valuables should become Zeni. Avoid selling rare upgrade materials just because the price looks attractive. A short-term cash injection is not worth slowing down the Community Board, vehicle, or cooking progression later.
For a useful comparison, think of the economy as two separate farms. Combat farming earns EXP and incidental loot; exploration farming earns gemstones, materials, and Zeni. Combining them is faster than repeating either one in isolation. The same material-first mindset appears in Steamoz’s fast-loot farming guide, while our leveling and gold farming breakdown covers the same efficiency trap in a different RPG.
| Item category | Sell it? | Why | Safe rule |
|---|---|---|---|
| Gemstones and valuables | Yes | Primarily convert inventory into Zeni | Sell in batches at a merchant |
| Cooking ingredients | Usually no | Full-course meals can save time and healing costs | Keep rare meat and premium ingredients |
| Z Orbs | No | They upgrade Super Attacks and passive skills | Collect them for character growth |
| Upgrade materials | Usually no | Needed for vehicles, machines, and progression | Sell only common surplus after upgrades |
Turn the Demon Realm into a profit route

The Daima content is best treated as a self-contained progression lane rather than a reason to abandon your main-story grind. Follow the available story objectives first, then sweep nearby points of interest before fast-traveling away. Demon Realm missions often place combat, collectibles, and merchants close together, so completing objectives in one loop reduces loading and travel time.
Use the map to identify substories and side activities, not just the next orange objective. Substories can hand out EXP, healing items, Soul Emblems, and materials that would otherwise cost Zeni. If a new character joins the party, pause the story and spend a few minutes fixing their skill palette. This is much faster than entering a boss fight with a low-level character and discovering that their strongest move is still unequipped.
Don’t assume every red-aura enemy is worth fighting immediately. Villainous enemies can be dangerous because their level and damage are tuned above ordinary encounters, and their attacks punish careless close-range combos. Scan their level first, activate a meal if you’re within striking distance, and keep healing items ready. If the fight takes too long, leave it marked and return after the next story reward rather than burning through Zeni.
Spend Zeni and Z Orbs where they matter
Fast farming only matters if the money improves your clear speed. Buy healing items before boss chapters, but don’t fill the entire inventory every time you pass a shop. Prioritize the skill tree nodes that unlock or strengthen your main Super Attacks, then upgrade support abilities that create stun or damage windows. Z Orbs are abundant when you deliberately fly through orb clusters, yet they disappear quickly if you unlock every minor node for every character.
Keep your core team close in level rather than funneling everything into Goku. The story frequently changes who fights, and Daima’s party structure can make that gap more noticeable. A balanced group means fewer wasted Sacred Waters, shorter Training Room clears, and less dependence on expensive healing items.
For PC players, stable performance helps farming more than maximum visuals. Kakarot’s fights are not twitch esports, but stutter during a vanish or cinematic Super Attack can still cost time. Our maximum-FPS settings guide explains the broader performance mindset, and the starter-build guide is a useful reminder that efficient progression beats flashy overinvestment.
The winning routine is straightforward: eat a full-course meal, clear the highest efficient Training Room mission, use Sacred Water on the weakest active character, complete nearby substories, collect Demon Realm materials, and sell gemstones in one merchant visit. Repeat that loop whenever the story level gets ahead of your party. You’ll build levels, Zeni, Z Orbs, and a healthier inventory at the same time—without turning Kakarot’s open world into a mindless random-battle treadmill.