
The fastest way to level in Last Rites is to stop treating every enemy as mandatory: build a short, repeatable route through high-value encounters, collect guaranteed rewards, sell low-value drops in batches, and return to safety before one bad fight erases the run. There is no trustworthy evidence for a secret gold code, an instant XP exploit, or a single spawn that prints money. Most “easy millions” advice circulating around search results is either outdated, based on a different build, or simply invented.
That distinction matters because Last Rites is still a game where progression information can vary between builds, platforms, and test versions. Before following any guide, check the current listing on the official Steam search page and compare the game version shown in your client. If a guide names a currency, weapon, or map that you cannot find in your build, don't force the strategy. Use the route principles below instead.
The best early-game leveling route

Your first priority should be reliable XP per minute, not the highest possible reward from one dangerous encounter. A strong early route has three parts: a safe opening group, a denser middle section, and a reset point close to a healing or saving opportunity. You want to finish the circuit with enough health and resources to repeat it immediately.
Start by clearing enemies that you can defeat without spending your rarest consumables. Basic opponents are valuable because their individual rewards may look small, but their low downtime makes them efficient. Ignore distant stragglers unless they sit directly beside your route. Walking across an empty room for one target damages your real metric: completed runs per hour.
Next, add one elite or high-threat encounter only after your regular damage rotation feels consistent. Elites usually offer better experience and a stronger chance at equipment, but they are not automatically profitable. If an elite takes twice as long as a normal group and forces you to use a healing item, the advertised reward can be worse than two ordinary packs.
| Route Segment | Primary Goal | Acceptable Cost | Reset Decision |
|---|---|---|---|
| Opening encounters | Build XP and preserve resources | One basic heal or less | Continue every time |
| Elite encounter | Test damage and improve loot quality | One cooldown cycle and limited healing | Skip if damage is inconsistent |
| Side room | Check chest, salvage, or quest reward | Short detour only | Leave if it adds a full combat group |
| Return route | Bank currency and secure progress | No unnecessary fights | Return immediately when inventory is full |
Record your first three runs with a timer. Count experience gained, currency collected, consumables spent, and minutes from departure to return. This is more useful than copying a creator's “best farm,” because your damage, movement speed, and survival rate determine the actual result. A route producing slightly less XP but zero failed runs will beat a flashy route that succeeds only half the time.

🎮 Last Rites
Looking to experience this game? Grab your digital key directly on our store for $1.74.
View on Steammoz Store →How to turn loot into dependable gold
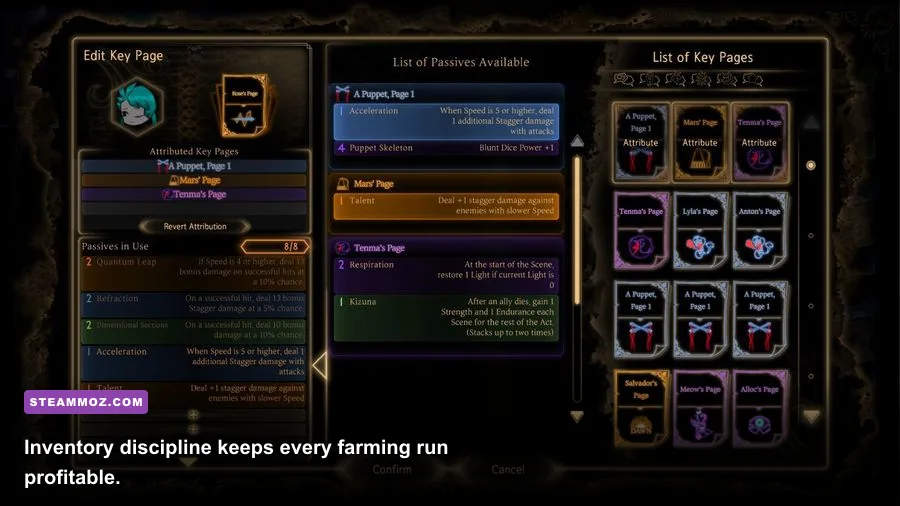
Gold farming in Last Rites is mostly an inventory problem. The profitable player isn't necessarily the one killing fastest; it's the one making fewer low-value trips, selling intelligently, and refusing to buy temporary upgrades that barely improve clear speed.
Before leaving a safe area, remove obsolete equipment and empty unnecessary slots. During a run, prioritize items in this order: quest-critical objects, upgrades that directly improve your current build, high-value rare drops, and then vendor trash. Don't pick up every common item if doing so causes you to abandon a better drop later.
Use a simple break-even rule for equipment. Keep an item when it improves your clear time, survival, or access to a stronger encounter. Sell it when it is merely a small statistical sidegrade. A weapon that adds damage but slows your attacks may look stronger in the tooltip while producing less real damage during a full rotation. Test it against the same enemy group for two runs before committing.
| Loot Type | Keep When | Sell or Salvage When | Farming Priority |
|---|---|---|---|
| Quest items | A current objective requires them | Never discard without checking the objective | Highest |
| Build-defining gear | It changes damage, defense, or resource flow | A weaker duplicate has no useful roll | High |
| Rare drops | They fit your active setup or unlock a future option | You already own a better version | High |
| Common gear | It is a clear upgrade while leveling | It is a sidegrade or fills limited space | Medium |
| Consumables | You regularly use them on the route | You carry more than the next two runs need | Situational |
Sell in batches rather than after every encounter. Frequent shop visits destroy your XP-per-minute rate and make a decent farm feel slow. A better rhythm is two or three completed circuits, followed by one sorting session. Keep one emergency reserve of healing items and avoid spending all your gold on a weapon that will be replaced after the next story section.
For broader loot-management habits, Steamoz's Bug Fables weapon tier list is a useful comparison, even though the games handle equipment differently. The same principle applies: an item is valuable because it improves a plan, not because its rarity color looks impressive.
Build for clear speed before maximum damage

A farming build should reduce downtime. That means fast basic attacks, dependable crowd control, and enough defense to survive mistakes. A glass-cannon setup can post a brilliant damage number and still lose the race if every second encounter forces a retreat.
When comparing upgrades, measure four things: time to defeat a normal group, time to defeat an elite, resource cost per encounter, and damage taken. The best farming option usually isn't the top performer in one category. It is the setup that keeps all four numbers stable.
Use your strongest cooldown on the first dense group if it will be ready again for the route's elite. Holding every ability for an imagined emergency often slows the entire circuit. On the other hand, don't spend a long-recharge skill on a single weak enemy. Group opponents, reposition them, and let one area attack solve multiple problems at once.
Recommended upgrade priorities
- Early progression: choose consistent damage and resource efficiency over critical-hit lottery effects.
- Mid progression: add movement, crowd control, or defensive recovery if they reduce downtime between fights.
- Late progression: specialize only after you know which encounters your repeatable route contains.
- Budget rule: keep enough gold for healing, repairs, or the next meaningful progression purchase.
Don't confuse boss damage with farming damage. A boss build can be excellent for one encounter and terrible for clearing several small groups. If your objective is fast leveling, favor abilities with wide coverage, short recovery animations, and low resource cost. If your objective is gold, favor survival and inventory capacity because a failed run has a negative expected value.
When to fight, skip, or reset
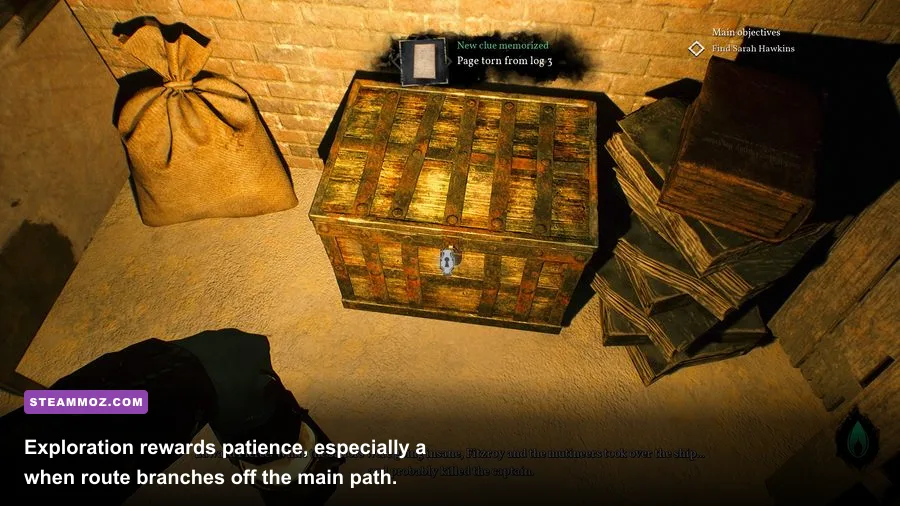
The most important farming skill is recognizing a bad fight before it starts. Watch enemy positioning, terrain, and your own resource bar. If two difficult groups overlap, pulling both at once can turn a profitable route into a repair bill. Separate them with line-of-sight, a doorway, or a brief retreat whenever the environment allows it.
Learn enemy telegraphs rather than memorizing vague “safe” locations. A long wind-up usually signals a heavy attack that should be interrupted, blocked, or avoided. A fast lunge is more dangerous when you stand near a wall because it limits your escape angle. Ranged enemies should be removed early if they force constant movement; the time lost dodging them often exceeds the value of a tougher melee target.
| Situation | Risk | Best Response | Why It Improves Profit |
|---|---|---|---|
| Full health and cooldowns ready | Low | Take the normal group | Reliable XP with minimal downtime |
| Elite plus ranged support | High | Pull support away or skip | Prevents healing and failed-run costs |
| Inventory nearly full | Medium | Return and bank loot | Protects valuable drops from replacement |
| Low resources before a boss | Very high | Reset instead of forcing progress | A failed attempt produces no farming value |
| Easy group beside the exit | Low | Clear only if it adds seconds, not minutes | Maintains a strong XP-per-minute rate |
Resetting isn't quitting. It is a deliberate part of the route. If your health, ammunition, mana, or equivalent combat resource falls below the level needed for the next elite, return safely. The temptation to “just try it” is how profitable runs become losses. Track failed attempts honestly when calculating gold per hour.
XP boosts, quests, and progression traps
Story and side objectives can be better than ordinary grinding when they offer a one-time reward, unlock a new area, or open a vendor with stronger equipment. Complete those objectives when their reward meaningfully improves your route. Don't abandon a good farm simply because a quest marker is visible.
Prioritize objectives using a three-question test: does this unlock a better farming area, does it provide a permanent power increase, and can it be completed without a long detour? If the answer is no to all three, leave it for a natural story pass. Backtracking for a small one-time payout is rarely efficient.
Be careful with temporary boosts. A short XP bonus is strongest when activated before a dense sequence of enemies, not while traveling or selling. Prepare the route first, then trigger the boost at the entrance to the highest concentration. If the game allows bonuses to stack, confirm that they multiply rather than simply add; the difference can change the best timing completely.
For players comparing progression-heavy games, Steamoz's Dungeons 4 farming guide and Death Ray Manta progression breakdown show why identifying the actual progression currency matters. Never assume that a familiar-looking bar is XP or that every reward affects character level.
A practical 30-minute farming session
Spend the first five minutes preparing. Repair or restore what the route requires, empty your inventory, equip the setup with the shortest proven clear time, and decide where you will reset. During the next twenty minutes, run the same loop without experimenting. Kill the opening groups, take the profitable elite only when your resources are healthy, check short side rooms, and leave before the route becomes dangerous.
Use the final five minutes to sell, sort, and compare your results. Write down currency gained, XP gained, items kept, consumables spent, and failed encounters. If a route produced less currency but a major upgrade, count that upgrade separately rather than calling the run unsuccessful. Progression and liquid gold are related, but they are not the same result.
| Session Stage | Action | Success Metric | Common Mistake |
|---|---|---|---|
| Preparation | Sort inventory and choose a route | No wasted travel | Buying upgrades without testing them |
| First loop | Clear safe groups and measure time | Stable health and resource use | Adding every optional fight |
| Second loop | Add the profitable elite if consistent | Higher XP and loot quality | Forcing a fight after a mistake |
| Return | Bank valuables and sell in batches | Few empty trips | Keeping low-value sidegrades |
| Review | Compare results over several runs | Improved gold per minute | Judging a route from one lucky drop |
The fastest route is the one you can repeat
For most players, the winning Last Rites strategy is simple: clear efficient groups, add one elite when your build can handle it, loot selectively, sell in batches, and reset before risk overtakes reward. Avoid unverified exploits and guides that promise exact payouts without naming the current build. If a patch changes enemy rewards or vendor values, recalculate your route instead of blindly repeating old numbers.
Keep your progression sustainable, too. Steam's official store and the developer's current announcements are the safest places to verify patches, while Steam Community discussions can reveal whether a reported farm still works. For performance problems that interrupt long sessions, Steamoz's PC fixes guide offers sensible troubleshooting habits.
Last Rites rewards discipline more than greed. A clean thirty-minute loop, repeated without deaths and pointless detours, will outperform a risky route built around one spectacular chest. Build for uptime, protect your inventory, and let the numbers from your own runs decide what deserves a place in the rotation.