
The fastest way to level in Dungeons 4: The Good, the Bad and the Evil is to build a tight gold-and-mana economy first, keep creatures fighting near your Dungeon Heart, and clear each mission's optional objectives before expanding across the overworld. Gold comes from exposed veins, destroyed enemy infrastructure, and mission rewards, but the real trick is reducing walking time: every idle Snot is money and experience left on the floor.
This guide is built around the expansion's campaign rhythm rather than a reckless speedrun. The DLC throws familiar dungeon management at new objective combinations, and rushing the next story trigger can leave you with under-leveled creatures, weak rooms, and no reserve for an emergency assault. For broader strategy-game optimization, Steamoz's Indoorlands leveling guide covers the same economy-first mindset from a different angle.
Build the economy before chasing the map
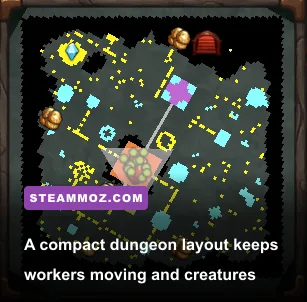
Your opening priority should be space, not decoration. Dig a compact chamber beside the Dungeon Heart, place the rooms required by the current objective, and leave a clean corridor between the Heart, workshops, creature rooms, and the nearest gold vein. A long maze looks impressive, but it makes Snots spend too much time hauling and creates dead time between fights.
Gold is your hard currency for room construction, upgrades, creatures, and several campaign-critical purchases. Mana is just as important because it powers many evil abilities and supports the spells that stabilize a bad fight. Don't spend every early coin on a second defensive room if the first gold pocket is still partially blocked. Expose the full vein, then create a stockpile route before ordering a major expansion.
Use the Dungeon Heart as your safety anchor. Creatures recovering close to it return to combat faster, and a defense built around the Heart gives you a reliable fallback when a surface assault goes wrong. Keep the first training and production rooms close enough that units don't cross the entire dungeon just to join a battle.
| Early action | Why it matters | Best timing | Common mistake |
|---|---|---|---|
| Expose the first gold vein | Funds rooms, creatures, and upgrades | Immediately after the opening objective | Digging a huge empty perimeter |
| Place a compact creature room | Shortens recovery and travel time | Before the first major surface push | Building it far from the Heart |
| Secure mana access | Supports emergency spells and evil abilities | Before triggering the next wave | Spending mana on low-value harassment |
| Finish optional objectives | Often grants extra resources or progression | Before the story exit opens | Leaving the map as soon as the main task clears |
🎮 Dungeons 4 - The Good the Bad and the Evil
Looking to experience this game? Grab your digital key directly on our store for $11.24.
View on Steammoz Store →Fast leveling works through controlled combat
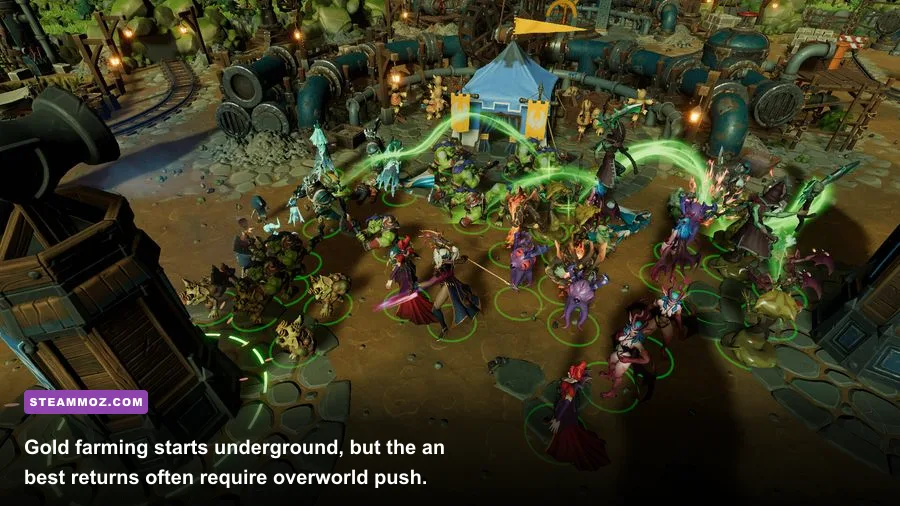
Creature experience is easiest to generate when battles happen in a controlled zone. Let enemies enter a prepared room, pull your frontline back toward the Heart, and keep ranged or support units behind the first line. This turns one attack into repeated safe experience instead of a single expensive wipe.
Don't send every creature onto the overworld the instant a portal opens. A surface squad that clears one camp but loses half its health is not leveling efficiently; it is converting future gold into recovery time. Use a two-group structure: a durable assault group for objectives and a reserve group that stays underground to defend the Heart and absorb surprise attacks.
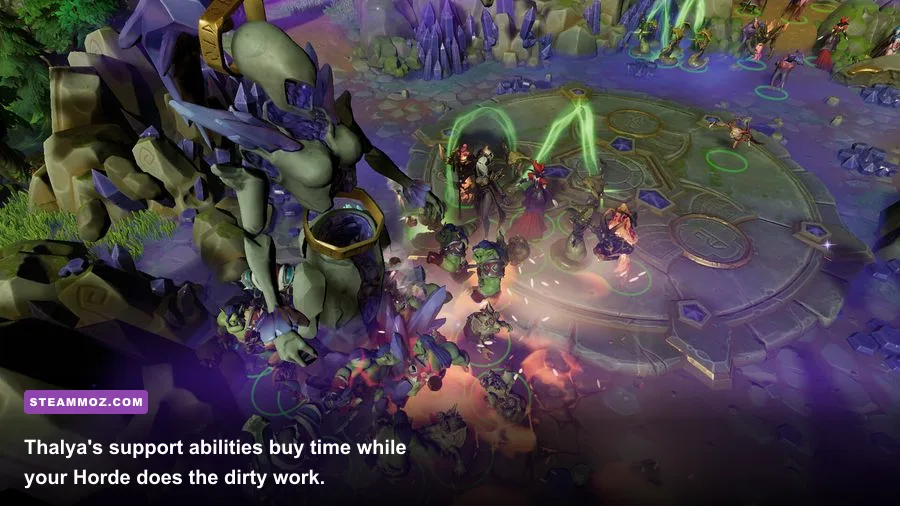
Thalya should remain close enough to influence the fight without being the first unit hit. Her value is strongest when she can support a packed group, interrupt a dangerous target, or help finish a wave after your frontline has fixed the enemy's attention. Focus fire matters more than spreading damage. Delete healers, ranged threats, and siege-style targets first, then clean up the durable units.
The best repeatable leveling loop is simple. Clear the nearest enemy camp, return before your units are critically damaged, refill health and mana, and only then trigger the next objective. If the map provides neutral enemies or respawning threats, use them as a controlled training target rather than chasing distant settlements. This is slower than a blind rush for the first few minutes and much faster by the end of the mission.
| Leveling method | Experience value | Risk | Recommendation |
|---|---|---|---|
| Enemies inside your dungeon | Reliable and repeatable | Low when fought near the Heart | S-Tier for early progression |
| Nearby overworld camps | Good, with objective rewards | Medium | Use after the first defense setup |
| Distant settlements | High potential payout | High because of travel and reinforcements | Attempt with a healed assault group |
| Triggering waves too early | Inconsistent | Very high | Avoid unless the mission demands it |
Gold farming routes that actually pay off
The strongest gold farm isn't one trick; it's a route with no wasted movement. Start by mining every reachable vein near the Heart, then widen the dungeon toward the next resource pocket only after your workforce has cleared the first one. Keep corridors broad enough for units and Snots to pass without constant traffic jams. A blocked tile can delay several workers at once, and that delay compounds during a long mission.
Prioritize gold that is safe to reach over gold buried behind an enemy fortress. The distant deposit may look more valuable, but taking it usually requires rooms, creatures, healing, and defensive upgrades first. Calculate the full cost. If the assault costs more gold than the vein produces before the next objective, it isn't farming; it's a bad trade.
Overworld structures can be better income targets than isolated resource pockets because they often combine gold, objective progress, and map control. Attack them in a sequence that keeps your units near a healing route. Clear the closest profitable target, return to base, then take the next one. The moment your army begins crossing the entire map between fights, your gold-per-minute collapses.
Save a reserve before major scripted events. A practical rule is to keep enough gold for one essential room, one creature reinforcement cycle, and one emergency defensive purchase. The exact amount changes by mission, but the principle never does: a zero balance makes a surprise wave far more dangerous than a slightly delayed upgrade.
| Gold source | Return profile | Hidden cost | Best use |
|---|---|---|---|
| Nearby underground veins | Steady and safe | Digging and hauling time | Opening economy |
| Overworld camps | Medium to high | Healing and travel | Leveling plus expansion |
| Enemy structures | High when tied to objectives | Reinforcements and casualties | Midgame power spike |
| Optional mission rewards | Potentially excellent | Extra combat or time | Before the final story push |
Use the right build for The Good, the Bad and the Evil

For a reliable campaign setup, think in three layers: a frontline that holds enemies in place, damage dealers that focus priority targets, and support abilities that keep the formation alive. The Horde is usually the easiest foundation for early missions because it gives you a straightforward group that can occupy enemies while Thalya and your backline do the efficient work.
Upgrade the units that are already winning fights instead of spreading resources across every available option. One experienced core group is more valuable than a large collection of low-level creatures. Keep at least one defensive response ready for enemy attacks on the Dungeon Heart; the campaign's pressure comes from being punished while your assault party is away.
Use crowd control at the start of a fight, not after your frontline has collapsed. Slow, stun, knockback, and area damage are strongest when enemies are grouped at a doorway or around a fixed objective. Don't waste a major ability on the first disposable target if a tougher wave is seconds away. Mana management is effectively another form of gold management because a drained spell reserve can force you to abandon a profitable push.
Thalya's positioning is the build's hinge. Keep her behind the first contact point, watch for enemy ranged units, and move her before a raid reaches the backline. If she falls or is forced to retreat, the battle often lasts long enough for your creatures to lose their health advantage. For a different kind of progression-focused build philosophy, compare Steamoz's Blackguards starter build.
| Role | Priority | Position | Combat instruction |
|---|---|---|---|
| Frontline Horde | Survival and threat control | First contact | Hold the doorway and protect support units |
| Damage dealers | Focus-fire efficiency | Behind the frontline | Remove healers and ranged threats first |
| Thalya | Support and disruption | Second line | Use abilities during grouped enemy pushes |
| Reserve group | Heart defense | Near the dungeon core | Respond to raids instead of chasing kills |
Campaign pacing, defenses, and PC settings
The expansion rewards players who treat each mission as a series of economic checkpoints. Before activating a major objective, check four things: your nearest gold route is open, your combat group is healed, your reserve is close to the Heart, and your mana pool can answer at least one emergency. If any answer is no, spend the next minute preparing instead of triggering the next fight.
Defenses should delay enemies, not merely look intimidating. Put rooms and combat space where attackers naturally arrive, then keep enough open floor for your creatures to surround targets. A defense that funnels enemies into your strongest group is worth more than scattered protection across every tunnel. Once the Heart is safe, you can spend surplus gold on expansion and optional objectives.
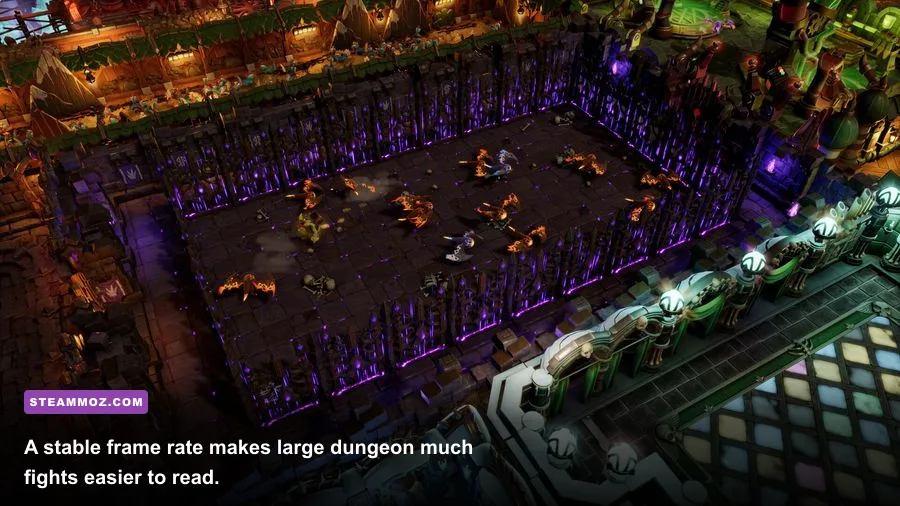
On PC, large dungeons and multi-group battles can cause frame-time spikes even when the average frame rate looks fine. Start with a stable 60 FPS target, lower shadows and effects before texture quality, and avoid chasing ultra settings during an objective-heavy fight. Clear visual feedback matters more than pretty reflections when you are tracking three attack lanes at once.
| Setting | Recommended value | Performance impact | Visual trade-off |
|---|---|---|---|
| Resolution | Native monitor resolution | High if reduced | Keep native when possible |
| Shadows | Medium | Medium to high | Lower room depth and lighting detail |
| Effects | Medium | Medium during raids | Less spell and combat detail |
| Textures | High if VRAM allows | Low to medium | Creature and room surfaces stay sharp |
| Frame-rate cap | 60 FPS or monitor refresh | Improves consistency | Less heat and fewer frame spikes |
For official reference, check the Dungeons 4 Steam page, the Kalypso Media website, and the game's official Dungeons site for current updates and DLC information. If your system is struggling in other strategy titles, Steamoz's King's Bounty II PC fixes and Hunt: Showdown performance guide offer useful troubleshooting habits.
The short version is brutally simple: mine close, fight close, return often, and never trigger a major wave with an empty treasury. In The Good, the Bad and the Evil, disciplined routes beat flashy expansion. Your best run will usually be the one where every Snot has a job, every creature fights at full health, and every gold purchase supports the next objective.