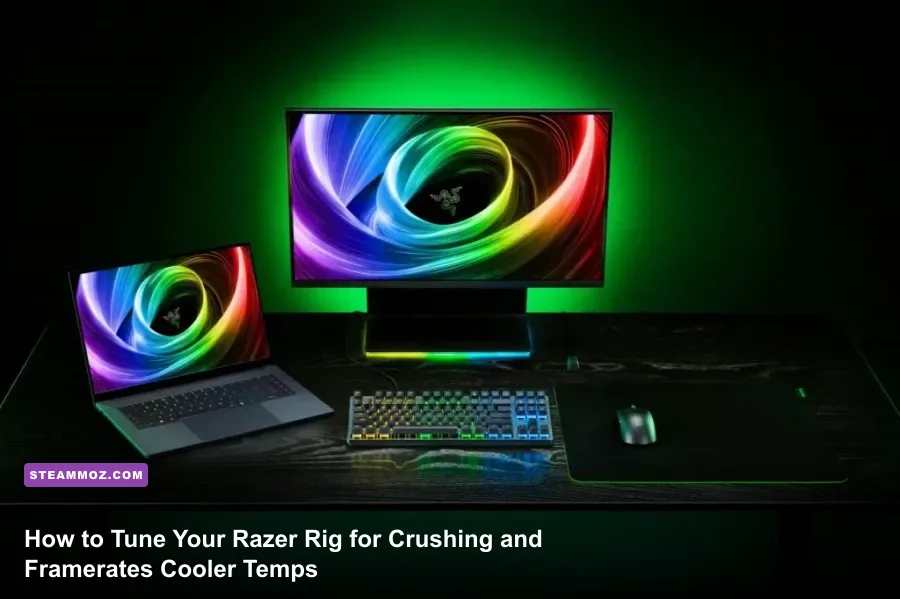
Straight out of the box, your Razer computer is leaving performance on the table. Whether you're rocking a sleek Razer Blade 16 or driving a desktop built into a custom Tomahawk chassis, Razer's factory configuration prioritizes whisper-quiet acoustics, battery longevity, and flashy Chroma lighting over raw, blistering frames. By ditching background telemetry, locking down dedicated GPU display routing, calibrating thermal wattage thresholds, and building custom fan curves, you can realistically carve out 15 to 25 percent better 1% low framerates while knocking 8 to 12 degrees Celsius off your core temperatures. Let's dig into the exact software tweaks, BIOS calibrations, and hardware optimizations required to transform your Razer machine into an unthrottled competitive monster.
Ditch the Bloat: Pruning Razer Synapse for Pure Performance
Razer hardware is engineered like a precision sports car, but its companion software suite often behaves like an overstuffed minivan. Razer Synapse is required to manage power profiles, display refresh switching, and macro assignments, but running the full default suite introduces background services that chew through system memory and create micro-stutter in latency-sensitive shooters. When setting up or resetting your machine, install the latest version directly from the official Razer Synapse platform, but treat the installation modularly.
During the setup wizard, uncheck every single ancillary module except for Chroma Studio (if you care about per-key RGB) and Macro (if you actively rely on custom key binds). Specifically, avoid Razer Cortex. While Cortex advertises itself as a game booster, its aggressive RAM flushing and process suspension routines wreak havoc on modern Windows memory management, directly triggering micro-stutters and sudden frame-time spikes in titles running on DirectX 12 or Vulkan. If your system is prone to erratic frame pacing, checking out methods that rescue 1% low frame stability will show you just how damaging rogue background cleaners can be.
Once Synapse is running with a slim footprint, head into the software settings gear icon in the top right corner. Toggle off Automatic Updates during gameplay, and shut down Razer's diagnostic data collection under the Privacy tab. Finally, open Windows Task Manager, hit the Startup tab, and disable "Razer Central Service Tray" and secondary audio stream injectors. You want Synapse running strictly as a headless driver manager that applies your power tables on boot, nothing more.

🎮 RUSH
Looking to experience this game? Grab your digital key directly on our store for $4.99.
View on Steammoz Store →GPU Switching and NVIDIA Control Panel Calibration

If you're gaming on a Razer Blade, your display is connected to a complex switching network between the integrated processor graphics (Intel UHD/Iris Xe or AMD Radeon) and the discrete NVIDIA GeForce RTX powerhouse. Running in hybrid Optimus mode introduces an undeniable display latency penalty because rendered frames from the discrete GPU must travel across the PCIe bus through the integrated GPU's frame buffer before hitting your screen. To eliminate this bottleneck, open Razer Synapse, navigate to the Performance tab, and switch your display mode from "NVIDIA Optimus" to "Dedicated GPU Only" (or manual MUX Switch).
After a system reboot into direct discrete mode, open the NVIDIA Control Panel to build your foundational 3D settings profile. Avoid blanket "Maximum Performance" power modes across your entire operating system; this keeps the GPU clocks locked at peak boost speeds even when browsing the web, creating unnecessary heat that soaks the chassis before you even launch a game. Instead, set the global power mode to "Normal" and assign peak performance explicitly within individual game profiles.
| NVIDIA Setting | Recommended Value | FPS & Latency Impact | Operational Purpose |
|---|---|---|---|
| Display Mode (Synapse/BIOS) | Dedicated GPU / dGPU Only | +5% to +12% FPS; -8ms display lag | Bypasses the iGPU frame buffer entirely to kill latency. |
| Low Latency Mode | On (Ultra if GPU-bound) | Reduces input queue lag | Prevents the CPU from buffering more than one frame ahead. |
| Power Management Mode | Normal (Global) / Max Performance (Per Game) | Zero FPS loss; massive idle temp drop | Allows the core clock to throttle down at idle to reduce heat soak. |
| Max Frame Rate | 3 FPS below panel max (e.g., 237 FPS) | Locks frame delivery smooth | Keeps G-Sync active without tripping V-Sync input lag limits. |
| Threaded Optimization | Auto / On | Substantial multi-core uplift | Ensures modern multi-threaded engines distribute driver calls. |
If you frequently push your hardware through heavy ray tracing or demanding open-world titles, pairing these driver optimizations with the practical adjustments found in our guide on tuning graphics settings for maximum FPS ensures your rig doesn't choke when scenes become computationally dense. When you configure the display pipeline correctly, games render directly onto the panel without hitching or dropped frames.
Thermal Management: Undervolting, Power Modes, and Fan Curves
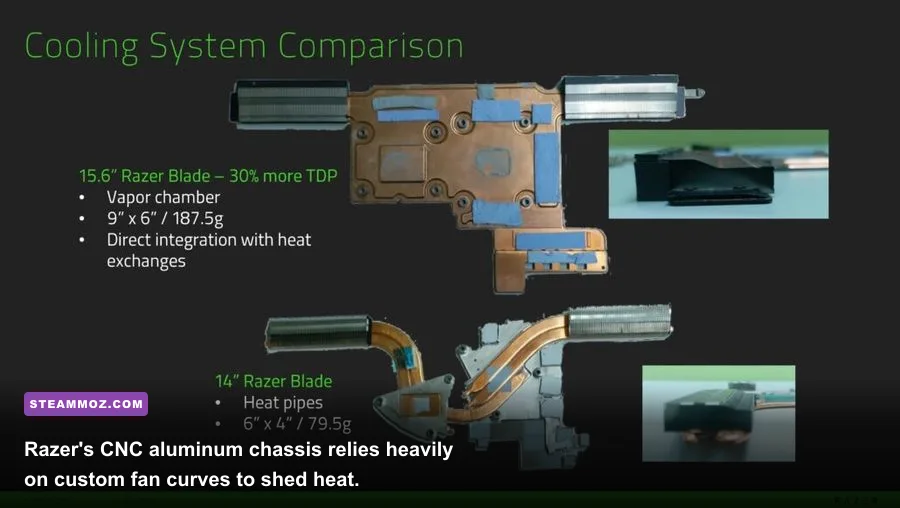
Razer's signature unibody CNC aluminum chassis is both a blessing and a curse. The entire body acts as a secondary heatsink, dissipating heat outward away from core silicone. However, that means the keyboard deck and wrist rests will get uncomfortably toasty if you let the internal components slam into their 100°C thermal throttling thresholds. To combat this, you need to understand how Razer profiles work inside Synapse's Performance tab.
By default, the "Balanced" profile caps the total system TGP (Total Graphics Power) well below the GPU's maximum potential—often restricting an RTX 4080/4090 to 115W–140W instead of its full 175W ceiling. Switching to "Custom" mode unlocks separate sliders for the CPU and GPU. For the best balance of frames and thermals, set the CPU slider to "High" (or "Boost" if you are playing high-frame esports titles like CS2 or Valorant) and crank the GPU slider to "High" to unleash the full rated wattage. To prevent sudden hardware lockups and thermal throttling when pushing heavy workloads, cross-reference our troubleshooting advice for fixing system crashes and stabilizing GPU thermals.
Next comes fan calibration. Razer's "Auto" fan profile is notoriously hesitant; it ramps up slowly to keep acoustics quiet, but this delay lets temperatures spike rapidly. Once the vapor chamber is heat-soaked, it takes twice as long to cool down. Select Manual Fan Control inside Synapse during gaming sessions and lock the dual exhaust blowers between 4,800 RPM and 5,200 RPM. Yes, you will hear the air moving, but keeping fan speed consistent prevents the chassis from saturating and keeps your GPU hovering comfortably around 74°C to 78°C under full load.
For machines equipped with Intel 13th or 14th Gen HX processors (like the Blade 16 or Blade 18), don't overlook CPU undervolting. Razer is one of the few laptop manufacturers that exposes CPU voltage control directly in the BIOS or allows integration with Intel XTU (Extreme Tuning Utility). Reboot your computer, spam the Delete key to enter the BIOS, navigate to the Overclocking menu, and enable processor undervolting. Start with a conservative offset of -50mV on both the Core and Cache. Boot back into Windows, run Cinebench or a gaming benchmark, and verify stability. Many Razer silicon dies can safely reach -70mV to -90mV. This minor voltage reduction can immediately shave 6°C to 10°C off your CPU package temperatures without costing a single megahertz of clockspeed.
Display Calibration: Refresh Rates, Mini-LEDs, and Color Accuracy
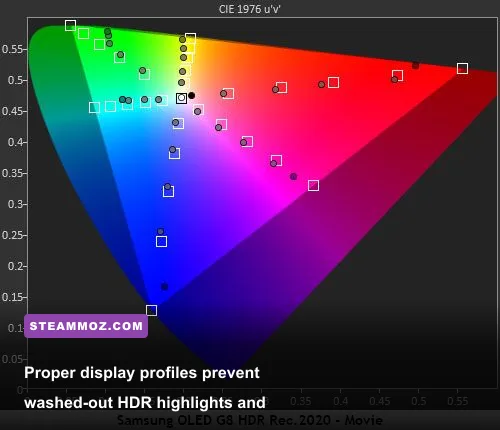
Razer outfits its gaming machines with class-leading screens, ranging from lightning-fast 240Hz QHD OLEDs to revolutionary Dual-Mode Mini-LED panels that toggle natively between 4K 120Hz for creative work and FHD 240Hz for competitive gaming. Yet, out of the box, Windows often defaults to a pedestrian 60Hz, or fails to apply the factory-calibrated ICC color profiles that Razer bakes into their recovery partitions.
Head to Windows Settings > System > Display > Advanced Display and confirm that your refresh rate is set to its absolute maximum. Next, if you are rocking a Mini-LED panel, open Razer Synapse to verify your dynamic local dimming mode. For daily desktop use and web browsing, set local dimming to "Single-Zone". While multi-zone dimming delivers ink-like blacks in games, using it on the Windows desktop creates annoying blooming halos around text and mouse cursors. Switch to "Multi-Zone" right before you launch an HDR title to unlock breathtaking contrast and specular highlights that reach beyond 1,000 nits.
| Panel Technology | Target Refresh Mode | Local Dimming / Overdrive | Color Calibration Target |
|---|---|---|---|
| Dual-Mode Mini-LED | FHD 240Hz (FPS) / 4K 120Hz (Cinematic) | Multi-Zone (In-game only) | DCI-P3 calibrated profile |
| QHD Fast IPS (240Hz/360Hz) | Native Max Refresh Rate | Overdrive: High (Avoid extreme inverse ghosting) | sRGB for web; DCI-P3 for modern gaming |
| QHD / 4K OLED | Native Max (165Hz / 240Hz) | N/A (Instant pixel response) | HDR True Black 400/500 profile |
Windows HDR handling is notoriously quirky. If you enable HDR and notice that colors look washed out or grayed out, download the official Windows HDR Calibration App from the Microsoft Store. Run through the three-step calibration process: set your minimum luminance to pure black (0.0 nits), your maximum luminance to your panel's peak clipping point (typically 1,000 nits for Mini-LED), and your max full-frame brightness accordingly. Save this profile and bind it directly to your display. This ensures that dark corridors in horror titles stay pitch-black while explosions retain their searing highlights without clipping color data. Even modest indie experiences look completely transformed; just see our breakdown of how accurate visual tuning elevates framerate stability and lighting balance across varied display configurations.
THX Spatial Audio and Polling Rate Latency Tuning
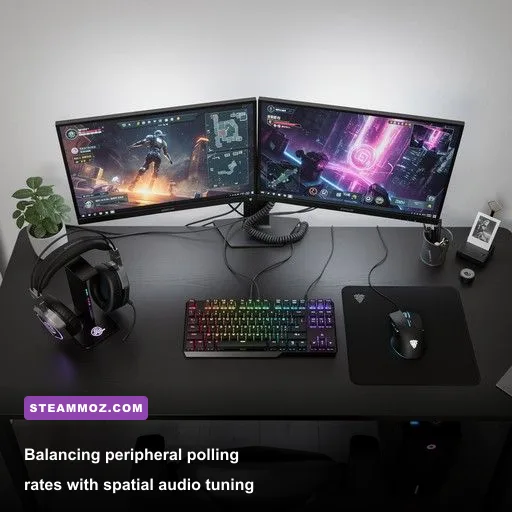
Modern Razer setups lean heavily into peripheral synchronization through the broader ecosystem. While the audio pipeline is powered by THX Spatial Audio, its default sound profile is completely unsuited for competitive play. Out of the box, the "Game Mode" audio preset pumps the bass frequencies to cinematic levels. In an intense firefight, explosive low-end rumbles at 60Hz–120Hz completely drown out the delicate footsteps, reloading clicks, and audio cues occurring between 2,000Hz and 5,000Hz.
Open the THX Spatial Audio app (or the Audio tab inside Synapse), select your active output device, and create a Custom 10-Band EQ Profile. Apply the following adjustments to isolate tactical audio cues:
- 31Hz to 125Hz (Sub-Bass/Bass): Pull these bands down by -3dB to -5dB. This cuts out excessive grenade rumble and engine roar that mask spatial positioning.
- 250Hz to 500Hz (Low-Mids): Keep flat (0dB) to preserve natural weapon sounds and teammate voice communications.
- 1kHz to 4kHz (High-Mids): Boost these sliders upward by +3dB to +4.5dB. This is the golden frequency range for movement sounds, including footsteps across wood, gravel, and metal surfaces.
- 8kHz to 16kHz (Treble): Leave flat or apply a subtle +1dB bump for crispness on directional bullet cracks and armor breaks.
Beyond audio, if you're using a Razer HyperPolling wireless mouse or keyboard (capable of 4,000Hz or 8,000Hz polling rates), calibrate your hardware to match your system capacity. Running an 8,000Hz mouse polling rate generates a massive barrage of hardware interrupts every second. In unoptimized games or CPU-bound scenarios, this can easily eat 10 to 15 percent of your total CPU headroom, producing severe micro-stutter every time you flick your mouse quickly across the pad.
For most competitive titles, 2,000Hz or 4,000Hz is the absolute sweet spot. It cuts peripheral transmission delay down to 0.25ms without overloading the Windows input scheduler. Test your preferred shooters on the Steam platform while monitoring CPU usage graphs via RivaTuner Statistics Server; if you see your frame-time line spiking when you shake your mouse, bump the polling rate back down one notch. To keep your gaming sessions free from mysterious engine freezes, review these critical crash fixes and system adjustments that prevent background driver conflicts.
Hardware Preservation: Battery Swell Defense and Thermal Maintenance
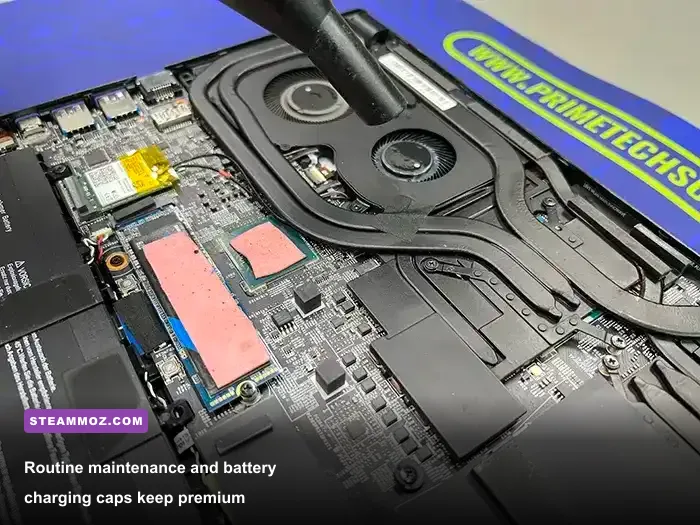
No optimization guide for Razer computers is complete without addressing long-term hardware preservation. Because Razer packs desktop-tier components into ultrathin chassis, thermal energy naturally radiates through the interior. Historically, one of the most common issues plaguing high-power portable rigs has been battery expansion caused by cells sitting at a 100% state of charge while being constantly exposed to 50°C+ internal ambient air.
Razer solved this problem natively through the Battery Health Optimizer feature found in modern Synapse releases and recent BIOS updates. If you keep your machine plugged into the power brick at a desk for most of its lifespan, enable this setting immediately and lock the charge ceiling to 75% or 80%. Capping the maximum voltage of lithium-ion cells dramatically reduces chemical stress and thermal degradation, completely neutralizing the risk of your battery swelling into a pillow that jams your trackpad.
Finally, establish a strict physical maintenance routine every six months:
- Clean the Vapor Chamber Intake: Remove the Torx T5 bottom screws, pull off the metal plate, and inspect the dual cooling fans. High-pressure vapor chamber fins are closely spaced and trap micro-lint easily. Hold the fan blades gently in place with a finger and use short bursts of compressed air to clear the fins. Never let the compressed air spin the fans freely at ultra-high speeds, as this can back-feed voltage into the motherboard fan headers.
- Elevate the Chassis: The intake vents underneath Razer chassis require room to pull cool air. Never place the unit flat on a soft blanket, bed, or carpet during gaming sessions. Simply propping up the rear rubber feet by half an inch with a riser or laptop stand provides a direct 3°C to 5°C reduction in core temperatures by eliminating air starvation.
- Phase Change Repasting (Advanced): If your Razer rig is more than two years old and you notice core thermal throttling despite clean fans, consider replacing the factory thermal interface material with Honeywell PTM7950 phase-change pads on the CPU and GPU dies. Unlike traditional thermal paste, which quickly pumps out due to the rapid thermal expansion cycles of laptop dies, PTM7950 solidifies when cool and melts into an ultra-thin, highly conductive layer under load that lasts for years without drying out.
Setting up a Razer computer properly takes a little patience, but the rewards are immediate. By stripping out resource-heavy background fluff, calibrating your display to showcase true color and speed, locking in realistic fan curves, and protecting your internals from heat soak, your Razer rig will perform exactly like the precision gaming instrument it was designed to be.