
Running Bloodborne on PC via emulation through the shadPS4 emulator is nothing short of a community miracle, but out-of-the-box it runs like an unhinged nightmare. If you're wrestling with micro-stutters every time you quickstep, severe framerate drops in Central Yharnam, or hard desktop crashes when entering the Hunter’s Dream, you can fix nearly all of it with three critical moves: set up a forced 32GB Windows paging file to prevent asset-streaming memory overflows, inject community-developed 60 FPS physics-delta patches to bypass the 30 Hz Havok cloth lock, and set your GPU driver cache to a minimum of 10GB to kill Vulkan shader recompilation spikes.
Dialing in Core Emulator Settings for Immediate Stability
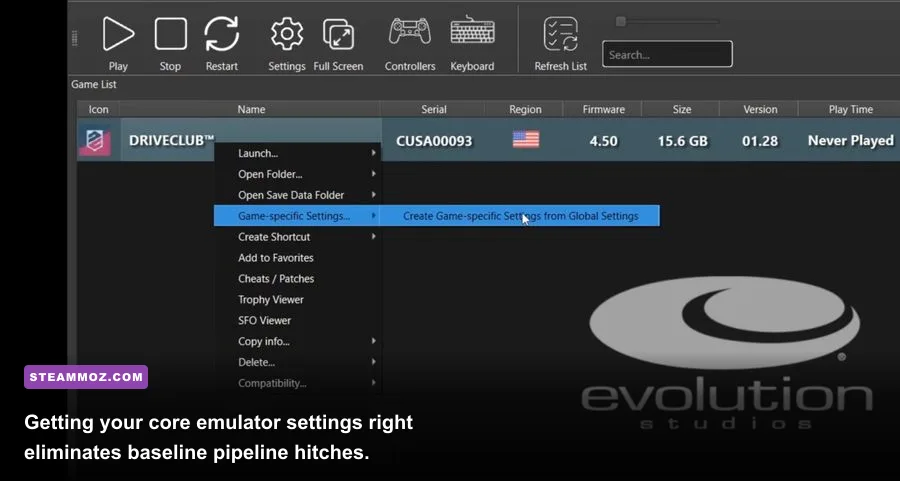
Before touching game patches or driver overrides, your baseline emulator configuration needs to be rock-solid. Bloodborne demands meticulous handling of host CPU threads and Vulkan pipelines. Opening your emulator configuration menu (or modifying config.toml directly) gives you immediate control over how shader pipelines compile and how memory mirrors the PlayStation 4's unified architecture.
Start by setting your renderer to Vulkan. Bloodborne makes heavy use of compute shaders and dynamic lighting passes that choke DirectX translation layers. If you run into stuttering right as combat begins, the emulator is likely compiling pipeline state objects (PSOs) on the fly. Enabling asynchronous shader compilation prevents the main render thread from locking up while waiting for a lighting pass to compile. Much like tuning unstable titles where early render threads fall apart—a scenario we dissected in our guide on ELEX PC fixes that stop crashes and rescue your FPS—nailing these low-level parameters makes all the difference.
Make sure you also disable all verbose debug logging. Writing gigabytes of execution trace logs to your NVMe drive introduces persistent micro-stutters that mirror frame-time variance spikes. Here is the definitive setting baseline you should apply in your configuration file:
| Setting Parameter | Target Value | Performance / Stability Impact | Technical Purpose |
|---|---|---|---|
| Graphics Backend | Vulkan | High (+15-25% FPS) | Provides direct hardware access for asynchronous compute calls. |
| Async Shaders | Enabled | Eliminates 90% of hitching | Compiles visual shaders in background worker threads without stalling. |
| V-Sync | Disabled (In-App) | Reduces input latency | Prevents double-buffering locks; sync should be handled via GPU driver. |
| Debug Logger Level | Off / Error Only | Removes disk I/O hitching | Prevents real-time disk writes during rapid asset and sound streaming. |
| Host CPU Threads | Auto or 6 to 8 Cores | Stabilizes 1% Lows | Prevents thread starvation across physics, audio, and render loops. |
| Resolution Scale | 100% (1080p native) | Crucial for crash prevention | Avoids framebuffer address mismatch bugs before applying dynamic upscalers. |
Essential Mod Patches: Physics Fixes and Smooth 60 FPS
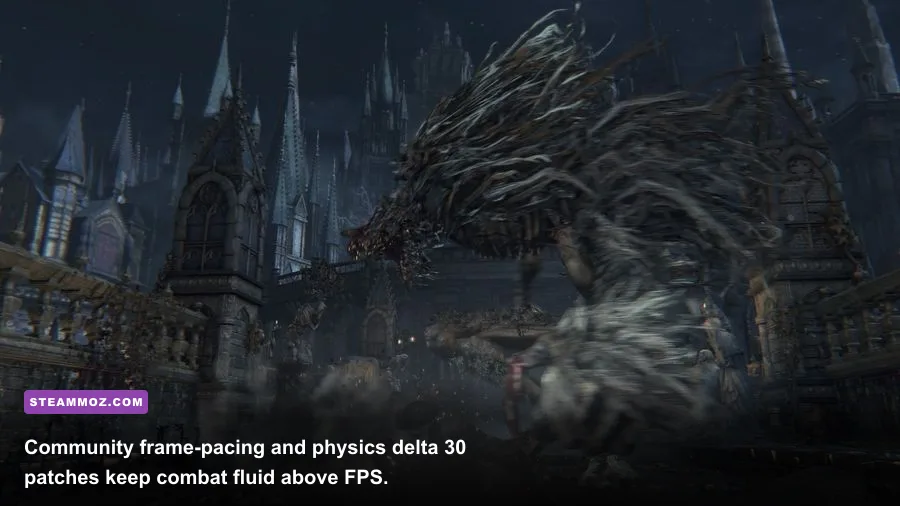
By default, Bloodborne’s Havok physics engine, enemy animation tick rates, and attack hurtboxes are hardcoded to a 30 FPS timing loop. If you simply uncap the framerate without engine-level modifications, game logic runs at 200% speed: the Hunter dashes at hyperspeed, enemy lunge animations hit instantly, and your stamina depletes in fractions of a second. To play at a silky 60 FPS, you must apply the community 60 FPS patch paired with the Havok physics delta step fix authored by modders elad335 and illusion.
These patches adjust the engine's internal accumulator time (flt_141C9D284) so physics calculations scale smoothly with frame times. Drop the modified patch.yml or patches.txt file into your emulator’s patch directory, matching your exact title ID (typically CUSA00207 or CUSA03173). While you are editing patches, disable Chromatic Aberration and Motion Blur. Removing these two post-processing passes is not just an aesthetic upgrade—it saves roughly 12% to 18% GPU render overhead, dramatically smoothing out notoriously heavy zones like the Forbidden Woods and Old Yharnam.
If you have spent time troubleshooting sudden framerate collapses in other demanding ports—similar to the optimizations we covered in our breakdown of Everspace 2 crashing and FPS fixes—you know post-processing passes running through translation layers often cause massive VRAM bottlenecks. Turning them off keeps your frametimes flat and predictable.
Eliminating Memory Leaks and Hard Desktop Crashes
The most infuriating Bloodborne PC bug is the dreaded crash to desktop (CTD) during loading screens, particularly when traveling between the Hunter's Dream and Central Yharnam. This issue is almost never an unhandled code exception; it is a straightforward Out-Of-Memory (OOM) error caused by the emulator mapping the PS4's 8GB unified GDDR5 memory pool across both system RAM and VRAM simultaneously.
When physical RAM fills up, Windows aggressively dumps memory pages, causing the emulator process to collapse instantly. You can permanently solve this issue by creating a dedicated, oversized virtual memory paging file on your fastest SSD:
- Press Win + R, type
sysdm.cpl, and hit Enter to open System Properties. - Click the Advanced tab, and under Performance, select Settings.
- Head to the Advanced tab and click Change under Virtual Memory.
- Uncheck "Automatically manage paging file size for all drives".
- Select your fastest NVMe/SSD drive, choose Custom size, and input:
- Initial size (MB):
24576(24 GB) - Maximum size (MB):
32768(32 GB)
Click Set, then OK, and reboot your PC. This massive swap space ensures that when the emulator streams high-resolution texture arrays or geometry buffers across zones, Windows has enough addressable headroom to prevent memory faults. We used an identical paging strategy to resolve stability hitches in our guide for EscapeVR The Basement low FPS and crash fixes, and the technical principle remains the same here.
GPU Driver Tweaks: NVIDIA Control Panel and AMD Adrenalin Optimization
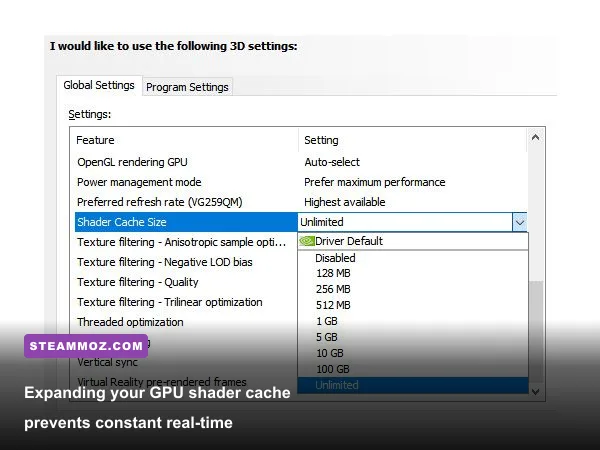
Even with an optimal emulator setup, your graphics card driver can sabotage frame delivery if it drops compiled shaders or switches into energy-saving power states during brief CPU-bound pauses. Both NVIDIA Control Panel and AMD Software: Adrenalin Edition require manual overrides for the emulator executable.
Your primary goal is increasing your shader cache limit. The default 1GB or 4GB driver cache fills up within two hours of exploring Yharnam, forcing your GPU to purge cached pipelines and recompile them during boss fights like Father Gascoigne or the Blood-starved Beast, triggering massive frame drops. Increase the Shader Cache Size to 10GB or Unlimited.
| Driver Setting | NVIDIA Control Panel | AMD Adrenalin Edition | Recommended Value |
|---|---|---|---|
| Shader Cache Size | Shader Cache Size | Shader Cache Reset / Disk Cache | 10 GB or Unlimited |
| Power Management | Power Management Mode | Power Tuning / Profile | Prefer Maximum Performance |
| Low Latency / Reflex | Low Latency Mode | Radeon Anti-Lag | On (Standard, not Ultra) |
| Threaded Optimization | Threaded Optimization | Multithreading Mode | Forced On |
| Frame Rate Cap | Max Frame Rate | Radeon Chill / Target Rate | 60 FPS (or 59 FPS with G-Sync) |
Locking your maximum framerate inside the driver rather than relying on in-engine limits delivers exceptionally flat frame-time pacing. This level of precise timing control mirrors the configuration principles we explored when breaking down Filament Marmalade Edition settings for higher FPS, ensuring your monitor's refresh cycle stays perfectly in sync with the emulator’s presentation queue.
Fixing Vertex Explosions, Sound Stutters, and Area-Specific Freezes

If you notice giant, jagged polygonal spikes stretching across your screen—known in the emulation community as "vertex explosions"—your GPU is misinterpreting vertex buffer offsets. This visual glitch frequently occurs in Cathedral Ward, the Hemwick Charnel Lane graveyard, and during weapon transformation animations on complex trick weapons like the Threaded Cane or Ludwig's Holy Blade.
To wipe out vertex spikes, confirm that your emulator is running the latest vertex-stream alignment patch. You should also verify that your GPU supports Vulkan 1.3 features, specifically dynamic primitive topologies and robust buffer access. If you're playing on an older architecture (such as NVIDIA Pascal or AMD Polaris), rolling back one driver version or enabling the "Buffer Reinterpretation Workaround" in your advanced emulator debug flags will force standard coordinate recalculations, clearing out those jagged polygons.
Audio desynchronization and looping sound effects (like endless repeating footsteps or wet visceral attack audio playing seconds late) happen when the game's audio thread falls out of sync with the CPU render tick. Navigate to your audio settings and set the audio backend to Cubeb or SDL2, adjusting the buffer size to 512 samples (or approximately 20ms to 40ms latency). A tiny amount of audio buffering gives the sound engine enough headroom during chaotic encounters, preventing sound threads from hanging and pulling the entire game down with them.
By establishing a large virtual paging file, applying community physics-delta patches, expanding your driver shader cache, and locking down your Vulkan render pipeline, Bloodborne transforms from a stuttering, unstable project into the blistering, responsive gothic masterpiece PC players have spent a decade waiting for. For more system-level calibration guides across a massive variety of challenging titles, dive into our Far Cry 6 settings for max FPS to keep your entire PC library running at peak performance.