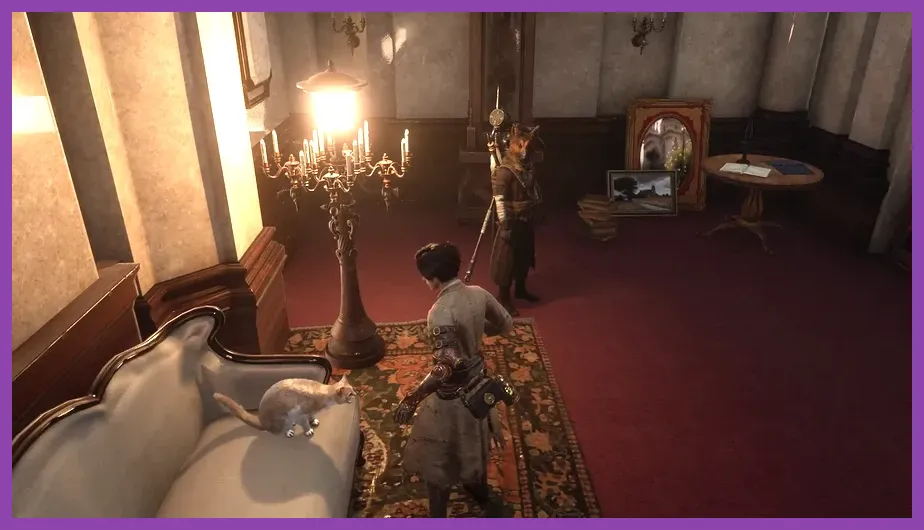
The fastest way to level up in Lies of P is to clear a short route from a Stargazer, reset it, and spend every safe Ergo deposit at Hotel Krat. Prioritize Vitality, Vigor, Capacity, and your chosen damage stat, then farm the strongest area you can clear without dying. Do not hoard Ergo, ignore consumable Ergo fragments, or grind weak early enemies after reaching a better Stargazer.
Pinocchio gains levels by speaking to Sophia at Hotel Krat, but the option only becomes available after the early Hotel Krat progression. Your real leveling speed depends on three things: how much Ergo each loop produces, how quickly you kill enemies, and whether you can recover dropped Ergo after a mistake. This guide covers the best farming routes, stat spending, weapon upgrades, and boss preparation from the opening hours through the late game.
Use Stargazers for Safe, Repeatable Ergo
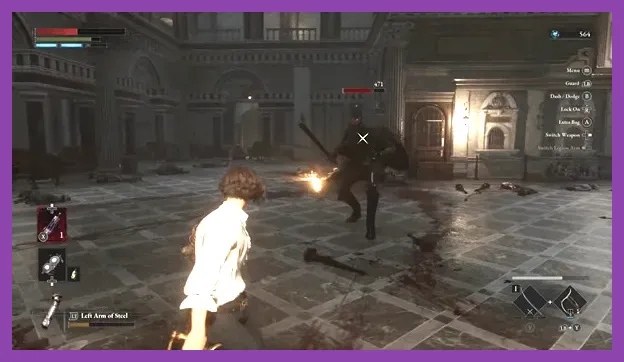
Every Stargazer works as both a checkpoint and an Ergo reset point. Resting restores your health, Pulse Cells, Legion resources, and normal enemies, while named elite enemies and bosses remain defeated. The ideal farm has enemies close to the Stargazer, a compact route, minimal environmental hazards, and a shortcut back to safety.
Follow the three-minute rule
Run a route for roughly three minutes, then return to the Stargazer before spending anything. If enemies take too long to kill, your damage is behind the area curve and you should upgrade your weapon instead of extending the grind. If one enemy can kill you before you reach the checkpoint, choose a safer loop with slightly lower rewards.
Early on, clear every puppet between the Stargazer and the next shortcut. Practice Perfect Guard timing against basic sword puppets and police puppets rather than sprinting past them. A successful guard can stagger enemies, and staggered targets let you use a charged heavy attack for a quick kill. This produces more Ergo per minute than repeatedly trading damage and consuming Pulse Cells.
Bank Ergo before risky exploration
Use Ergo Fragments from your inventory whenever you are close to a level, weapon upgrade, or merchant purchase. The Small Ergo Fragment, Vivid Ergo Fragment, and Radiant Ergo Fragment are safe reserves because they do not disappear when Pinocchio dies. Keep boss Ergo and Rare Ergo in your inventory until you are certain you want the associated special weapon or amulet; do not accidentally consume them while farming.
If you die, your lost Ergo appears near the death location. A glowing green marker shows the recovery point, but taking another hit can end the run before you retrieve it. On a dangerous boss approach, spend your current Ergo first. You can also recover a portion by touching the marker from a distance if the area is crowded, then retreat to heal.
For the complete game context, keep the official Lies of P Steam page bookmarked for patch notes and system information. The game's official Lies of P website is also useful for major update announcements.
Best Early-Game Ergo Farming Routes
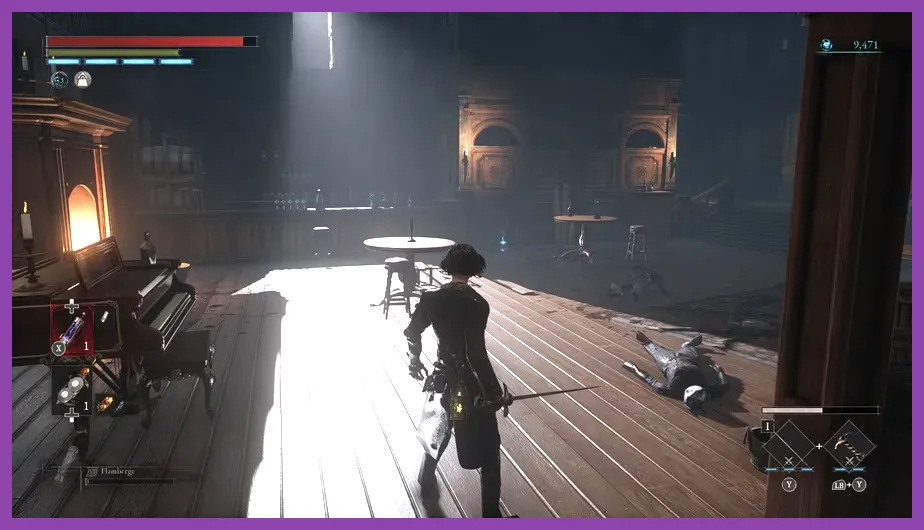
Krat Central Station and Cerasani Alley
After the opening, Krat Central Station Plaza is the safest place to learn the leveling loop. Clear the basic puppets around the Stargazer, move through the station entrance, and defeat the nearby sword and rifle enemies. The route is short enough to repeat quickly and teaches Perfect Guard timing without forcing you into a boss arena.
Continue into Cerasani Alley once you are comfortable. The puppets near the alley and the first major shortcut give a better return than repeatedly killing only the station enemies. Use a Motivity weapon such as the Greatsword of Fate if you want broad, heavy swings, or a Technique weapon such as the Wintry Rapier for fast thrusts. Upgrade the weapon at Hotel Krat rather than attempting to compensate for low damage with extra levels.
Workshop Union Entrance
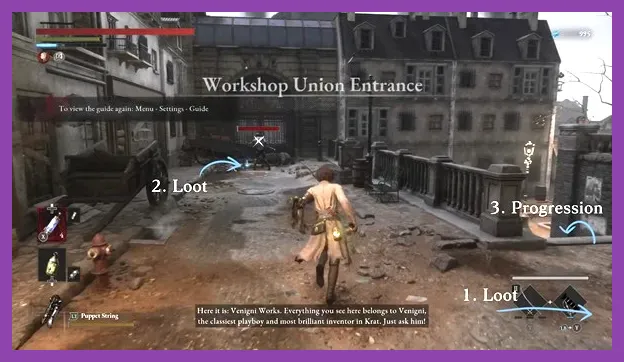
The Workshop Union Entrance Stargazer becomes one of the strongest early loops. Clear the puppet enemies in the opening factory section, including the larger enemies that telegraph overhead strikes, then return through the same path. Fire canisters and explosive hazards make this route more dangerous, so lure one enemy at a time and avoid fighting beside red barrels.
This area is particularly good for players using the Electric Coil Stick, because electricity is highly effective against puppets. The weapon can be purchased from the Wandering Merchant near the House on Elysion Boulevard after the required progression. Use Electric Blitz against mechanical enemies, but switch to a physical weapon when a target resists the element.
Venigni Works and the Venigni Collection
Once the Venigni Works Stargazer is available, clear the surrounding factory puppets and carcasses, then use the shortcut to reset. Watch for the shovel-wielding puppet and the large flaming hazards. The enemies here award enough Ergo to make early Vitality or Capacity levels affordable without spending twenty minutes on weak enemies.
Do not skip the area vendors. The Wandering Merchant in this section can sell useful consumables and weapon materials, while Eugenie at Hotel Krat handles weapon improvements. A +2 weapon with the correct damage type generally increases your farming speed more than several extra points placed into Motivity or Technique.
Best Mid-Game Ergo Routes and Enemy Targets
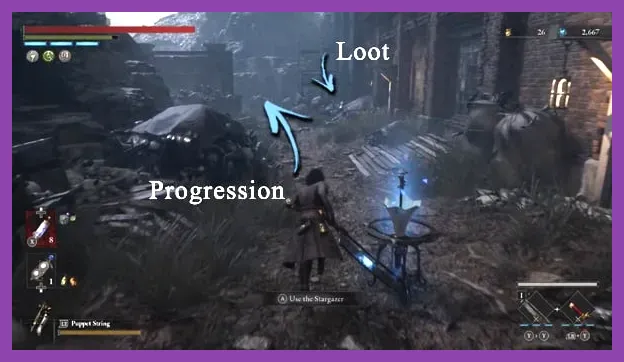
Malum District and the Red Lobster Inn
The Malum District becomes an efficient mid-game loop once you activate the Stargazer inside the Red Lobster Inn. From there, clear the nearby citizens and carcasses, move through the surrounding streets, and use the shortcut back to the inn. The route contains several aggressive enemies, so pull them through doorways instead of fighting the entire group in the open square.
The large Decay enemies can be worth killing if your build handles them reliably, but they are not mandatory. They have slow, readable attacks and are vulnerable to stagger after repeated Perfect Guards. If the fight takes too long, skip them and clear the faster targets around the inn. The best farm is the route with the highest successful Ergo per minute, not the route with the largest individual enemy reward.
Rosa Isabelle Street and the Collapsed Street
Rosa Isabelle Street offers a useful alternative for Technique builds and players who prefer human-sized enemies. Clear the puppets and carcasses near the Stargazer, avoid the fire hazards, and return through the shortcut. The narrow streets make the Wintry Rapier, Salamander Dagger, and other quick weapons effective because you can punish recovery animations without being surrounded.
Barren Swamp Bridge
In the later mid-game, the Barren Swamp Bridge route delivers a stronger return. Defeat the nearby puppets and carcasses, then include the larger targets only if you can Perfect Guard their predictable swings. Acid and Decay buildup are the main threats, so equip appropriate resistance items and carry Purification Ampoules. Losing a full late-game level to a status effect is slower than taking a conservative route.
After unlocking the Barren Swamp Bridge Stargazer, use the route to fund Capacity upgrades and Legion Arm improvements. Capacity is especially valuable here because heavier weapons, defensive parts, and useful amulets can otherwise force you above your preferred weight threshold.
Spend Levels on the Right Stats
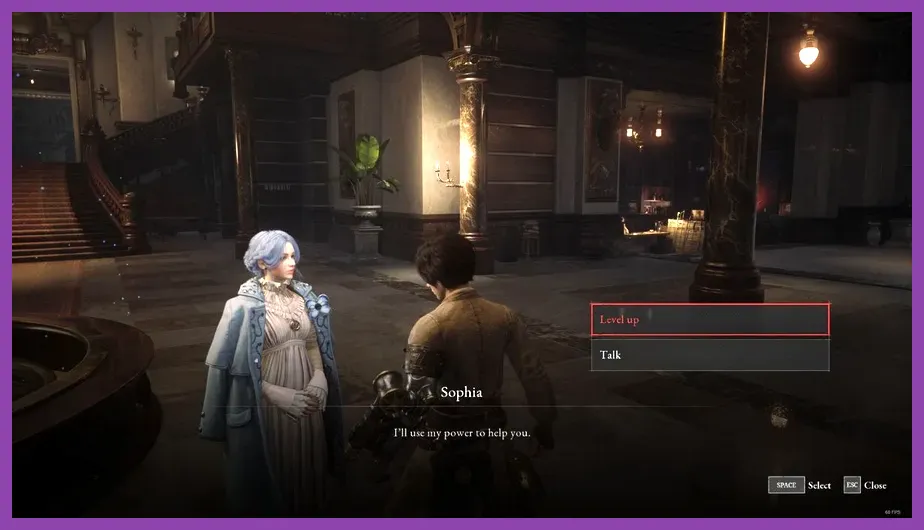
There is no universal best stat, but most new players level too much damage and neglect survival. Use this priority for a normal first playthrough: Vitality to about 20-25 early, Vigor to about 15-20, Capacity to about 20, then your primary damage stat to roughly 25-30. Adjust those targets when your weapon, playstyle, or weight limit demands it.
Vitality and Vigor
Vitality increases your health and gives more room to survive boss mistakes. It is the best answer when regular enemies kill you in two hits. Vigor improves stamina, which controls dodging, attacking, sprinting, and guard recovery. A character with strong damage but insufficient stamina often cannot complete a full punish window after a Perfect Guard.
Capacity
Capacity controls your weight limit and lets you equip heavier defensive parts, amulets, and weapons without becoming Heavy. Stay in the normal weight range whenever possible. Heavy movement slows your dodge and stamina recovery, destroying the advantage of extra armor. Capacity also supports Legion Arm builds because Legion resources and arm upgrades become more useful when you can maintain mobility.
Motivity, Technique, and Advance
Choose one main damage path rather than splitting points across all three. Motivity supports heavier handles and weapons such as the Bone-Cutting Saw, Greatsword of Fate, and Frozen Feast. Technique suits faster weapons such as the Wintry Rapier, Puppet Saber, and Two Dragons Sword. Advance improves elemental damage and status effects, making weapons such as the Salamander Dagger, Acidic Crystal Spear, and Electric Coil Stick more attractive.
Elemental damage is matchup-dependent. Electric Blitz is excellent against puppets, Fire is effective against carcasses, and Acid helps against many human enemies. Carrying a second damage type is often better than spending ten extra levels trying to force one weapon through every encounter. Weapon handles can be modified for scaling, so check the letter grades before committing upgrade materials.
When to use P-Organ upgrades instead
Quartz does not increase your character level, but P-Organ upgrades can dramatically improve your effective power. Extra Pulse Cell uses, additional Fable slots, increased staggerable windows, and improved Guard Regain are strong early priorities. Do not farm Ergo when the real bottleneck is Quartz from optional rooms, elite enemies, or chests.
Upgrade Weapons Before Grinding More Levels
Weapon enhancement is the most efficient damage investment in Lies of P. Eugenie upgrades normal weapons with materials such as Hidden Moonstone of the Covenant and Crescent Moonstone of the Covenant, while special weapons use special upgrade materials. Visit Hotel Krat after every major area and compare the required material with your current damage.
Match damage to the zone
For puppet-heavy areas, test Electric Blitz weapons or abrasives. For carcasses, use Fire. For human enemies, Acid is often effective. The goal is not to permanently abandon your favorite weapon; it is to carry an elemental grindstone or a second weapon so the farm route ends faster.
Fable Arts are another hidden leveling multiplier. Use Fable Catalysts and Fable charges on enemies that survive your normal combo, not on the first weak puppet in a loop. Heavy attacks with the Greatsword of Fate can stagger large targets, while fast Technique weapons can rapidly trigger stagger buildup through repeated charged attacks when you understand the opening.
Prepare a boss loadout, not just a higher level
Before a boss, spend Ergo on the next weapon upgrade, buy throwables from Polendina when available, and equip defense parts that match the incoming damage. For the Scrapped Watchman, practice Perfect Guard against the delayed overhead attacks and use Electric Blitz. For King's Flame, Fuoco, avoid lingering beside the furnace vents and use a fast punish after its fire-based recovery. For the Fallen Archbishop Andreus, watch the body-side telegraphs and use fire against the grotesque form.
Boss Ergo should normally be exchanged with Alidoro for a special weapon or amulet rather than consumed. For example, the Parade Leader's Ergo can be traded for the Seven-Coil Spring Sword or Dancing One's Amulet, depending on the available exchange. If you already know you will never use either reward, consuming it is acceptable, but make that decision after checking your build.
For more action-RPG planning, compare this approach with our Nine Sols skill recommendations and Metaphor: ReFantazio beginner tips. The principle is the same: improve the tools that shorten every encounter before investing in marginal statistics.
Fast Leveling Routine for Every Chapter
- Activate the newest Stargazer. Explore the surrounding area until you identify a shortcut and a safe reset path.
- Clear a compact loop. Kill enemies you can defeat consistently, prioritizing targets with good Ergo and low risk.
- Return before the route becomes dangerous. Do not extend a successful run into an unfamiliar room just to chase one more enemy.
- Spend Ergo at Hotel Krat. Speak with Sophia for levels, Eugenie for weapon upgrades, and the relevant merchants for supplies.
- Use consumable Ergo before difficult attempts. Keep enough fragments to reach the next upgrade without risking your banked currency.
- Change damage types when kills slow down. Use Electric Blitz on puppets, Fire on carcasses, and Acid against suitable human targets.
- Stop farming when the boss dies in a reasonable attempt. Lies of P rewards learning attack patterns more than overleveling, and excessive grinding will not replace Perfect Guard timing.
A strong first-playthrough target is a balanced character around level 20-30 for early major bosses, roughly level 40-60 through the middle chapters, and approximately level 70-90 for the final stretch, depending on exploration and optional encounters. These are benchmarks, not requirements. If your weapon is upgraded, your weight is normal, and you can survive two mistakes, you are usually ready.
For additional build-focused reading, see Steamoz's co-op build guide and defensive setup guide. In Lies of P, the fastest leveling strategy is ultimately a disciplined loop: farm the latest efficient Stargazer, bank Ergo frequently, upgrade the weapon first, and spend stats to fix the specific weakness killing you.