
The best No Rest for the Wicked co-op setup is a three-role party: a Strength frontline fighter with a shield, a Focus caster using Staff skills, and a Dexterity ranged or Twin Daggers attacker. The frontline controls space and staggers dangerous targets, the caster supplies Fireball, Healing Aura, or Ice Bolt utility, and the third player attacks from a flank with Bow or Twin Daggers damage. This arrangement is stronger than running three identical melee characters because it spreads damage types, avoids crowded hitboxes, and gives the group answers for both ordinary enemies and bosses.
The recommendations below are aimed at online multiplayer in the current PC version, where coordination matters more than simply copying a high-damage solo build. Each loadout includes attribute priorities, weapon choices, skill runes, equipment targets, and a practical combat rotation. Before changing your character, check our guide to respeccing skill points for the general principle: rebuild around your actual weapon requirements rather than chasing a theoretical maximum.
Best Co-op Party Composition
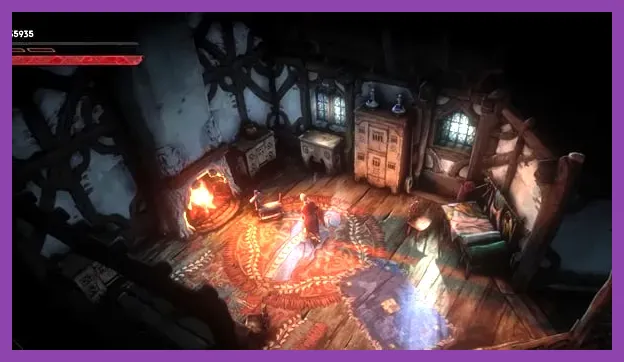
Player one: Shield Vanguard. Use a one-handed Sword, Mace, or Hammer with a Shield. Invest primarily in Strength and Vitality, with enough Focus to activate useful weapon skills. This player starts encounters, blocks projectiles, interrupts heavy attacks, and keeps elite enemies facing away from the rest of the party.
Player two: Focus Battlemage. Equip a Staff as the main weapon and carry a secondary weapon with Healing Aura or another utility rune. Intelligence improves the requirements and effectiveness of many caster setups, while Focus supports skill use. The caster should stand behind the Vanguard, not at maximum distance, so healing and crowd-control skills remain available to the whole group.
Player three: Dexterity Skirmisher. A Bow or Twin Daggers fills this slot. Bow is safer and easier for a new co-op player; Twin Daggers offer greater burst but demand better positioning. Dexterity should be the main attribute, with Vitality added whenever a character is dying to one hit. This player circles bosses, punishes recovery animations, and removes archers before they disrupt the frontline.
For a two-player party, combine the Vanguard and Battlemage on one character only if the player has enough Focus to use utility skills consistently. The cleaner pairing is Shield Vanguard plus Bow Skirmisher, with food and healing items covering the missing support role. On the official No Rest for the Wicked Steam page, keep an eye on multiplayer and balance updates because weapon runes and co-op systems are still subject to change.
S-Tier Shield Vanguard Build

The Shield Vanguard is the strongest all-purpose co-op build because blocking is more valuable when another player can exploit the enemy recovery animation. Start with a one-handed Sword and Shield for balanced reach, or use a Mace and Shield when fighting armored targets. A Hammer is slower but excellent when the party needs heavier stagger. Prioritize Strength for weapon requirements and physical output, then Vitality for survivability. Add Focus only after the weapon and armor requirements are satisfied.
Recommended skills and gear
- Shield Bash: use it after a blocked heavy attack to interrupt smaller enemies and create a guaranteed opening.
- Whirlwind: equip it on a compatible one-handed weapon when groups surround the party. Save it for enemies already committed to an attack rather than spending it at the start of every pull.
- Ground Slam: choose this on a Hammer or compatible heavy weapon for area stagger and crowd control.
- Healing Aura: keep it on a secondary weapon if the group lacks a dedicated caster. It is a recovery tool, not a reason to abandon the frontline.
Look for armor with high physical protection, increased maximum health, stamina recovery, and bonuses that improve blocking or reduce incoming damage. A Shield with strong stability is more important than a small damage bonus. Carry cooked food, repair resources, and several healing items; multiplayer deaths are often caused by a player entering a second phase with damaged equipment rather than by a missing offensive stat.
Vanguard rotation
Open with a shield raised, let the enemy commit, then block the first strike and answer with Shield Bash or a charged attack. Against groups, walk backward toward your caster while maintaining enemy attention instead of rolling through the party. Use Whirlwind after the Skirmisher applies pressure from behind. Against a boss, do not spam attacks: block, punish one recovery window, reset your guard, and call out when the boss is turning. This rhythm gives the other players predictable back attacks without forcing them to guess around your hitbox.
S-Tier Focus Battlemage Build
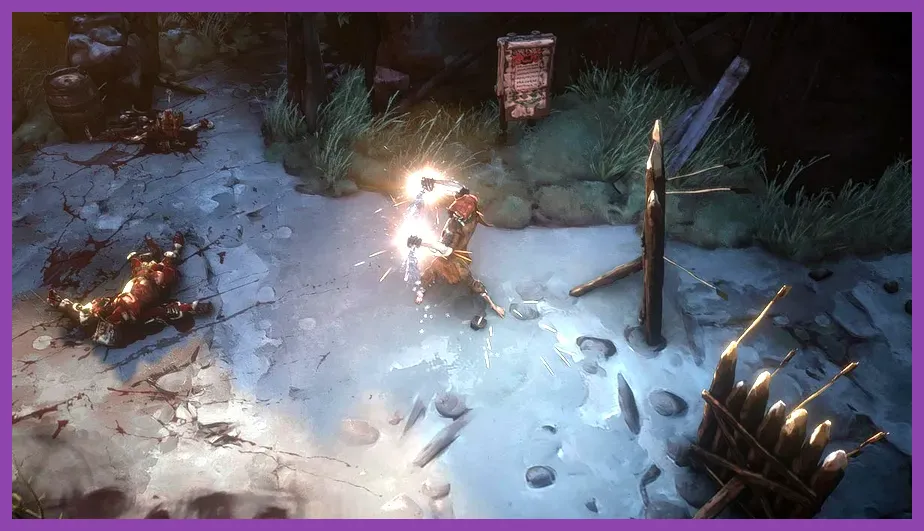
The Focus Battlemage is the best support-damage build because Staff skills can punish clustered enemies while the player remains outside melee range. Use a Staff as the primary weapon and select a second weapon with Healing Aura, Ice Bolt, or another utility rune. Prioritize Focus for frequent skill use, then Intelligence for caster weapon requirements and damage. Vitality comes next; a dead healer contributes nothing to a long boss fight.
Core skills and spell selection
- Fireball: the default damage skill for groups and stationary bosses. Aim past the Vanguard rather than directly through them, especially when explosive splash damage can hit allies.
- Ice Bolt: use it to slow or control dangerous targets, interrupt a vulnerable enemy, and create time for a revive.
- Healing Aura: activate it before the party reaches critical health. Its value comes from preventing a death spiral, not from restoring a player after they have already been downed.
- Staff heavy attack: use it when the boss is locked onto the Vanguard and cannot immediately punish the casting animation.
Choose light or medium armor with Focus regeneration, skill-resource efficiency, elemental damage, and stamina recovery. Do not sacrifice all defenses for a tiny spell bonus. A caster that can survive one mistake is much more useful than one that dies to a stray projectile. If your performance suffers during large spell effects, our guide to optimizing open-world games on Steam Deck explains the same priority order for frame rate, resolution, and effects settings.
Battlemage rotation
Begin each pull by marking the most dangerous ranged or elite enemy, then let the Vanguard group melee targets together. Cast Fireball when several enemies overlap, use Ice Bolt on anything preparing a lunge, and move immediately after every spell. During a boss fight, stay diagonally behind the Vanguard rather than directly behind them, because many sweeping attacks can pass through both players. Save Healing Aura for a planned recovery window and announce it before casting so the Skirmisher can stop attacking and step into its range.
A-Tier Dexterity Skirmisher Builds
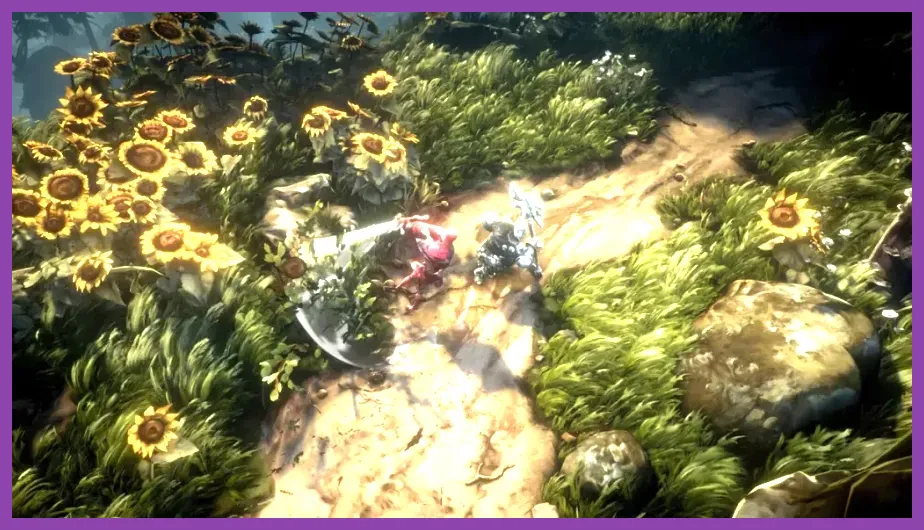
There are two excellent Dexterity choices. The Bow Skirmisher is safer, simpler, and usually the best third slot for a new multiplayer group. The Twin Daggers Rogue produces stronger close-range burst but is less forgiving when connection delay or a boss turn makes positioning unreliable. Both builds prioritize Dexterity, then Vitality. Add Focus only when a chosen weapon skill requires it.
Bow Skirmisher
Use a Bow with a fast secondary weapon for emergencies. Maintain medium range, shoot the enemy currently being controlled by the Vanguard, and reposition after every charged shot. Bow players should carry skills that improve single-target pressure or apply a status effect, but avoid consuming every resource before a boss stagger. The ideal target order is enemy archers, casters, explosive creatures, then the main melee pack. This prevents the Battlemage from being forced into close combat.
Twin Daggers Rogue
Twin Daggers reward attacks from the rear and side, not repeated frontal trades. Circle wide while the Vanguard holds aggro, perform a short attack string, then disengage before the boss turns. Use Dashing Strike or a comparable mobility rune when available, but do not spend the escape skill simply to start an attack. The Rogue should be the player who revives allies when the area is clear, because mobility makes it easier to reach a downed teammate without crossing the boss's front.
For either version, seek Dexterity-friendly armor with stamina recovery, movement benefits, critical or back-attack bonuses, and enough physical protection to survive a mistake. If you prefer a more systematic approach to frame pacing and input response, compare your setup with our lag and low-FPS troubleshooting guide; delayed dodges are especially punishing for Twin Daggers.
Best Co-op Boss Rotation
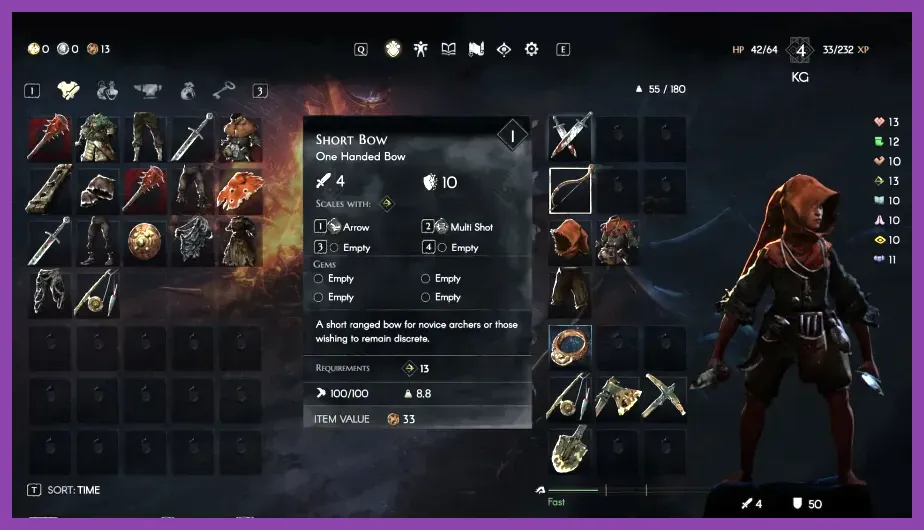
Party discipline matters more than individual damage during bosses in areas such as Nameless Pass, the Shallows, and the Crucible. Assign jobs before the fight: Vanguard controls the front, Battlemage watches health and crowd control, and Skirmisher handles side targets. Never have every player stand behind the boss. A sweeping attack or sudden turn can hit the entire party and remove the advantage of multiplayer.
- Pull and identify the phase. The Vanguard enters first with a raised Shield. Watch the boss's opening telegraph instead of immediately spending a high-cost skill.
- Force the first recovery. Block or evade the heavy attack, then use Shield Bash, Ground Slam, or a charged weapon attack. The Skirmisher attacks only after the boss is committed.
- Spend burst during stagger. Fireball, Whirlwind, Twin Daggers strings, and charged Bow attacks should land during the opening created by the Vanguard. Do not waste the whole party's strongest skills on an invulnerable transition.
- Handle adds immediately. The Bow player removes ranged adds, the Battlemage slows or burns clustered enemies, and the Vanguard keeps the boss away from the cleanup route.
- Recover deliberately. Healing Aura and food should be used between attack cycles. If a player falls, the Vanguard faces the boss away while the Rogue or Battlemage revives from the side.
For bosses with wide frontal sweeps, stay at the rear quarter rather than the exact back. For ground effects, move as a group in one direction; scattering makes revives and Healing Aura unreliable. The official Moon Studios website is the best place to track major system changes, while the game's official Steam Community hub is useful for patch-specific multiplayer notes.
Stat, Gear, and Respec Priorities
Spend attribute points to meet weapon requirements first, then concentrate them instead of distributing every point evenly. The Vanguard wants Strength and Vitality; the Battlemage wants Focus, Intelligence, and Vitality; the Bow or Twin Daggers player wants Dexterity and Vitality. Weapon requirements vary, so inspect the equipment before committing to a respec. The most damaging mistake is investing in a stat for a future weapon while neglecting the attributes that make the current loadout usable.
For equipment, prioritize a functioning bonus package over one spectacular affix. Frontliners need health, protection, stamina, and block value. Casters need Focus economy, elemental or skill damage, and enough armor to survive stray hits. Skirmishers benefit from stamina recovery, mobility, critical chance, and back-attack bonuses. Keep two weapon options available when possible: one for groups and one for single targets. Repair damaged favorites before a major expedition and use storage to avoid carrying every spare item.
Do not treat respec as a constant answer to every difficult room. First change the party's positioning, skill timing, or target order. If a build genuinely no longer fits your weapon drops, rebuild around the best upgraded item you own. Our guide to armor set locations offers a useful comparison point for evaluating defensive bonuses, but No Rest for the Wicked still rewards matching protection and stamina to the exact role.
Best Two-Player Variations
Two-player groups should use either Shield Vanguard plus Focus Battlemage or Shield Vanguard plus Bow Skirmisher. The first pairing is safer in dungeons and against bosses because Healing Aura covers mistakes and Fireball clears groups. The second pairing has better sustained physical damage and is easier to play when the caster's resource pool is underdeveloped.
If both players prefer melee, one should use Shield and the other Twin Daggers. The Shield player attacks from the front and calls every stagger; the Rogue never initiates unless a second enemy is isolated. Two ranged players can also work, but they must divide angles and avoid forcing the Vanguard role onto a lightly armored Bow user. Whatever the combination, keep one player responsible for revives, one for adds, and one for boss pressure. Clear communication turns these three builds into a dependable co-op team rather than three separate solo characters.