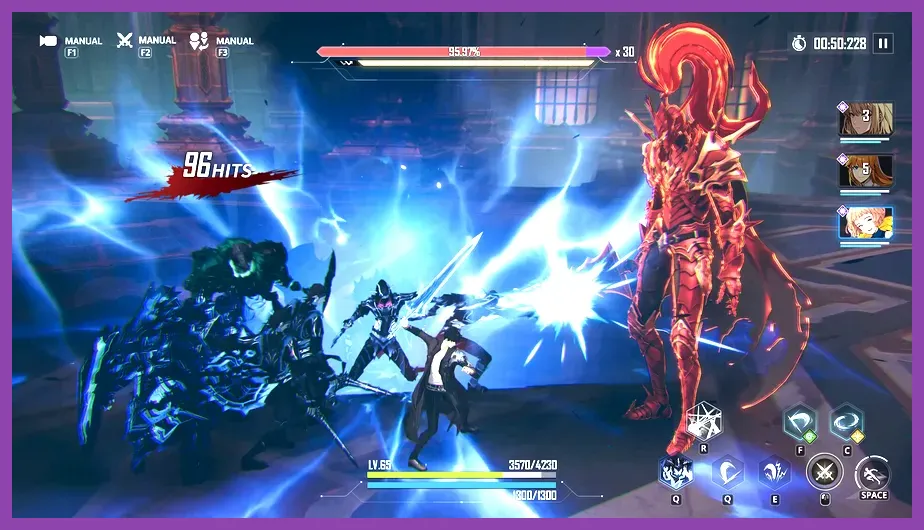
The fastest way to get mounts in Solo Leveling: ARISE is to unlock the Mount menu, save every Mount Summon Ticket, and prioritize limited-time events over normal grinding. Mounts are tied to the account’s Mount system rather than Jinwoo’s weapon banner, so spending Essence Stones on regular draws will not automatically unlock one. For free-to-play players, the efficient route is to clear the early story, finish daily activity, collect event currency, and spend only on the active Mount Summon or its exchange shop.
Unlock the Mount System First
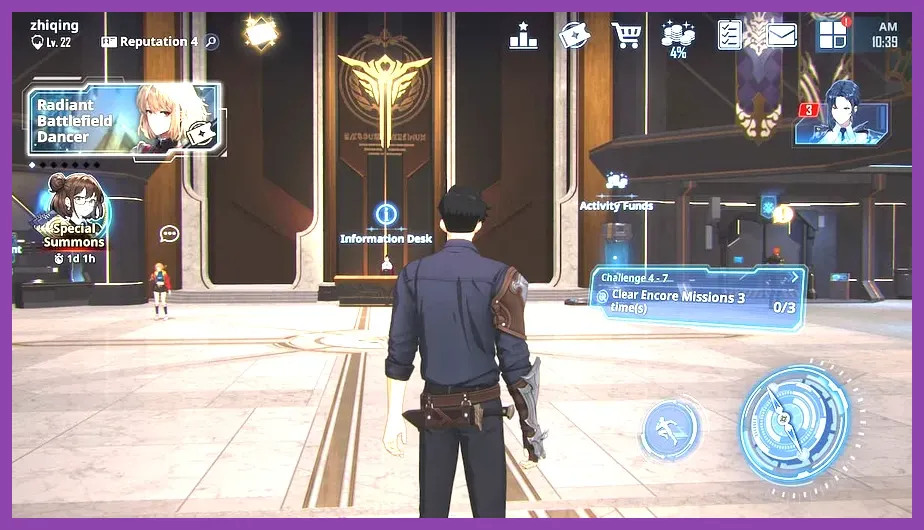
Before farming a mount, check whether the feature is available on your account. Open the Lobby and inspect Jinwoo’s profile and the Mounts section. If the button is missing, continue the main story and complete every newly unlocked tutorial mission. Solo Leveling: ARISE frequently gates account systems behind story progression, player level, and introductory objectives, and a new installation may not display every menu immediately.
Do not confuse a mount with a weapon, hunter, or cosmetic costume. The Plum Sword, Thetis’ Grimoire, and Moonshadow are SSR weapons; they cannot be exchanged for mounts. Likewise, hunters such as Cha Hae-In, Emma Laurent, and Seo Jiwoo improve combat teams but do not unlock mount ownership.
Once the Mounts menu appears, open each reward preview and note the exact acquisition method. Some mounts come from Mount Summon, while others are limited to event shops, progression rewards, or paid bundles. That distinction matters: repeatedly clearing Instance Dungeons cannot substitute for a Mount Summon Ticket if the featured mount is banner-exclusive. For official notices and availability changes, check the official Solo Leveling: ARISE forum before spending premium currency.
Farm Mount Summon Tickets Efficiently
1. Clear daily missions every day. Daily objectives are the most reliable repeatable source of account currency, activity rewards, and event progress. Claim the reward chest after completing the list; leaving missions finished but unclaimed can prevent the next reward tier from counting. Spend activity energy on content you can clear consistently instead of forcing a high stage with repeated failures.
2. Finish weekly missions before the reset. Weekly objectives often require a mixture of story, Instance Dungeons, Encore Missions, gates, and draw activity. Plan these tasks around your normal stamina use. Encore Missions and Instance Dungeons are particularly valuable because they advance equipment progression while also satisfying mission requirements. A stronger account reaches the reward milestones faster and avoids wasting attempts on underpowered stages.
3. Complete every limited-time event page. Events are normally the best short-term source of Mount Summon Tickets, mount exchange currency, and free draws. Check the Event, Exchange, and Event Mission tabs separately: completing a mission does not always deliver the ticket directly, because the reward may need to be claimed from a second page. Buy the ticket or mount item first, then take enhancement materials only after confirming that the featured mount cannot be purchased.
4. Claim mail, login rewards, and maintenance compensation. Netmarble regularly distributes summon tickets, Essence Stones, and event items through attendance calendars and the in-game mailbox. These rewards expire, so collect them before the stated deadline. The official Solo Leveling: ARISE website is also the safest place to verify campaign rewards and active notices.
Use the Best Combat Route for Faster Progress

Mount farming is largely a resource problem, but combat speed determines how quickly you reach those resources. Build Jinwoo around short, reliable clears rather than a showcase damage rotation. The Plum Sword is useful for its critical-hit support, while Thetis’ Grimoire offers strong water damage and crowd-control utility. Pair weapon skills with Jinwoo’s break options, especially Armor Break, when a boss has a visible Break gauge.
A practical rotation is to open with a weapon skill that applies a debuff or exposes a weakness, swap to the weapon with the stronger elemental advantage, then use Death’s Dance or another high-damage ultimate during the boss’s exposed window. Avoid spending every ultimate on ordinary mobs if the stage ends with a timed boss. For most farming stages, a fast clear with one retry is better than an ambitious team that fails and consumes another attempt.
Prioritize story chapters and missions that unlock more daily content. Then use Instance Dungeons and Encore Missions to improve artifacts and weapons. Better equipment increases clear reliability, which directly improves your ability to finish weekly event milestones. The Marvel Future Fight progression guide has similar resource-planning principles, but do not copy its upgrade priorities into Solo Leveling: ARISE.
For auto-battle farming, equip a team that survives without perfect dodges. Seo Jiwoo is valuable when a stage needs dependable Break support, while Emma Laurent can help with fire damage and defensive pressure. Use Cha Hae-In when light damage and burst are favored. The correct team depends on the stage weakness shown before entry, so check the recommended element instead of blindly using your highest combat power.
Spend Currency Without Slowing Your Mount
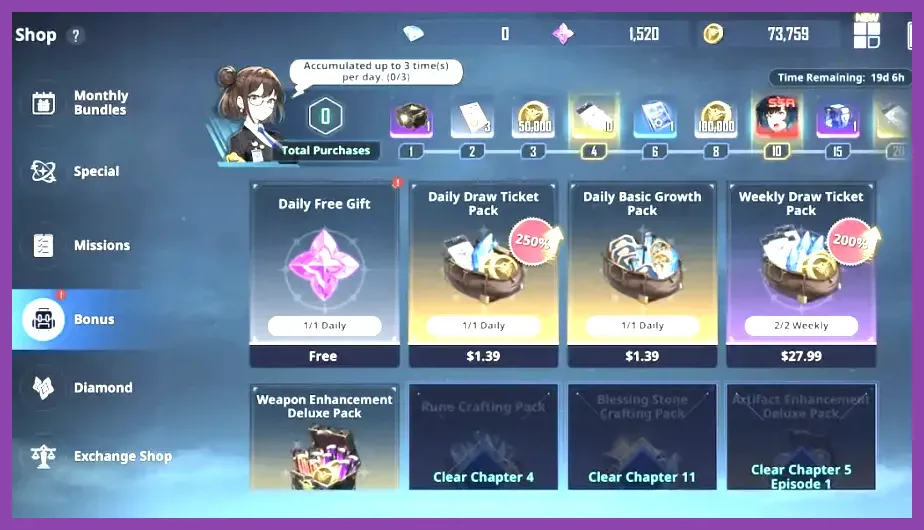
The biggest mistake is treating Mount Summon currency like ordinary banner currency. Save Essence Stones until the Mount Summon screen confirms that they can be used for the current mount. If the banner requires a dedicated ticket, spending stones elsewhere only delays the target. Likewise, do not exchange event currency for gold, weapon enhancement chips, or low-rarity artifacts until you have checked the complete event shop.
Free-to-play players should set a strict priority list: guaranteed mount reward, Mount Summon Tickets, limited exchange materials, then general upgrade items. Paid players should still check the reward preview before buying a package. A bundle that advertises “summon currency” may contain Rate Up Draw Tickets rather than Mount Summon Tickets, and those are different resources.
Use the Mount Details screen to compare ownership rewards, passive effects, and upgrade requirements. If a mount is cosmetic on your current version, do not sacrifice weapon advancement for it; the Plum Sword, Thetis’ Grimoire, and a properly upgraded artifact set will improve actual stage performance more immediately. If mounts provide account or combat bonuses in the current patch, compare the displayed bonus against the cost before committing.
Keep your account linked and install patches from the official Google Play listing or the supported iOS storefront. Mount systems and event shops can change between updates, and outdated guides may list tickets or exchanges that are no longer active.
Fastest Daily Mount Routine
Use this order whenever you log in: claim mailbox and login rewards; complete daily missions; open every event mission and exchange page; spend stamina on the event’s required content; finish weekly objectives; then clear the highest reliable Instance Dungeon or Encore Mission. Return to the Mounts menu before logging out to confirm that tickets, currency, and claimable rewards were actually collected.
Do not farm random gates for hours expecting a mount to drop unless the current event specifically lists that gate as a reward source. Mounts are usually obtained through the designated Mount Summon, event exchange, or clearly labeled progression reward. That is why event participation beats uncontrolled grinding.
In short, unlock the feature through story progression, target Mount Summon Tickets, complete event milestones first, and preserve Essence Stones until the banner confirms they work. This route gives new players the best chance of obtaining a mount quickly without weakening the weapons and hunters needed to keep farming.